
When your TPMS warning light comes on, your first instinct might be to buy new sensors. But sensor replacement demands understanding, right equipment, and diagnostic skills—otherwise you’ll swap parts that aren’t broken. This guide covers the entire TPMS sensor replacement process and shows how to spot electrical issues that masquerade as dead sensors.
TPMS Sensor Basics: What You’re Actually Replacing
TPMS sensors live inside the tire, bolted to the wheel rim via the valve stem. Each sensor contains a pressure transducer, battery (good for 5-10 years), RF transmitter, and accelerometer. When tire pressure drops about 25% below manufacturer specs, the sensor signals your vehicle’s receiver module, lighting the dashboard warning light.
The sensor is mounted on the inside of the rim and can’t be reached from outside the tire. The external valve stem is just the visible tip—the actual electronics sit inside the tire cavity.
Sensor vs. valve stem: what comes as a package deal
The TPMS sensor and valve stem are technically separate but come together as one unit. Most replacement kits include a new valve stem, grommet, nut, and cap. You don’t technically need to replace the valve stem each time, but replacement is recommended since rubber valve stems deteriorate over 5-7 years and cost little extra. If an old stem fails months after sensor installation, you’ll pay again for tire work. Replace the stem unless it’s relatively new with no cracks, rust, or wear. The external dust cap needs replacement only if lost or damaged.
Tools & Preparation for Tire Sensor Replacement
Essential tools and equipment checklist
Tire Removal and Mounting Tools:
- Tire changing machine or manual tire spoons/levers
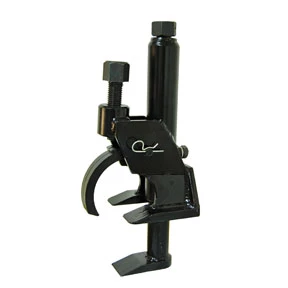
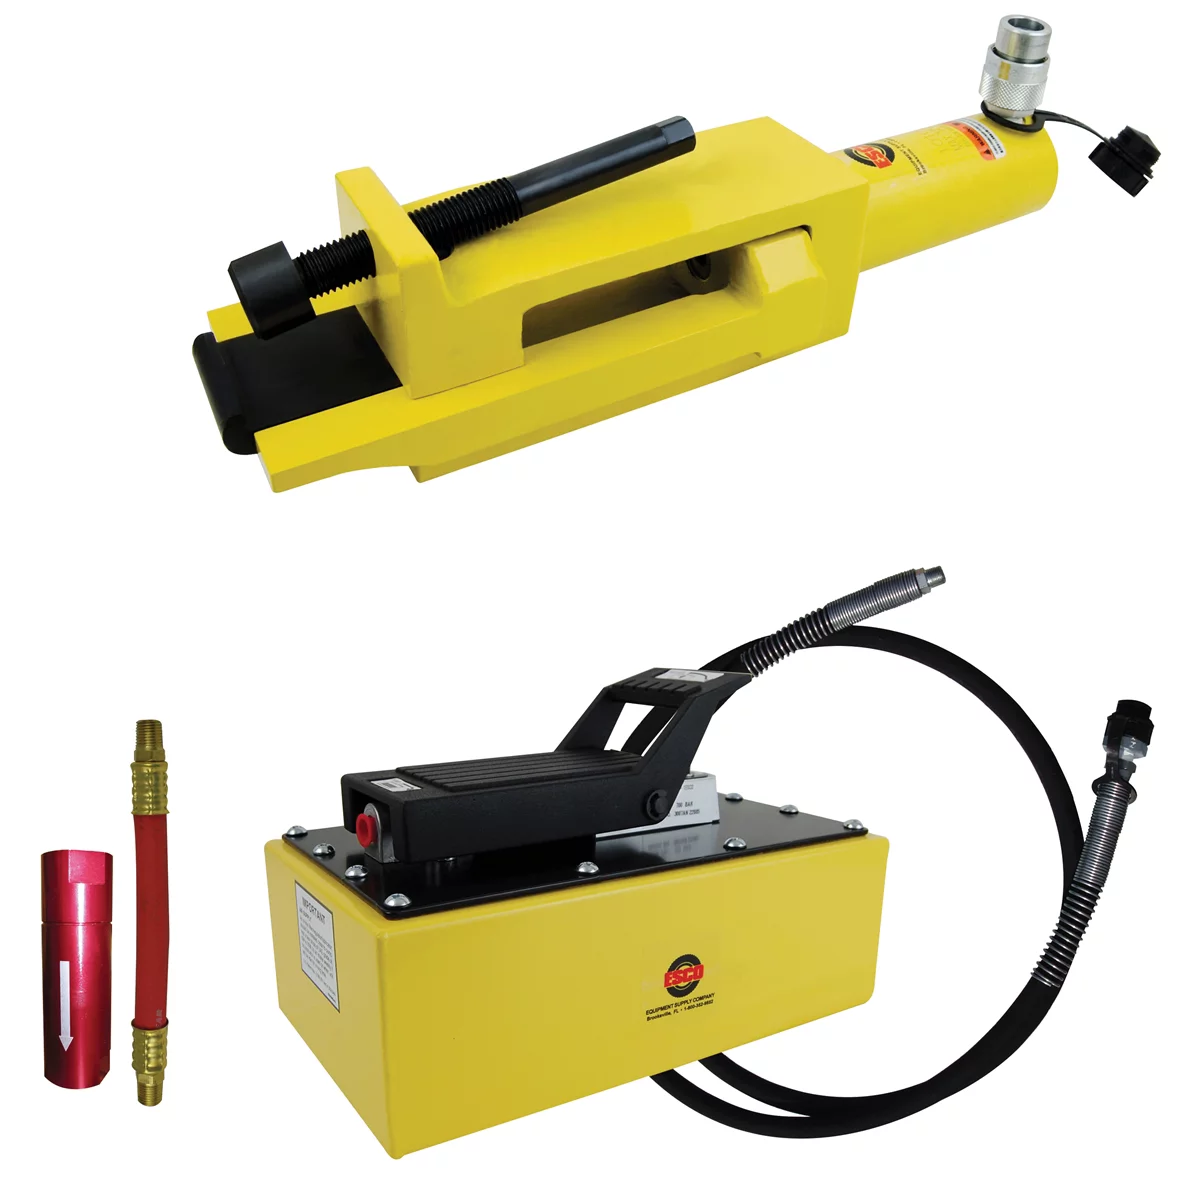
- Bead breaker tool (manual or pneumatic)
- Tire lubricant/mounting paste
- Valve stem puller tool
- Torque wrench for lug nuts
TPMS-Specific Tools:
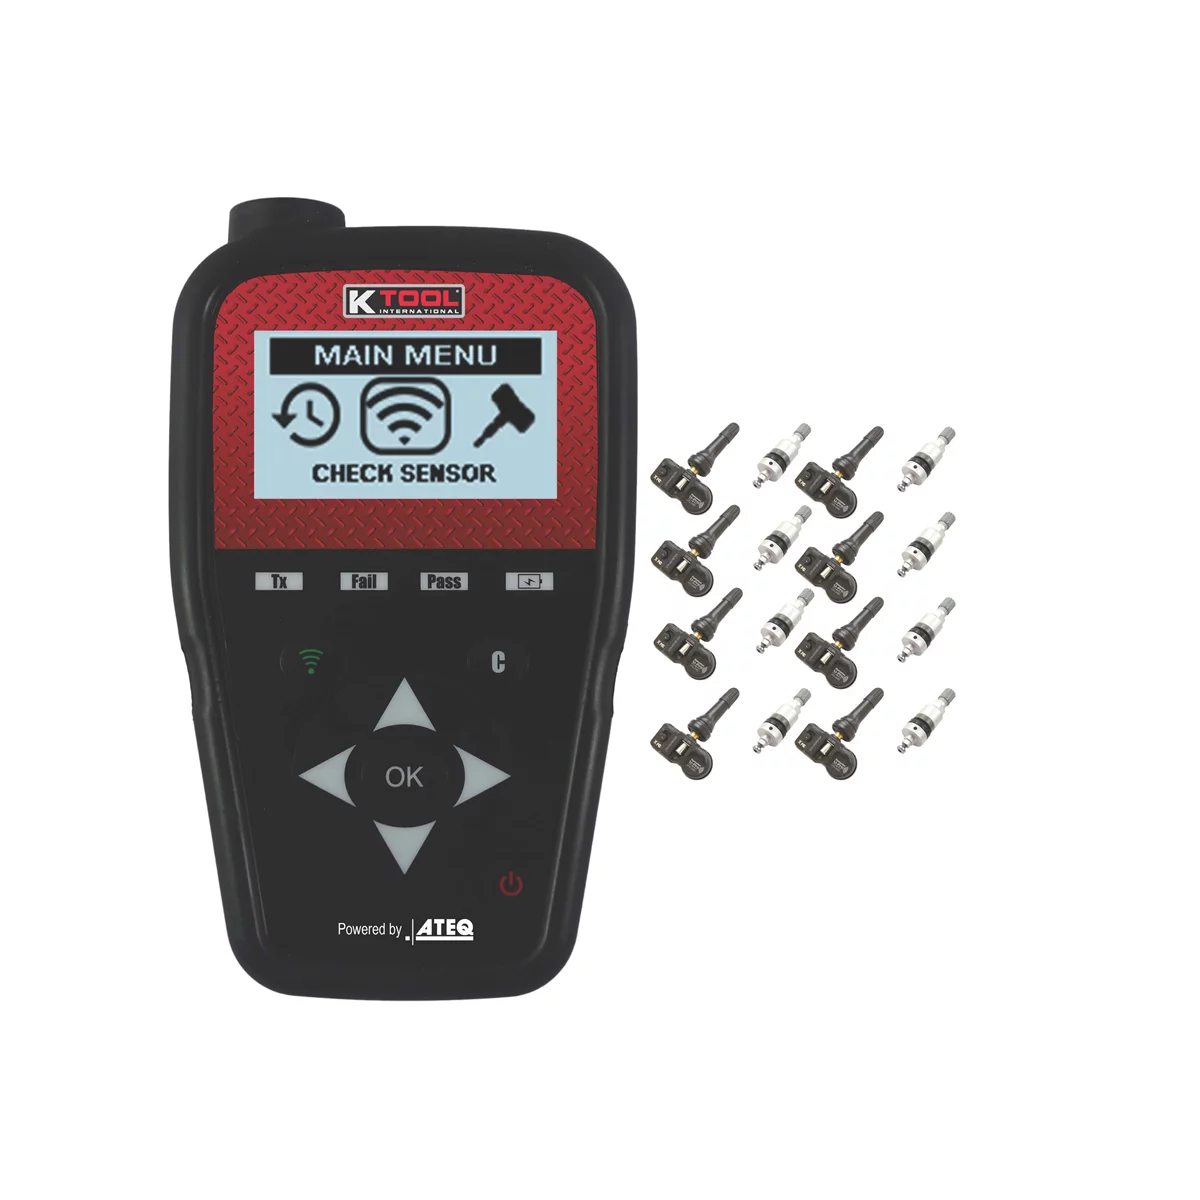
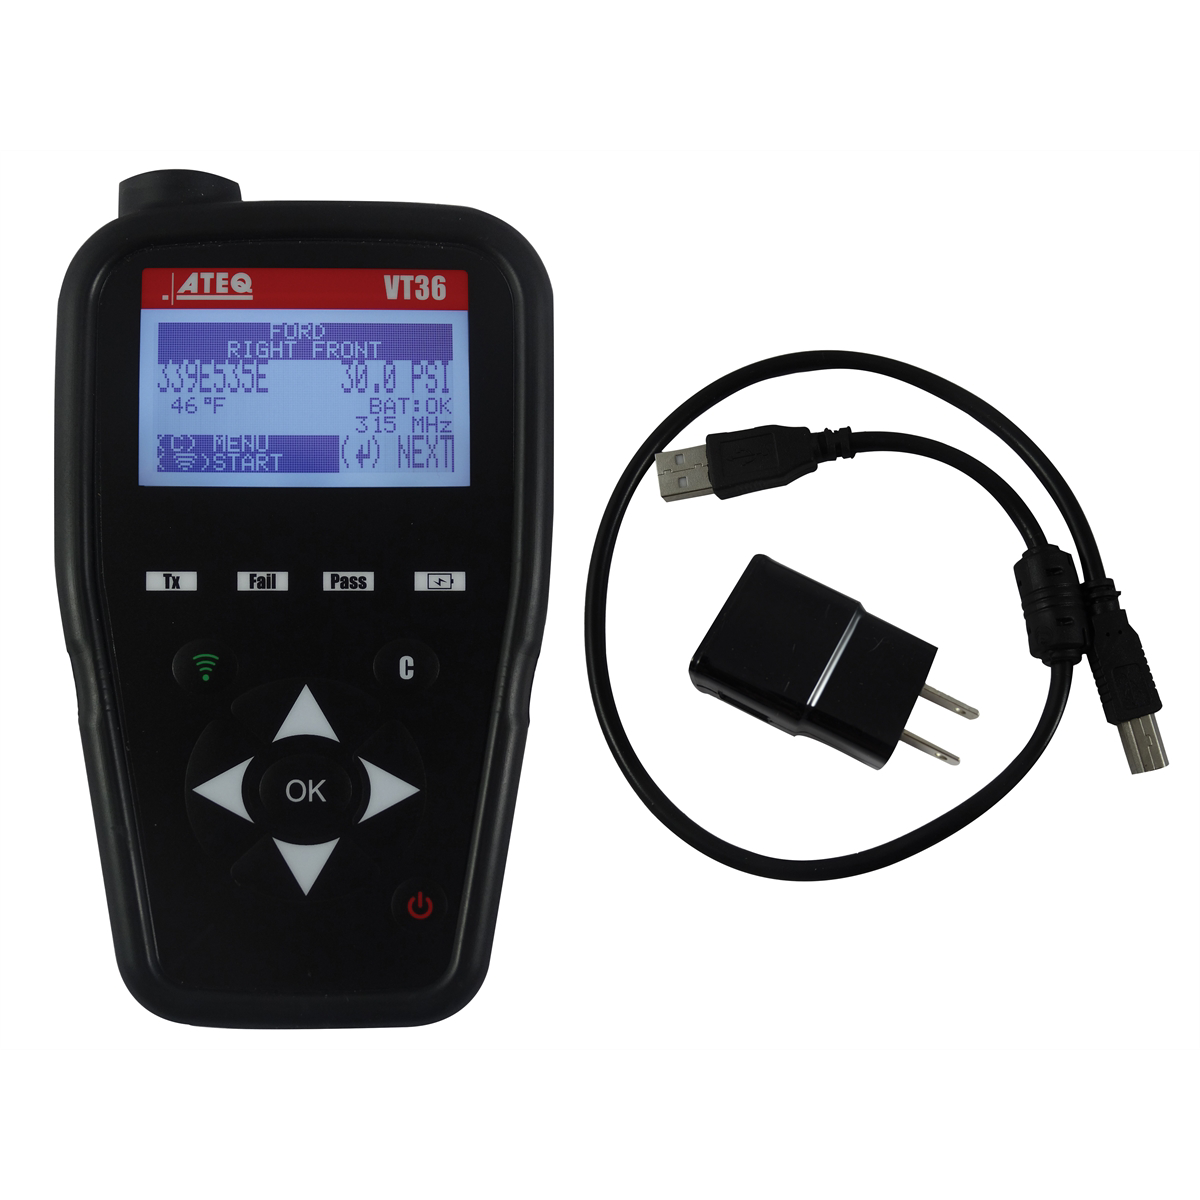
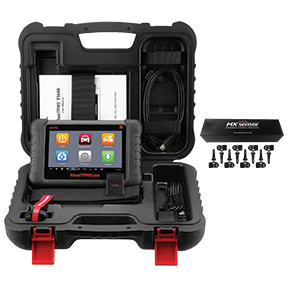
- TPMS programming/activation tool (for many newer sensors)
- Torque wrench for sensor mounting nut (typically 35-89 in-lbs)
- Valve core removal tool
- 8mm socket (common sensor nut size)
Safety and Workspace Equipment:
- Vehicle jack and jack stands
- Wheel chocks
- Safety glasses and work gloves
- Air compressor with tire inflation chuck and pressure gauge
- Tire balancing machine (or arrange shop balance after installation)
Many replacement sensors are “programmable” or “universal” types needing activation for your vehicle’s protocol before installation. Some cars learn sensor IDs automatically through a drive cycle; others need a scan tool. Verify your vehicle’s requirements before buying sensors.
Safety precautions and workspace setup
Always work on level ground. Never rely on a jack alone—use proper jack stands immediately when wheels leave the ground. Use wheel chocks to prevent rolling. Watch for pinch points when breaking tire beads—manual bead breakers require force and can pop suddenly. Wear safety glasses throughout. Use a clip-on inflation chuck instead of holding the nozzle, allowing you to step back when the bead seats. Keep your workspace well-lit and use a magnetic parts tray to prevent losing tiny sensor nuts and valve cores.
Step-by-Step TPMS Sensor Replacement Process
Removing and dismounting the tire from the wheel
Loosen lug nuts a turn while the wheel is on the ground, preventing wheel spin. Jack the vehicle and secure with jack stands, then remove lug nuts and the wheel. Remove the valve cap and completely deflate the tire using a valve core tool—full deflation is essential for safe bead breaking. Use a bead breaker to separate the tire from the rim on both sides, positioning the tool 2-3 inches from the rim edge and pushing steadily until the bead releases. Work around the entire wheel until both sides are free.
Place the wheel on a tire machine or sturdy surface. Use tire spoons or levers to work one bead over the rim edge, starting opposite the valve stem. Once clear, peel the second bead over. Apply generous tire lubricant to reduce friction and prevent bead or rim damage.
Accessing and unscrewing the old sensor
With the tire off, you’ll see the TPMS sensor assembly hanging from the valve stem hole. A hex nut (typically 8mm) holds it in place. Hold the valve stem steady from outside while loosening the nut from inside. Some sensors use one-time-use aluminum nuts; if reusing the valve stem, you may need a replacement nut. Unscrew completely and pull the old sensor straight down from the stem.
Inspect the valve stem grommet and mounting hole. Wipe corrosion with a wire brush. Check the stem for cracks, especially near the base where it bends during mounting. Replace the stem if damaged or the rubber is hardened, even if you initially planned to reuse it.
Installing the new sensor and reassembling
Program programmable sensors first according to manufacturer instructions and your TPMS tool’s steps. Thread the new valve stem through the wheel hole if using a fresh one, ensuring the grommet presses firmly against the rim with no gaps. Screw the sensor onto the stem, positioning the sensor body to hang into the wheel. Thread the mounting nut and tighten to the torque spec (typically 35-89 inch-pounds). Don’t over-tighten or you’ll crack the housing or strip threads.
Reinstall the valve core and inflate to 10-15 PSI to give the tire shape. Apply tire lubricant generously to both beads and rim edges. Work the tire back onto the wheel, one bead first, then the second. Avoid touching the TPMS sensor body with tools—a dent will disable it.
Once both beads are on, inflate to seat them tightly. You’ll hear two sharp pops when they seat. Inflate to recommended pressure (check your door jamb sticker, not the max on the tire). Balance the tire—new sensors add weight and unbalanced wheels cause vibration and uneven wear.
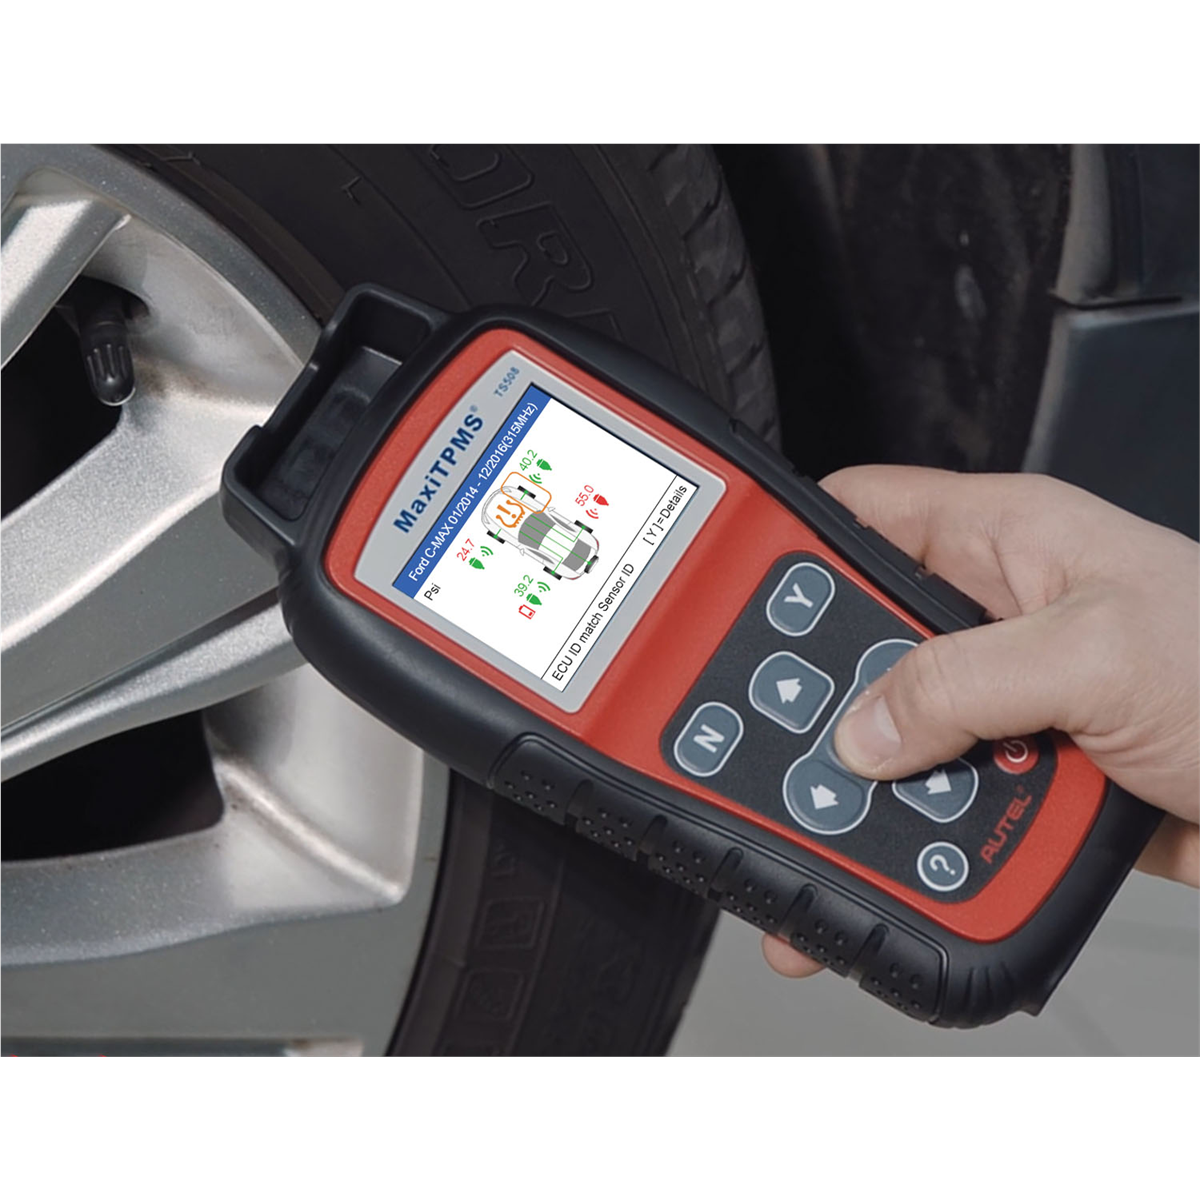
Bolt the wheel back on using a star-pattern torque to manufacturer specs. Run the TPMS relearn procedure (may be a drive cycle, button combination, or scan tool process). Use a TPMS scan tool to verify the warning light is off and all sensors communicate before finishing.
Troubleshooting: When Sensor Replacement Isn’t the Fix
Diagnosing electrical system issues before replacing sensors
Use a TPMS scan tool before assuming sensors are bad. A good tool shows sensor IDs, real-time pressure, signal strength, and which sensors aren’t transmitting. If all sensors communicate and provide accurate readings, the issue is the receiver module, wiring, or computer—not the sensors. Pull trouble codes with an OBD-II scanner. TPMS codes start with “C” (chassis): C0750 (sensor fault) or C0755 (sensor not learned) indicate circuit issues, bad receiver modules, or programming problems rather than failed sensors. Locate the TPMS receiver module (usually under the dash or behind panels) and inspect wiring for loose connections, corroded pins, or frayed wires. Water from leaky windshields or sunroofs can fry receiver modules and create false sensor failures.
Battery and charging system checks
A weak battery, dying alternator, or corroded ground connections create voltage swings that disrupt the TPMS receiver. The receiver needs steady power to function—voltage dips trigger warning lights even with functioning sensors. Test battery voltage with the engine off (should be 12.4-12.6V if charged) and running (should be 13.5-14.5V). Do a load test and inspect battery cables and main ground connections for rust or loose clamps. If warning lights return after sensor installation, check charging voltage during the problem.
When to investigate wiring and connector problems
Intermittent TPMS lights suggest wiring or connector issues, not sensor failures—sensors typically fail completely. Flaky problems usually indicate loose receiver connections, corroded antenna pins, or damaged harness wires. If you’ve had recent body work, undercoating, or installed accessories, TPMS receiver antennas in wheel wells may have been damaged. Damaged antennas prevent the receiver from picking up sensor signals, causing warnings despite functioning sensors.
DIY vs. Professional Repair: Cost & Complexity
Labor costs at shops vs. doing it yourself
Shops typically charge $150-$250 per sensor (part, labor, mounting, balancing, programming), totaling $600-$1,000 for all four. DIY costs are lower if you have tire equipment: sensors cost $30-$80 each, plus valve stems and programming tools ($50-$400). However, without a tire machine and balancer, you’ll pay shops $25-$40 per tire for mounting and balancing, adding $100-$160 to a four-wheel job. At that point, professional service may be more economical.
Equipment and tire balance considerations
Tire balancing is the key challenge in DIY replacement. New sensors add weight requiring machine balancing—manual methods don’t work for modern tires. If it’s a one-time fix without equipment, remove wheels yourself and have a shop install and balance. For frequent tire work, a manual tire changer ($200-$500) and balancer ($100-$2,000) may pay for themselves.
Warranty and liability factors
Professional shops guarantee parts and labor; DIY work is your responsibility. If you damage the bead, crack the sensor, or programming fails, you cover repairs. Additionally, if a wheel falls off due to improper torque and causes damage, you’re liable—shops carry insurance. Many DIYers choose professional tire mounting despite handling other wheel work.
| Replacement Approach | Typical Cost | Skill Level Required | Equipment Needed | Best For |
|---|---|---|---|---|
| Full Professional Service | $150-250 per sensor | None | None | One-time repair, warranty desired, no tire equipment |
| DIY Complete (with equipment) | $30-80 per sensor | Intermediate-Advanced | Tire changer, balancer, TPMS tool, hand tools | Multiple vehicles, frequent tire work, equipment already owned |
| Hybrid (remove wheels, shop install) | $80-120 per sensor | Basic-Intermediate | Jack, jack stands, hand tools | Cost savings desired but no tire equipment available |
| Mobile TPMS Service | $100-180 per sensor | None | None | Convenience, unable to transport vehicle, on-site programming needed |
Frequently Asked Questions
Do I need to replace the valve stem when I replace the TPMS sensor?
Not technically required, but recommended. Most kits include a fresh stem at little extra cost. Valve stem rubber deteriorates over 5-7 years. Reusing an old stem that fails months later means paying for tire work again. Replace the stem unless it’s recent with no cracks, weathering, or rust.
What warning signs indicate a TPMS sensor has failed?
The warning light alone doesn’t confirm sensor failure—it could indicate low pressure, a bad receiver module, or programming issues. True sensor failure signs: light stays on after filling tires to correct pressure; scan tool shows one sensor not transmitting while others work; light appears after tire rotation (system lost track of a moved sensor); or light flickers in cold weather when sensor batteries struggle. Age matters—sensors typically last 5-10 years, so vehicles over 8 years old are prime suspects.
How long does a tire sensor replacement take?
Professional shops complete one sensor in 45 minutes to an hour; all four take 2-3 hours. DIY with manual tools takes 1.5-2 hours per sensor, plus 15-30 minutes for programming and relearn depending on your vehicle. A tire machine speeds this up significantly.
Can I replace just the sensor without removing the tire?
No. The sensor bolts inside the tire to the rim. There’s no external access to the mounting nut or sensor. TPMS work requires either a tire shop or home tire-changing equipment. You can only check or adjust tire pressure through the external valve stem without dismounting.
What’s the average cost to replace a tire sensor?
Figure $150-$250 per sensor at a shop including all labor and services. Parts alone: $30-$80 for quality aftermarket, $75-$150 for OEM. All four sensors: $600-$900 with shop package deals. Luxury and European cars cost more—BMW, Mercedes, or Land Rover sensors can exceed $150 each. DIY: just parts cost plus $25-$40 per wheel for shop balancing, plus $50-$200 for a TPMS programming tool if needed.
Can I drive with a failed TPMS sensor?
Yes, safely and legally—the sensor doesn’t affect engine, brakes, or handling. The warning light reminds you that monitoring is lost. Without alerts, manually check tire pressure regularly. Underinflated tires reduce fuel economy, wear faster, degrade handling, and can fail completely. Some states include TPMS in safety inspections. It’s not dangerous with a broken sensor, but get it fixed within a reasonable timeframe.


Bartec Tech600PRO TPMS tool sensor bundle w/ 30 RITE-SENSORS
Mfg: Bartec USA
Part #: WRT600PRO-RS30P

The Toolsource Technical Team blends decades of real-world automotive service experience with up-to-date technical research. Our writers collaborate with professional mechanics, shop owners, and diagnostic specialists to deliver practical, workshop-ready guidance you can trust.


Follow us on social media