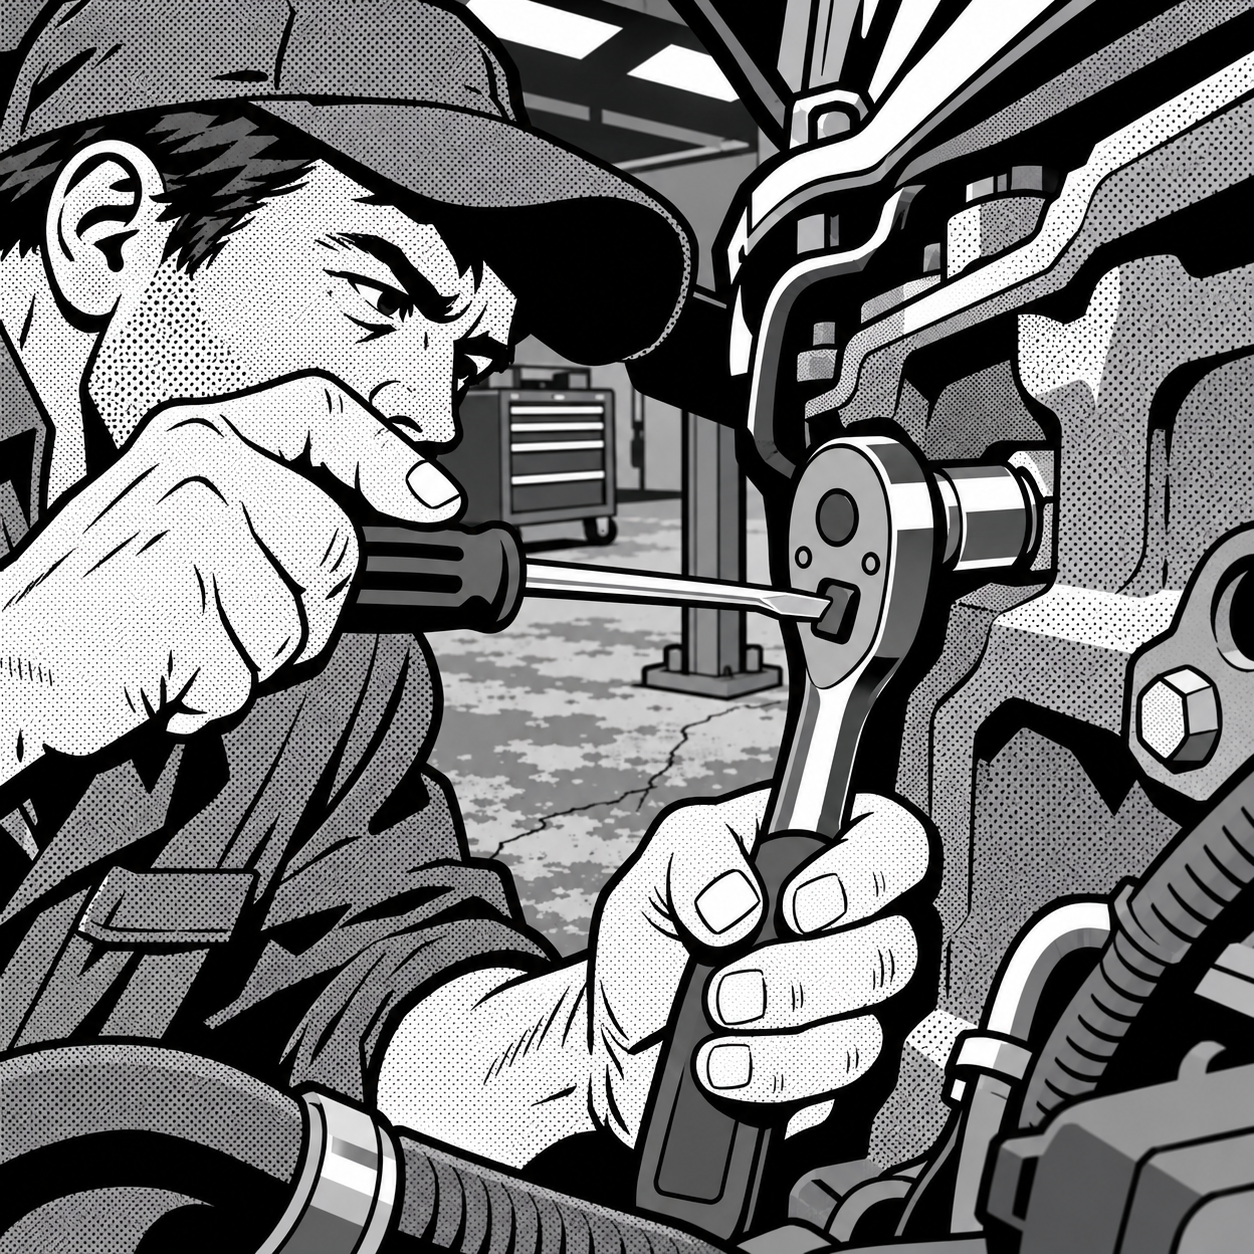
If you’ve turned wrenches for more than a few months, you’ve probably had this happen: you drive a ratchet in tight against the engine block or frame rail, the head rotates until it’s wedged solid, and now the reverse switch is buried somewhere you can’t reach with your fingers. It happens to nearly everyone eventually, and it’s rarely a tool failure — it’s a clearance problem. The good news is there’s a fairly reliable order of operations for getting unstuck without damaging the ratchet, the fastener, or anything around it. This guide walks through what actually works, starting with the least destructive options.
Why This Happens in the First Place
Most reversible ratchets — hand ratchets and electric models like compact right-angle or stubby ratchets — have the direction switch mounted on the head or near the pivot. In open space that’s a non-issue because you can always get a finger or thumb on it. The problem shows up in cramped engine bays, transmission tunnels, and subframe areas where the only angle that lets the socket bite the fastener also happens to jam the switch flush against a mount, bracket, or the frame itself. Once the ratchet rotates fully one direction and the socket seats against an obstruction, you’re stuck turning in the wrong direction with zero room to flip it back.
This is almost always a geometry issue, not a tool defect, though some ratchet designs make it worse than others. Standard-profile heads sit the switch nearly flush with the housing, so even a small gap against a mount can bury it completely. Extended-head or “proud switch” designs raise the switch slightly above the body, which gives you a fighting chance even in tight clearance — something worth factoring in next time you’re shopping for a ratchet that’ll live in tight bays.
Step One: Try to Reach the Switch Before Anything Else
Before you reach for pliers or a cutting tool, spend two minutes trying to actuate the switch indirectly. This is the least risky fix and solves the majority of these jams:
- Slide a long flathead screwdriver or an awl into whatever gap exists between the ratchet head and the obstruction, and use it to flick the switch back to the opposite direction.
- If there’s no room for a screwdriver blade, try a pick or dental-style hook — anything thin and rigid enough to catch the switch lever and push it without slipping.
- Go slowly. The switch only needs to move a few millimeters. Forcing a tool against it at an angle can snap small reversing levers, which turns a 5-minute annoyance into a ratchet repair.
If you get the switch flipped, the fix is simple: drive the bolt back in the direction it came from until the ratchet has slack, then back the ratchet off by hand or reposition it for a cleaner angle before continuing.
===FYP-PRODUCTS-MIDARTICLE===
{“query”: “long pick and flathead screwdriver set automotive”, “context”: “mid-article”}


Stubby Screwdriver Set 2 Pc - Compact Tools for Tight Spaces
Mfg: Wilmar - Performance Tool
Part #: 1100
When the Switch Is Completely Buried: Alternative Release Methods
Sometimes there’s genuinely no gap to work with — the head is pinned flush against cast iron or a frame rail and no pick or screwdriver tip will fit. When that’s the case, stop trying to actuate the switch and instead work the fastener itself:
- Grab the socket directly. If there’s any exposed socket body between the ratchet head and the fastener, clamp a pair of channel locks or adjustable pliers on it and turn it by hand in the correct direction. A strip of electrical tape or a rag on the jaws helps the pliers bite without marring the socket.
- Thread the bolt back in. If the bolt backed partway out before jamming, often the fastest fix is reversing course mentally — don’t fight the ratchet, just rotate the whole assembly (ratchet, socket, and bolt together) back in the direction it will freely turn, reseating the bolt. Once there’s slack, pull the ratchet off and finish the job with a different tool or angle.
- Swap tools entirely. If you have a non-reversible ratchet, a breaker bar, or a hand ratchet with a smaller head on hand, abandon the stuck electric ratchet where it is (safely) and finish the fastener with the other tool. You can come back and extract the original ratchet once there’s room to maneuver.
None of these methods risk damaging the fastener or the tool, which is why they come before anything involving leverage against the engine itself.
Creating Clearance: Shifting the Engine or Pulling a Mount
If the ratchet is wedged because the engine itself is sitting too close to the frame or a bracket, you may need to create physical space rather than work around the switch. This is common on transverse-mounted engines where accessory bolts sit in the gap between the block and the frame rail.
- Support the engine from underneath with a floor jack and a wood block to protect the pan, then apply gentle upward or lateral pressure. Engine mounts have enough rubber give in most cases to shift the block an inch or so — often enough to open a working gap.
- Use a pry bar or a length of 2×4 between the engine and the frame or subframe, and lever the block over slightly. This is a well-worn trick for exactly this situation and works even with all mounts still bolted in place, since the rubber isolators flex.
- If prying alone doesn’t create enough room, unbolt one engine mount (not all of them) while the engine is still supported by the jack. That’s usually enough swing to pull the ratchet free, flip the switch, or get a socket on with a better angle.
Always keep the engine supported on a jack or stand before loosening any mount — never rely on the remaining mounts alone to hold the weight while you’re prying.
Last-Resort Options (and Why to Avoid Them)
If none of the above works — no access to the switch, no room for pliers, and no safe way to shift the engine — there are destructive options, but they come with real risk and should be the last move, not the first:
- Cutting the socket off. A hacksaw blade or reciprocating saw blade worked carefully between the socket and the fastener can split the socket for removal. Slow and controlled, but it destroys the socket and risks nicking surrounding components.
- Angle grinder on the socket. This works but throws metal shavings and sparks directly next to fuel lines, wiring, and plastic components under the hood. Only attempt this with the area shielded and a fire extinguisher within reach, and only as an absolute last resort.
- Air hammer or impact to shock it loose. Sometimes a sharp mechanical shock breaks whatever is binding the ratchet head, but it can also propagate stress into the fastener or surrounding bracket. Use short, controlled bursts only.
In nearly every documented case of this problem, a long pick, a set of channel locks, or a pry bar against the mount solved it before any cutting tool was needed. Reach for the grinder only when you’ve genuinely exhausted the mechanical options.
Preventing the Jam Next Time
Once you’re free, it’s worth adjusting your approach so this doesn’t repeat on the next job:
- Scope the clearance before you commit to a ratchet in a tight bay — a quick look or a finger-feel for obstructions around the swing radius of the head takes seconds.
- Favor an extended-head or low-profile ratchet for known tight spots; a switch sitting proud of the housing is far easier to actuate blind.
- Keep a thin pick or long flathead in your cart specifically for this scenario — it’s one of the most-reached-for tools in exactly this situation.
- When working near a frame rail or block with limited swing, consider a hand ratchet with a smaller head instead of an electric model; less bulk means less chance of pinning the switch.
Quick Checklist: Freeing a Jammed Ratchet
- Try a long screwdriver or pick on the reverse switch first
- If no access, grip the exposed socket with channel locks and turn by hand
- Try threading the bolt back in to create slack, then remove the ratchet
- Support the engine with a jack and pry it slightly away from the obstruction
- Pull a single engine mount only if the engine is already supported
- Cut the socket or use a grinder only as a last resort, with fire safety precautions
===FYP-PRODUCTS-ENDARTICLE===
{“query”: “low profile extended head ratchet set”, “context”: “end-article”}
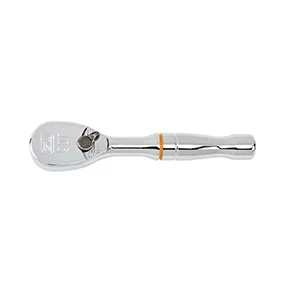
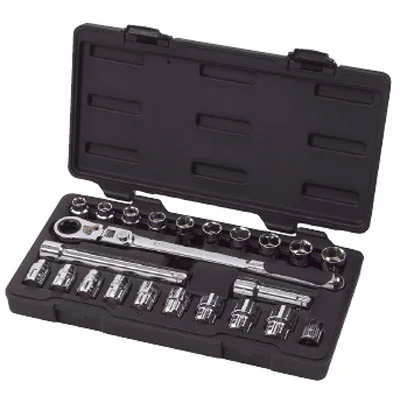

3 Pc 1/4", 3/8" 90T dual material Flex Head teardrop Ratchet Set
Mfg: GearWrench
Part #: 81203T
FAQs
Why does the reverse switch get buried in the first place?
Most reversible ratchet heads mount the switch flush or near-flush with the housing. In a tight engine bay, the same angle that lets the socket reach the fastener often pins that switch against a mount, bracket, or frame rail, leaving no room to flip it.
Is it safe to pry against the engine to create clearance?
Yes, as long as the engine is supported by a jack first. Engine mounts have enough rubber flex to allow a small shift without permanent damage, and this is a routine technique for freeing tools or accessing bolts in tight bays.
Can I just cut the socket off instead of fighting the switch?
You can, but it destroys the socket and risks damaging nearby components, especially with a grinder near fuel lines and wiring. Try the screwdriver, pliers, and prying methods first — most jams resolve without cutting anything.
Will this damage the ratchet itself?
Not if you stick to the methods above. The risk comes from forcing a screwdriver or pick against the switch at a bad angle, which can snap the small reversing lever. Go slow and stop if you feel resistance beyond normal switch travel.
How do I avoid this happening again?
Check your swing clearance before committing to a ratchet in a cramped spot, and favor a ratchet with an extended or raised switch head for tight engine bay work. A thin pick kept in your tool bag specifically for this scenario also saves time.
Is this different for electric ratchets versus hand ratchets?
Mechanically, no — both use a directional pawl switch on the head. Larger electric tools like right-angle impacts sometimes use an electronic direction toggle instead of a mechanical lever, which can be easier or harder to reach depending on the model, so check your specific tool’s switch location before working in tight spaces.
Recommended Tools
The right ratchet and socket selection in your cart prevents many of these jam-ups before they start. Browse our Sockets & Ratchets for extended-head designs, low-profile models, and complete socket sets built for tight engine bay work.
- Extended and low-profile ratchet heads with accessible directional switches for cramped clearance
- Complete socket sets in common automotive sizes for all your fastening jobs
- Hand ratchets, breaker bars, and backup tools for repositioning when you need them

The Toolsource Technical Team blends decades of real-world automotive service experience with up-to-date technical research. Our writers collaborate with professional mechanics, shop owners, and diagnostic specialists to deliver practical, workshop-ready guidance you can trust.


Follow us on social media