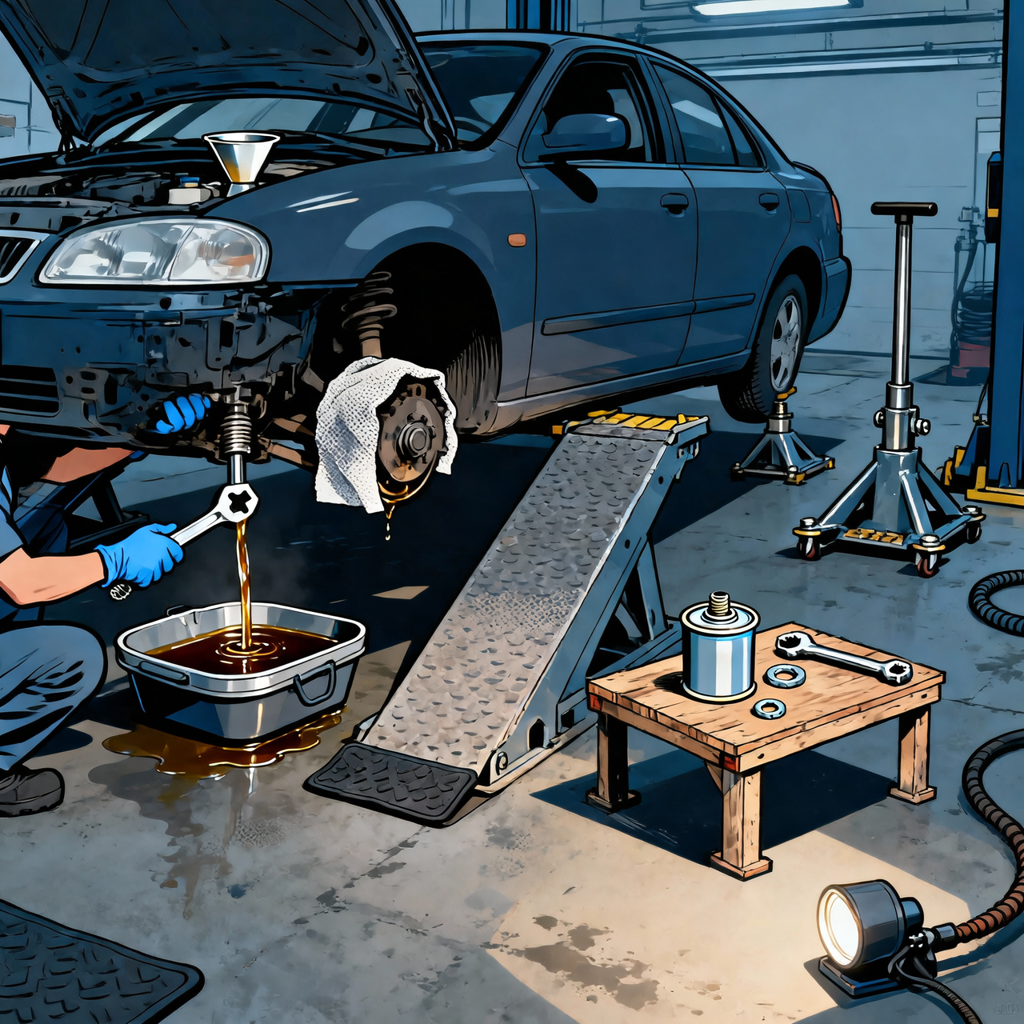
Choosing the right way to support a vehicle for an oil change is about safety, access, and efficiency. Depending on the vehicle’s ground clearance, front overhang, driveway surface, and whether you’re bundling tire rotation or brake inspection with the service, your best option might be ramps, a floor jack with jack stands, or simply working on the ground. This guide distills practical shop methods to help you pick the right approach and execute clean, consistent oil changes.
Always consult the vehicle’s owner’s manual for approved lifting points and procedures. Never work under a vehicle supported only by a hydraulic jack or a scissor jack.
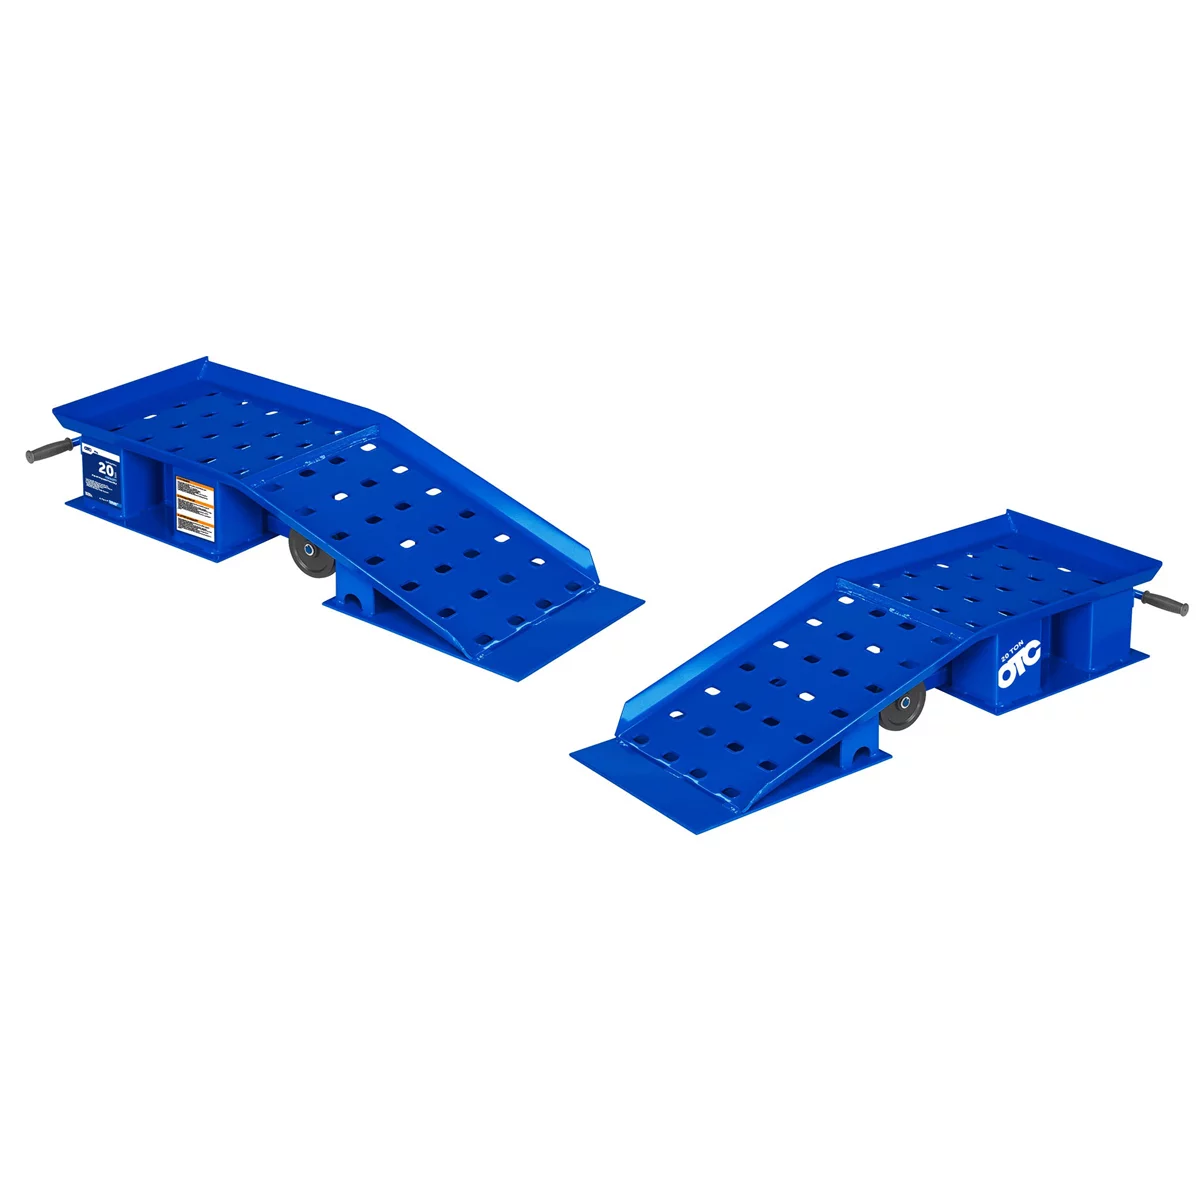
OTC 20-Ton Wide Truck Loading Ramps (Pair)
Mfg: OTC Tools and Equipment
Part #: TR2016
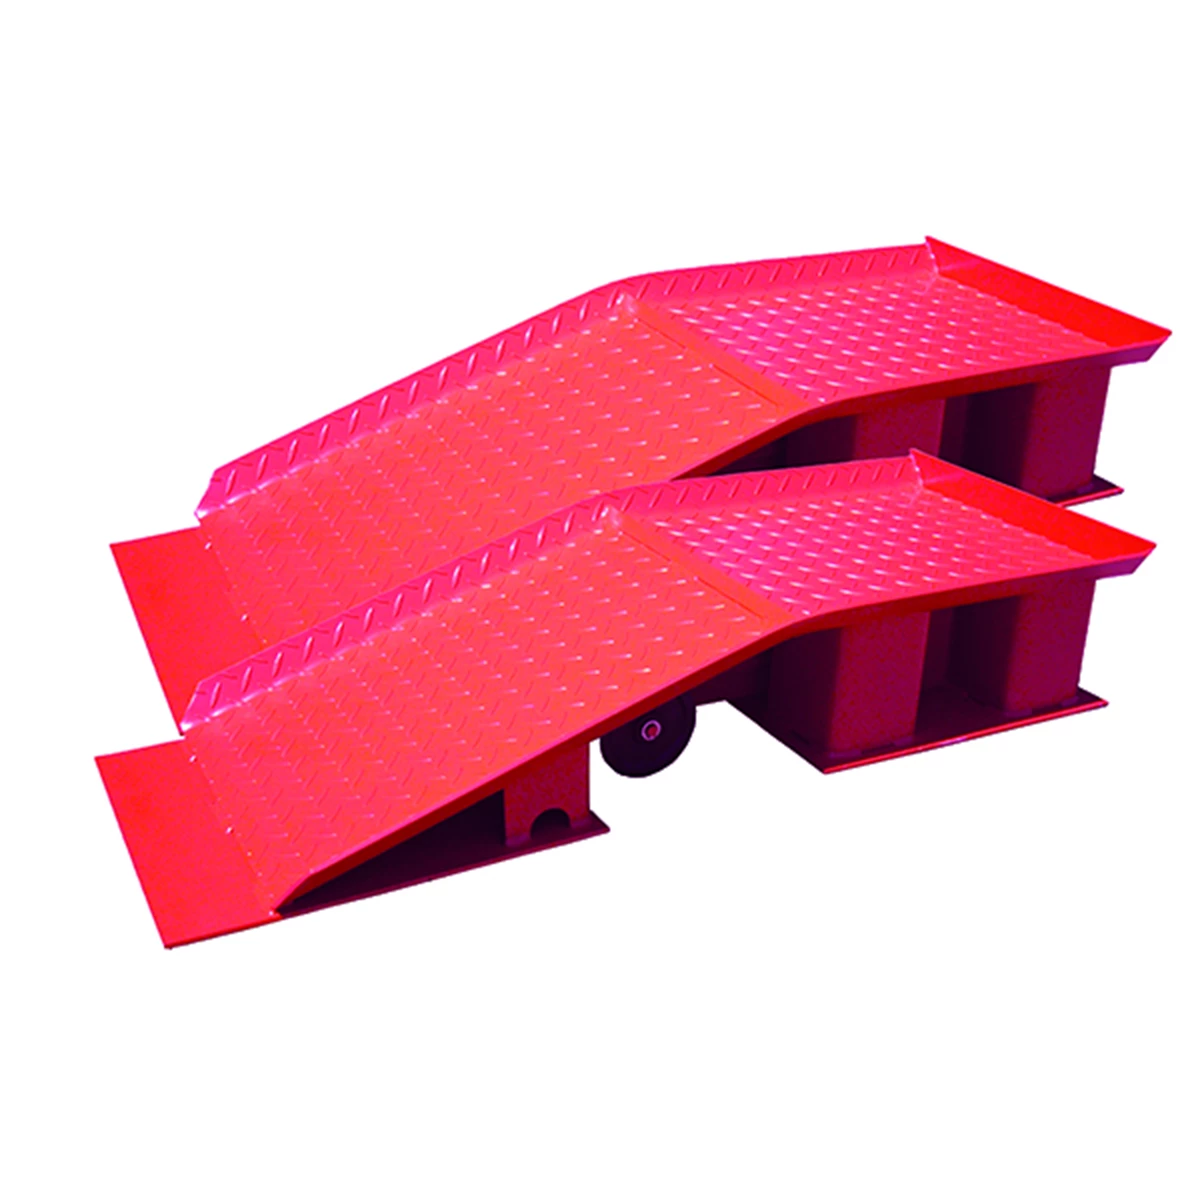
161426 3420ASD Intermarket (AFF Jax) INT3420ASD 20 TON WIDE STANCE TRUCK RAMPS
Mfg: Intermarket (AFF Jax)
Part #: 3420ASD

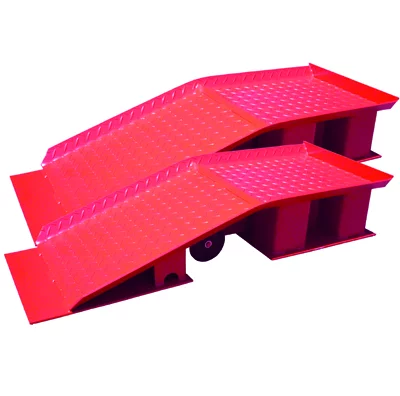
151692 American Forge & Foundry AFF3420ASD 20 T TRUCK RAMPS (WIDE)
Mfg: American Forge & Foundry
Choose Your Support Method: Ramps, Jack Stands, or Ground-Only
Use these criteria to decide how to set up:
- Ground-only (no lift): Ideal for trucks, SUVs, and crossovers with ample clearance and accessible drain plug and filter. Benefits: quickest setup and the vehicle stays level for a complete drain. Limitations: skid plates may still need removal; tight filter locations may remain hard to reach.
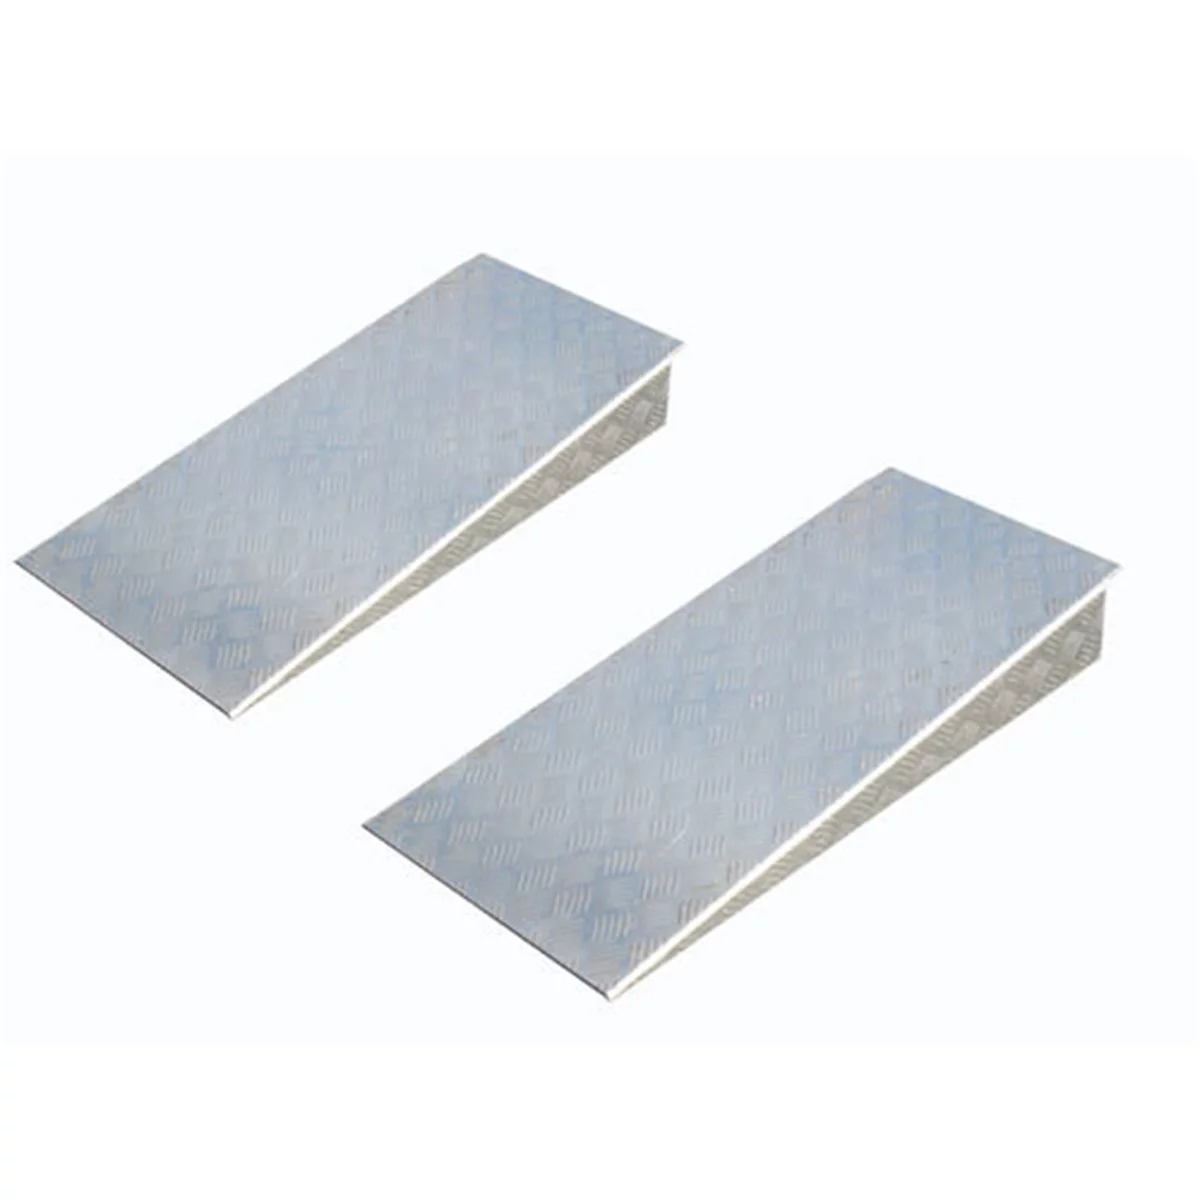
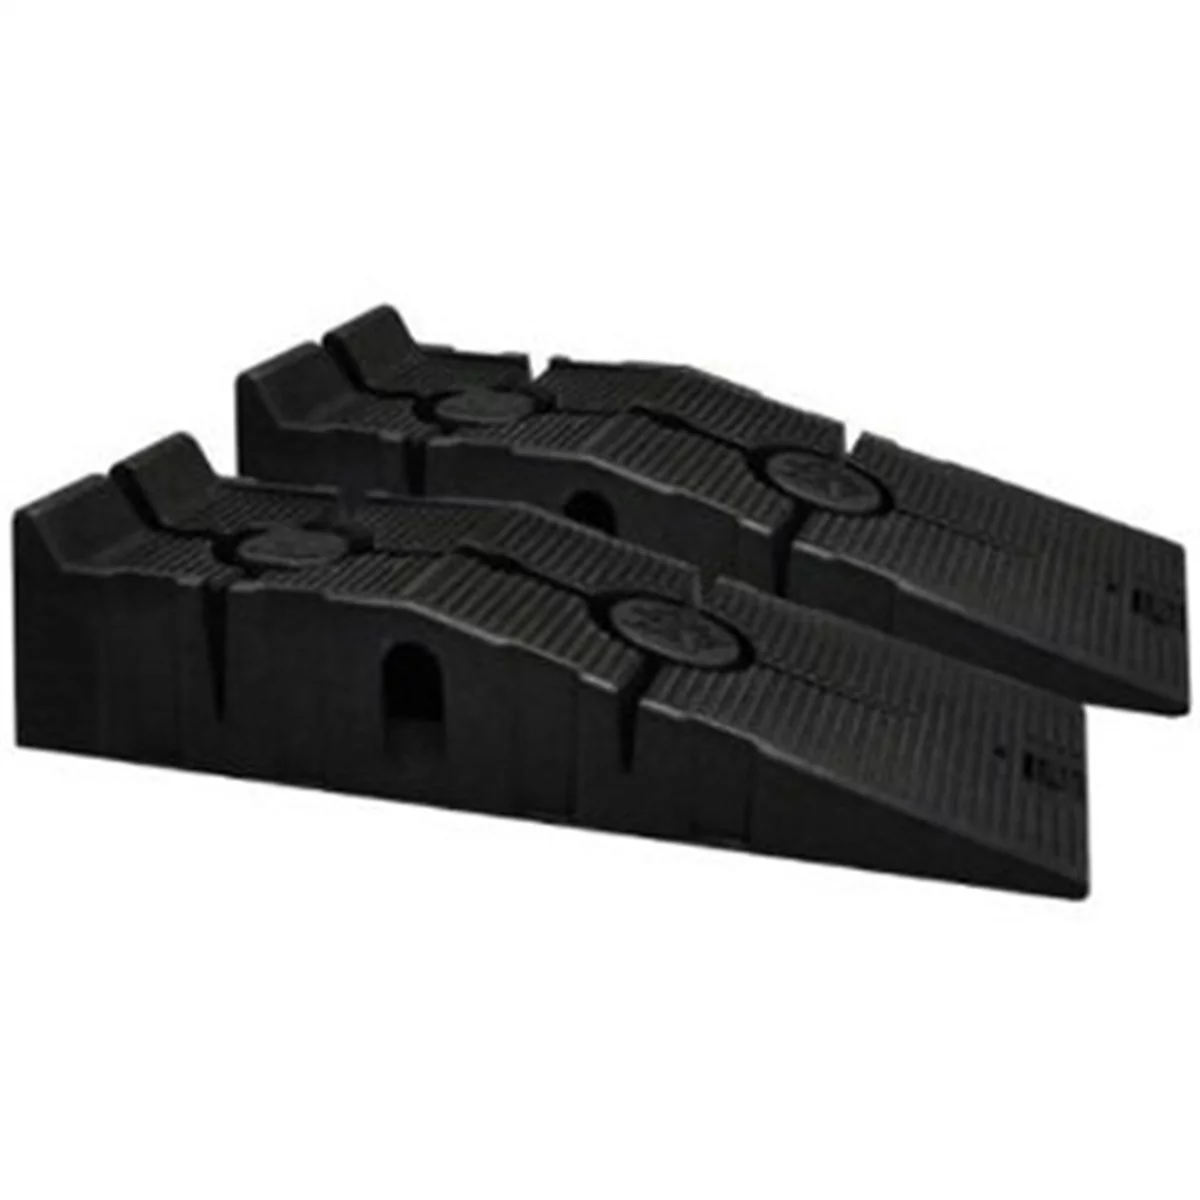
- Ramps: Best for front-engine vehicles where the drain plug and filter are front-accessible. Choose ramps if you want quick drive-on height without jacking, especially on rough concrete or asphalt surfaces that resist ramp movement. Two-piece/”race”-style ramps allow you to remove the approach section to improve side access. Limitations: can interfere with long front overhangs or low air dams; can slide on smooth concrete without anti-slip pads; vehicle ends up nose-up, which may slightly affect drainage on some pans.
- Floor jack + jack stands: Best when you need wheels-off work (tire rotation, brake inspection) alongside the oil service, or when the vehicle’s front overhang or splitter precludes ramp use. Limitations: most setup time and equipment; requires clear knowledge of jacking and stand points.
Other decision factors:
- Driveway surface: Rough concrete/asphalt holds ramps well. Smooth, sealed concrete can be slippery; use ramps with rubber feet or place anti-slip pads under the ramp bases.
- Front overhang vs ramp angle: A long or low front bumper may contact the ramp before the tire climbs. In those cases, use low-profile, gradual-angle ramps or jack-and-stands.
- Storage and budget: Ramps take floor space but speed the job. If you already own a quality floor jack and stands, those may be more economical.
Ramp Setup and Use: Step-by-Step
Ramps expedite oil changes, but they must be sized and staged correctly.
Selecting ramps:
- Profile/angle: Low-profile, long-body ramps prevent bumper contact on vehicles with long overhangs or low lips.
- Footing: Look for rubberized bases or add anti-slip pads on smooth concrete.
- Capacity: Choose a combined rating that exceeds the vehicle’s axle weight (not just GVWR). When raising the front only, each ramp must safely support half the front axle load.
- Width and tire fit: Match ramp width to tire section width. Ensure the ramp channel contains the tire fully.
- Two-piece design: Allows removal of the approach section for better side access once the vehicle is parked.
Driving onto ramps:
- Prep the area: Flat, level surface. Clear debris, water, or sand. Position ramps straight and parallel to the tires.
- Wheel chocks: Chock the wheels that remain on the ground, opposite the direction of travel (e.g., chock rear tires when driving onto front ramps).
- Approach slowly: Have a spotter if possible. Idle up the ramps in low gear or with light throttle. Stop when the tire reaches the ramp stop block.
- Secure the vehicle: Park/gear engaged, parking brake applied, engine off. Confirm both tires are centered on the ramp pads. If using two-piece ramps, remove the approach sections to create working clearance.
- Stability check: Lightly rock the vehicle by hand to verify the ramps are fully seated. Do not crawl under the vehicle until you confirm stability.
Descending from ramps:
- Clear tools and drain pans. Reinstall undertrays/skid plates and torque fasteners.
- Reinstall any ramp approach sections. Remove chocks only when ready to back down.
- Back down slowly with controlled braking. Keep wheels straight; avoid abrupt throttle or brake inputs.
Note: DIY stepped wooden ramps (stacked 2x lumber) can work if properly built with anti-slip mats and a stop block. However, they lack tested load ratings and can split if not screw-laminated and inspected. Commercial ramps with known ratings are preferred for predictable safety.
Floor Jack and Jack Stands: Proper Points and Procedure
When jacking, identify whether the vehicle is unibody or body-on-frame and use the manufacturer’s specified points.
Jack points and adapters:
- Unibody vehicles: Primary lift points are typically reinforced pinch welds and subframe/crossmember points listed in the manual. Use a pinch-weld jack pad (slotted rubber or polyurethane) to prevent folding the seam. Never place the jack cup directly on a bare seam.
- Body-on-frame vehicles (many trucks/SUVs): Use the boxed frame rails or designated crossmembers. Avoid thin floor flanges or cosmetic seams. The pinch welds may not be structural on framed vehicles unless the manual explicitly allows it.
- Front/rear differentials and crossmembers: Only jack here if the service manual designates them as jacking points. Avoid aluminum diff covers, stamped covers, and thin sheet-metal crossmembers. Never jack on the oil pan or transmission pan.
- Scissor jack: For roadside tire changes only. Do not rely on it for shop work or to support a vehicle while you are underneath.
Safe jacking procedure (front-raise example):
- Preparation: Flat, level surface. Transmission in Park (AT) or 1st gear (MT). Parking brake applied. Chock rear wheels.
- Locate the front central jack point or lift one side at a time using a side jack point. Use a jack pad to protect painted or sharp surfaces.
- Lift slowly: Raise only enough to position jack stands at the designated stand points (often the subframe or frame rails behind the jack point).
- Set jack stands: Select stands rated for at least the vehicle’s axle weight. Place on solid ground; ensure the saddles contact flat, reinforced metal.
- Load the stands: Lower the vehicle onto the stands until the hydraulic jack is unloaded. Keep the jack in place as a secondary support without carrying significant weight.
- Stability check: Push-test the vehicle firmly. No rocking or shifting should be felt before getting underneath.
Lowering: Raise slightly to unload the stands, remove stands, then lower slowly. Re-torque any fasteners from skid plate removal per manual specs.
Oil Change Workflow: Ramps vs Ground
These steps apply whether you’re on ramps, stands, or working ground-only:
- Warm the engine: 3–5 minutes to reduce oil viscosity. Do not work on a fully hot engine; allow components to be warm, not scalding.
- Remove undertrays/skid plates if needed: Photograph fastener locations. Keep track of different screw lengths.
- Position the drain pan: Account for oil stream angle. On ramps, the stream may shoot farther initially.
- Crack the fill cap: Breaks air lock for a more complete drain.
- Drain plug removal: Use a six-point socket or wrench to avoid rounding. Control the last threads by hand to prevent dropping the plug. Capture the crush washer for replacement.
- Inspect plug and threads: Replace damaged plugs. Always install a new crush washer where specified.
- Filter removal: Use the correct tool for access—cup/socket, steel band, or plier-style wrench. Shield crossmembers or sway bars with absorbent pads to reduce cleanup. If the filter is horizontal or angled, pre-position rags to divert run-off.
- Let oil drain fully: 5–10 minutes. Keeping the vehicle near-level improves completeness; ramps are acceptable if the pan and plug design favor forward tilt. If in doubt, level the vehicle for final minutes of draining.
- Install drain plug: Hand-thread first to avoid cross-threading. Torque to spec (typical range 20–30 ft-lb for many aluminum pans; verify per vehicle). Wipe clean.
- Prep the new filter: Lightly oil the gasket. Pre-fill only if the filter mounts vertically and access allows; otherwise install dry to avoid spills.
- Install filter: Hand-tighten until gasket contacts, then follow manufacturer’s turn spec (often 3/4 turn). Over-tightening makes next service difficult.
- Refill oil: Use a clean funnel. Add the specified quantity and grade. Cap securely.
- Start and check: Idle 30–60 seconds. Watch for leaks at the plug and filter. Shut down and wait two minutes, then verify dipstick level and top off.
- Reset oil life monitor (if equipped): Follow the vehicle’s procedure.
- Dispose properly: Pour used oil into a sealed jug and recycle with used filters at an approved facility.
Tip: If you routinely take samples for oil analysis, consider installing a drain valve with a clip or safety lock and barbed nipple for clean sampling.
Upgrades and Alternatives: Drain Valves and Oil Extractors
Drain valves (e.g., ball-valve style with locking clip):
- Advantages: Tool-free, quick, repeatable drains with less mess. Easy sampling for lab analysis.
- Considerations: Verify thread size and gasket material compatibility. Observe torque guidance from the valve maker (the hex may be for turning only, not final torque). Ensure there’s clearance from skid plates and road debris and that the valve has a cap/clip.
Oil extractors (top-side vacuum pumps):
- Advantages: No need to raise the vehicle; minimal mess; useful when the drain plug is damaged or obstructed, and on engines with top-mounted filters.
- Limitations: Not ideal if the filter mounts low/underside or if debris tends to settle near the pan’s drain bung. Suction tubes must reach the lowest point through the dipstick tube; extraction completeness varies by engine.
- Best use: Manufacturer-approved applications or interim changes on vehicles designed for extraction.
High-clearance vehicles: Many trucks and SUVs allow ground-only oil changes without any lifting. Still chock wheels and follow standard safety steps.
Troubleshooting and Best Practices
- Ramp slide on smooth concrete: Use ramps with rubber feet, add anti-slip pads, or lightly scuff dusty floors clean before staging. Approach in a straight line with minimal throttle.
- Overshooting ramps: Approach slowly and stop at the built-in block. A spotter helps. Consider wheel stop attachments or two-piece designs to increase safety.
- Bent pinch welds: Always use a slotted jack pad on unibody pinch welds. Avoid jacking on pinch welds on framed vehicles unless the manual says otherwise.
- Stripped drain plug or threads: Replace the plug and crush washer. If the pan threads are damaged, use a proper thread repair kit or replace the pan. Do not use excessive torque to “stop” a leak.
- Stuck oil filter: Use the correct size cup wrench on the filter end cap. If crushed, switch to a band wrench. Clean residual oil to regain grip. Avoid chisels/screwdrivers through the can unless as a last resort—you risk housing damage and debris entry.
- Oil mess on crossmembers: Wrap adjacent bars with absorbent mat or plastic plus towels before loosening the filter. Brake cleaner effectively removes oil film from metal—avoid overspray on rubber bushings and painted finishes.
- Level vs nose-up drainage: Most pans drain adequately on ramps. For maximum completeness, finish the last minute of draining with the vehicle level when practical.
- Skid plates: Reinstall with threadlocker if specified and torque to spec. Confirm no interference with a drain valve lever if installed.
- Corrosion prevention: Rinse winter salt from underbody and consider applying a corrosion inhibitor to exposed metal. Don’t spray inhibitors on belts or brake components.
Quick Safety and Tools Checklist
- Wheel chocks (rubber or molded polymer)
- Ramps with anti-slip bases or a floor jack (rated appropriately) and jack stands
- Pinch-weld jack pad or frame-rail adapter
- Torque wrench, six-point sockets, new crush washer
- Oil drain pan with sealed lid, funnels, nitrile gloves, shop towels
- Oil filter wrench (cup, band, or plier—whichever fits)
- Brake cleaner for cleanup; absorbent mats
FAQs
Do I need jack stands if I’m using ramps?
Ramps are designed to support the vehicle directly. You typically do not add stands under the wheels. If you want redundancy, you can place stands under solid frame/subframe points and raise them just to contact (not lift) as a secondary support without disturbing the ramp load. Never crawl under a vehicle supported only by a hydraulic jack.
Is it better to keep the vehicle level during an oil change?
Level is ideal for complete drainage and accurate dipstick readings. Many vehicles drain sufficiently on ramps; however, if the pan geometry favors rear drainage, finishing the last minute with the vehicle level can improve completeness.
Can I jack on the differential or front crossmember?
Only if the service manual specifies those as jacking points. Some solid-axle differentials and robust steel crossmembers are approved; others (especially aluminum housings or thin covers) are not. When in doubt, use the manufacturer’s primary jack points and place stands at reinforced locations.
Are pinch welds safe to lift on?
On unibody vehicles, yes—when using a proper slotted jack pad and lifting at the designated notches. On body-on-frame vehicles, pinch welds may not be structural. Always follow the owner’s manual.
Should I use an oil extractor instead of the drain plug?
Use an extractor only if the engine manufacturer supports it and the dipstick tube allows the suction line to reach the pan’s low point. Extractors are convenient and clean, especially when paired with top-mounted filters, but bottom-mounted filters and pans that trap debris near the drain port are better served by traditional draining.
What upgrades make repeat oil changes faster and cleaner?
Install a threaded drain valve with a safety clip, use a two-piece low-profile ramp set with rubber feet, keep a dedicated sealed drain pan, and stock a correctly sized cup wrench for every vehicle you service. These reduce mess and setup time significantly.
Recommended Finishing Tools
If your service requires lifting, explore Service Jacks for raising your vehicle above the ground.
The Toolsource Technical Team blends decades of real-world automotive service experience with up-to-date technical research. Our writers collaborate with professional mechanics, shop owners, and diagnostic specialists to deliver practical, workshop-ready guidance you can trust.


Follow us on social media