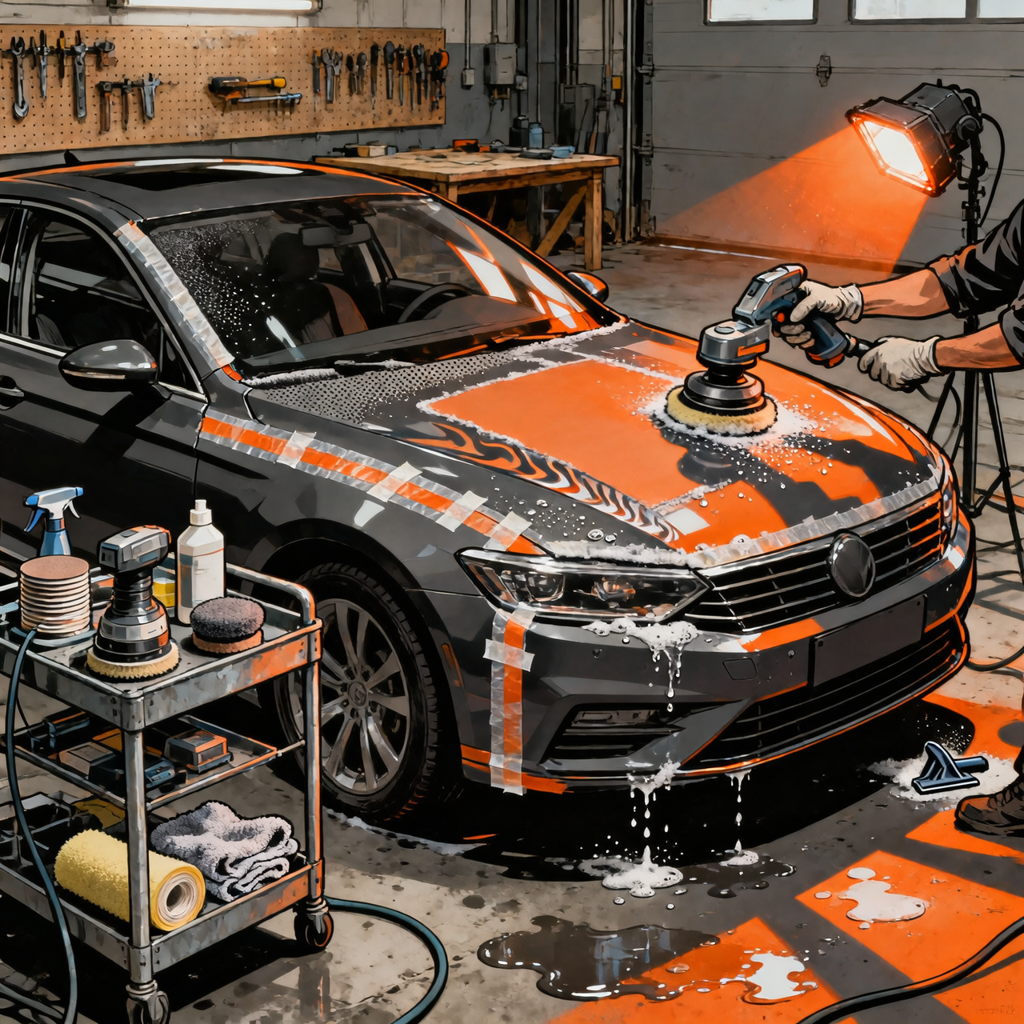
Orange peel—micro-wavy texture in the clear coat that distorts reflections—is normal on modern OEM finishes. On a show car, you might chase dead-flat clarity. On a road car, you must balance risk, longevity, appearance, and cost. This guide separates optical artifacts from real texture, explains when to leave orange peel alone, and details a controlled procedure for reducing texture if the substrate and measurements support it.
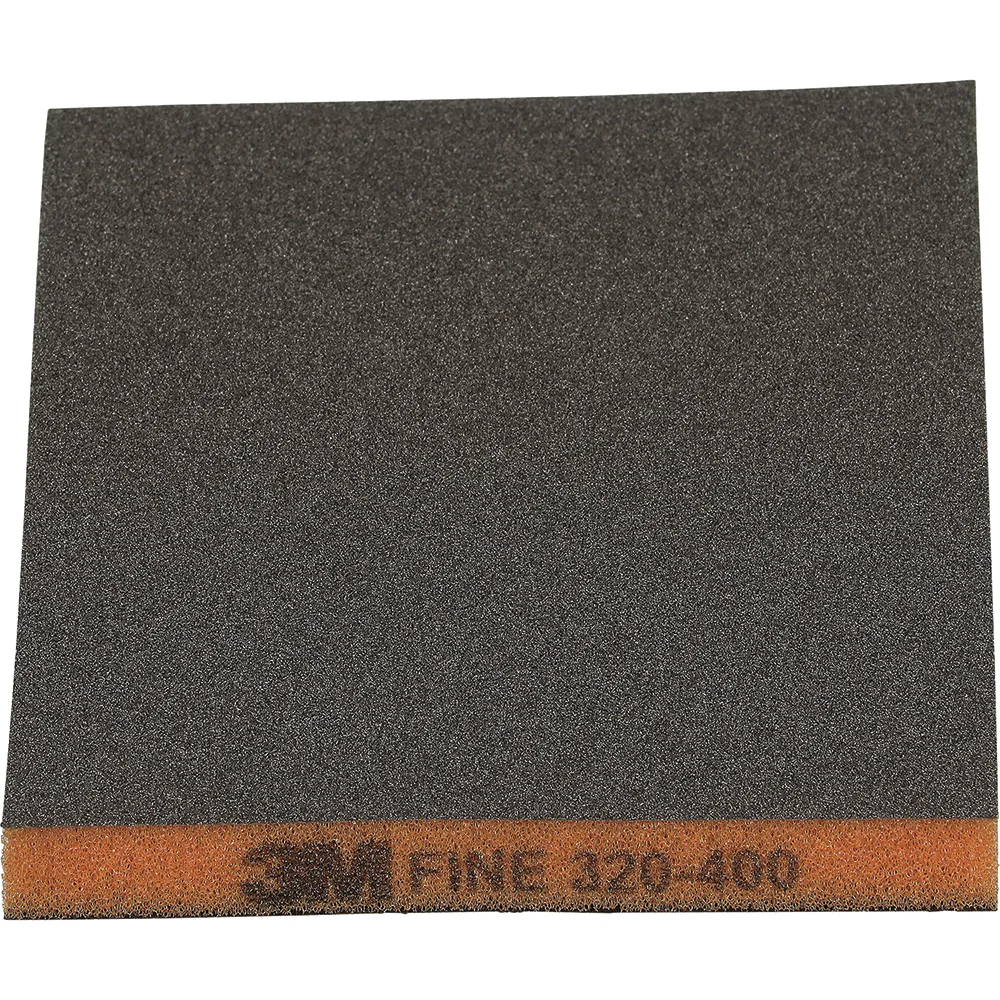
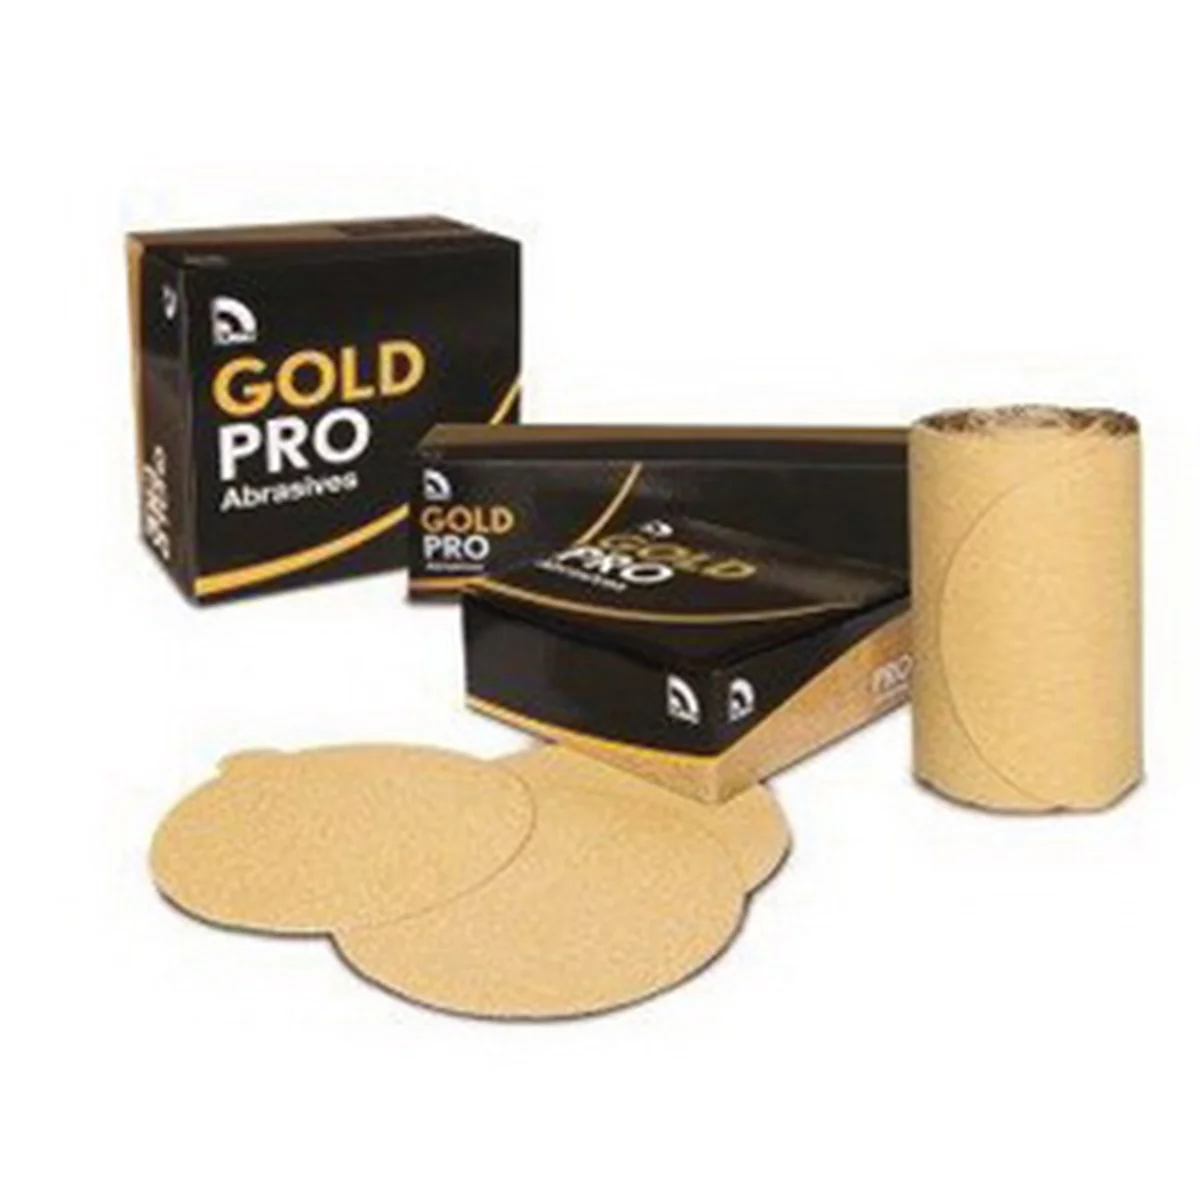
Gold Pro 080617 Sanding Disc Roll, 6 in Dia, P500 Grit, Pape
Mfg: US Chemical & Plastics
Part #: 80617
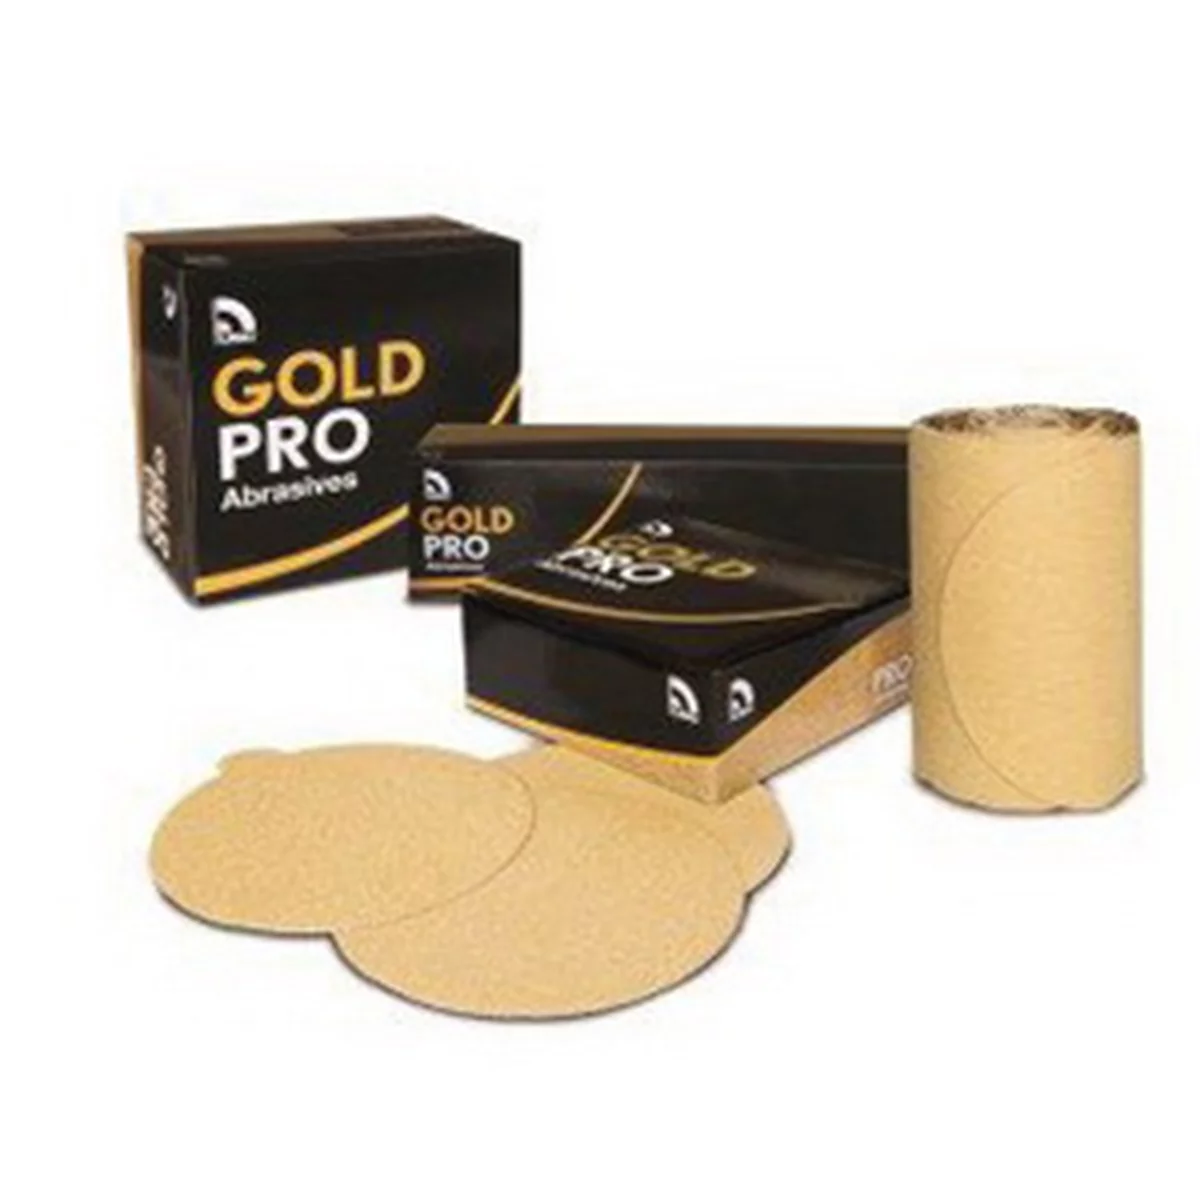
Gold Pro 080611 Sanding Disc Roll, 6 in Dia, P220 Grit, Pape
Mfg: US Chemical & Plastics
Part #: 80611
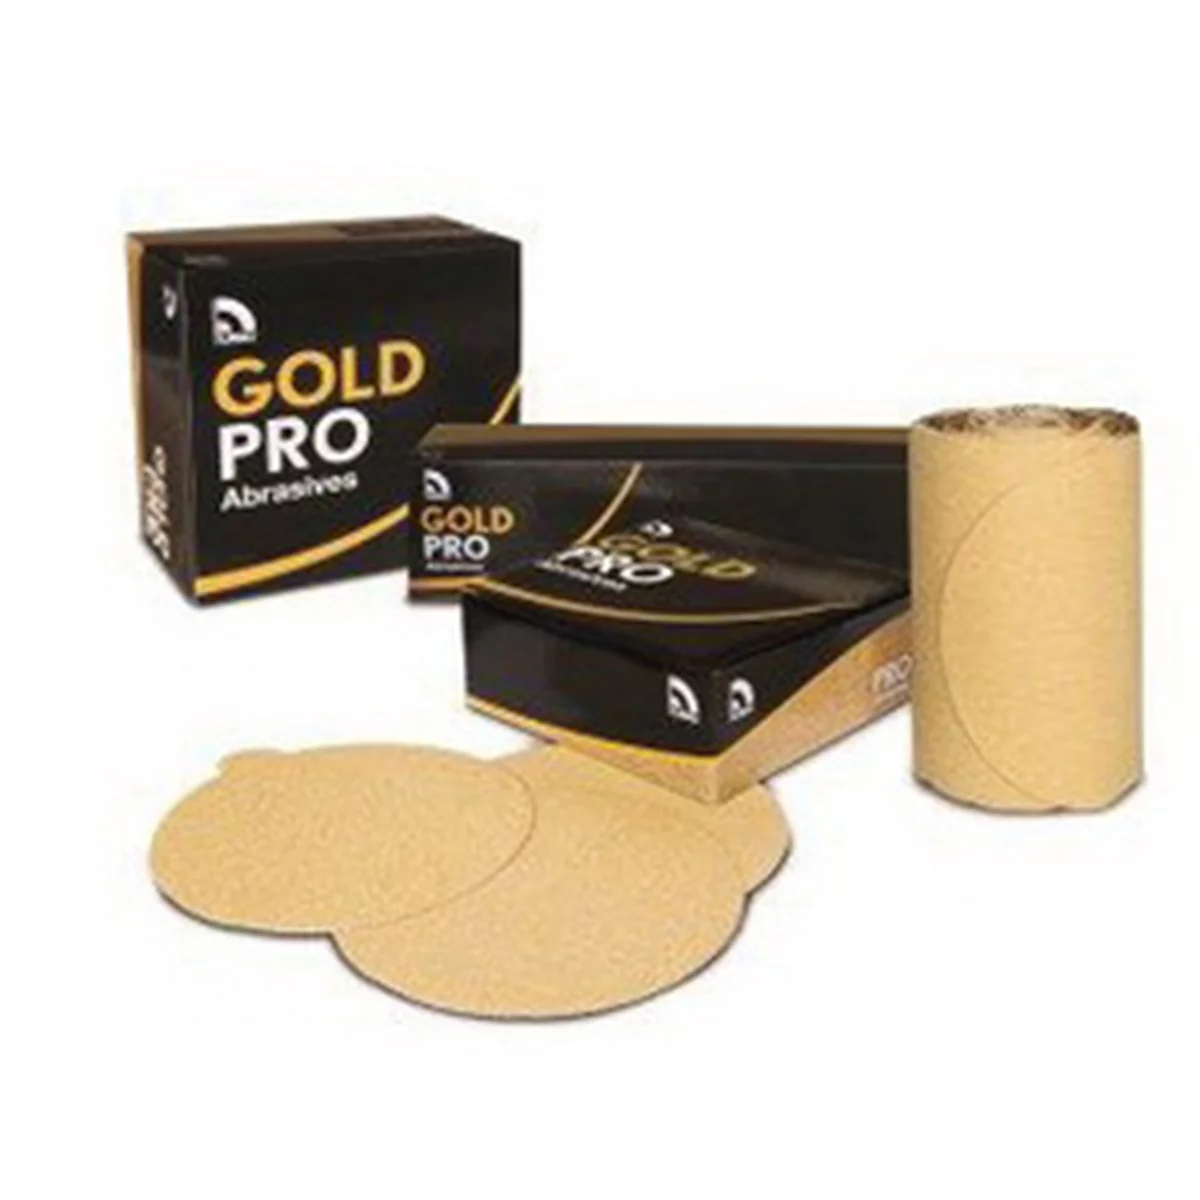
Gold Pro 080616 Sanding Disc Roll, 6 in Dia, P400 Grit, Pape
Mfg: US Chemical & Plastics
Part #: 80616
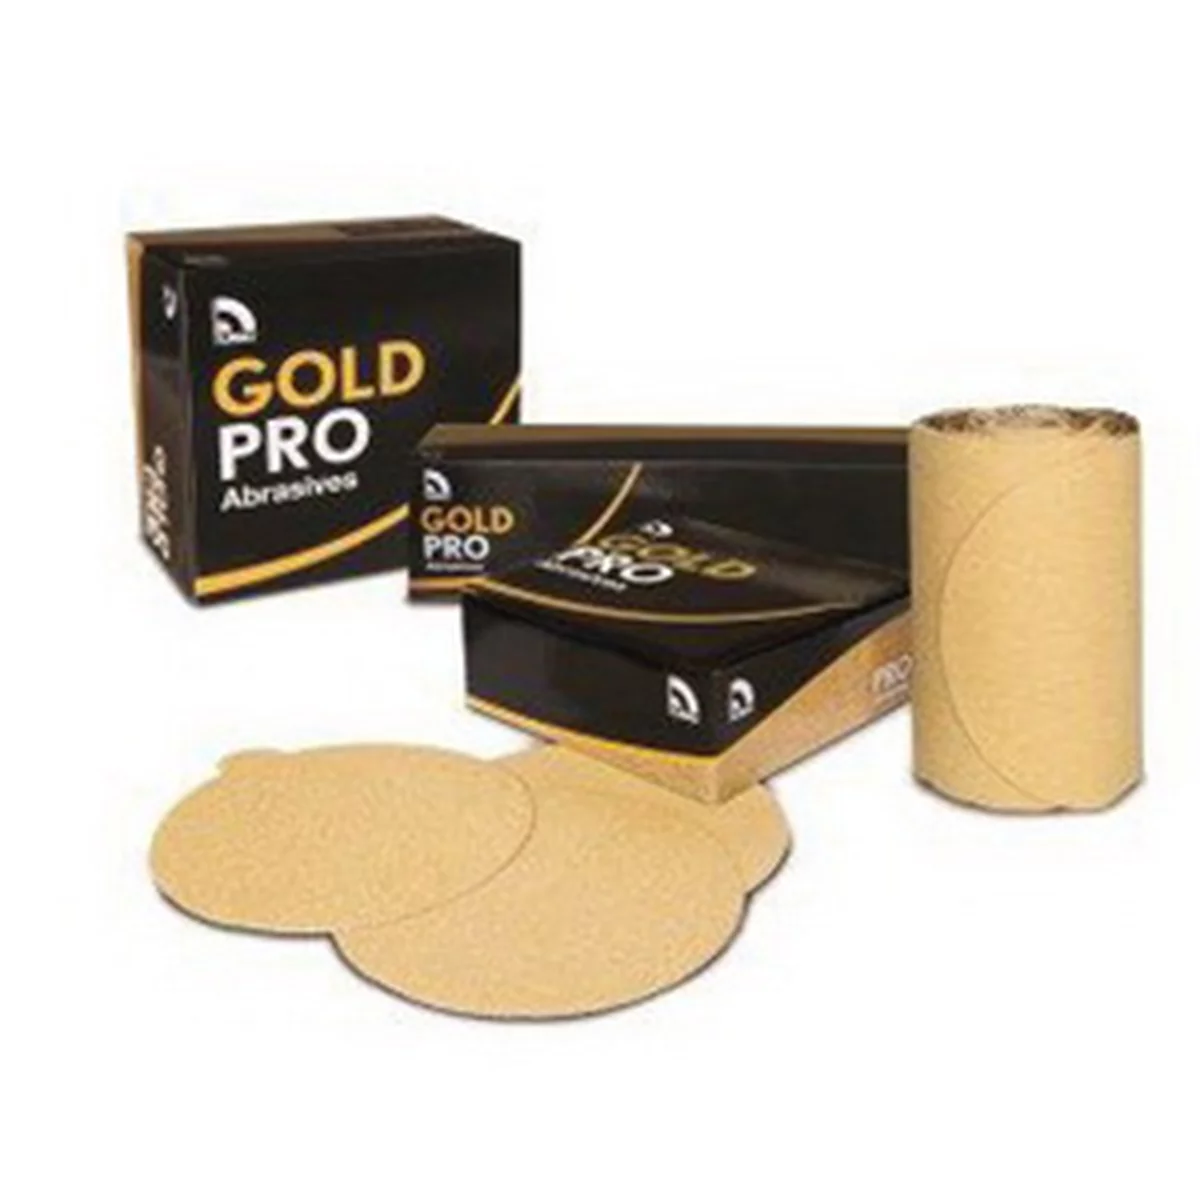
Gold Pro 082307 Sanding Disc, 6 in Dia, P100 Grit, Paper Bac
Mfg: US Chemical & Plastics
Part #: 82307
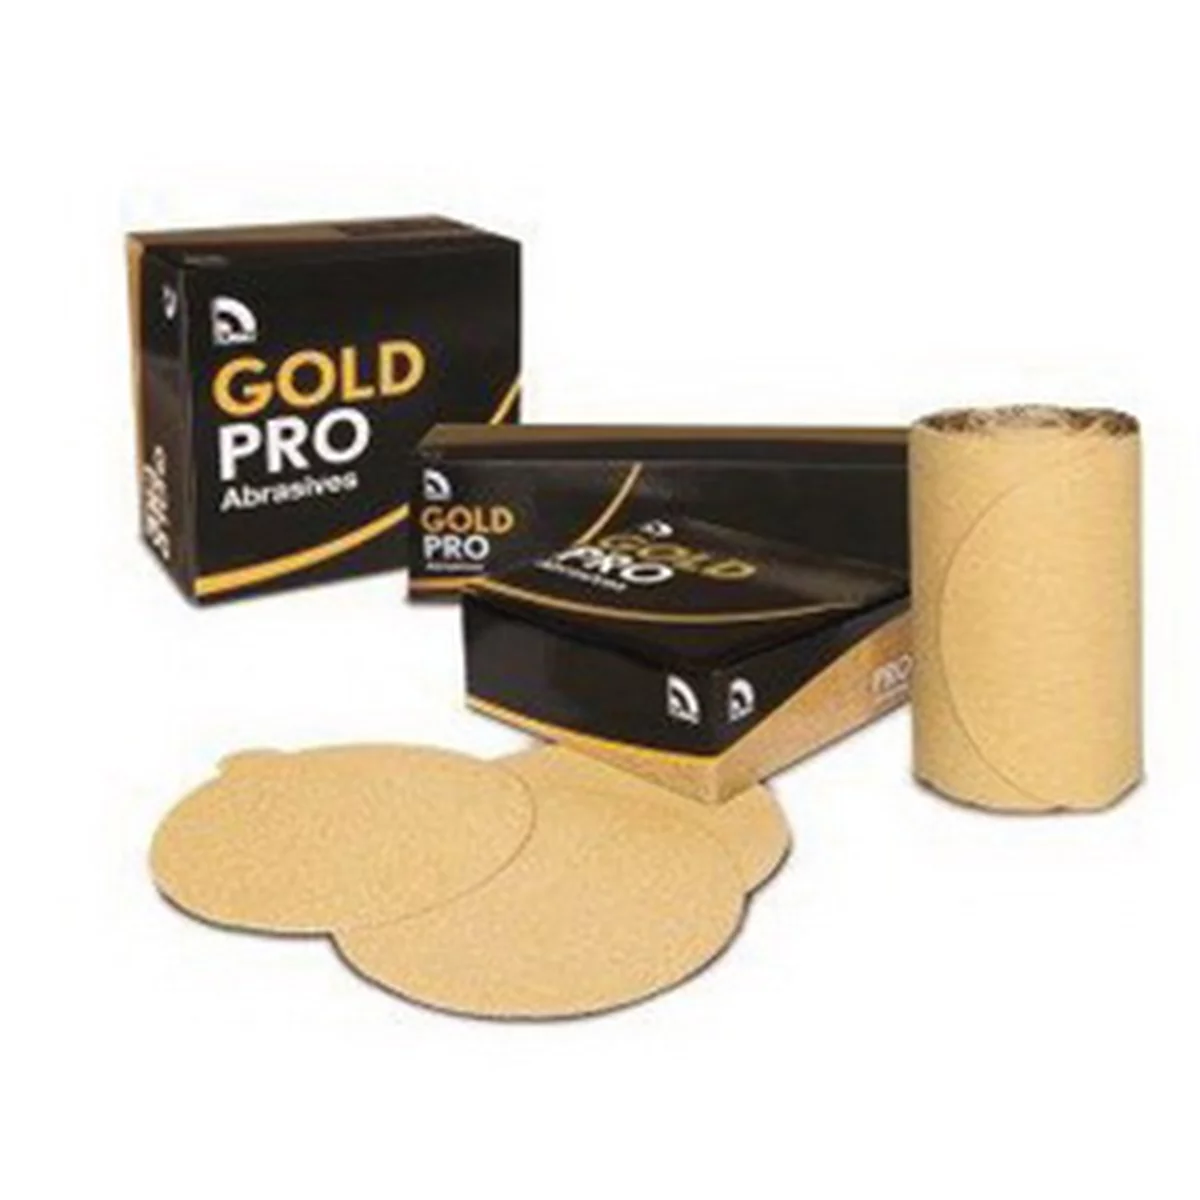
Gold Pro 082319 Sanding Disc, 6 in Dia, P800 Grit, Paper Bac
Mfg: US Chemical & Plastics
Part #: 82319
What Orange Peel Is and Why It’s There
Orange peel is surface topography caused by atomization, flow, solvent evaporation, viscosity, and bake cycles. Robots apply coatings quickly for throughput, corrosion protection, and emissions control—not for showroom-flat gloss. Most factory vehicles, including premium brands, ship with noticeable texture. A dead-flat surface is typically the result of a refinishing strategy designed for post-sanding (e.g., extra clear applied and then leveled) rather than an OEM assembly line finish.
Key realities for technicians:
- Factory total film build often measures ~80–130 microns on steel/aluminum panels. Clear coat can be roughly 30–50 microns of that, sometimes less. Many late-model mass-produced vehicles trend toward the lower end.
- Every abrasive step removes material. Wet sanding with 2000 grit can remove multiple microns quickly; compounding/polishing removes less but still measurable thickness over time.
- Once you remove clear, you cannot put it back without refinishing. Thinning the clear reduces UV reservoir and future correction headroom.
- Some repaints and collision repairs will have more material, but thickness is variable and technique-dependent. Don’t assume “thick”—measure.
Diagnose First: Is It Texture, Reflection, or Coating?
Before discussing correction, confirm what you’re seeing.
- Rule out optical artifacts:
- Polarization and reflections: Zig-zag or banding in photos is often polarized reflections from environmental lines (e.g., siding) or the camera’s sensor/polarizer. Rotate your phone 90 degrees and see if the artifact changes. View under different angles and with/without polarized sunglasses.
- Lighting: Use a swirl-finder light or directional LED. Texture will uniformly distort straight reflections; high spots from coatings appear as localized smears or patches.
- Inspect the coating layer:
- Ceramic high spots: If a ceramic coating was applied and not leveled promptly, it can leave streaks or patchy dark/light blotches separate from the underlying paint texture. These follow application patterns rather than panel contours.
- Glazes/fillers: Fillers alter gloss and can mask micro-defects. Remove with panel wipe before diagnosing.
- Perform a proper decon and re-inspection:
- Pre-wash and wash: Use foam pre-wash and a two-bucket method to avoid adding marring.
- Iron remover and clay: Decontaminate to remove bonded fallout. Reassess reflections once the surface is truly clean.
- Measure film thickness:
- Gauge selection: Use an eddy current or magnetic induction coating thickness gauge for steel, and eddy current for aluminum. For plastics or composites, an ultrasonic gauge is required.
- Calibration: Zero on uncoated substrate shims or use certified foils. Confirm repeatability.
- Baseline mapping: Record 10–20 measurements per panel, including edges and body lines. Look for signs of previous refinishing (big swings, unusually high readings) or prior corrections (localized thin areas).
Only after confirming real, objectionable texture and sufficient film build should you consider mechanical leveling.
When to Leave It Alone (and What to Do Instead)
On many factory finishes, the responsible decision is to retain the OEM clear coat.
- Thin finish or unknown history: If total film build is low (e.g., <80µm) or inconsistent, avoid sanding. Also avoid edges and body lines even on “safe” panels; they’re always thinner.
- Longevity and UV concerns: Removing clear coat reduces UV inhibitor mass and future correction headroom. That can accelerate clear failure in harsh environments.
- Practical appearance: Texture can visually mask micro-marring. Ultra-flat paint looks stunning but shows wash-induced defects more readily.
Recommended alternatives to leveling:
- Refine, don’t flatten: Use a light polish on a finishing pad to increase gloss and clarity without significant material removal.
- Protection-first strategy: Install paint protection film (PPF) on high-impact areas; apply a ceramic coating or durable sealant elsewhere. PPF adds a sacrificial layer, which is more meaningful for scratch resistance than relying on texture.
- Maintenance discipline: Safe washing (pre-wash, contact wash with high-lubricity shampoo, quality towels), and periodic decon will keep textured finishes looking better longer.
If a customer demands reduced orange peel, consider a refinishing approach designed for post-leveling (e.g., apply additional clear, “flow-coat,” then sand and polish). That approach is far safer than trying to eliminate texture on a marginal OEM clear.
If You Choose to Reduce Orange Peel: Step-by-Step Procedure
Proceed only with the right tooling, measurements, and client expectations. The goal is texture reduction, not guaranteed elimination.
Tools and materials: Coating thickness gauge; swirl-finder light; multiple grits of quality wet sanding discs (e.g., 2000, 2500, 3000/4000); soft interface pad; sanding block for flats; masking tape (standard and edge guard); spray bottle with clean water plus a drop of car wash shampoo; clean squeegee; DA polisher; cutting and finishing pads (microfiber/wool and foam); diminishing and/or DAT/SMAT compounds; finishing polish; panel wipe; high-CRI inspection light; microfiber towels; IR thermometer (optional) to monitor panel temps; PPE.
- Confirm safety window:
- After decon and baseline mapping, target panels with ample film build and no prior burn-through indicators. Avoid edges, body lines, tight radii, and repainted areas of unknown thickness.
- Set a minimum stop limit: if cumulative removal exceeds a conservative threshold (e.g., 5–10µm total), stop and re-evaluate. Remember: your gauge reads total build, not clear only.
- Masking:
- Double-tape edges, seams, emblems, and high points. Add foam tape to raised edges where practical. Mask trim to avoid staining.
- Test spot:
- Pick a discrete 8×10 cm area. Start least aggressive: attempt a heavy compound on a microfiber pad using a DA polisher. If texture remains unacceptable, proceed to sanding.
- Leveling pass (wet sanding):
- Mount a soft interface pad under your disc to conform without digging. Keep the disc flat; no fingertip pressure. Maintain light, even pressure and use a slow cross-hatch motion.
- Start with 2000 grit only if necessary; otherwise begin at 2500 or 3000 to reduce risk. Lubricate generously. Work small zones and squeegee frequently to inspect the leveling pattern. Uniform dullness indicates consistent contact.
- Monitor removal: take gauge readings around, not on, the sanded patch (your numbers reflect total film; use trend changes, not absolutes, to estimate removal). A few light cycles at 3000 may remove ~1–3µm; 2000 can remove several microns per short set depending on paint hardness.
- Avoid panel edges by at least 20–30 mm. Never chase texture over a crease.
- Refinement passes:
- Step to 2500/3000/4000 to reduce scratch depth. Each step should fully replace the previous scratch pattern.
- Compounding:
- Use a DA with a microfiber or wool cutting pad and a quality compound to remove sanding marks. Work cool: manage panel temps (ideally <40°C), clean pads often, and limit cycle time to prevent swelling or haze.
- Wipe with panel wipe and inspect under multiple light sources. If haze persists, adjust pad/compound or add an intermediate polish step.
- Finishing polish:
- Switch to a foam finishing pad and a fine polish to restore clarity. Inspect for micro-marring with cross-lighting.
- Protection:
- Seal the surface with a coating, sealant, or wax. For customers concerned about long-term durability after leveling, recommend PPF over the corrected panel(s) to restore a robust sacrificial layer.
- Documentation and limits:
- Record before/after thickness maps, abrasive steps used, and estimated removal. Clearly communicate that future heavy corrections may no longer be advisable on these areas.
Expected outcomes: Properly executed, you can reduce perceived orange peel significantly. Complete elimination on OEM clear is often unsafe. Aim for noticeable improvement without flirting with failure.
Quick Checklist: Pre-Correction Safety
- Confirm it’s real texture (not polarized reflections or coating highs).
- Decon thoroughly; inspect under multiple lights.
- Map film thickness and identify no-go zones (edges, body lines, thin panels).
- Perform a conservative test spot and start least aggressive.
- Track removal and heat; pause if the substrate trends thin or hot.
- Protect corrected panels; brief the client on reduced correction headroom.
FAQs
Does orange peel help resist scratches?
Texture can make light wash marring less visible because peaks take contact and valleys aren’t uniformly abraded, but it doesn’t meaningfully increase true scratch resistance. Material hardness, thickness, and protective layers (PPF, coatings) matter more.
Can I safely remove 100% of orange peel on factory paint?
Usually no. OEM clear is optimized for speed and durability, not re-leveling margin. While skilled technicians sometimes achieve near-flat finishes on select panels with healthy film build, complete elimination across a vehicle is risky and can shorten the coating’s service life. If a dead-flat finish is the goal, plan a refinishing/extra-clear strategy designed for post-leveling.
Will a ceramic coating fix orange peel?
No. Coatings improve gloss, chemical resistance, and hydrophobics but don’t level the underlying topography. Poor application can create “high spots” that look like streaks; these require re-leveling within the recoat window or light polishing later.
Is an aftermarket respray thicker and safer to sand?
Often but not always. Refinishers may apply more base and clear than OEM, and “show” methods (e.g., flow-coating) intentionally build extra clear for leveling. However, human-applied finishes vary widely. Always measure and proceed panel by panel.
Why do I see zig-zag lines in the reflection?
Commonly it’s environmental reflections (siding, fencing) and/or polarization from lenses or screens. Rotate the camera, change viewing angles, and inspect under controlled lighting to confirm whether it’s actual surface texture.
Will PPF hide orange peel?
PPF won’t remove texture in the paint, but it can slightly mask it and will add a sacrificial, self-healing layer that protects against chips and marring. For customers concerned about durability after any leveling, PPF is the most robust protection strategy.
Shop Pads – Sanding – Buffing
Ready to put this process into practice? See Pads – Sanding – Buffing for sanding discs, interface pads, and buffing pads used in controlled texture reduction and finish refinement.
- Wet sanding discs for measured leveling and refinement.
- Microfiber, wool, and foam pads for compounding and finishing.
- Interface pads and blocks to keep cuts uniform on curves and flats.

The Toolsource Technical Team blends decades of real-world automotive service experience with up-to-date technical research. Our writers collaborate with professional mechanics, shop owners, and diagnostic specialists to deliver practical, workshop-ready guidance you can trust.


Follow us on social media