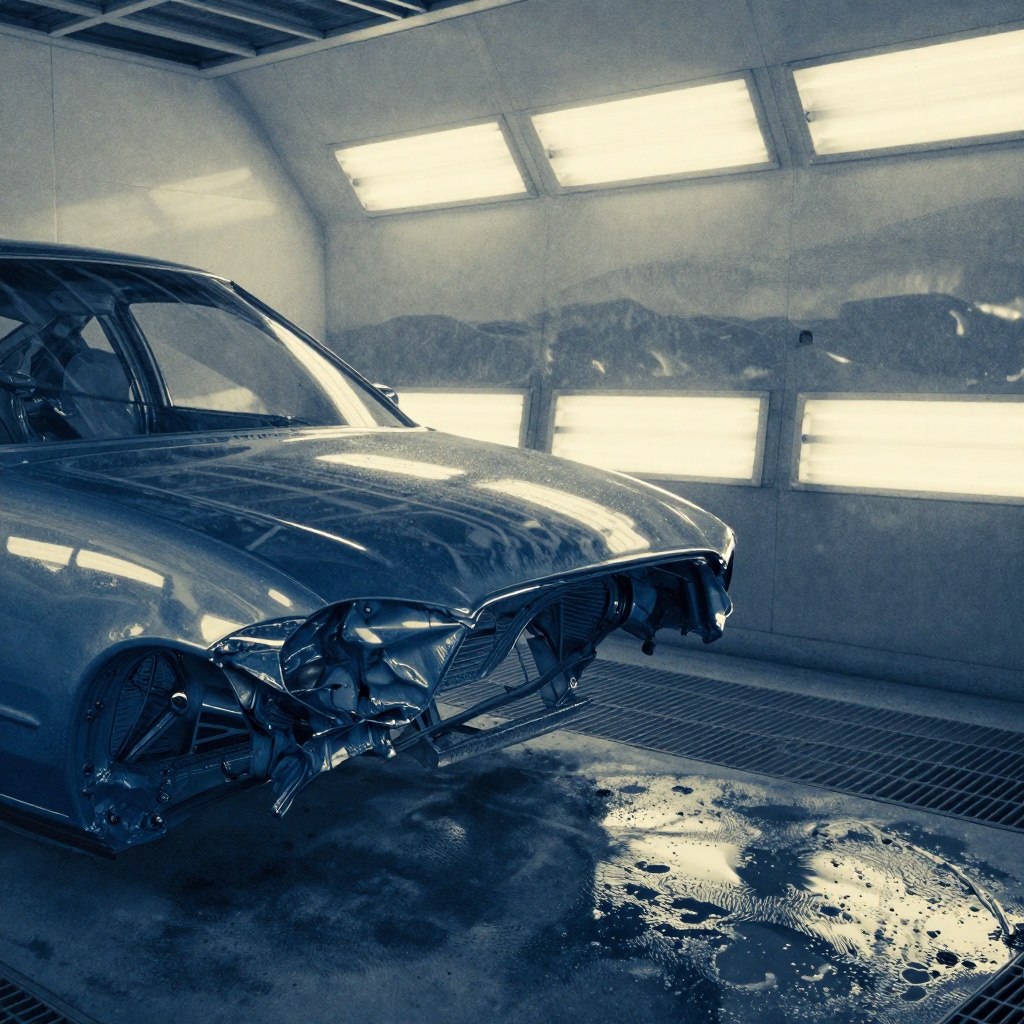
Bugs landing in wet basecoat or clearcoat can turn a clean spray session into a rework. This guide gives working refinish techs a practical plan: how to reduce the odds, what to do the instant it happens, and reliable repair paths that protect film integrity and cycle time.
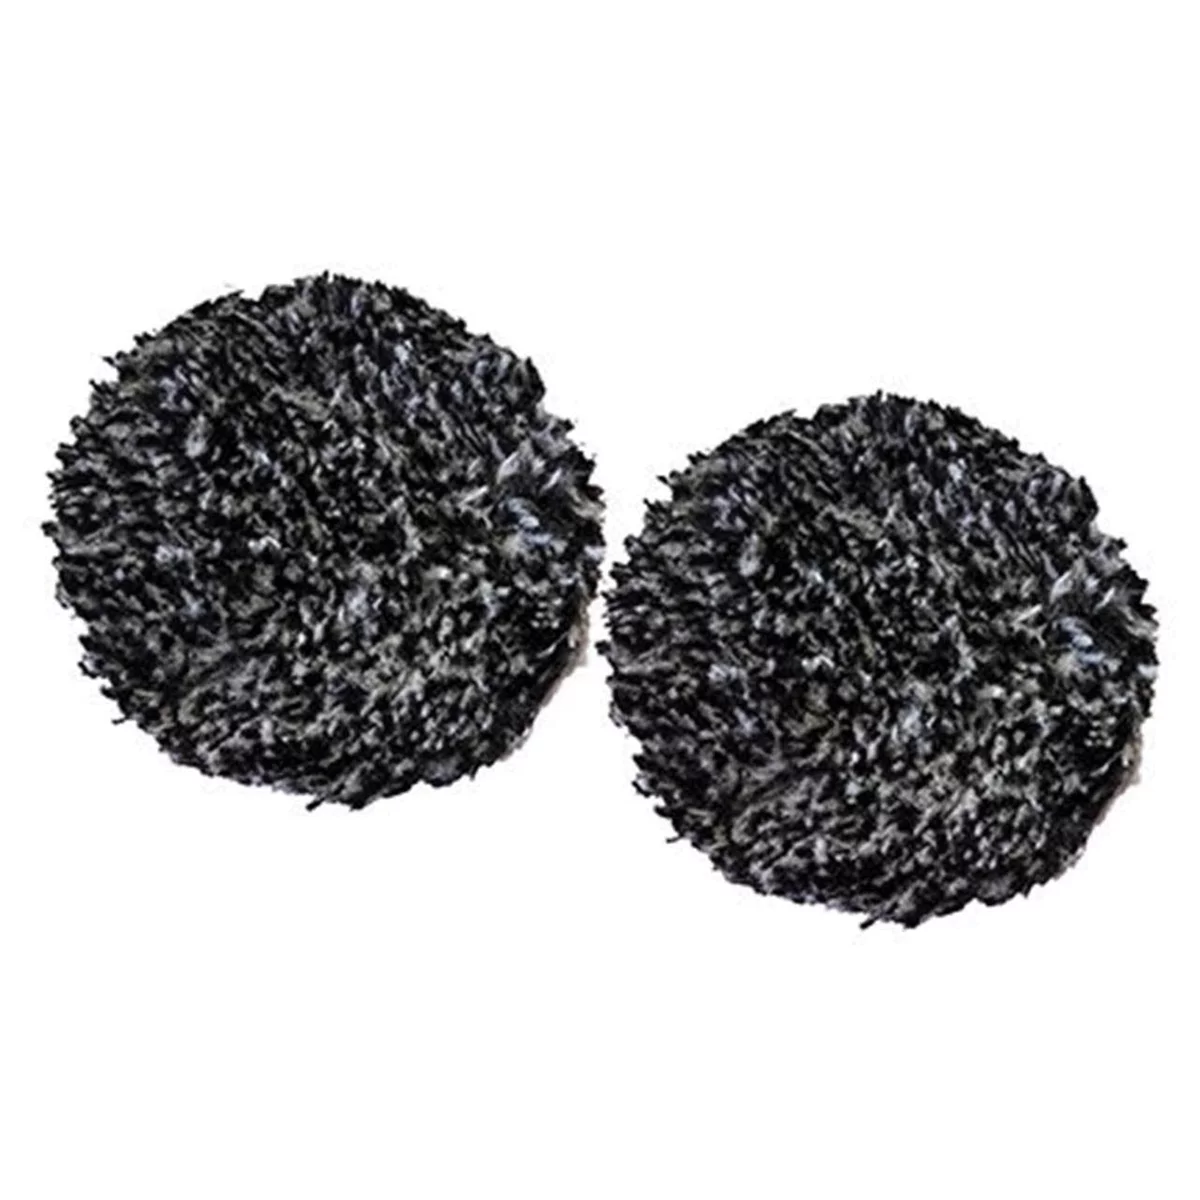
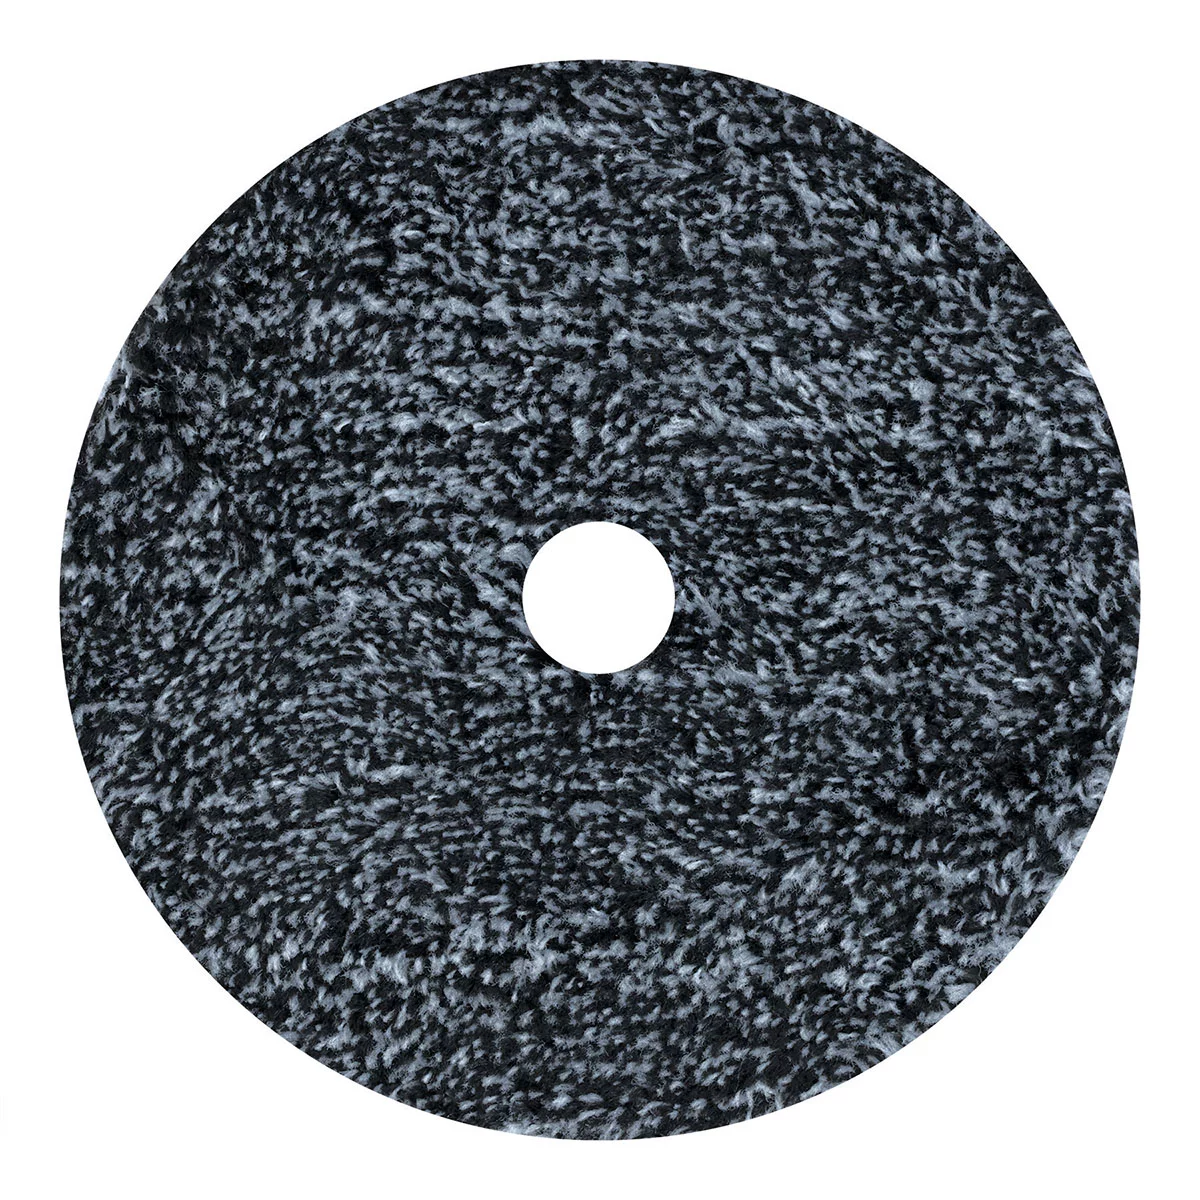
11230 Buffing Pad, 3 in Overall Dia, Hook and Loop, Black
Mfg: Wizard Industries
Part #: 11230
Why Bugs Ruin Fresh Paint Films
Fresh automotive coatings are attractive to insects for a few reasons: solvents and isocyanates off-gas odor, booth lights draw them in, and a glossy, tacky surface gives them grip. The damage they do falls into a few categories:
- Mechanical imprint: legs, wings, and bodies leave raised nibs, dents, or tracks.
- Contamination: many insects (e.g., stink bugs/seed bugs) exude oils and aldehydes that act like surface contaminants, causing craters, fisheyes, or local delamination if smeared into the film.
- Entrapment: embedding a bug can trap solvents and moisture, leading to die-back, solvent pop, or mapping once the film cures.
Because of these risks, the safest general rule is to avoid smearing or crushing the insect, allow the film to reach a workable state, then correct by sanding, sealing (if needed), and refinishing. The sections below detail the fastest clean fixes for common scenarios.
Prevent Before You Spray
Prevention saves the most time. Focus on airflow management, light discipline, booth cleanliness, and shop barriers.
Airflow and Booth Integrity
- Maintain booth negative pressure to keep unfiltered air from infiltrating. Verify manometer/pressure gauge is in spec.
- Inspect door seals and threshold sweeps. Replace torn gaskets that create insect highways.
- Change prefilters and ceiling filters on schedule. Restricted airflow reduces capture velocity and increases drift time for insects and dust.
- Wet down booth floors and the immediate staging area with clean water or approved booth floor coating. A damp floor traps dust and deters crawling insects.
Lighting and Attractants
- Keep exterior and adjacent prep-bay lights off or shielded during evening sprays. Blue/UV-heavy light attracts insects; if possible, use warmer color temperatures in surrounding areas.
- Don’t place bug zappers near booth intakes; they attract insects to your air path. If used, place them well away from intake and exterior doors.
Shop Barriers and Traps
- Install air curtains or strip doors at prep entry points to reduce fly-ins during moves.
- Use sticky traps in the shop perimeter, not in the booth. Replace frequently to prevent buildup of debris that can become an airborne contaminant source.
Vehicle and Equipment Prep
- After prime and block, blow off and vacuum the vehicle outside the booth. Final blow-off should be brief and through booth filtration only, then use approved panel wipes.
- Avoid silicone-containing products and fragrances in the shop; they attract bugs and create fisheyes.
- Inspect PPS or SATA cup lids, gaskets, and liners for leaks before mixing clear. Dripping cups compound any defect recovery.
Quick Checklist (Pre-Spray Insect Control)
- Booth at proper negative pressure; filters fresh
- Floor wet down; staging area damp mopped
- Lights outside the booth off or warmed
- Doors/gaskets intact; air curtain on (if equipped)
- Sticky traps active outside booth airflow path
- Vehicle vacuumed; final panel wipe completed
- PPS/lids leak-checked with thinner before paint
What To Do The Moment a Bug Lands
When an insect touches wet base or clear, the first 10 seconds matter. Your goal: avoid spreading contamination and avoid making a minor nib into a large rework.
Do
- Pause spraying immediately; keep the booth closed.
- If the bug is only resting on the surface and not embedded, try gentle, non-smearing lift: touch with a small loop of low-tack tape on the end of a mixing stick, or lift with fine-point plastic tweezers. Aim to extract it whole.
- If legs or wings are stuck, consider leaving it until the film reaches gel or a safe denibbing window. For basecoat, allow to flash. For clear, allow to gel or cure (see product tech sheet).
- If the defect is tiny and you’re mid-clear, one controlled additional coat over the spot can bury protruding legs so they don’t print through during cure. Only do this if you can maintain overall film build within system spec.
Don’t
- Don’t crush, smear, or “wipe” the bug; this forces oils into the film and creates craters or adhesion risks.
- Don’t spray insecticides in or near the booth. Aerosols contaminate surfaces and compromise adhesion.
- Don’t apply random solvents (e.g., brake cleaner) on fresh coatings. That’s a serious contamination and health hazard. Never heat brake cleaner; some chemistries can form toxic gases.
- Don’t try to “chase” a run off an edge by flooding unless you routinely execute that technique. It’s easy to make the repair area larger and create solvent entrapment.
Once the panel is safe to work, choose the repair path below that matches your scenario.
Repair Paths by Scenario
1) Bug in Basecoat (No Clear Applied Yet)
- Allow base to fully flash per TDS.
- NIB-sand the contact area with P800–P1000 wet on a small, firm block until the imprint is flat. Keep the repair tight.
- Feather the surrounding base lightly with a gray scuff or P1000–P1200 to ensure blend adhesion.
- Degrease with approved panel wipe; allow complete evaporation.
- Re-apply base as a localized blend. Extend one pass beyond the sanded edge; verify color/flake lay.
- After proper flash, apply clear to the whole panel or planned blend zone.
2) Bug in Fresh Clear (Minutes Old, Still Wet)
- If you can lift the insect cleanly, do so without smearing.
- Assess the crater or raised nib. If very small, apply one medium-wet coat over the area to encapsulate any protrusions so they don’t print through. Maintain wet edge consistency across the panel.
- Let the clear cure per TDS (air-dry or bake). Do not attempt aggressive nib removal while the film is green.
- After cure, proceed to the denib/polish workflow below.
3) Bug Embedded or Smeared in Clear (Cured or Baked)
- Level the high spot. Start with a denib file or run razor to shave any peaks flush, staying localized.
- Sand the defect with P1000–P1200 on a tight block until the imprint is gone. Avoid dishing.
- Refine with P1500, then P2000. Finish with P3000/Trizact, optionally P5000 to speed polishing.
- Compound and polish to full gloss. If you break through or the contamination ghosts back, stop and move to spot respray.
4) Severe Contamination (Stink bug secretion, craters, or base disturbance)
- Sand through the contaminated clear to sound film using P800–P1000 on block. Expand only as needed.
- Clean thoroughly with solvent-compatible panel wipe. Allow full evaporation; repeat once.
- If base is exposed or disturbed, apply a tight spot sealer compatible with your system. Flash per TDS.
- Rebase and blend as needed; then re-clear the panel or zone.
5) Run Created While “Burying” the Bug
- Let the run cure fully. Avoid touching runs while green.
- Use a run-leveling tool or razor to shave the high bead. Keep the foot flat; don’t dig.
- Sand P1000–P1200 to flatten, refine with P1500 → P2000 → P3000.
- Compound and polish. If texture mismatch remains, consider light scuff and one overall flow-coat, then re-denib and polish.
Note: Respect system film-build limits. Typical OEM refinish clear targets ~50–70 microns total dry film thickness. If you’ve added bury coats or a flow-coat, verify you have room for sanding without exceeding spec or risking edge mapping.
Sand, Denib, Polish: A Fast Workflow
When the bug has been removed or buried and the clear is fully cured per the product TDS, use this repeatable sequence to restore texture and gloss without swelling or haze.
Tools and Materials
- Denib file/run razor and nib blocks (hard-backed)
- DA sander with 3 mm orbit and soft interface pad
- Abrasives: P1000, P1200, P1500, P2000 discs/sheets; 3000 and 5000 foam-backed finishing discs
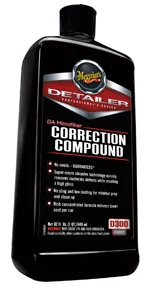
- Compounds: fast-cut compound and fine finishing polish
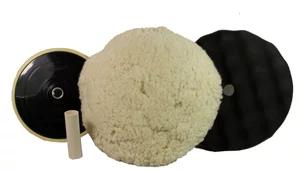
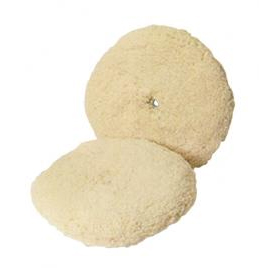
- Buffing pads: wool or microfiber cutting, foam finishing
- Panel wipe compatible with your system
- Detail tape for edge protection
Procedure
- Protect edges with tape. Most burn-throughs occur on edges and body lines.
- Level first, then refine. If there’s any peak, shave with a denib file before sanding. This keeps the repair footprint small.
- Initial cut. For raised or deep imprints, start P1000–P1200 on a small, firm block. Keep the block flat and the area tight, checking frequently with a squeegee. Stop as soon as the defect is flat.
- Refine. DA with P1500, then P2000, cleaning between steps. Use light pressure and keep the pad clean to avoid pigtails.
- Finish sands. Use P3000 (and P5000 if you want faster buff times) over and slightly beyond the refined zone to minimize haloing.
- Compound. Use a dedicated cutting pad with a fast-cut compound at moderate speed. Work until sanding marks are gone; don’t overheat.
- Polish. Switch to a finishing foam pad and a fine polish to restore full gloss and remove micro-haze.
- Inspect under multiple light sources (LED and warm halogen) to ensure no mapping or dye-back. If texture mismatch is visible, you can extend refinement a step and re-polish.
Timing and recoat notes:
- Air-dry clears often sand best after an overnight cure; bake cycles follow the TDS plus cool-down. Rushing sanding can cause swelling and mapping.
- If you plan to re-clear instead of polishing, stay within the clear’s chemical recoat window. Past that, scuff with P800–P1000 and clean thoroughly before reclearing.
FAQs
Do I have to repaint the whole panel if a bug lands in clear?
Not always. If the bug is removed cleanly or lightly buried and there’s no contamination crater, you can usually denib, sand, and polish the area after cure. If the insect secreted oils (common with stink bugs) or you smeared it into the film, plan to sand down to sound material and spot rebase/re-clear.
How long should I wait before sanding clear to remove a bug imprint?
Follow your clear’s TDS. Air-dry 2K clears typically denib well after 12–24 hours at 70°F (21°C). Baked finishes may be ready after bake plus cool-down (often 60–90 minutes total). If the film gums up or rolls during sanding, it’s not ready—wait longer.
What grit should I start with?
For minor nibs, start with P1500. For pronounced bug tracks or peaks, start P1000–P1200 on a tight block after shaving any high spots. Always refine to P2000 then P3000 (and optionally P5000) before compounding to reduce buff time and heat.
Can I spray insecticide in the booth or torch the insect?
No. Insecticides and improvised solvents contaminate the paint environment and jeopardize adhesion. Heating chlorinated cleaners is extremely hazardous. Use mechanical removal, shop barriers, and proper booth maintenance instead.
Why are stink bugs such a problem for clearcoat?
They can secrete oily compounds when stressed. If crushed or smeared into wet clear, those oils cause craters and adhesion problems that often require sanding back to sound film, cleaning thoroughly, and refinishing the area. Avoid smearing; let the coating cure and repair correctly.
My disposable cup system is dripping—could that be related?
Leaky cup lids or gaskets will drip into your work and complicate a bug repair. Always leak-check new lids/liners with thinner, ensure the vent is functioning, and replace suspect components. A clean, drip-free gun setup reduces compounding defects when you’re managing an on-panel incident.
Shop Sanding, Denibbing & Polishing Tools
Need to fix insect imprints cleanly? Browse our sanding, denibbing & polishing tools to level, refine, and bring back gloss without expanding the repair.
- Denib files and run razors for shaving peaks and runs.
- P1000–P5000 abrasives, DA discs, and firm blocks for tight, controlled leveling.
- Cutting compounds, finishing polishes, and pads to restore texture and clarity.

The Toolsource Technical Team blends decades of real-world automotive service experience with up-to-date technical research. Our writers collaborate with professional mechanics, shop owners, and diagnostic specialists to deliver practical, workshop-ready guidance you can trust.


Follow us on social media