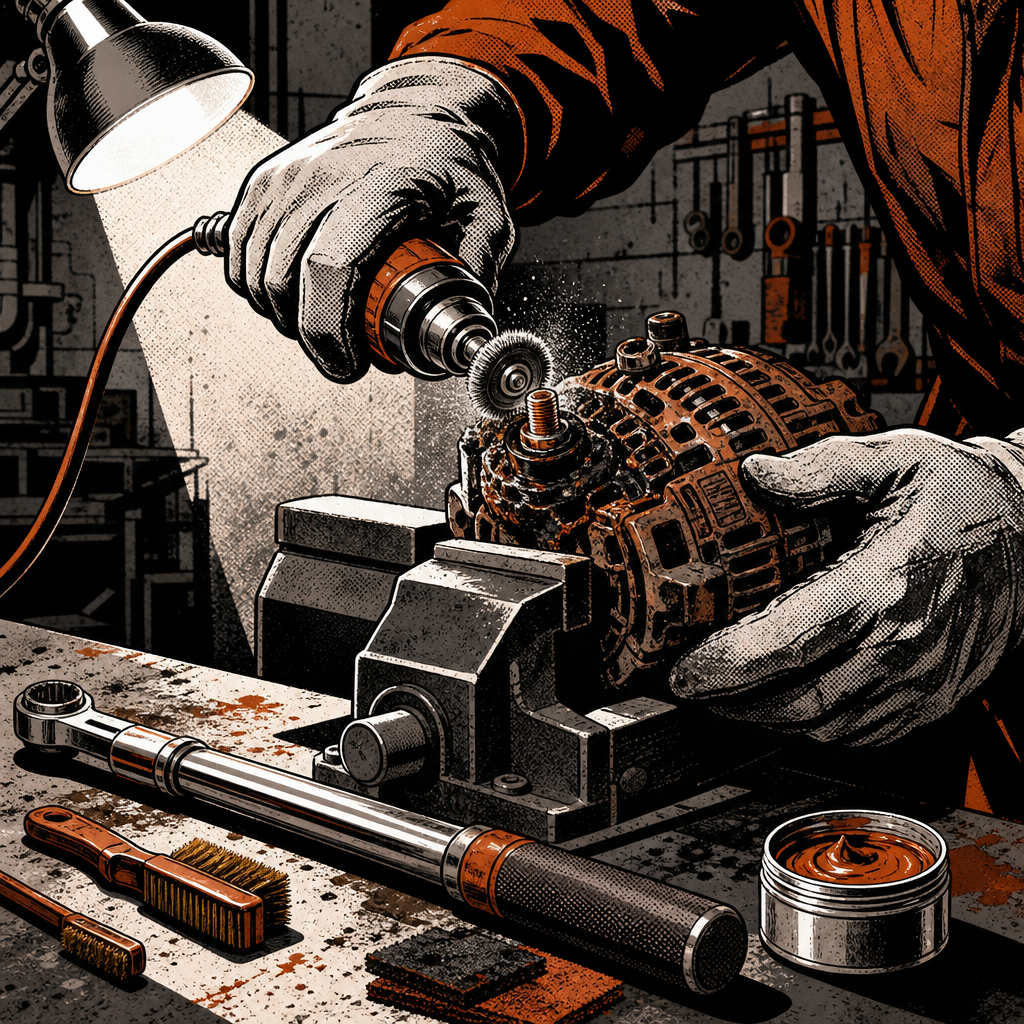
A charred or melted B+ terminal on an alternator looks dramatic, but it’s rarely the actual failure point — it’s the evidence left behind by a high-resistance connection that’s been cooking itself for months. This shows up often on older Mercedes-Benz platforms with the M113 V8 (W220, W211, and similar chassis), where the alternator sits low and exposed to road spray, and the B+ connection point becomes a magnet for corrosion and loosening over time. If you’ve pulled a car in with a scorched terminal, melted plastic around the alternator back, or a customer complaining about intermittent charging, this guide walks through the diagnostic sequence and the repair steps that actually stop the problem from coming back.
Why the B+ Terminal Burns: It’s a Symptom, Not the Root Cause
The B+ terminal carries the full output current of the alternator — on these V8 applications that can be well over 100 amps under load. Any resistance at that joint turns into heat according to basic Ohm’s law (P = I²R), and a connection that’s even slightly loose or corroded will generate enough heat to discolor the copper, melt the surrounding plastic shroud, and eventually degrade the terminal itself. Once the terminal degrades, resistance climbs further, and the problem accelerates — which is why techs often see this fail suddenly after months of marginal performance.
Two mechanisms usually combine to cause this:
- Loose mounting bolt/nut: vibration over time backs off the connection, increasing resistance at the contact surface.
- Corrosion on the copper connector: moisture intrusion (often from a missing or damaged splash guard underneath the engine) oxidizes the contact surface, which also raises resistance.
Treat the burn as a signal to inspect the whole charging system — not just a cosmetic issue to clean up and bolt back together.
Diagnose Before You Replace Anything
Don’t default to swapping the alternator and battery as a package deal without confirming what’s actually failed. Work through this sequence:
- Visual inspection at the B+ terminal. Look for discoloration, pitting, or melted insulation on the stud, nut, and the alternator housing around it. Note whether the damage is isolated to the terminal or has spread into the alternator’s internal windings — if the housing plastic near the terminal has melted and deformed, internal damage is likely and the alternator should be replaced regardless of what the connection inspection shows.
- Check torque and fit. If the nut spins freely or the connector wiggles on the stud, that’s your primary cause right there.
- Load test the battery. A battery at the end of its service life forces the alternator to work harder and longer to maintain charge, which raises current draw through that same B+ connection and accelerates terminal heating.
- Bench or on-car test the alternator output after any repair, to confirm it’s putting out correct voltage and amperage and not overcharging or undercharging.
- Check for a missing splash guard underneath the engine. Its absence lets road spray and condensation reach the alternator repeatedly, which is a major contributor to recurring corrosion at this terminal.

Testing and Replacing the Battery
A weak or failing battery is frequently part of this failure chain. A battery that can no longer hold a full charge forces the alternator into a near-constant high-output state, which increases heat at every connection point in the charging circuit, including the B+ terminal. Before condemning the alternator alone:
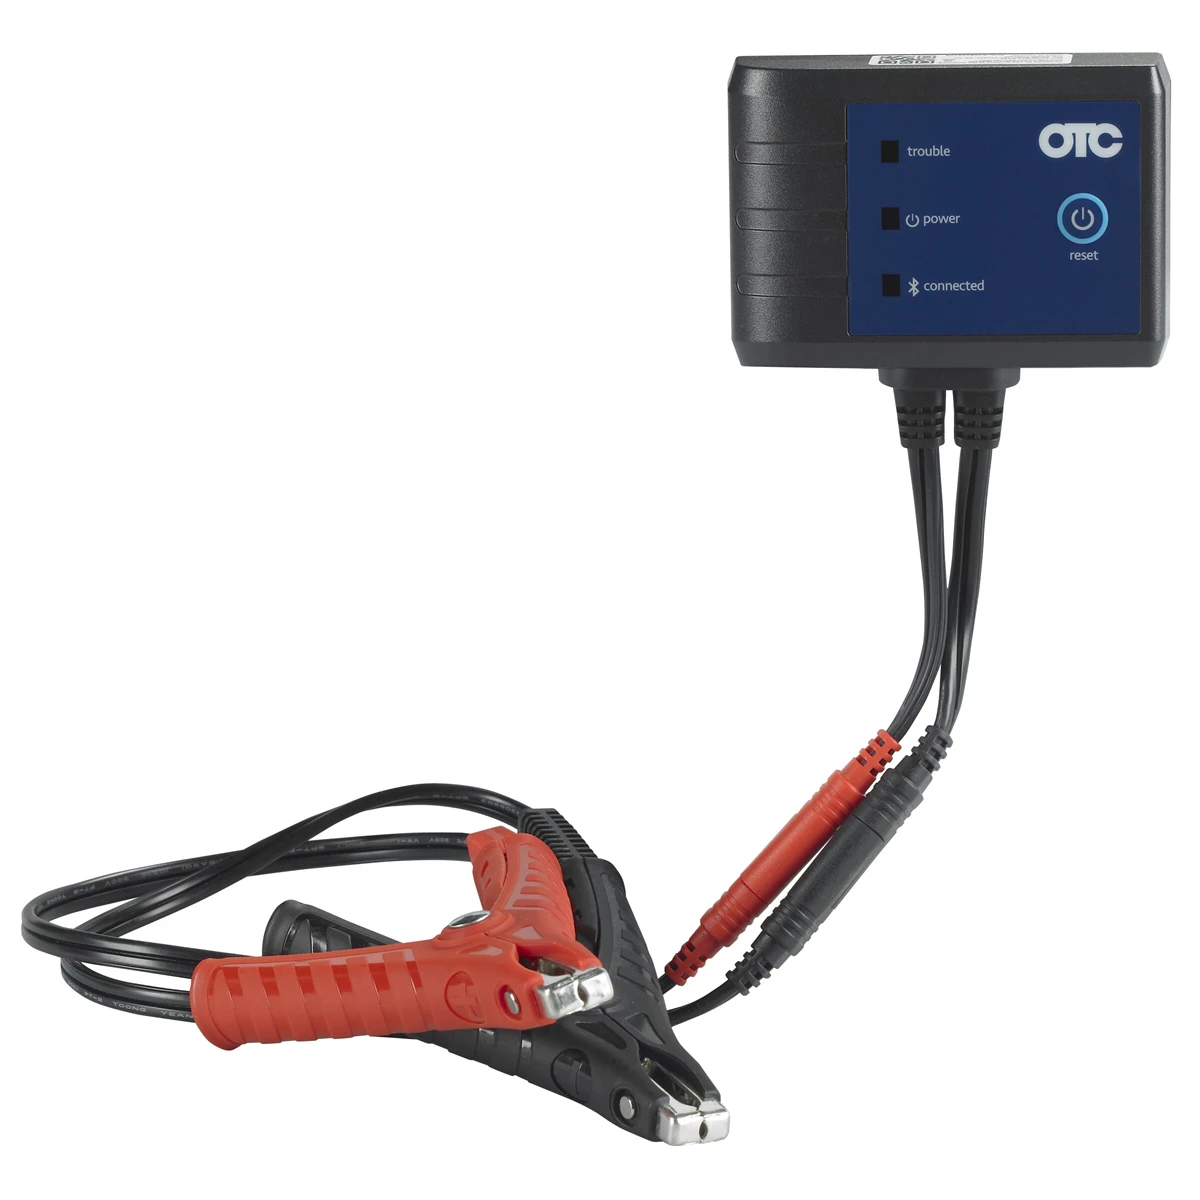
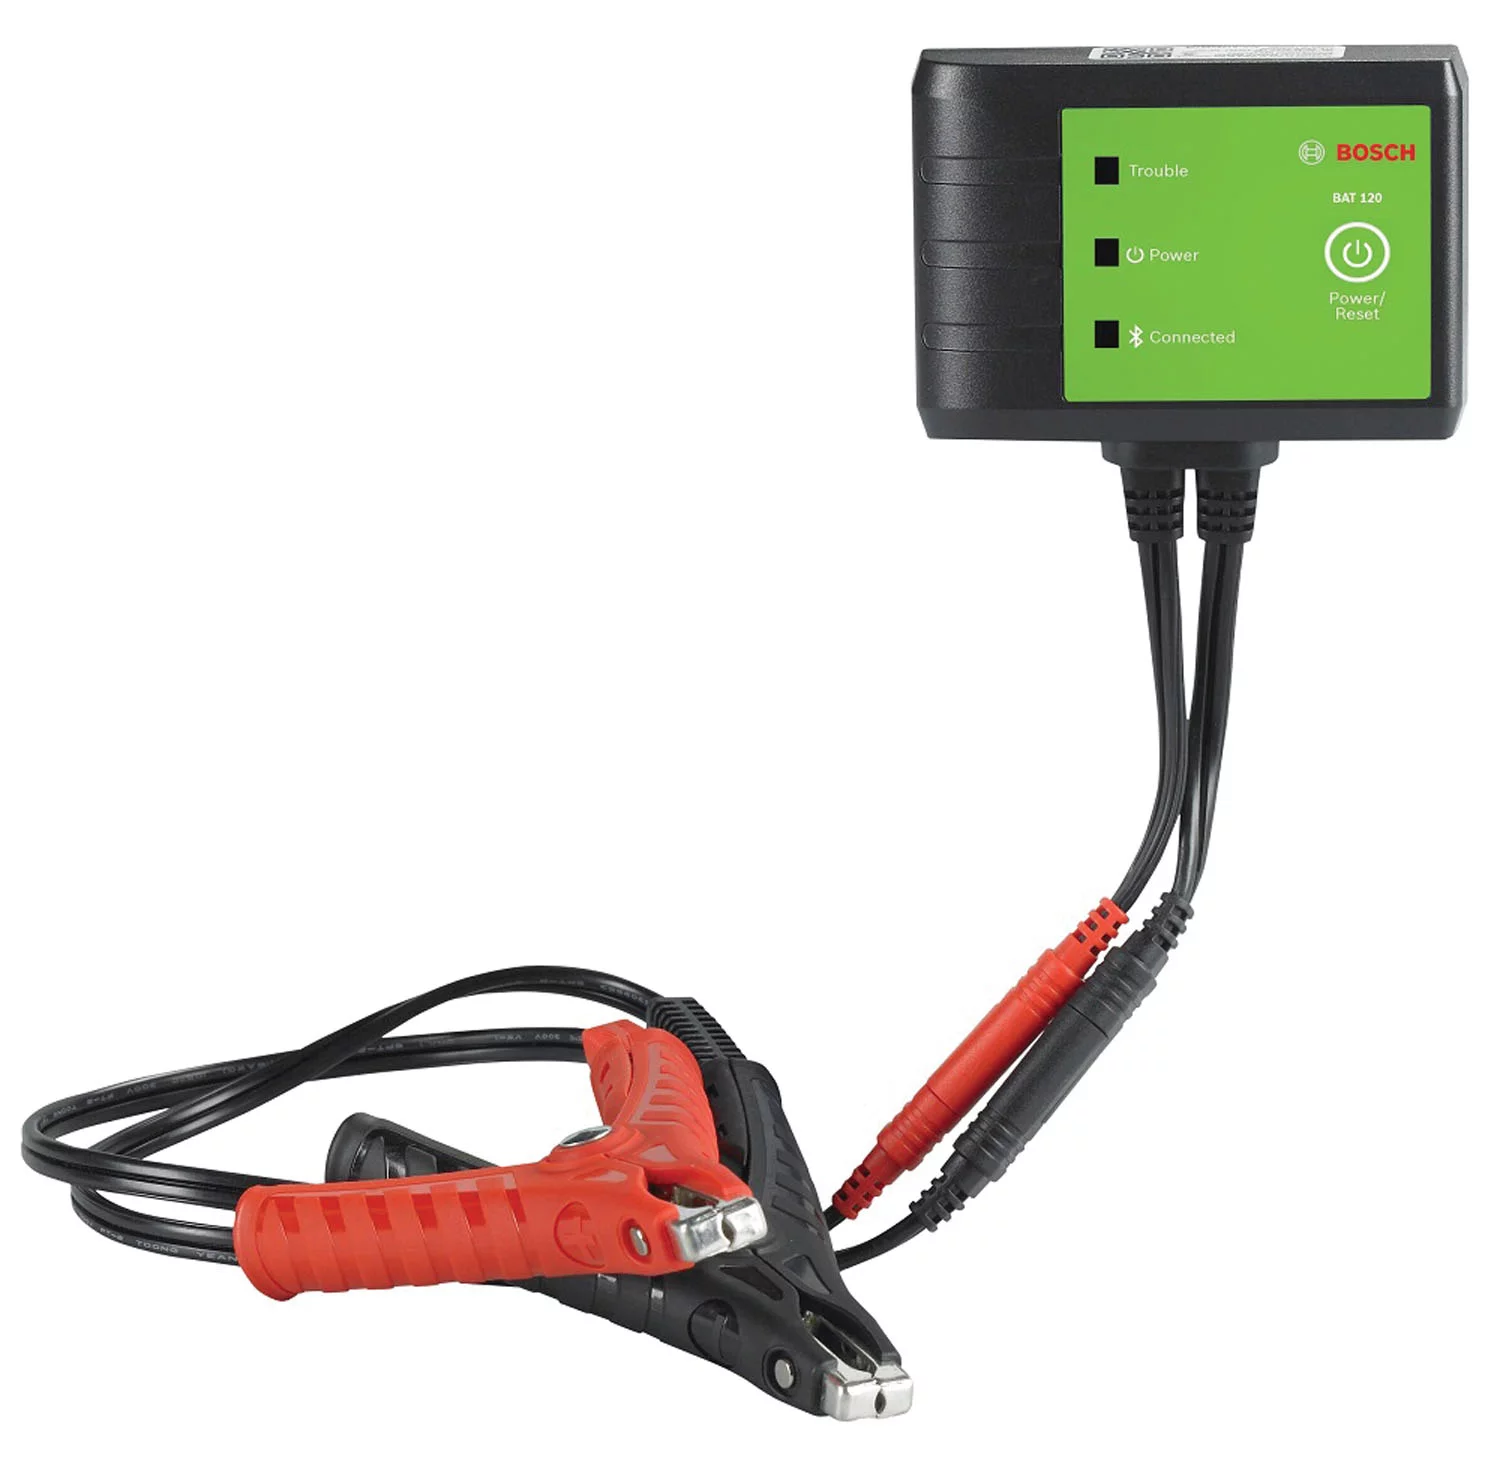
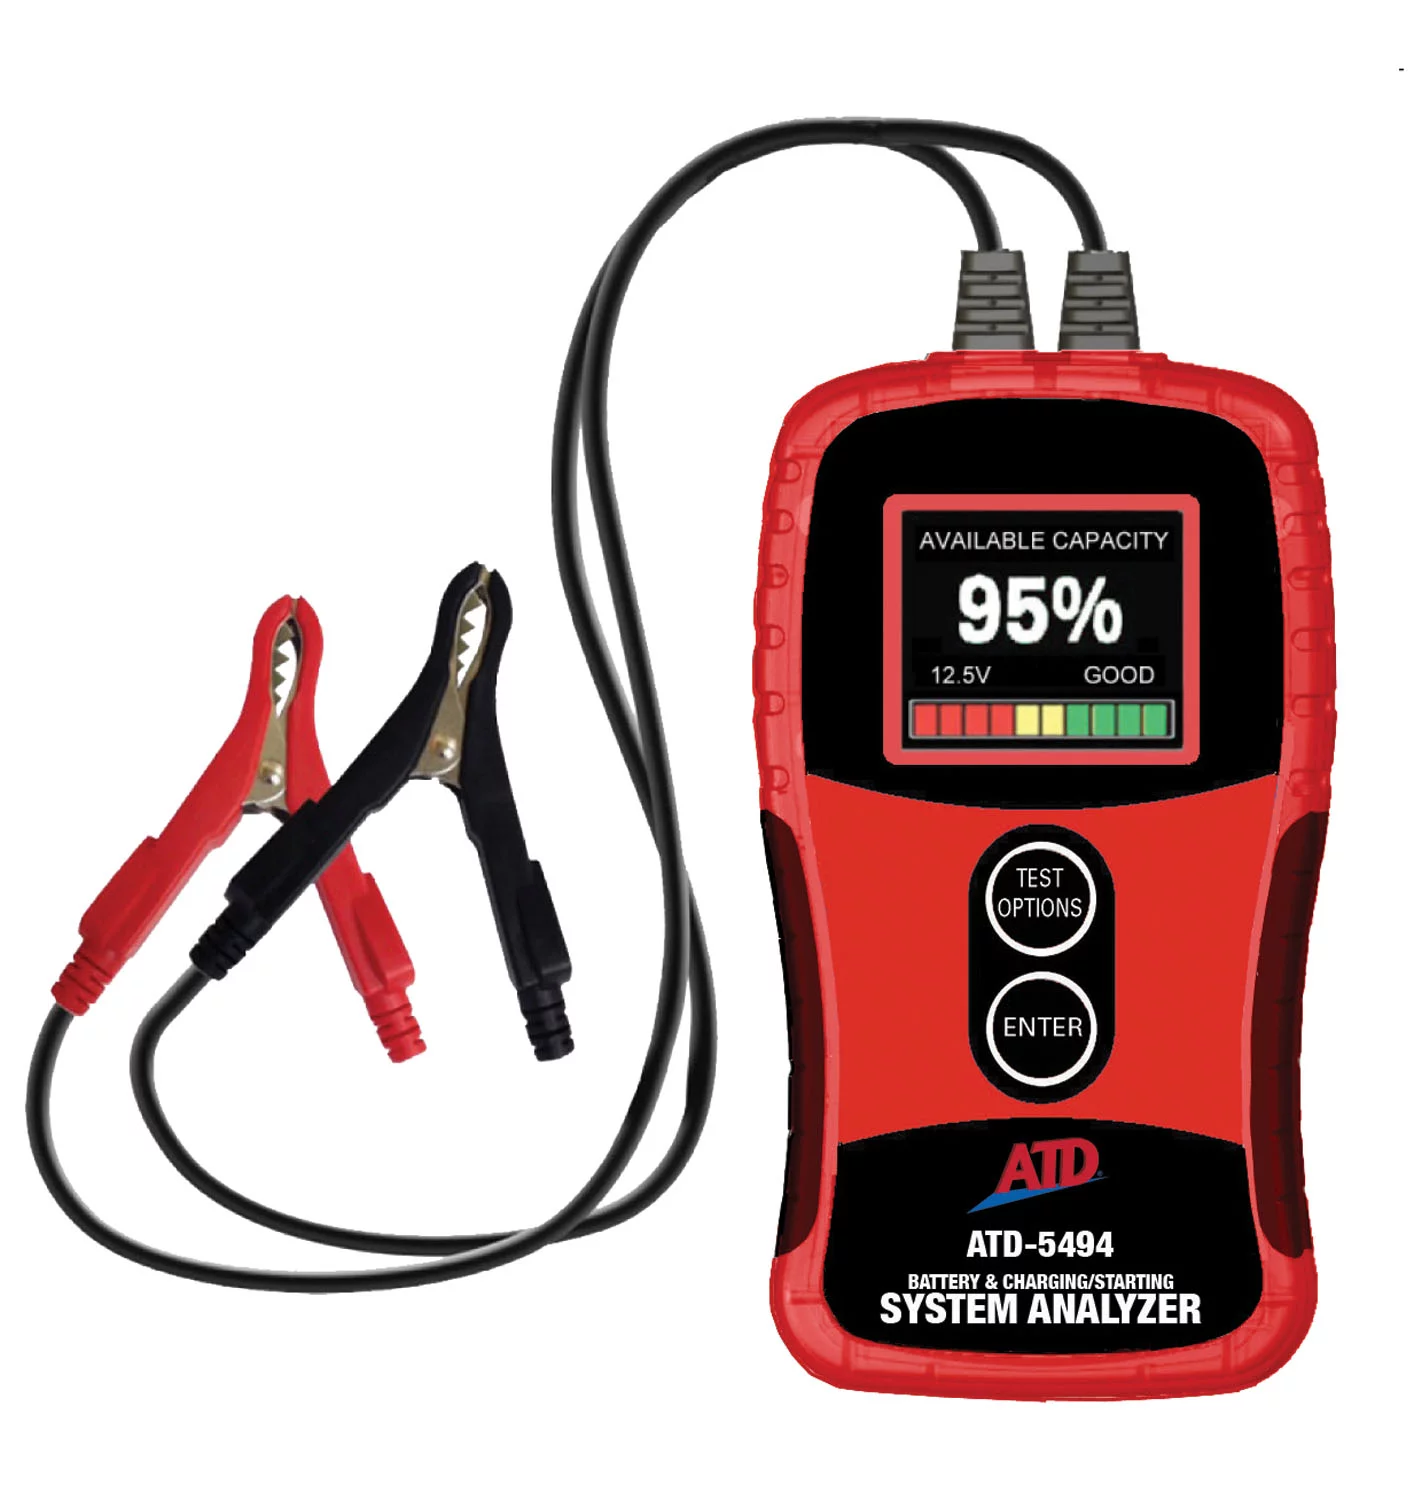
- Load test the battery with a carbon-pile or digital battery tester rated for the vehicle’s CCA spec, not just a quick voltage check.
- If the battery tests marginal or fails, replace it — don’t attempt to “get more life” out of a battery that’s already contributed to an alternator failure.
- On many of these models you can pull a quick voltage reading from the instrument cluster’s hidden diagnostic menu: with the ignition on, press and hold the climate control RESET button for about ten seconds to bring up a service menu, then scroll to the battery voltage item. This is a fast field check but is not a substitute for a proper load test.
- Check with the specific model year whether battery replacement requires registering the new battery with the vehicle’s electrical/BMS module. Requirements vary by platform and model year — some earlier V8 chassis do not require this step, while others do — so confirm against the correct service procedure for the VIN in front of you rather than assuming either way. Skipping a required registration can result in the charging system treating the new battery incorrectly and overcharging it.
Alternator Replacement and Output Verification
If the terminal damage has reached the housing, or if the alternator has clearly been run harder than it should due to a weak battery, replace it rather than attempting a cosmetic fix on a unit with internal heat damage. After installing the new or rebuilt alternator:
- Torque the B+ connection to spec — don’t just “snug it down.” Under-torquing is the single most common root cause of this entire failure pattern.
- Verify charging output with a multimeter or diagnostic scan tool at idle and under load (headlights, blower, rear defrost on). Output should fall within the manufacturer’s specified voltage range, typically in the 13.5–14.8V range depending on temperature and battery state — confirm against the specific vehicle’s spec rather than assuming a single number across all models.
- Recheck output after a short test drive once the system has cycled through a full charge/demand cycle, to confirm stability rather than just a static reading.
Rebuilding the Connection: Clean, Reassemble, Protect
This is the step that’s most often rushed, and it’s the one that determines whether the repair lasts. Once the alternator and battery issues are addressed, the connection itself needs to be properly restored:
- Strip all corrosion off the copper connector. A wire wheel, fine-grit belt sander, or abrasive pad works — the goal is bright, bare copper with no oxidation film left anywhere on the mating surface.
- Inspect the terminal stud and nut threads for damage from the heat; replace hardware that’s discolored or deformed rather than reusing it.
- Torque to spec and don’t rely on “feel.” A torque wrench takes the guesswork out of the one variable that caused this failure in the first place.
- Add washers if the terminal doesn’t seat flush against the stud shoulder — a connector that sits at an angle or doesn’t fully contact the mating surface will develop the same high-resistance hot spot again.
- Apply dielectric grease to the outside of the finished connection (not between the mating metal surfaces, which can increase resistance) to slow future moisture and corrosion intrusion.
- Confirm or replace the protective cover over the B+ terminal if the vehicle originally had one. If it’s missing or you can’t locate one for the application, a periodic visual recheck with an inspection mirror or borescope is a reasonable substitute — this lets you check the back of the alternator for new corrosion or melting without pulling the unit.
Preventing a Repeat Failure
Once the repair is done, address the conditions that caused it:
- Replace any missing or damaged under-engine splash guard — this is cheap insurance against repeat corrosion at the alternator and elsewhere in the engine bay.
- Build a 10,000-mile or annual visual check of the B+ terminal into routine service for vehicles with a known history of this issue.
- Advise the customer that charging system health (battery age, alternator output, connection integrity) should be treated as one system, not three separate parts — a shortcut on any one of them tends to take the others down with it.
Quick Diagnostic Checklist
- Inspect B+ terminal and surrounding housing for burn, melt, or pitting damage
- Check connector torque — confirm it isn’t loose or spinning free
- Load test the battery (not just a voltage check)
- Test alternator output at idle and under electrical load
- Clean all corrosion from the copper connector down to bare metal before reassembly
- Confirm or replace missing splash guard underneath the engine
- Apply dielectric grease externally and torque hardware to spec
FAQs
Can I just clean the terminal and reuse the same alternator?
Only if the housing and internal components show no heat damage. If the plastic around the terminal has melted or deformed, or if output testing shows abnormal voltage, replace the unit — a cosmetic cleanup won’t fix internal winding damage.
Does a new battery need to be programmed or registered after replacement?
It depends on the platform and model year. Some vehicles require registering the new battery with the electrical system so the charging profile is applied correctly; others don’t. Confirm the correct procedure for the specific VIN rather than assuming.
What torque spec should I use on the B+ terminal nut?
Always reference the OEM torque specification for the specific alternator and vehicle. Under-torquing this connection is the most common cause of the failure described here, so don’t estimate — use a torque wrench.
Is dielectric grease enough to prevent this from happening again?
It helps slow corrosion but isn’t a substitute for proper torque and a clean mating surface. Apply it to the outside of the finished connection, not between the metal contact surfaces, and pair it with a splash guard if one is missing.
How do I check alternator output without a scan tool?
A multimeter across the battery terminals with the engine running and electrical loads on (headlights, blower, defrost) will show whether output falls within the expected voltage range. For amperage output or detailed diagnostics, an inductive clamp meter or scan tool gives more precise data.
Is a weak battery really connected to a burnt alternator terminal?
Yes. A battery that can’t hold charge makes the alternator run at higher output for longer periods, which increases heat at every connection in the circuit, including the B+ terminal. Testing the battery is a required step, not an optional one, when diagnosing this failure.
Shop Battery Diagnostics & Charging
The diagnostics and repairs described in this guide—load testing the battery, verifying alternator output, and confirming proper terminal connection torque—all require specific test equipment. Browse our battery diagnostics and charging tools to find the testers, meters, and torque tools you need to complete the job correctly.
- Battery load testers and carbon-pile units for reliable state-of-charge verification
- Digital multimeters and clamp meters for measuring alternator output and charging voltage
- Torque wrenches for precise B+ terminal fastener tightening

The Toolsource Technical Team blends decades of real-world automotive service experience with up-to-date technical research. Our writers collaborate with professional mechanics, shop owners, and diagnostic specialists to deliver practical, workshop-ready guidance you can trust.


Follow us on social media