Occasionally a vehicle arrives with an aftermarket device marketed as a “super turbo charger” or fuel saver plumbed into the intake manifold, or a whistle/noise-maker fitted to the tailpipe to mimic turbo sounds. These are not performance upgrades. The intake-mounted variety is essentially an adjustable vacuum leak that can skew air-fuel control; the tailpipe whistle is just a noise accessory. This guide shows working technicians how to identify these add-ons, verify their impact using scan data, remove or neutralize them cleanly, and confirm the repair with numbers your customer can understand.
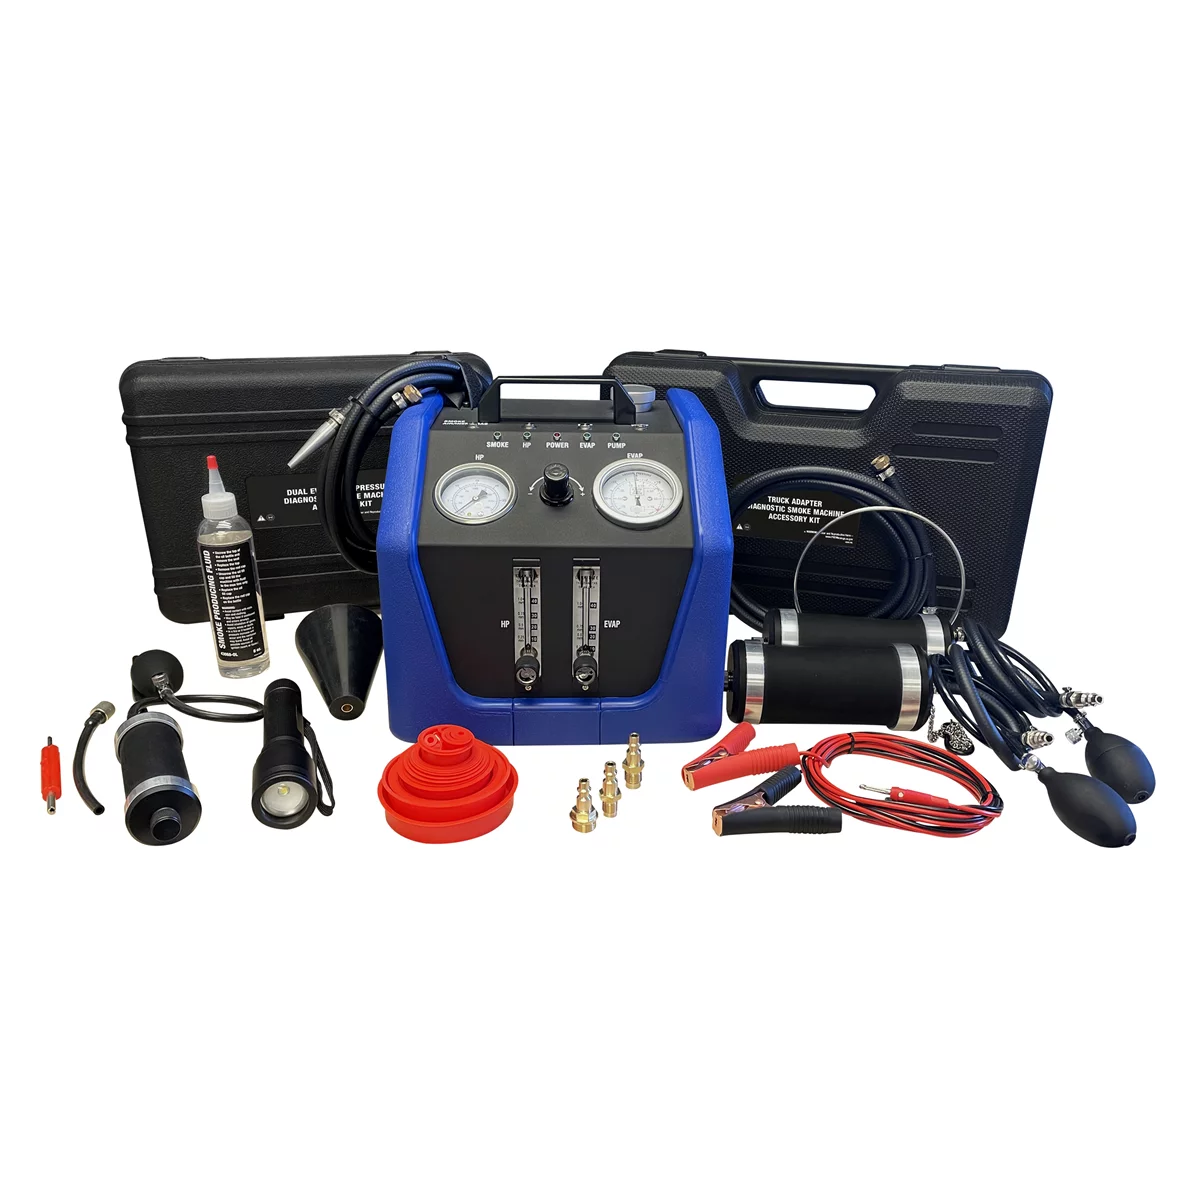
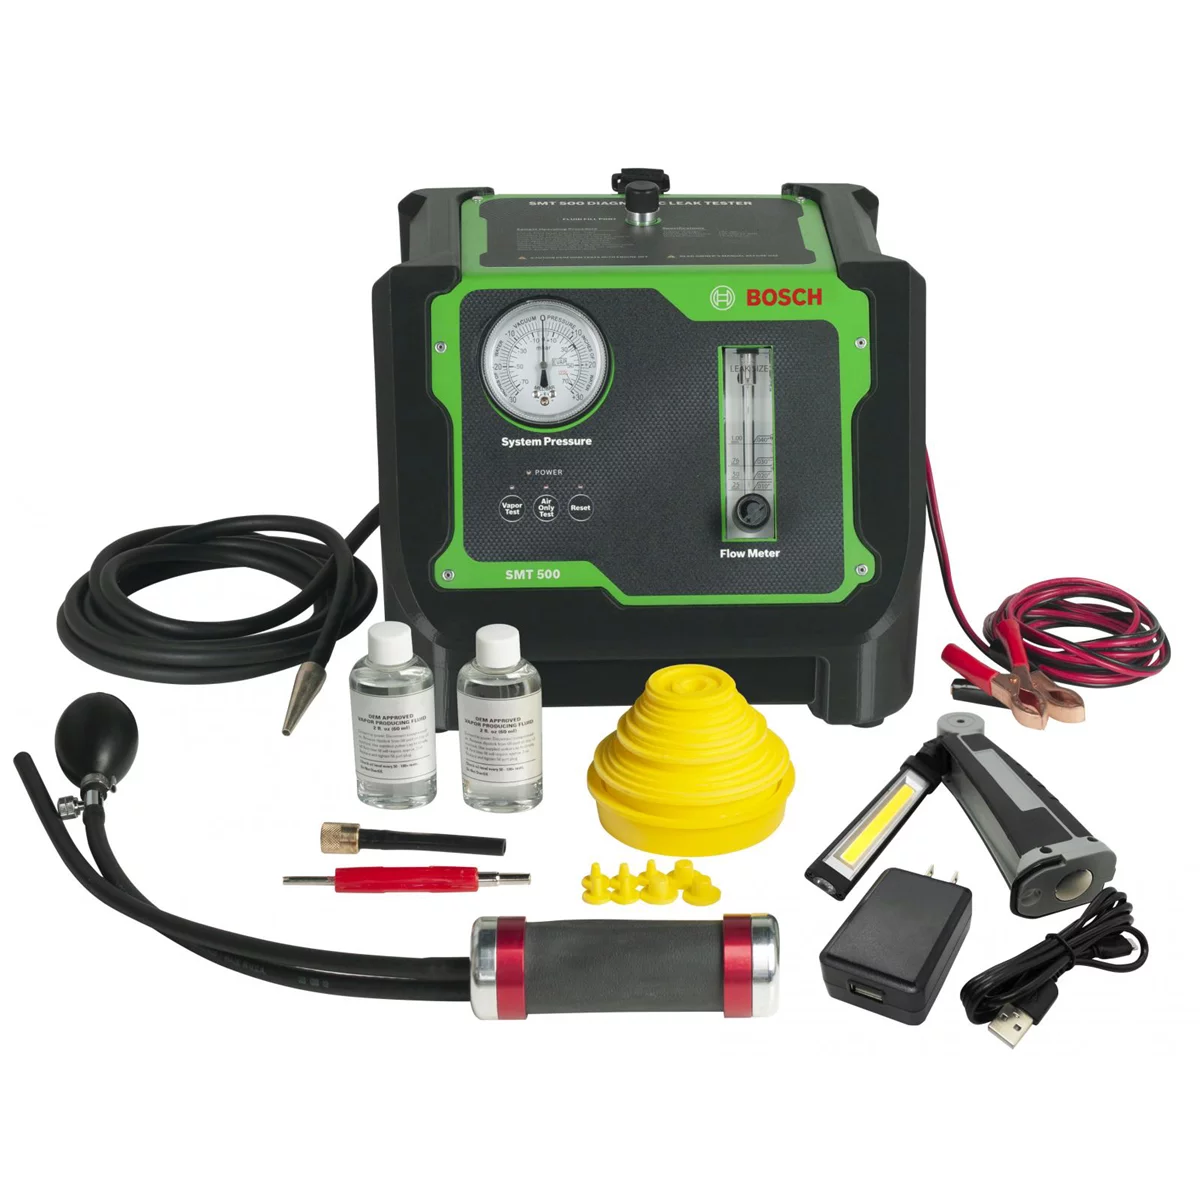
Dual Evap/High Pressure Diagnostic Smoke Machine w/ Truck Adapter Kit
Mfg: Mastercool
Part #: 43070
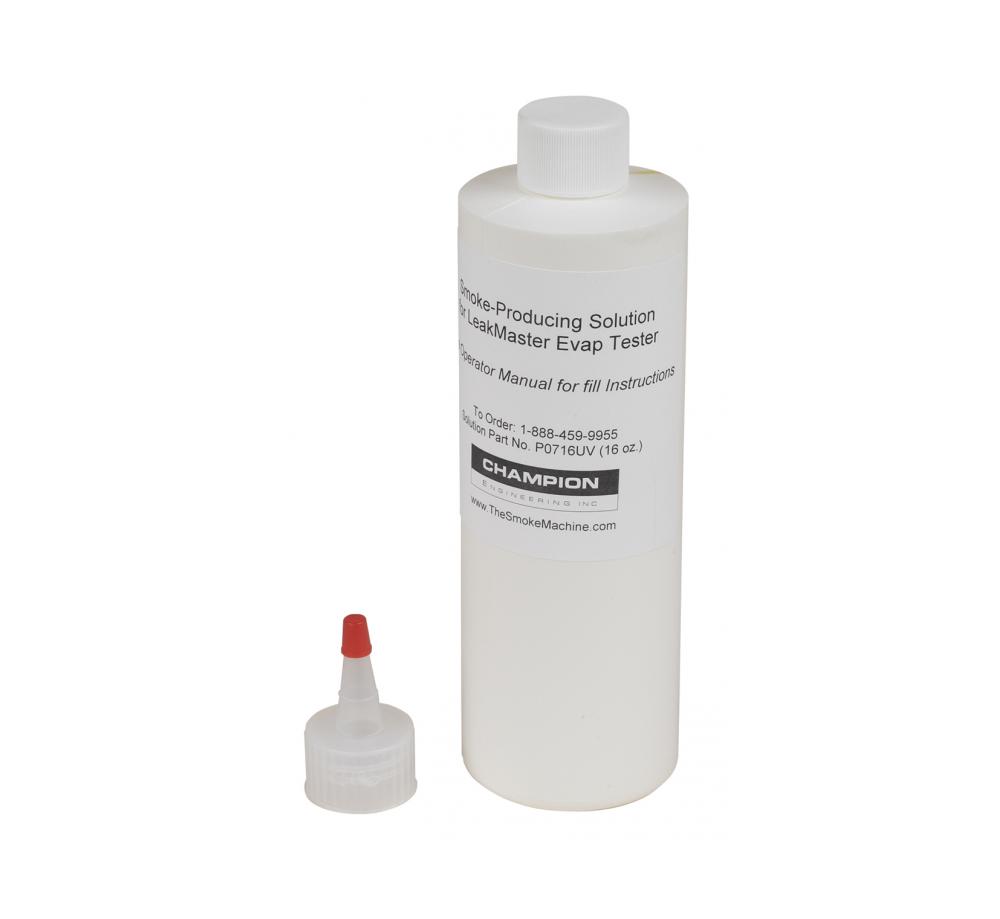
UltraTraceUV Dye Solution Smoke Compound for Smoke Machine
Mfg: OTC Tools and Equipment
Part #: P-0716-UV
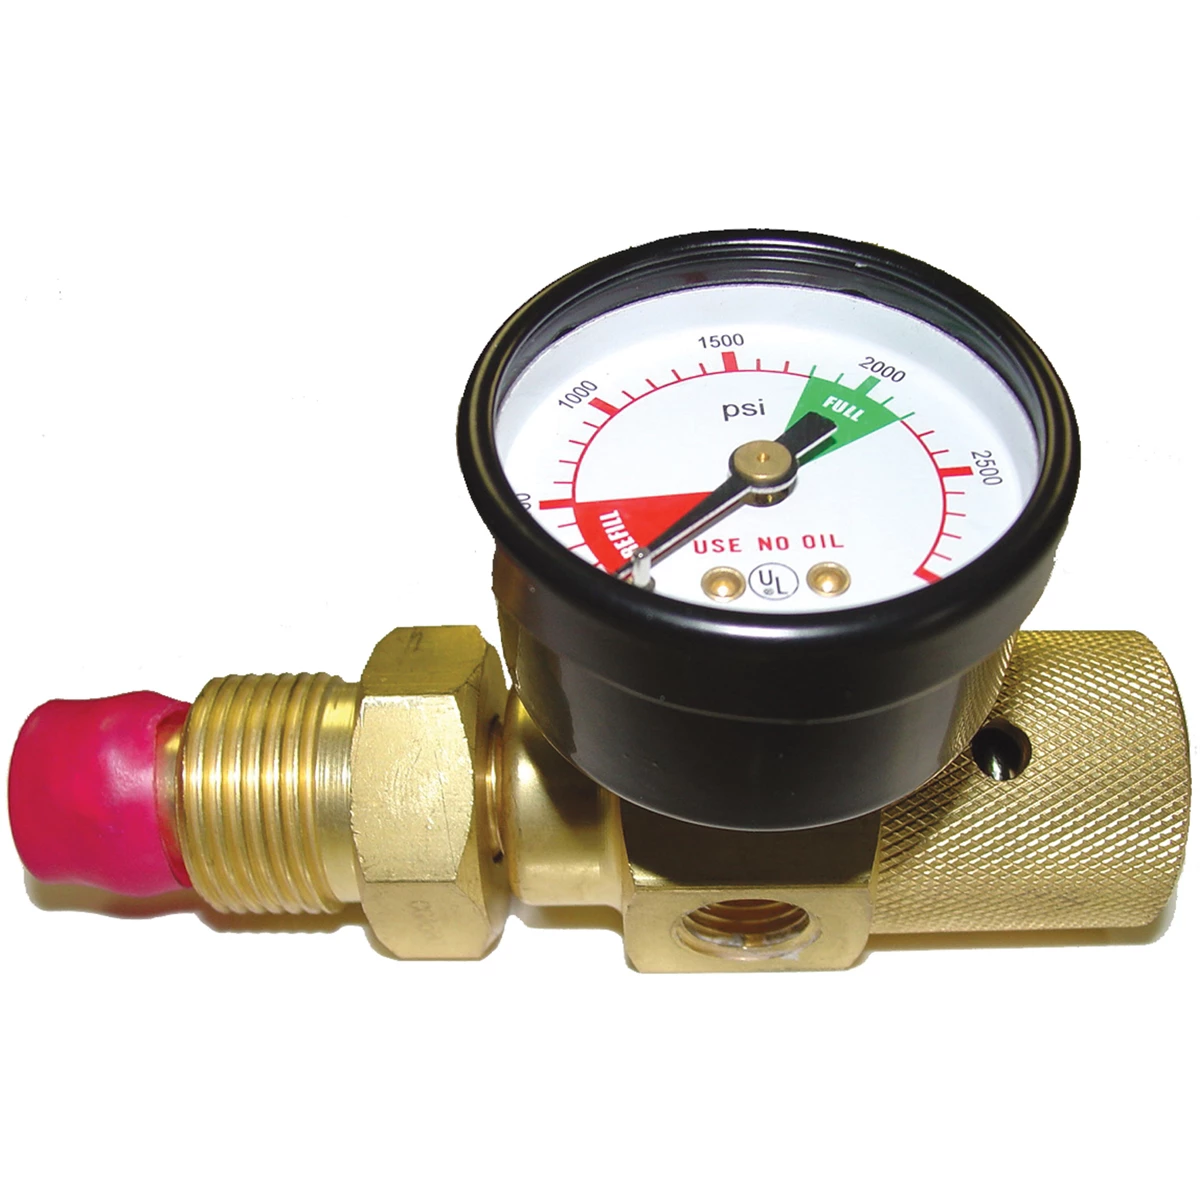
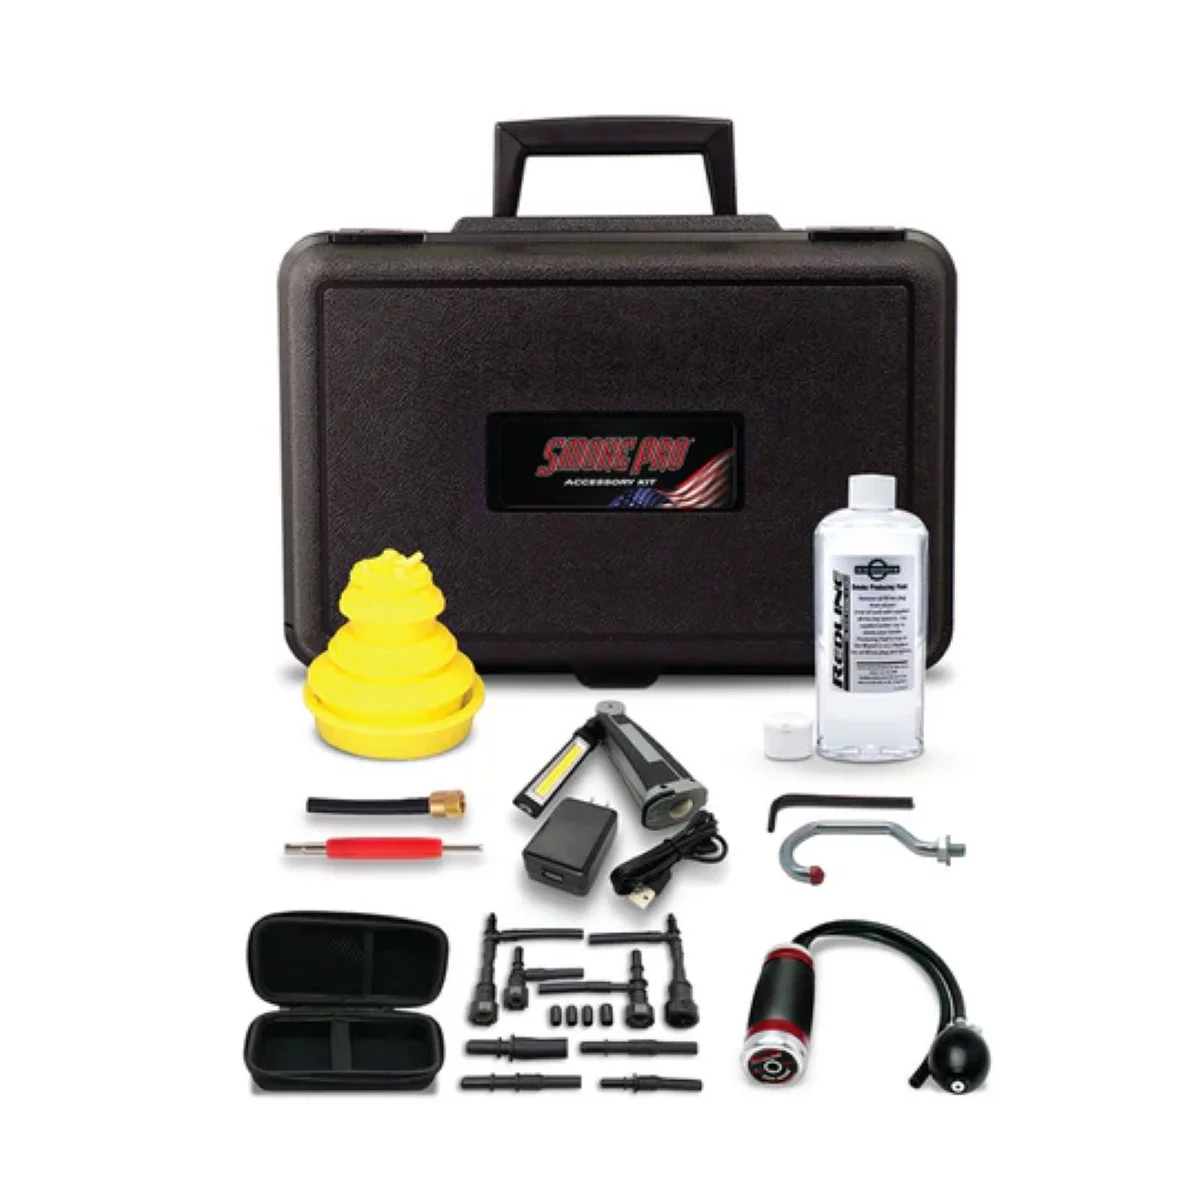
Advance Low Pressure Evap Smoke Machine Accessory Kit
Mfg: Redline Detection
Part #: 96-0161

What These Devices Are (and Why They’re a Problem)
Two common categories show up in bays:
- Intake-mounted “fuel saver” devices (e.g., Khaos Super Turbo Charger): Small canisters or valves tee’d into a manifold vacuum line, often with an adjustable needle/knob. They admit unmetered air downstream of the MAF or throttle body. On speed-density systems they act as a straight vacuum leak. The sales claim is better mileage and power; in reality, the ECM must chase the lean condition, often pushing fuel trims high, causing idle instability, driveability complaints, and potential emissions and catalyst stress.
- Exhaust whistle tips/noise-makers: Clamp-on or welded inserts in the tailpipe designed to create a whistling or pseudo blow-off sound. They don’t affect fueling, but they can violate noise ordinances, create customer annoyance, and sometimes restrict flow if poorly installed.
Modern OBD-II vehicles in closed loop will attempt to correct the added air by increasing injector pulse width; depending on magnitude and placement, this can trigger DTCs (lean codes, idle control errors), raise idle, and alter cold-start fueling. Pre-OBD systems and carbureted engines can run dangerously lean with a vacuum leak, risking detonation and heat-related damage.
Symptoms, Risks, and Common Codes
Technicians typically observe:
- High positive fuel trims: LTFT and/or STFT often exceed +10% at idle, sometimes normalizing at cruise (classic vacuum-leak pattern).
- Elevated idle speed or unstable idle: IAC/ETC working harder to control airflow.
- DTCs: P0171/P0174 (system too lean bank 1/2), P0507 (idle higher than expected), MAF/MAP correlation faults, random misfires at idle (P0300) if the leak is significant.
- Driveability complaints: Tip-in hesitation, poor cold starts, occasional surging.
- Potential emissions/catalyst issues: Lean bursts can elevate NOx; the ECM’s enrichment response can overheat the catalyst over time if the system oscillates.
Exhaust whistles tend to be a nuisance more than a drivability issue, but poor installs can crack or deform the tailpipe, trap condensation, or buzz at certain RPM.
Tools, Supplies, and Reference Material
Have these on hand before you quote the job:
- OBD-II scan tool with live data and fuel trims graphing
- Smoke machine (intake/EVAP capable) and assorted intake block-off/adapters
- Vacuum hose (common sizes: 3/16 in, 1/4 in, 5/16 in; metric equivalents)
- Vacuum caps and plugs (fuel- and heat-rated) for manifold ports
- T-fittings, straight barbs, and clamps (for restoring OE hose routing)
- Hose cutters, side cutters, pick set
- Spring-clamp or hose-clamp pliers
- MAF sensor cleaner (if contamination is suspected)
- Service information: vacuum diagrams from the under-hood emissions label and OEM manual
- For exhaust tips: penetrating oil, sockets, exhaust hanger pliers, reciprocating saw or cut-off wheel (if welded), file/deburring tool, replacement clamp or tip (as needed), eye/hand protection
Intake Device: Diagnosis and Removal Procedure
Follow a logical diagnostic process so you can show the customer the before/after data.
1) Verify and Document Baseline
- Interview and inspect: Ask about recent fuel economy changes, MIL activity, and whether the customer authorized any add-on device. Photograph the device and its hose routing.
- Scan for DTCs: Note stored and pending codes and freeze-frame conditions. Don’t clear yet.
- Record live data at hot idle and 2500 rpm no-load: STFT, LTFT (both banks), MAF g/s (or calculated load), MAP kPa, commanded equivalence ratio, O2 sensor switching behavior, idle speed/IAC counts or ETC commanded angle. Save a short graph capture for your work order.
2) Visual Identification
- Look for a small canister or block labeled as a fuel saver/super turbo, often in-line with a manifold vacuum source via a T-fitting. Knobs or screws indicate an adjustable orifice. It may be spliced into hoses serving EVAP purge, PCV fresh/return lines, or even near the brake booster (which is unsafe).
- Trace each hose to its source using the emissions vacuum diagram. Identify any non-OE T-fittings or capped OE nipples.
- If you find a hose from post-MAF intake tubing to a manifold port through the device, that’s unmetered air and a leak by design.
3) Smoke Test and Quick A/B Check
- Block off the air intake and introduce smoke into the intake tract. If smoke exits through the aftermarket device or its connections, you’ve verified a leak path.
- Temporary isolation: Cap the device’s connection at the manifold and restore the original hose (if possible) for a quick A/B. Monitor fuel trims. A drop toward 0% at idle with the device isolated confirms impact.
4) Remove and Restore OE Routing
- Engine cool, ignition off. Mark hose orientations. If the device interrupts a critical circuit (e.g., brake booster), prioritize restoring that line directly to the manifold with correct hose and clamps.
- Cut out the T-fittings the device used. Replace with straight barbs or full-length new hose sections as needed. Avoid kinks and ensure proper hose ID.
- Cap any added manifold nipples securely with rated vacuum caps. Use clamps on large ports.
- Inspect and service PCV: If the device interacted with PCV plumbing, verify the PCV valve/check valve functions and that fresh-air and return paths match the OEM diagram.
- Check EVAP routing: Ensure purge and vent lines are back to spec. Incorrect EVAP plumbing can mimic or compound vacuum leak data.
5) MAF and Throttle Body Cleanliness Check
- If unfiltered air was drawn in via a non-OE hose, inspect the MAF sensor. Use MAF-specific cleaner. Do not touch hot-film elements.
- Inspect throttle body for deposits if idle control seemed unstable; clean per OEM guidance if necessary.
6) Post-Repair Validation
- Clear DTCs and fuel trims if OEM allows; alternatively, leave adaptives and verify they trend down on their own.
- Re-check live data at hot idle and 2500 rpm. Target: STFT near 0% and LTFT within roughly ±5% (vehicle-dependent). Idle speed should meet spec; O2 sensors should switch normally; no new correlation errors.
- Road test: steady cruise, gentle accelerations, decels. Confirm trims remain stable. Verify no pending DTCs after the drive cycle.
- Document the before/after graphs for the repair order and customer report.
Exhaust Whistle/Noise-Maker: Identification and Removal
These devices are typically in or at the tailpipe. Determine if they’re clamped or welded.
1) Inspect and Plan
- With the exhaust cool, look for a small insert or tip with a slot, reed, or narrowed passage. Note clamp type (band vs U-bolt) or welds.
- Check for other modifications (aftermarket tip, resonator delete, ill-fitting reducer) that might complicate removal.
2) Clamp-On Removal
- Apply penetrating oil to clamp hardware. Loosen evenly to avoid deforming the pipe.
- Twist and slide the device off. Gentle persuasion with exhaust hanger pliers can help. Avoid crushing thin-wall tips.
- Inspect the tailpipe end for deformation or burrs. Use a file to dress edges. Replace with a proper stainless tip if the customer wants a finished look.
3) Welded Device Removal
- Protect surrounding components. Eye/hand/ear protection required.
- Use a reciprocating saw or cut-off wheel to remove the welded insert. Cut minimally to preserve pipe length. Deburr after removal.
- If material loss is significant, sleeve with a short section and a quality band clamp or weld in a replacement tail section.
4) Final Checks
- Start the engine and check for leaks at the tailpipe joint. Listen for rattles. Adjust or re-clamp as needed.
- Advise the customer about local noise laws if they ask about replacement sound devices.
Quality Assurance: Numbers and Customer Communication
Customers who bought these add-ons often believe in their benefits. Show data:
- Fuel trims before/after, idle stability, and any resolved DTCs.
- Explain that modern ECUs compensate for leaks, often resulting in the opposite of the promised improvement.
- Note any emissions concerns that the device could have caused and how your repair restored OE operation.
Offer legitimate maintenance and upgrade paths: tire pressure correction, alignment, updated spark plugs/coils if due, air filter, brake drag inspection, and calibrated performance tuners when appropriate and legal.
Quick Checklist (Before Returning the Vehicle)
- All non-OE vacuum tees/caps removed; OE routing restored per diagram
- Fuel trims within normal range at idle and cruise; no pending codes
- Brake booster hose verified direct and leak-free; firm pedal feel
- MAF/throttle body inspected and cleaned if needed
- Exhaust joints tight, no leaks/rattles; tailpipe end clean
- Customer briefed; before/after data attached to RO
FAQs
What is closed-loop control and why does it matter here?
Closed loop is when the ECU uses oxygen sensor feedback to adjust fueling in real time to achieve the commanded air-fuel ratio. A vacuum-leak “fuel saver” forces the ECU to add fuel to compensate, usually driving short- and long-term fuel trims positive, which can trigger lean codes and idle issues. It doesn’t improve efficiency; the ECU just fights the leak.
Can running lean really save fuel?
Not by adding a leak. Lean-burn strategies are engineered at the ECU and combustion level with specific calibrations, sensors, and catalysts. A crude vacuum leak changes airflow without proper spark and mixture management and can raise NOx, risk knock, increase combustion temperatures, and harm catalysts. Any perceived MPG change is often due to other variables (driving conditions, recent maintenance, or the ECU’s short-term response).
Could this damage the catalytic converter?
Yes, indirectly. Lean surges followed by enrichment corrections can overheat catalysts. Misfires from an unstable idle can send raw oxygen and fuel through the substrate, accelerating wear. Restoring sealed, OE-correct airflow protects the catalyst and ensures monitors can run properly.
Will removing the device improve MPG or power?
You’re more likely to restore proper drivability, stable idle, and emissions readiness. If the ECU was compensating with high trims, mileage may improve simply because the engine is no longer fighting a leak. Power delivery should feel more consistent, especially off idle.
Is there a legitimate replacement that actually helps?
Legitimate gains come from OEM-level maintenance and proven parts: correct spark plugs and coils, clean air filter, MAF/throttle body service, fixing brake drag, proper tires and alignment, updated ECU calibrations, and, where desired and legal, calibrated intake/exhaust or tuning solutions from reputable manufacturers. Avoid any device that adds unmetered air or claims big gains without re-calibration.
Notes on Compliance and Safety
Altering emissions-related plumbing is regulated in many regions. Your repair is returning the vehicle to OEM configuration, which typically improves compliance. Always keep removed parts on hand to show the customer; document your reasoning, scan data, and final results. Never allow non-OE devices to share or interrupt the brake booster line. After any intake or exhaust work, verify no leaks and confirm a safe road test.
Shop Vacuum Caps & Plugs
To restore OE routing and seal manifold ports after removing add-on devices, see our Vacuum Caps & Plugs.
- Fuel- and heat-rated caps in common sizes for intake and EVAP lines
- Assorted plugs and nipples to close added ports
- Barbs and connectors to replace non-OE T-fittings
The Toolsource Technical Team blends decades of real-world automotive service experience with up-to-date technical research. Our writers collaborate with professional mechanics, shop owners, and diagnostic specialists to deliver practical, workshop-ready guidance you can trust.

Follow us on social media