Interior detailing looks simple from the outside — vacuum, wipe, spray some glass cleaner — but the techs who turn a profit on it treat it as a process, not a series of random tasks. The difference between a 1.5-hour interior and a 3-hour interior usually isn’t product quality; it’s sequencing. This guide breaks down a repeatable interior workflow, starting with a common question customers ask about dashboard mats, then moving through the assessment, extraction, carpet, glass, and touchpoint steps that experienced detailers use to move fast without cutting corners.
Why Dashboard Mats and Covers Still Matter
Customers frequently ask why a dash mat or cover is worth adding to a service, especially on older vehicles. There are two real mechanisms at work, and it’s worth explaining both when you’re upselling the add-on:
- UV and heat damage prevention. Dashboards that bake in direct sun for years develop surface cracking and fading as plastics lose plasticizers. A mat or reflective cover reduces direct UV exposure and surface temperature, which slows this process. For high-mileage or older vehicles, this is often a cheaper option than a dash replacement down the line.
- Glare reduction. A textured or matte dash cover cuts down on light bouncing off the dash and back onto the windshield — a real visibility improvement that most drivers notice immediately once they’ve experienced it.
From a service standpoint, this is a low-cost, high-perceived-value recommendation. Pair it with a UV protectant application during the interior service rather than selling it as a separate product — customers respond better when it’s framed as part of the dash’s long-term care, not just an accessory.
Start With Assessment, Not Product
The biggest time-waster in interior detailing is diving straight into product application before you know what you’re dealing with. A faster, more consistent workflow starts with a short assessment phase:
- Remove personal items first and set them aside in a bin or bag — don’t spend billable time sorting trash from valuables mid-job.
- Take two or three reference photos of the worst areas before starting. This protects you if the job runs long and gives you a clear before/after for the customer.
- Classify the job: light, medium, or heavy duty. A medium interior (visible debris, stained but not soaked carpets, moderate dust) typically runs 1.5–2.5 hours. Flag anything that looks like it needs a full carpet shampoo or odor treatment before you start — that changes your time and price estimate, and the customer needs to sign off before you commit to it.


Vacuum and Air-Tool Prep Sequence
Resist the urge to vacuum thoroughly on the first pass. The efficient sequence is:
- Initial vacuum (under 10 minutes). This pass is only for large debris — don’t chase every crumb or hair fiber yet. Multiple passes at this stage waste time you’ll recover later.
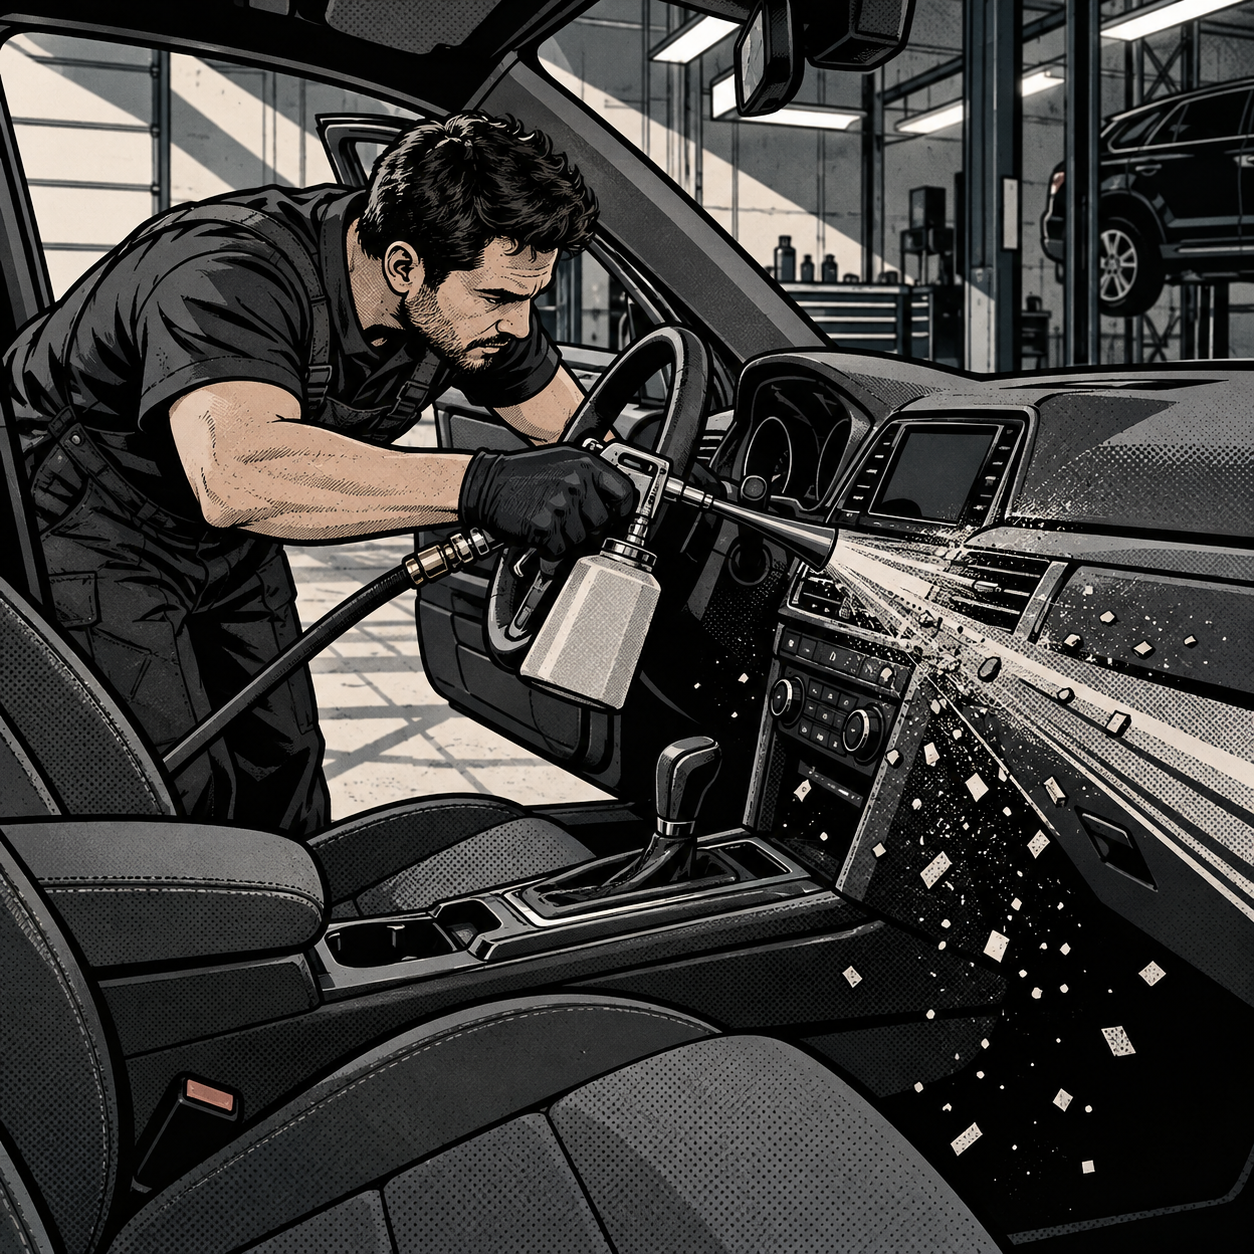
- Compressed air pass. A tornador-style air tool blows dust, hair, and debris out of seams, vents, and crevices that a vacuum nozzle can’t reach. This is the step most techs skip when rushed, and it’s the one that most noticeably separates a mediocre interior from a detailed one.
- Second vacuum pass. Now you’re picking up what the air tool dislodged. This is also when you decide if any area needs manual attention — a drill-mounted brush for ground-in hair or pet dander, for example.
If you find a trouble spot that needs extra manual work, communicate it to the customer immediately and quote additional time before you start it. Silent scope creep is how a 2-hour job becomes a 4-hour job you can’t bill for.
[PRODUCT_SEARCH: tornador style interior detailing air gun]
Wipe Down Before You Spray
A common mistake is spraying every surface with cleaner before doing a baseline wipe. Instead:
- Do a full wipe-down pass first using a damp microfiber towel — a rinseless wash solution diluted in a bucket works well here and is economical for high-volume use. Wipe every reachable surface, then follow immediately with a dry towel.
- Assess after this pass. Most light-to-medium grime comes off at this stage. Only break out dedicated brushes, scrub pads, or stronger chemicals for the spots that remain.
- Do a second product-specific wipe-down once surfaces are clean, based on the finish you’re going for — a bare, non-glossy finish versus a dressed, UV-protected finish. Pick your interior dressing based on that goal rather than defaulting to the same product on every panel.
Carpet and Upholstery: Don’t Over-Saturate
Full carpet shampoo and extraction is sometimes necessary, but it’s not the default move for every job, and it has real time costs: budget at least 2 hours of labor and at least 2 hours of dry time afterward unless you’re running drying fans. For most medium-duty carpets, a lighter approach is faster and sufficient:
- Spray a carpet cleaner or rinseless solution lightly — a few spritzes per section, not a saturating soak.
- Agitate with a stiff hand brush or a drill-mounted brush attachment, working in small sections.
- Vacuum each section immediately after agitation rather than waiting until the whole carpet is treated.
If the customer wants a full shampoo, plan it first in the job sequence — before glass and final wipe-down — so drying time doesn’t hold up the rest of the service, and make sure the extra labor and dry time are reflected in the price.
Streak-Free Glass and Touchpoint Hygiene
Interior glass is one of the most visible quality signals to a customer, and it’s also one of the easiest places to create streaks through rework. The fix is almost always towel discipline, not product choice:
- Use a minimum of two microfiber towels per glass surface — one to apply and work the product, one strictly for removal and drying.
- Work in small sections. If cleaner dries on the glass before you wipe it off, you’ll need more product to break it back down — that’s the streak cycle most new techs get stuck in.
- Finish touchpoints — steering wheel, shifter, door handles, infotainment buttons — with an antimicrobial product as a standard final step, not an upsell. It’s a small added cost that customers increasingly expect and that differentiates a thorough service from a surface-level one.
Quick Interior Detailing Checklist
- Remove items and photograph problem areas before starting
- Initial quick vacuum, then air-tool pass, then second vacuum
- Full wipe-down with damp microfiber before spraying any chemical
- Light carpet treatment in sections; reserve full shampoo for cases that need it and price it separately
- Glass cleaned in small sections with two towels minimum
- Antimicrobial treatment on all touchpoints as a standard final step
[PRODUCT_SEARCH: interior auto detailing supplies kit]


FAQs
How long should a standard interior detail take?
A medium-duty interior — visible debris, some staining, moderate dust — typically runs 1.5 to 2.5 hours. Heavy jobs with full carpet shampoo or odor remediation can run significantly longer and should be quoted separately.
Do I need a tornador-style air tool, or is a shop vac enough?
A shop vac alone will miss debris packed into seams, vents, and seat tracks. An air tool dislodges that debris so the follow-up vacuum pass actually picks it up — it’s one of the biggest quality-per-minute upgrades available for interior work.
Is a full carpet shampoo always necessary?
No. Light staining and dust respond well to a light spray-and-agitate approach that dries quickly. Full shampoo and extraction is reserved for deep staining, odor, or customer request, and should be scheduled early in the job to allow drying time.
Why do my windows keep streaking?
Streaks come from product drying before it’s removed. Work smaller sections, use a separate towel for removal, and follow immediately rather than letting several panels sit before wiping.
Does a dashboard mat actually prevent cracking?
It reduces UV exposure and surface heat buildup, which slows the plastic degradation that leads to cracking over years of sun exposure. It won’t reverse existing damage, but it’s a low-cost preventive step worth recommending on older vehicles.
What’s the biggest time-waster for techs new to interior detailing?
Spraying chemicals before doing an initial dry or damp wipe-down. A baseline wipe removes most light grime for free and tells you exactly where to focus product and extra labor.
Recommended Shop Equipment and Supplies
A well-sequenced interior detailing workflow depends on having the right equipment on hand. From air tools and microfiber towels to carpet cleaners and antimicrobial finishing products, the supplies in our Shop Equipment and Supplies category support every stage of the process.
- Air tools and compressor accessories for dislodging debris from seams and vents
- Microfiber towels, brushes, and agitation tools for cleaning and drying
- Cleaning solutions, carpet treatments, and antimicrobial finishing products

The Toolsource Technical Team blends decades of real-world automotive service experience with up-to-date technical research. Our writers collaborate with professional mechanics, shop owners, and diagnostic specialists to deliver practical, workshop-ready guidance you can trust.


Follow us on social media