Inline Transmission and Power Steering Filters: When to Use Them, How to Install Them, and How to Service Them
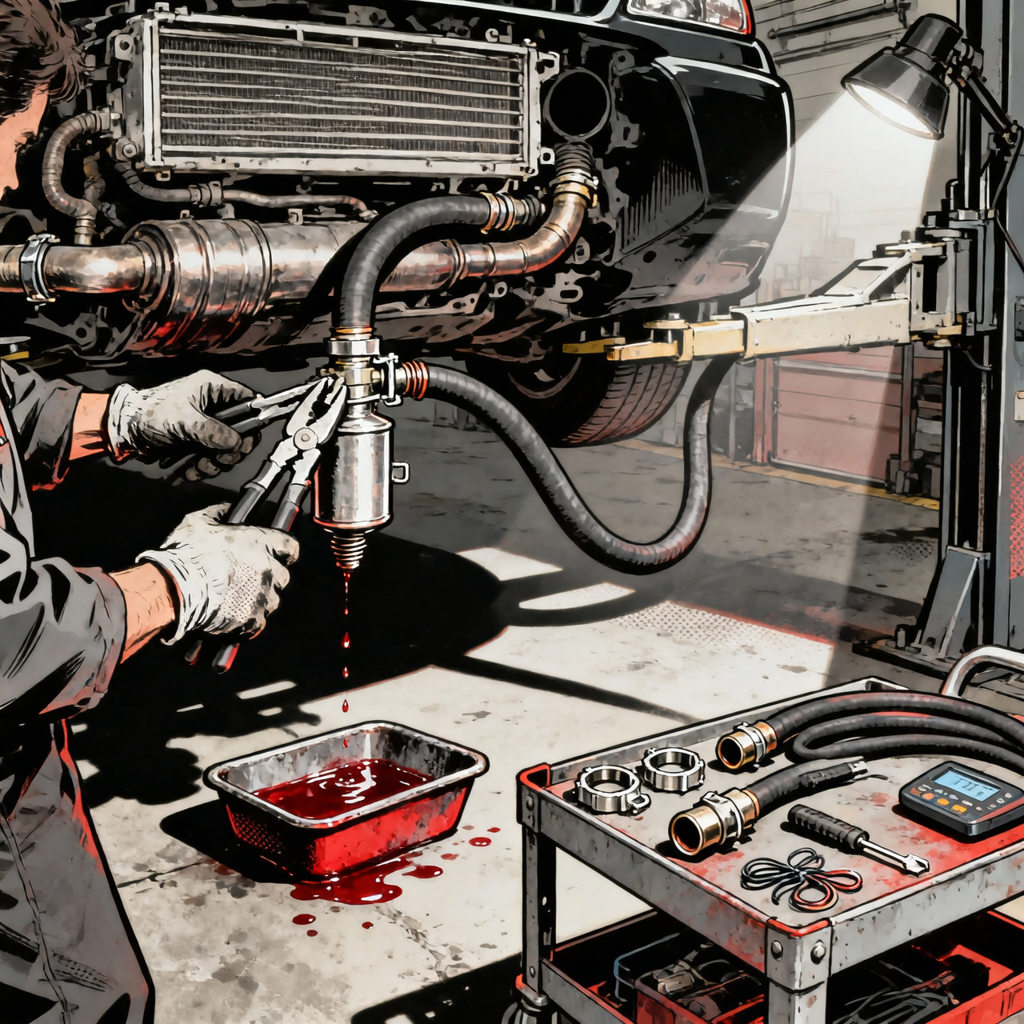
Inline return-line filters show up most often after transmission replacements or power steering repairs. They look like small, inline canisters with a directional flow arrow and are installed in a rubber section of a cooler or return hose. Some OEM warranty procedures and many independent rebuilders specify these filters to protect fresh components from debris left behind in coolers and lines after a failure. This guide explains when an inline filter is appropriate, how to identify the correct hose, how to install it without creating restrictions, and how to service or remove it correctly.
What Inline Filters Do and When They’re Used
Inline filters sit in the low-pressure return side of a fluid circuit. The two common uses are:
- Automatic transmission cooler return line: After a transmission failure (clutch material, bushing wear, gear or bearing damage), debris can remain trapped in the cooler and lines. Even with flushing, risk remains. Inline filters capture residual debris before it re-enters the transmission.
- Hydraulic power steering return line: After pump or rack failure, vane and seal debris can contaminate the system. An inline filter captures leftover particles while the system runs in after a repair.
Key points technicians consider:
- Warranty compliance: Many aftermarket rebuilders include an inline filter and require installation to validate warranty. Some OEM procedures require replacing the cooler or using an approved heated flushing process; others may accept an inline filter with documented line service. Always follow the specific warranty instructions provided with the unit.
- Seeding vs. restriction: Filters mitigate residual debris but introduce a potential restriction if not sized and maintained correctly. Choose a filter rated for ATF or PSF, match the hose inner diameter, and monitor for restriction symptoms.
- Temporary vs. permanent: Some filters are intended as break-in protection and should be replaced or removed after the initial service interval if the manufacturer specifies.
Identify the Low-Pressure Return Line and the Correct Filter
Correct placement is critical. Install inline filters only on the low-pressure return line. Installing on the high-pressure side can cause immediate damage or leaks.
How to identify the low-pressure return line:
- Transmission: Most modern layouts flow from transmission to cooler and return back to the transmission. On many applications, the cooler return feeds the case near the pan area. Use service information, line markings, or briefly feel temperatures with an infrared thermometer after a short run—return lines are typically cooler than the send line. Some lines have “OUT” and “IN” castings at the case or at the heat exchanger.
- Power steering: The high-pressure line is a crimped hose or hard line from the pump to the rack/gear with threaded fittings. The return line is usually a softer hose with a simple clamp to the reservoir or to a cooler loop. It will be larger diameter and not rated for high pressure.
Filter types and selection:
- Inline canister with magnet and media: Common for ATF. Many include a magnet to capture ferrous debris and a fine media element for non-magnetic contaminants. Look for flow arrows and an internal bypass rating.
- Reusable screen-type filters: More common in racing or power steering applications. Lower restriction, serviceable, but less fine filtration.
- Size and hose ID: Match 5/16 in, 3/8 in, or 1/2 in hose IDs as applicable. Undersized filters can choke flow; oversized filters can be hard to package securely.
- Temperature and fluid rating: Ensure compatibility with ATF (e.g., Mercon LV, Dexron VI) or power steering fluid as specified by the vehicle. Some systems use ATF in PS circuits; verify before ordering.
Installation: Best Practices That Prevent Leaks and Restrictions
Follow a consistent installation routine to avoid comebacks:
- Confirm flow direction: The canister will have an arrow; it must point in the direction of fluid flow toward the reservoir (PS) or back to the transmission (ATF). Backwards installation can trap debris or block flow.
- Cut the hose square and cleanly: Use a hose cutter. Deburr and wipe loose rubber. Avoid leaving slivers that can be drawn into the system.
- Push the hose fully onto the barbs: At least one barb past the clamp location. A light film of compatible fluid can help the hose seat.
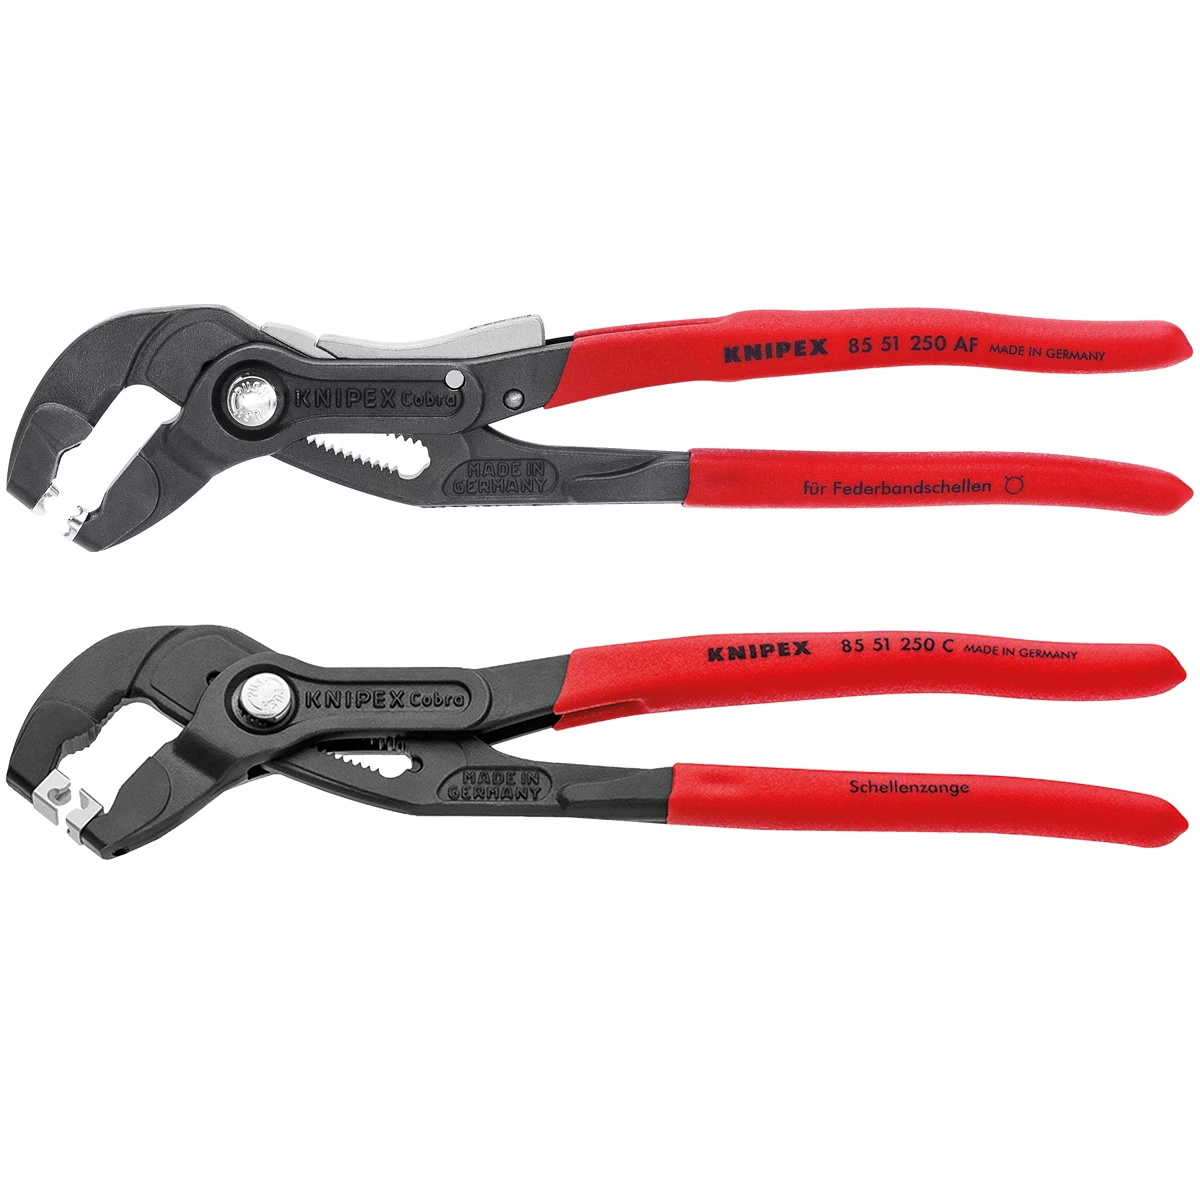
- Choose proper clamps: Use quality constant-tension or spring clamps designed for coolant/ATF/PS hoses. Avoid overtightening worm-drive clamps that can create point-loads and ovalize plastic nipples. If worm-drives are used, center them behind the last barb and torque lightly.
- Support the assembly: Secure the filter to avoid vibration stress. Use P-clamps or loom mounts to prevent rubbing on sharp edges or hot exhaust surfaces.
- Check routing: Ensure no kinks, tight bends, or contact with moving components. Maintain gentle radius bends.
- Prime and inspect: Start the engine, let the pump circulate fluid. For transmissions, run through PRNDL with foot on brake. For power steering, with front wheels off the ground, cycle lock-to-lock slowly. Watch for leaks and aeration. Top off fluid to spec.
- Warm and recheck: Bring the system to operating temperature and re-inspect for weeping or clamp relaxation. Re-torque as needed.
Notes for transmissions with a thermostatic bypass valve:
- Some units keep cooler flow closed or limited until ATF reaches a target temperature (often around 180–200°F). If you’re verifying return flow for leak checks, reach the correct temperature before assuming a flow problem.
- Avoid forcing fluid into the converter or cooler with high-pressure machines unless the OEM procedure specifically describes the method. Incorrect force-flushing can damage valves or cause overfill conditions.
Service Intervals, Hot Fill Procedures, and When to Remove the Filter
Service intervals and procedures depend on the system and the filter design:
- Transmission inline filters: If installed as part of a rebuild/warranty protocol, typical replacement intervals range from 15,000–30,000 miles after the initial install. Replace sooner if there are symptoms of restriction (see below). If the unit remains clean and the cooler was replaced or validated, you may remove the filter after the break-in interval, per rebuilder instructions.
- Power steering inline filters: Common replacement intervals are 30,000–50,000 miles. Replace sooner after a known component failure to capture residual debris, then extend intervals if fluid stays clean.
Transmission fill and verification tips (example: ATF with standpipe or level plug):
- Cold fill: After pan service, start with the specified quantity of correct fluid. For Ford units requiring Mercon LV, use the exact spec fluid.
- Warm to open the bypass: Many transmissions require the thermal bypass to open before performing the final level check (often near 190°F, but consult service data for the model). With wheels chocked and brakes applied, cycle through all ranges to fill circuits.
- Perform hot fill sequence: With the vehicle level and engine running, open the level plug or check with the dipstick per OEM procedure within the specified temperature window. Add fluid until it dribbles from the standpipe or reaches the hot range on the dipstick.
- Road test and recheck: Gentle driving for a few hundred miles allows new fluid’s friction modifiers to integrate with residual converter fluid. Recheck for leaks and verify shift quality.


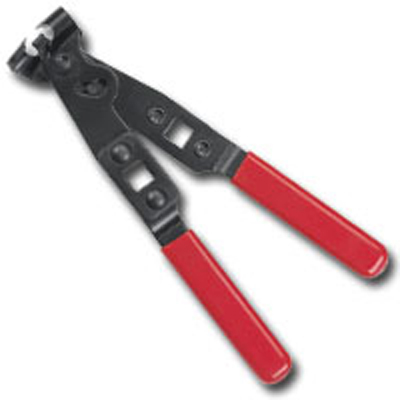
Axle Clamp Installer - CV Joint Boot Clamp
Mfg: Mopar Essential Tools
Part #: C-4975B
When to remove/bypass:
- After the break-in interval if the rebuilder/OEM allows it and the pan magnet and internal filter are clean at the follow-up service.
- If restriction symptoms occur and you confirm the inline filter is the bottleneck. Replace with a new unit or install a proper union to restore OE configuration if no longer required.
Diagnostics: Spotting a Clogged Inline Filter and Avoiding False Flags
Inline filter restrictions can mimic cooler or pump faults. Look for:
- Transmission symptoms: Elevated ATF temperatures, delayed engagement, torque converter clutch cycling or shudder, intermittent gear ratio codes under load, reduced cooler return flow when hot.
- Power steering symptoms: Heavy steering when hot, pump whine, foaming fluid in the reservoir, sluggish return-to-center, especially after a recent pump/rack repair.
Quick checks:
- Temperature delta: With an infrared thermometer, compare line temps before and after the filter. Large increases across the filter when hot suggest restriction.
- Visual inspection: Collapsed hose on the filter outlet, dark/loaded fluid, and a noisy pump point to blockage.
- Substitute/temporarily bypass: If permitted by warranty and safe to do, briefly replace the filter with a union to see if symptoms resolve. If they do, replace the filter with a new unit of the correct rating.
- Pressure testing (advanced): If the vehicle provides test ports, measure cooler line pressure upstream/downstream of the filter at operating temperature to confirm differential pressure beyond spec.
Checklist: Do’s and Don’ts for Inline Filters
- Verify low-pressure return line before cutting.
- Match hose ID and use a filter rated for the fluid and temperature.
- Observe flow direction arrow on the filter body.
- Use quality constant-tension or spring clamps; avoid overtight worm-drive clamps.
- Secure the assembly to prevent vibration and chafe.
- Warm the system and recheck for leaks and fluid level.
- Document install date/mileage and plan service replacement intervals.
FAQs
Do I need an inline filter if the transmission already has an internal filter and pan magnet?
The internal filter and magnet handle normal wear debris. After a failure or rebuild, debris trapped in the cooler and lines can break loose later. An inline filter is a protective measure for break-in or as required by a rebuilder or warranty process. Follow the specific unit’s requirements; if no failure occurred and the cooler is known clean, an inline filter is usually not necessary.
Can the same inline filter be used on power steering and transmission lines?
Some filters are marketed for both, but always confirm the filter’s ratings for pressure, temperature, and fluid compatibility. Power steering return systems typically see lower pressures than cooler send lines, but filter size and media vary. Use a filter with the correct hose size, temperature range, and chemical compatibility for the system.
How do I find the low-pressure return line without a diagram?
For transmissions, briefly run the vehicle and use an infrared thermometer; the return line is generally cooler than the send line. Many cases have “IN/OUT” cast near the ports. For power steering, the return line goes to the reservoir and uses a simple clamp rather than threaded, high-pressure fittings.
Will an inline filter void a warranty?
If the filter is required by a rebuilder or permitted by OEM procedures, it supports warranty compliance. Installing non-approved parts against OEM guidance may jeopardize coverage. Keep documentation: part numbers, install photos, mileage, and service intervals.
How often should I replace the inline filter?
Typical intervals for transmission inline filters are 15,000–30,000 miles after a rebuild, and 30,000–50,000 miles for power steering filters. If symptoms of restriction appear, service the filter immediately regardless of mileage. Follow the rebuilder’s or filter manufacturer’s interval if provided.
What clamp type should I use?
Use constant-tension or OE-style spring clamps sized for the hose. If worm-drive clamps are used, avoid overtightening that can crush plastic nipples or cut hoses. Recheck clamps hot, as hoses relax with temperature.
Should I flush the cooler and lines or replace the cooler?
Follow OEM or rebuilder guidance. Some procedures require cooler replacement after catastrophic failures. Others specify an approved heated flush process. Inline filters are not a substitute for proper cooler service; they are an added layer of protection.
My vehicle has a thermostatic bypass in the transmission. Does that change anything?
Yes. Cooler flow can be limited until the ATF reaches a specified temperature. Perform final level checks and cooler flow verification at the temperature window specified by the service manual. Avoid force-flushing against a closed bypass.
Parts and Tools You’ll Likely Need
- Inline return filter rated for ATF or PSF (match hose ID: 5/16 in, 3/8 in, 1/2 in)
- Transmission cooler hose (ATF-rated) or power steering return hose
- Constant-tension or OE-style spring clamps
- Hose cutter, deburring tool, and line cleaning supplies
- Union/barbed coupler for future filter removal if specified
- Infrared thermometer for line temperature checks
- Fluid level adapters or dipstick tools per OEM, approved ATF or PSF
- P-clamps/loom mounts and zip ties for strain relief
Removal/Bypass Procedure (When Allowed)
- Confirm it’s no longer required: Check the rebuilder/OEM paperwork. Document the mileage and system condition.
- Drain or cap as needed: Minimize spillage. Plug lines quickly to reduce air intrusion.
- Install a straight union: Use a barbed coupler with the correct hose ID and new clamps. Ensure hoses seat fully over the barbs.
- Secure and test: Route without kinks, secure hoses, top off fluid, bleed or warm the system, and verify no leaks. Recheck hot.
Inline filters are simple to install when you verify the return line, use the right clamps and hose, and follow the service interval. Treat them as a protective, sometimes temporary step—especially after component failure—not as a cure-all. Proper cooler service, fluid selection, and level verification remain the foundation of long-lived transmissions and power steering systems.
Shop Drive Train- Transmission Tools
For the installs and checks covered here, see Drive Train- Transmission Tools for specialty gear that streamlines return-line work, cooler service, and hot-fill verification.
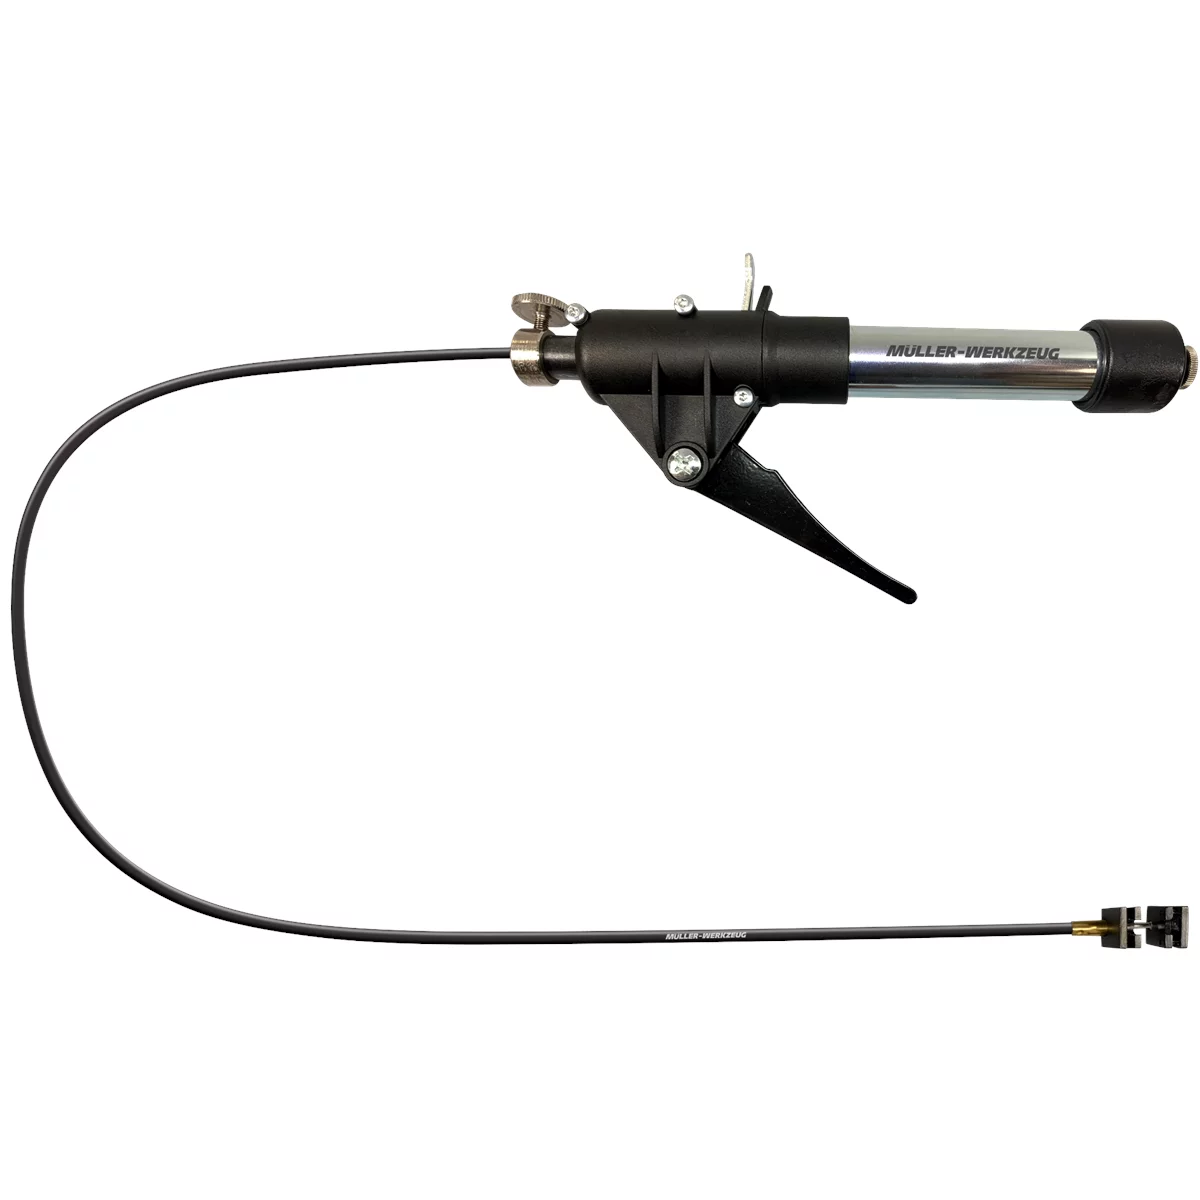
- Line disconnect tools, hose cutters, clamps, and barbed unions.
- ATF fill/level adapters and fluid handling tools.
- Pressure/temperature test tools to confirm flow and diagnose restrictions.
The Toolsource Technical Team blends decades of real-world automotive service experience with up-to-date technical research. Our writers collaborate with professional mechanics, shop owners, and diagnostic specialists to deliver practical, workshop-ready guidance you can trust.

Follow us on social media