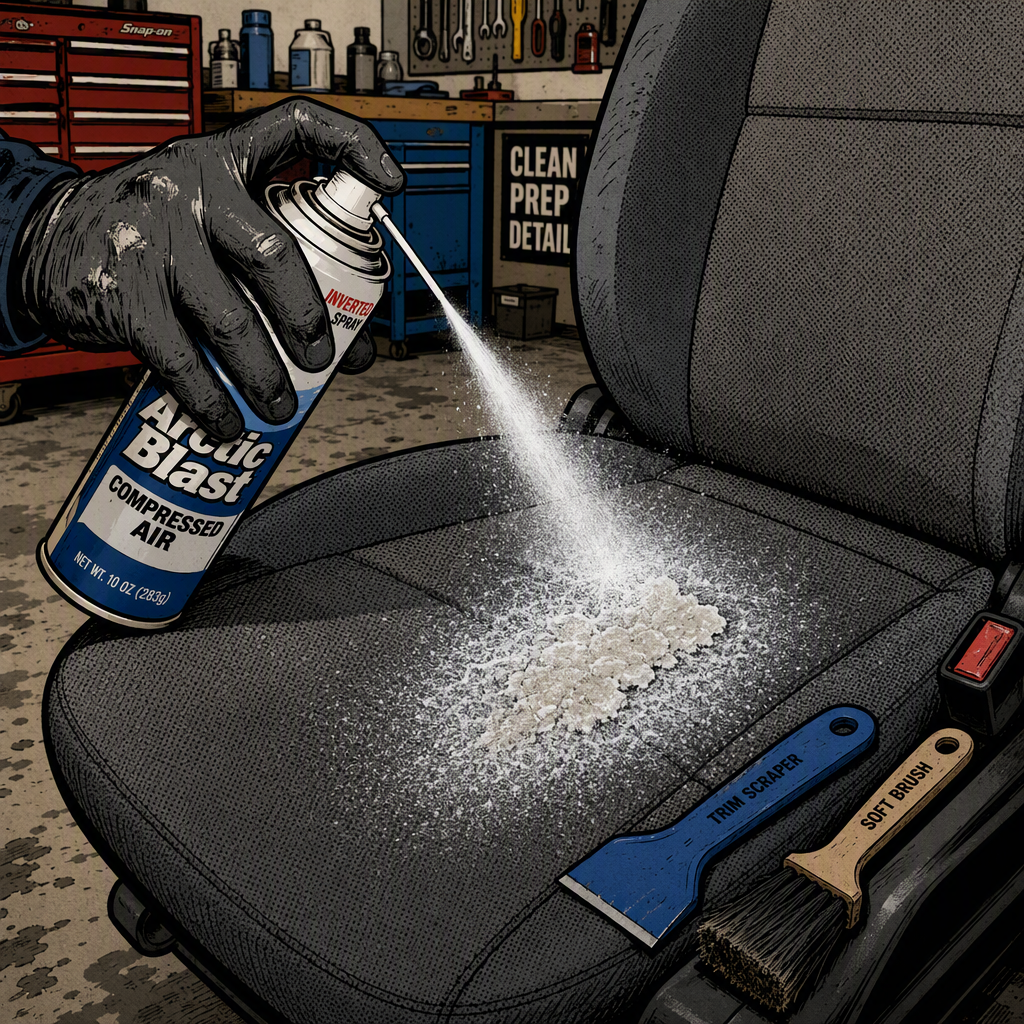
Candle wax, dropped gum, and grease stains on seats or carpet are some of the most common interior comebacks a shop sees, and they’re also some of the easiest to make worse with the wrong first move. Blasting a wax spill with a heat gun or scrubbing gum with solvent can drive the material deeper into the fibers or melt the surrounding synthetic weave. The good news is that two low-cost, low-risk techniques — one using cold, one using controlled heat — handle the vast majority of these jobs cleanly. This guide walks through both methods, plus the follow-up steps for oily residue, so you can knock out interior stain calls without damaging the material.
Assess the Stain Before You Touch It
Before grabbing any tool, identify what you’re dealing with and what the seat or carpet is made of. Wax and gum respond best to temperature-based removal, while oil and grease stains need an absorption-and-lift approach. Mixing up the methods wastes time and risks setting a stain permanently.
- Solid wax or gum sitting on top of the fibers: use the freeze method first.
- Wax that has already partially melted into the weave: use the heat-and-absorb method.
- Greasy halo left behind after wax removal, or a straight oil/grease spill: use the absorption method covered later.
- Fabric type: most late-model seats use synthetic (polyester or nylon blend) weave, which scorches or glazes easily under direct heat. Leather and vinyl need a different approach entirely — this guide is written for cloth seats and carpet.
A quick way to check fabric tolerance is to run a test pass with your chosen method on a hidden section, like under the seat bolster or behind a headrest post, before working the visible stain.
Freeze-and-Shatter Method for Wax and Gum
This is the preferred first attempt for most techs because it carries almost no risk of fabric damage. Cold makes wax and gum brittle so they crack away from the fibers instead of smearing further in.
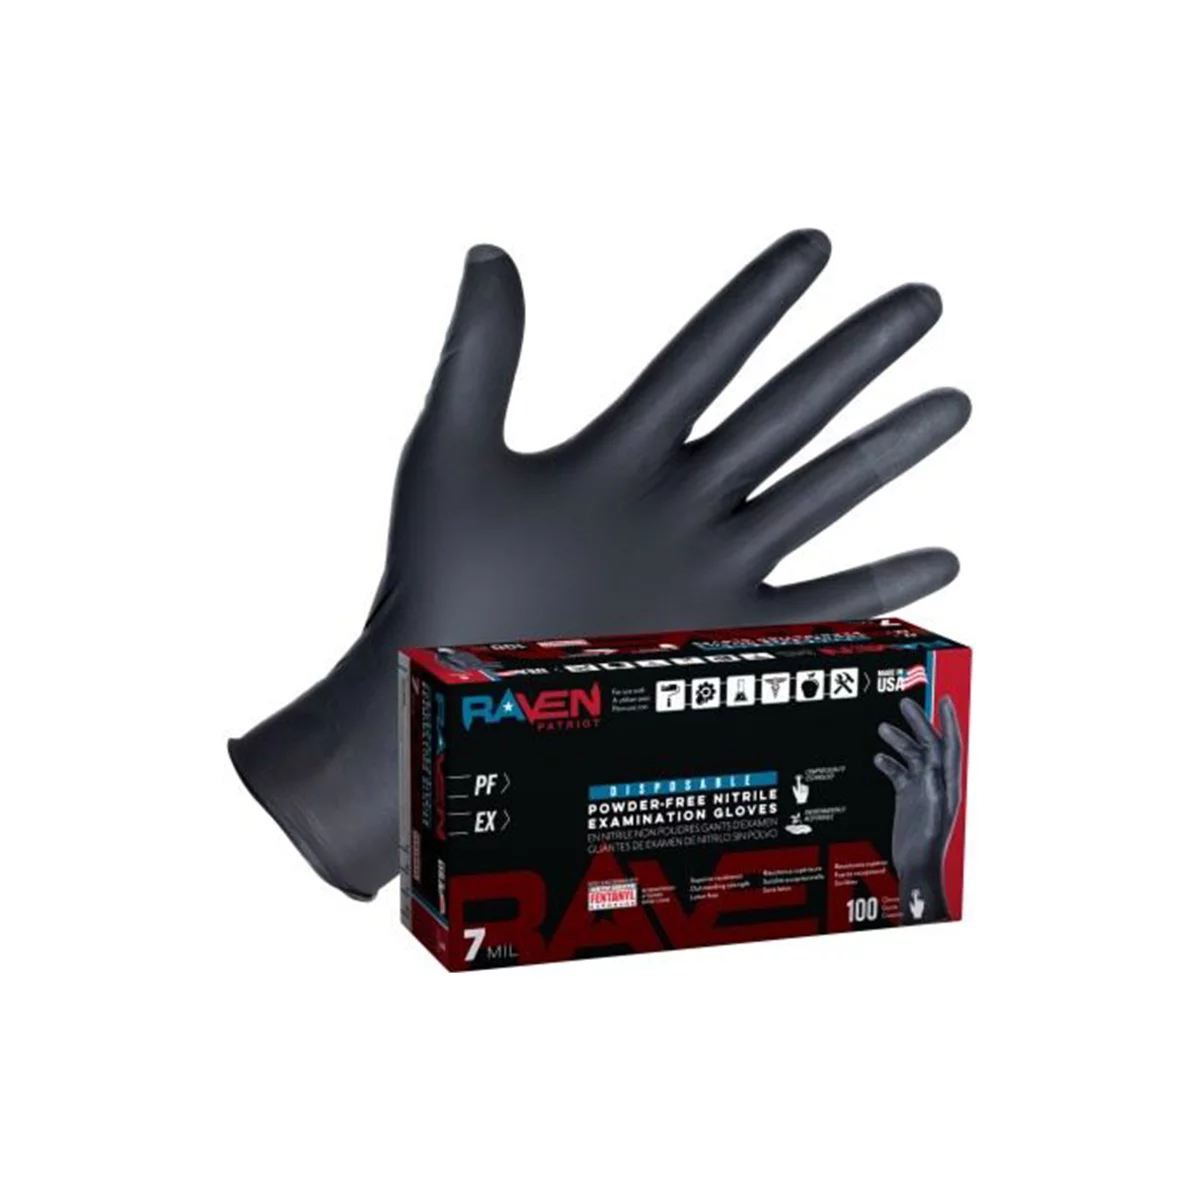
- Put on nitrile gloves — the propellant in canned air gets very cold very fast and will cause frostbite on bare skin in seconds if you catch a direct spray.
- Hold a can of compressed/canned air upside down. Inverting the can releases the propellant as a cold liquid spray rather than gas, which is what actually freezes the wax or gum.
- Spray the stain directly for 10-20 seconds until the material turns hard and opaque. On thicker wax deposits, give it a second pass.
- Once frozen, use a plastic scraper, the edge of a spoon, or a dull butter knife to gently chip and shatter the material off the surface. Work from the edges of the deposit inward so you’re not driving material further into the weave.
- Vacuum immediately with a brush attachment to pull loose fragments out of the fiber base before they warm back up and re-soften.
- Repeat freeze-scrape-vacuum cycles as needed for stubborn spots. It’s normal to need two or three passes on a deep gum deposit.
This same process works for chewing gum that’s been ground into carpet or seat fabric, including gum that’s been sitting for months. The freeze method has a real advantage over heat here: it never risks melting synthetic fibers, which is the biggest failure mode with wax removal on OEM seat material.
[[PRODUCT_SEARCH: compressed air duster can nitrile gloves]]
Heat-and-Absorb Method for Wax Removal
When wax has already soaked into the fibers, or the freeze method only gets partial results, switch to a controlled heat approach that pulls the wax out into an absorbent material instead of just softening it in place.
- Lay a folded paper towel or a section of a plain brown paper bag directly over the wax stain. Paper bag material tends to hold up better under heat than thin paper towel and is less likely to leave lint behind.
- Set a clothes iron to its lowest heat setting with the steam function off. This step matters more than any other in this method — synthetic seat fabric will glaze, flatten, or melt at medium-to-high iron settings, and that damage is not reversible.
- Press the iron on top of the paper for 3-5 seconds at a time, checking the paper and fabric between passes. Do not leave the iron sitting stationary.
- As the wax melts, it wicks up into the paper. Move to a clean section of paper as soon as the covered spot becomes saturated, and keep repeating until no more wax transfers.
- Let the area cool and inspect the fabric texture and color before moving to the next step. If you see any sheen, stiffness, or color change, stop — that section has taken heat damage and further ironing will only make it worse.
Once the visible wax is gone, you’ll typically still have an oily discoloration left in the fabric from the wax base. That residue needs its own cleaning step, covered next — ironing alone won’t remove it.
Clearing the Oily Residue After Wax or Grease Removal
Whether the stain started as candle wax, cooking grease, or a straight oil spill, the leftover oily residue responds to the same absorption-based process:
- Sprinkle a generous layer of baking soda directly over the stained area and let it sit for a few minutes — baking soda is mildly absorbent on its own and gives the next step something to bind to.
- Mix a small amount of dish soap (a grease-cutting formula works best) with water in a spray bottle and lightly mist the baking soda until it’s moistened, not soaked.
- Let it dry completely. As it dries, the mixture draws oil up out of the fibers the same way it draws grease off a stovetop.
- Vacuum the dried residue thoroughly.
- If the stain is still visible, apply diluted dish soap directly to just that spot to break up the remaining grease, agitate lightly with a soft brush, and blot — don’t scrub in circles, which spreads the stain outward.
- Repeat the baking-soda cycle if a shadow remains. Two or three light passes outperform one aggressive scrub and are much less likely to leave a ring.
- Finish with an all-purpose interior cleaner (APC) and an extraction or carpet cleaner pass to rinse out any soap residue, since leftover soap attracts dirt and can leave the spot looking dingy again within days.
This cycle is also the right call for oil and grease stains that show up on their own, with no wax or gum involved — fast food spills, hand lotion, or engine grease tracked in on a customer’s clothes.
Quick Reference Checklist
- Identify the stain type and fabric before choosing a method.
- Wax or gum on the surface → freeze with inverted canned air, scrape, vacuum. Wear nitrile gloves.
- Wax soaked into fibers → paper towel/bag + iron on lowest setting, no steam.
- Test any heat method on a hidden section first.
- Oily residue after wax/gum removal → baking soda + diluted dish soap, dry, vacuum, repeat as needed.
- Finish oil-stain jobs with an APC pass and extraction to prevent soap residue buildup.
- Never scrub in circles on fabric stains — blot and lift instead to avoid spreading the stain.
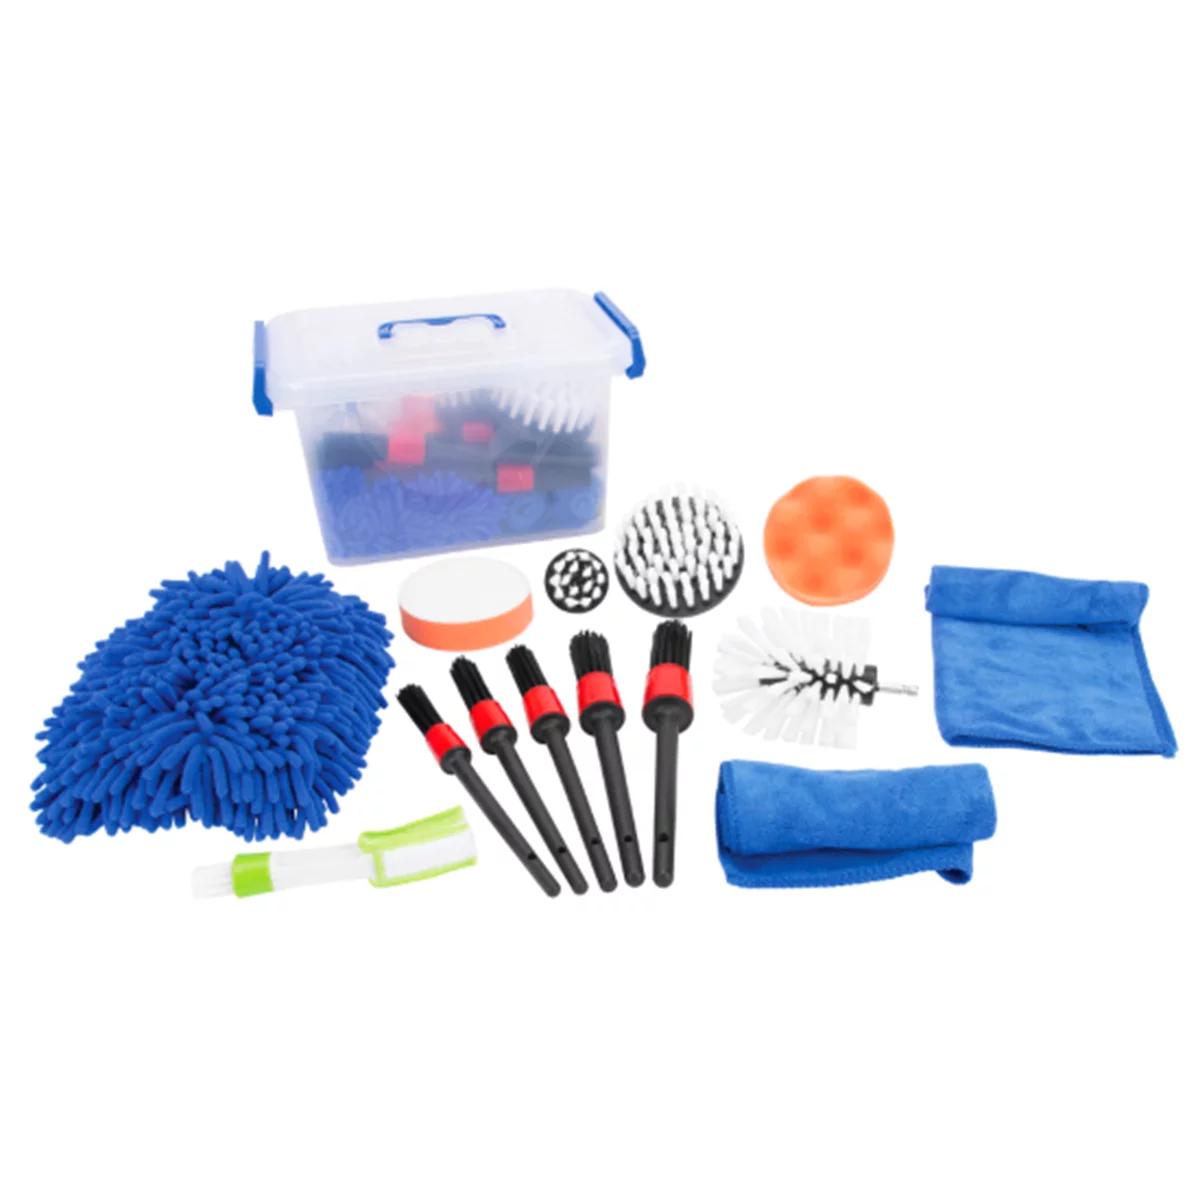
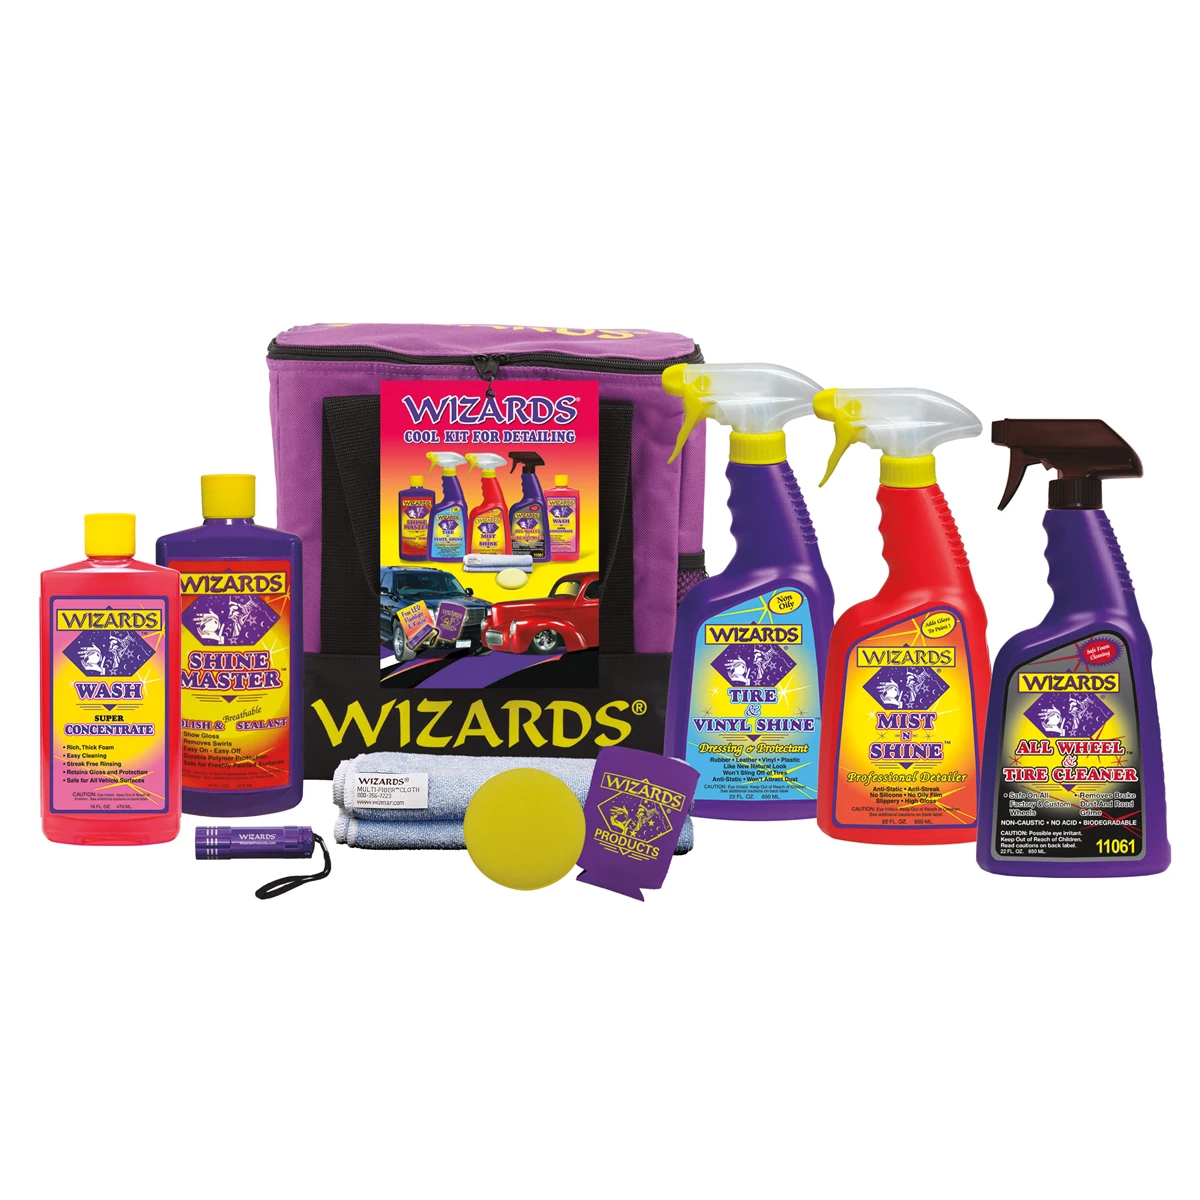
[[PRODUCT_SEARCH: interior detailing kit upholstery cleaner]]

Frequently Asked Questions
Will the iron method damage my seat fabric?
It can, if the iron is set too hot or held in place too long. Stick to the lowest heat setting, keep the iron moving, and always cover the fabric with paper — direct iron-to-fabric contact is what causes melting or glazing on synthetic weaves.
Is the freeze method safe on leather or vinyl seats?
Use caution. Extreme cold applied directly and repeatedly can dry out and crack leather over time. For leather, freeze only the wax or gum deposit itself with brief spray bursts, scrape gently, and follow up with a leather-specific conditioner afterward.
Can I use dry ice instead of canned air?
Yes, dry ice achieves the same freezing effect and some techs prefer it for larger wax deposits. It requires more careful handling — always use insulated gloves, since dry ice causes contact frostbite instantly, and never store it in a sealed container.
What if bits of wax or gum are still stuck in the fibers after scraping?
That’s normal and expected. Small fragments left behind after the freeze-and-scrape pass vacuum out easily; they don’t need to be picked out by hand. A brush attachment on the vacuum helps dislodge fragments caught deep in a carpet weave.
Why use dish soap instead of a stronger degreaser on oil stains?
Dish soap formulated for cutting grease is effective, cheap, and gentle enough not to strip fabric dyes or leave a strong chemical residue behind. Stronger solvent-based degreasers can discolor upholstery and usually need more rinsing to fully remove.
How long does the baking soda need to sit before I vacuum it?
Let it sit until completely dry, which is usually 30-60 minutes depending on humidity and how much moisture was in the spray mix. Vacuuming while it’s still damp reduces how much oil it’s able to pull out of the fibers.
Recommended Cleaning Supplies
The materials needed for these techniques are available in our Cleaning Supplies section. Stock compressed air, nitrile gloves, absorbents, and degreasers to handle wax, gum, and oil stains efficiently.
- Compressed air dusters and protective gear for freeze applications
- Absorbent materials and soft brushes for detail work
- Degreasers and all-purpose cleaners for residue removal

The Toolsource Technical Team blends decades of real-world automotive service experience with up-to-date technical research. Our writers collaborate with professional mechanics, shop owners, and diagnostic specialists to deliver practical, workshop-ready guidance you can trust.


Follow us on social media