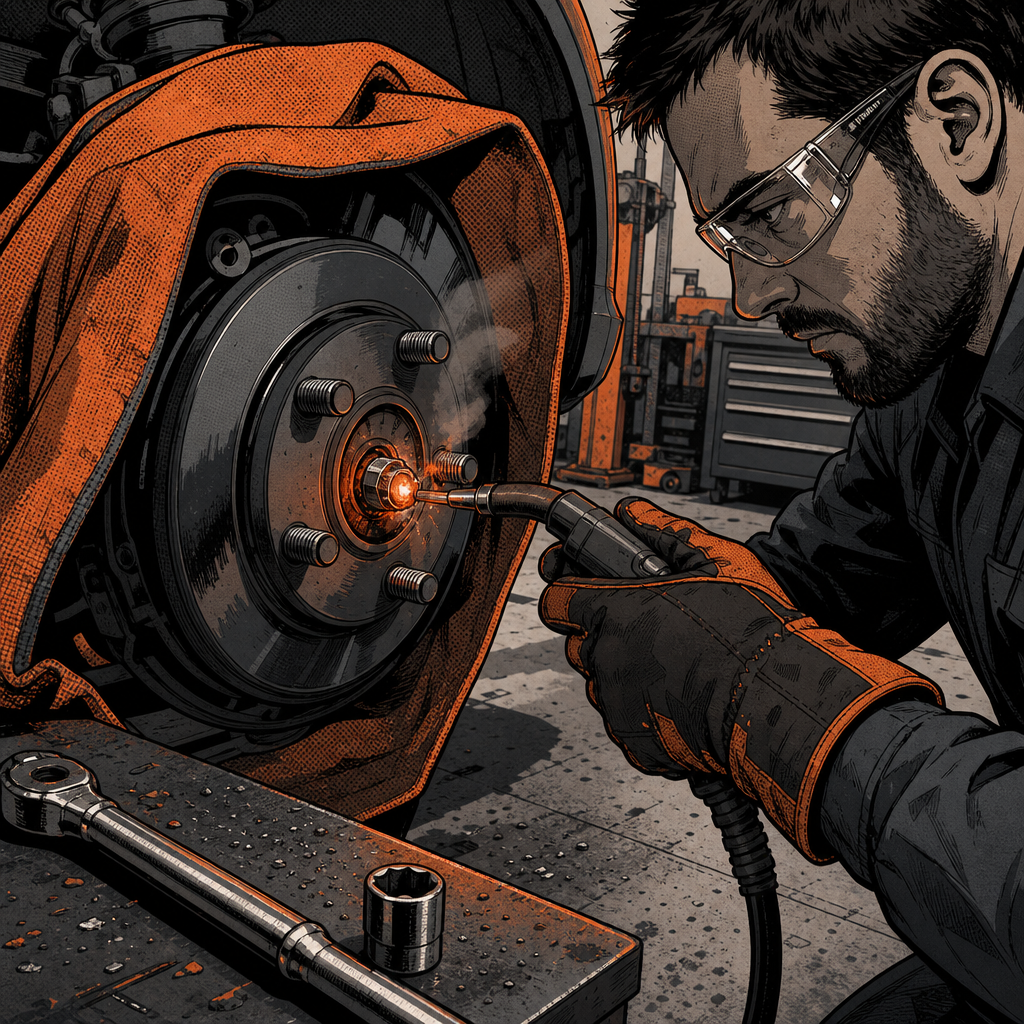
Every technician eventually faces the same frustrating scenario: a customer arrives with a flat tire or brake job, and you discover stripped, seized, or missing-key locking wheel nuts standing between you and the job. Whether it’s an aftermarket security lug with a lost adapter socket, a corroded capped lug nut from the rust belt, or a high-security Italian design with a rotating collar, the challenge is the same—remove it without destroying the wheel, hub, or your entire afternoon. This guide consolidates field-proven techniques that experienced shop techs rely on when conventional methods fail, focusing on practical approaches that balance speed, safety, and minimizing collateral damage.
Understanding the Problem: Why Locking Wheel Nuts Seize
Before diving into removal methods, it helps to understand why locking wheel nuts become problematic. Aftermarket security lugs are designed specifically to resist removal without the correct key or adapter socket. High-quality designs—particularly some Italian-made security bolts—feature hardened steel construction and rotating outer collars that defeat standard extraction sockets. When you add corrosion, cross-threading, over-torquing, or the loss of the original key into the mix, you have a component that’s doing exactly what it was engineered to do: resist removal.
Rust-belt technicians face an additional challenge with OEM capped lug nuts, particularly on GM vehicles. The decorative chrome or stainless cap can corrode and swell, rounding off and preventing the correct socket from seating properly. The underlying steel stud may be seized to the aluminum wheel from galvanic corrosion. In these cases, even if you have the correct key, the fastener may simply spin or strip before loosening.
The key to successful removal is matching your approach to the specific failure mode. A lost key requires a different strategy than a rounded-off lug, and a spinning stud calls for yet another technique. Attempting the wrong method wastes time and risks escalating minor issues into wheel or hub damage that turns a simple tire rotation into an expensive repair.
Method 1: Direct Stud Drilling
For many experienced technicians, drilling out the stud has become the go-to method for severely seized or stripped locking lugs. This approach intentionally sacrifices the stud and locking nut together, leaving the wheel completely undamaged and ready for a simple stud replacement. While it might seem aggressive, it’s often the fastest and safest route when dealing with high-security designs that resist other extraction methods.
The process requires a long, sharp drill bit—typically a cobalt or titanium-coated bit in the 3/8-inch to 7/16-inch range, depending on your stud size. Center-punch the stud if possible to prevent bit walk, though the existing lug nut often provides natural guidance. Start with moderate speed and firm, steady pressure. The goal is to drill through the entire length of the stud, effectively severing it. High-quality security lugs use hardened steel, so expect the process to take longer than drilling standard mild steel—anywhere from 30 seconds to several minutes depending on the stud material and your equipment.
The major advantage of this method is zero risk to the wheel. You’re working entirely within the stud itself, and even if the bit wanders slightly, you’re still within the hub area where minor surface marks are inconsequential. Once the stud is drilled through, the locking nut typically falls away or can be broken off with light hammer taps. You’ll need to replace the stud afterward, but this is straightforward work—drive out the remains of the old stud from the rear of the hub, insert a new one, and use a few washers with a lug nut to pull it into proper seating.
This method works especially well in production environments where time is money. An experienced tech can drill out a seized lug faster than attempting multiple extraction methods, and the parts cost—one replacement stud—is minimal compared to the labor saved or potential wheel damage from aggressive extraction attempts.
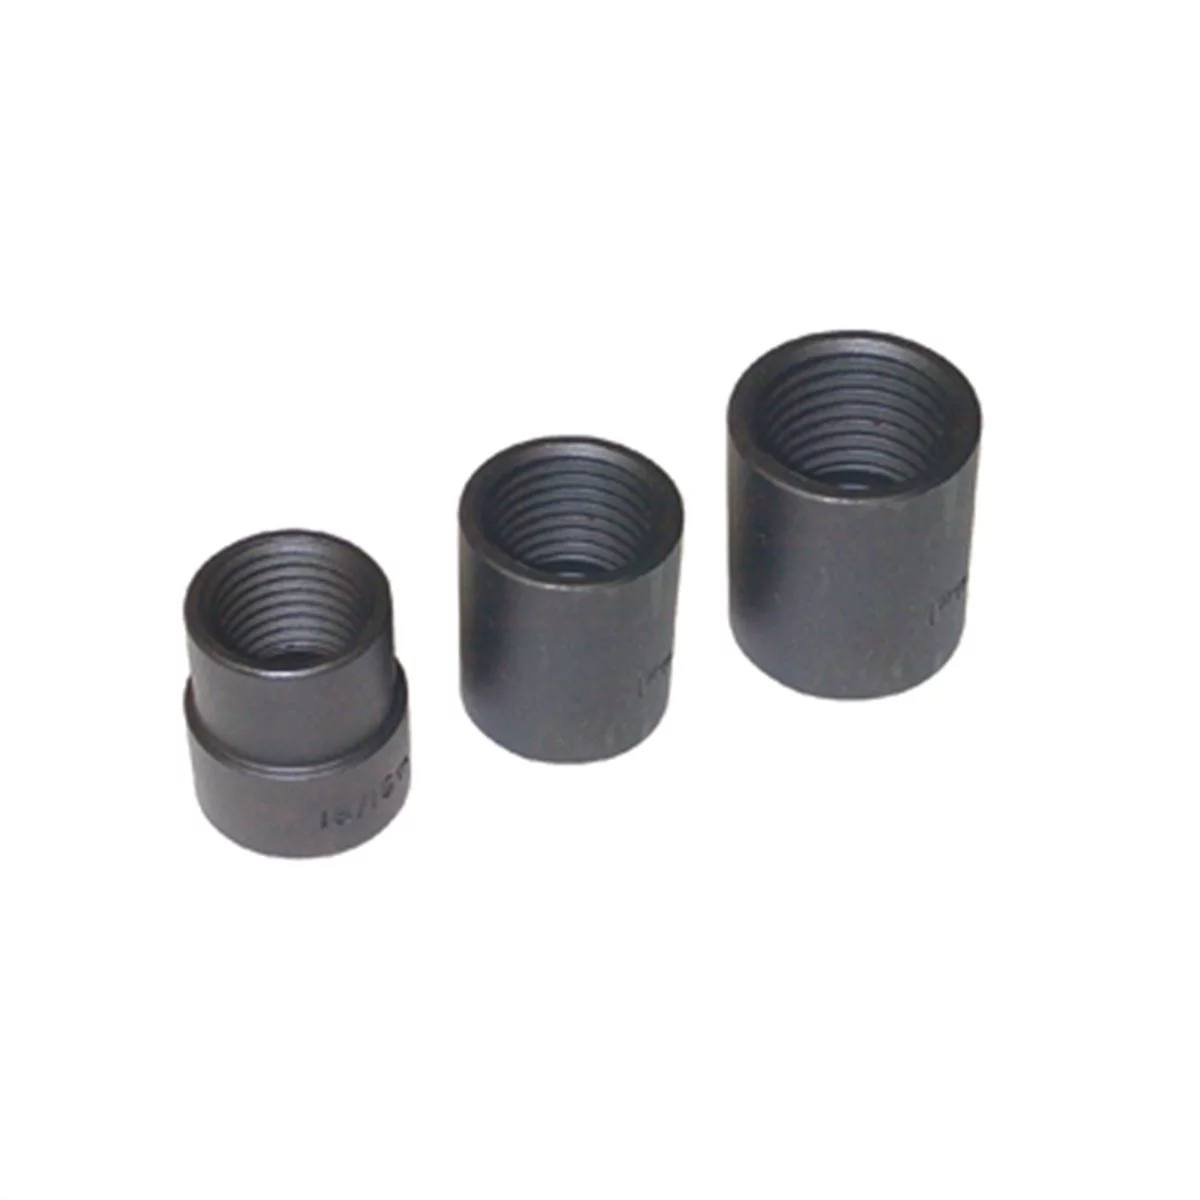
3 Piece Emergency Lug Nut Removal Socket Set
Mfg: CTA Manufacturing Corp.
Part #: A157
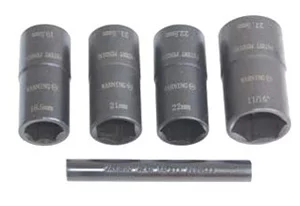
1/2 Inch Drive Dual Sided Socket Lugnut Removal Tool Set
Mfg: Lock Technology LTI by Milton
Part #: LT-1230
Method 2: The Weld-Nut Extraction Technique
When you need to remove a locking lug without destroying the stud, the weld-nut method is the industry-standard approach. This technique involves welding a sacrificial nut or piece of steel to the damaged locking lug, creating fresh material and edges that a standard socket can grip. It’s particularly effective on rounded-off lugs or when you’ve lost the security key but want to preserve the stud for reuse.
Start by selecting a sacrificial nut that’s slightly smaller than the locking lug’s outer diameter—typically a standard 6-point nut in the 17mm to 19mm range works well. Position it concentrically over the stripped locking lug. Some techs place it face-down (open end toward the locking lug) to contain the weld puddle inside, while others prefer face-up to build a solid post of weld material. Both approaches work; the key is building enough weld to create a solid connection between the sacrificial nut and the underlying locking lug.
Use a MIG welder with standard mild steel wire. Tack the sacrificial nut in place with small welds around the perimeter, then fill generously. You want enough weld penetration to fuse the new nut solidly to the hardened steel of the locking lug beneath. Don’t be shy with filler—a solid connection is critical. The weld doesn’t need to be pretty; it needs to be strong enough to transmit torque.
Before welding, protect the wheel surface. Aluminum wheels are particularly vulnerable to weld spatter, which bonds aggressively to the alloy and leaves permanent pitting. Masking tape provides minimal protection—welding blankets, wet rags around the perimeter, or purpose-made magnetic welding shields are far more effective. Position your work so spatter falls away from the wheel face.
Once the weld cools enough to handle—15 to 30 seconds—immediately hit it with a breaker bar and socket. The combination of fresh weld heat and immediate torque application often breaks the corrosion bond that was preventing removal. If it doesn’t break free, let it cool completely and try again with penetrating oil and heat cycling. The welded assembly gives you vastly improved leverage and grip compared to the rounded or keyed original.
Method 3: Thermal Extraction with Oxy-Acetylene
Heat-based removal methods leverage differential thermal expansion and, in extreme cases, cutting or melting to separate seized components. The most aggressive approach uses an oxy-acetylene cutting torch to simply blow through the locking lug and stud together. While this sounds destructive, skilled technicians routinely perform this operation without damaging aluminum wheels, thanks to the massive difference in thermal properties between steel and aluminum.
Steel melts around 2,500°F, while aluminum melts around 1,200°F. However, aluminum conducts heat approximately four times faster than steel and has much higher thermal diffusivity. An aluminum wheel acts as an enormous heat sink, wicking thermal energy away from the work area faster than a localized torch flame can raise the wheel’s temperature to damaging levels. The key is working quickly and keeping the flame concentrated on the steel fastener.
To blow out a seized stud, use a standard oxy-acetylene cutting torch with a small tip. Light the torch and adjust for a neutral or slightly oxidizing flame. Preheat the locking lug for a few seconds, then open the oxygen valve to start the cutting action. The cut initiates almost immediately on the steel. Once it starts, many techs shut off the acetylene and run pure oxygen—the exothermic reaction of steel oxidizing provides enough heat to continue the cut, and the high-velocity oxygen blast blows the molten material through.
Work from the outside edge of the lug toward the center, or concentrate the flame on the stud itself if you can access it. The entire process typically takes 10 to 30 seconds per lug. The aluminum wheel might get warm to the touch in the immediate area, but substantial damage is rare when you work quickly. Some techs enhance protection by packing wet rags in the wheel well around the stud or applying heat-sink paste to the wheel surface adjacent to the work area.
This method sacrifices both the lug and the stud, requiring replacement of both, but it’s extraordinarily fast and effective on the most stubbornly seized fasteners. It’s the technique of choice when dealing with rust-belt vehicles where corrosion has essentially welded the steel stud to the aluminum hub, and mechanical extraction methods would risk breaking the stud off inside the hub.
For less aggressive thermal approaches, standard heating with a propane or MAP gas torch followed by rapid cooling with penetrating spray can break corrosion bonds without destroying components. Heat the locking lug until it’s too hot to touch, then immediately douse it with penetrating oil. The rapid contraction can crack rust and corrosion, allowing removal with the correct key or an extraction socket. This works best on moderately seized fasteners rather than completely locked or stripped lugs.
Damage Prevention and Risk Management
Every extraction method carries some risk of collateral damage. Understanding and mitigating these risks separates professional-quality work from hack jobs that create expensive secondary problems. The most common damage scenarios involve the wheel, the hub, and the brake rotor or drum.
Aluminum wheel damage typically manifests as weld spatter pitting, heat discoloration, or mechanical gouging from slipped tools. Weld spatter is the most common—those tiny molten steel balls bond to aluminum on contact and cannot be fully removed, leaving permanent surface defects. Prevention is the only cure: use welding blankets, magnetic shields, or at minimum multiple layers of aluminum foil tape (not painter’s tape, which offers almost no protection) to shield the wheel face during any welding operation.
Heat discoloration appears as rainbow-colored oxidation or dark staining on polished or clear-coated aluminum. This is purely cosmetic but visible and permanent. Minimize it by keeping torch time short, using wet rags as heat barriers, and working as far from finished wheel surfaces as practical. On expensive or show-quality wheels, consider the stud-drilling method instead of thermal approaches to eliminate heat exposure entirely.
Hub damage is less common but more serious. Cross-threading a new stud, wallowing out the stud bore with an oversized drill bit, or cracking the hub casting with excessive heat or impact are all expensive mistakes. When drilling, use the correct bit size—you want to remove the stud, not enlarge the bore it sits in. When driving in replacement studs, ensure proper alignment and use steady pressure rather than impact. When applying heat, concentrate it on the fastener, not the surrounding casting.
Brake rotor or drum damage usually results from torch work. An errant flame or prolonged heat exposure can warp rotors or anneal hardened drum surfaces. Keep the torch pointed away from brake components, work quickly, and consider removing the caliper or backing plate if access allows and the situation warrants the extra time.
Finally, protect yourself. Drilling hardened steel produces sharp, hot chips that can cause serious eye injury—safety glasses are mandatory, and a face shield is better. Welding requires proper eye protection, ventilation, and fire watch. Torch work demands respect for compressed gases, open flame, and molten metal. Never attempt extraction work without appropriate PPE and fire suppression equipment immediately accessible.
Choosing the Right Method: A Decision Framework
With multiple viable extraction techniques available, how do you decide which to use? The answer depends on fastener condition, available tools, customer expectations, and shop workflow. Here’s a practical decision framework:
Use stud drilling when: The locking lug is high-security hardened steel that resists other methods; you need guaranteed zero wheel damage; the stud is already damaged or marginal; or speed is critical and you have replacement studs in stock. This is the lowest-risk approach for the wheel and often the fastest in experienced hands.
Use the weld-nut method when: You want to preserve the stud; the lug is rounded or stripped but not spinning; you have welding equipment and skill; and wheel protection is manageable. This offers a good balance of effectiveness and component preservation.
Use thermal extraction when: Corrosion has seized the stud to the hub; mechanical methods have failed; you have torch skills and proper safety equipment; and the customer understands the stud will be replaced. This is the most aggressive approach but also the most universally effective on severely seized assemblies.
Use extractor sockets when: The locking lug is only moderately rounded; you have a quality extractor set (cheap extractors often fail on hardened security lugs); and you want to attempt the least invasive method first. Be prepared to escalate to another method if extraction fails—don’t waste 45 minutes fighting a $15 locking lug with marginal tools.
Quick Reference Checklist: Seized Locking Lug Removal
- Assess the failure mode: lost key, rounded, stripped, spinning, or completely seized
- Verify you have replacement parts available before destroying components
- Select extraction method based on fastener condition and available tools
- Protect wheel surfaces with appropriate barriers before welding or cutting
- Wear required PPE: safety glasses/face shield, welding hood, gloves
- Work quickly with heat methods to minimize thermal exposure to wheel and hub
- Have fire suppression equipment accessible for torch or welding work
- Inspect hub and stud bores for damage before installing replacement studs
- Torque replacement lugs to manufacturer specification using a torque wrench
- Document the issue and your solution for customer records
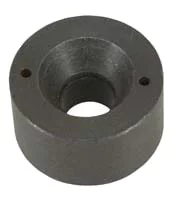

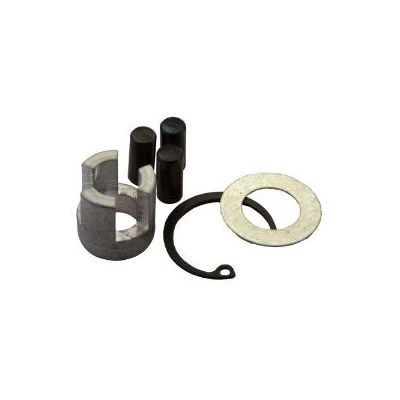
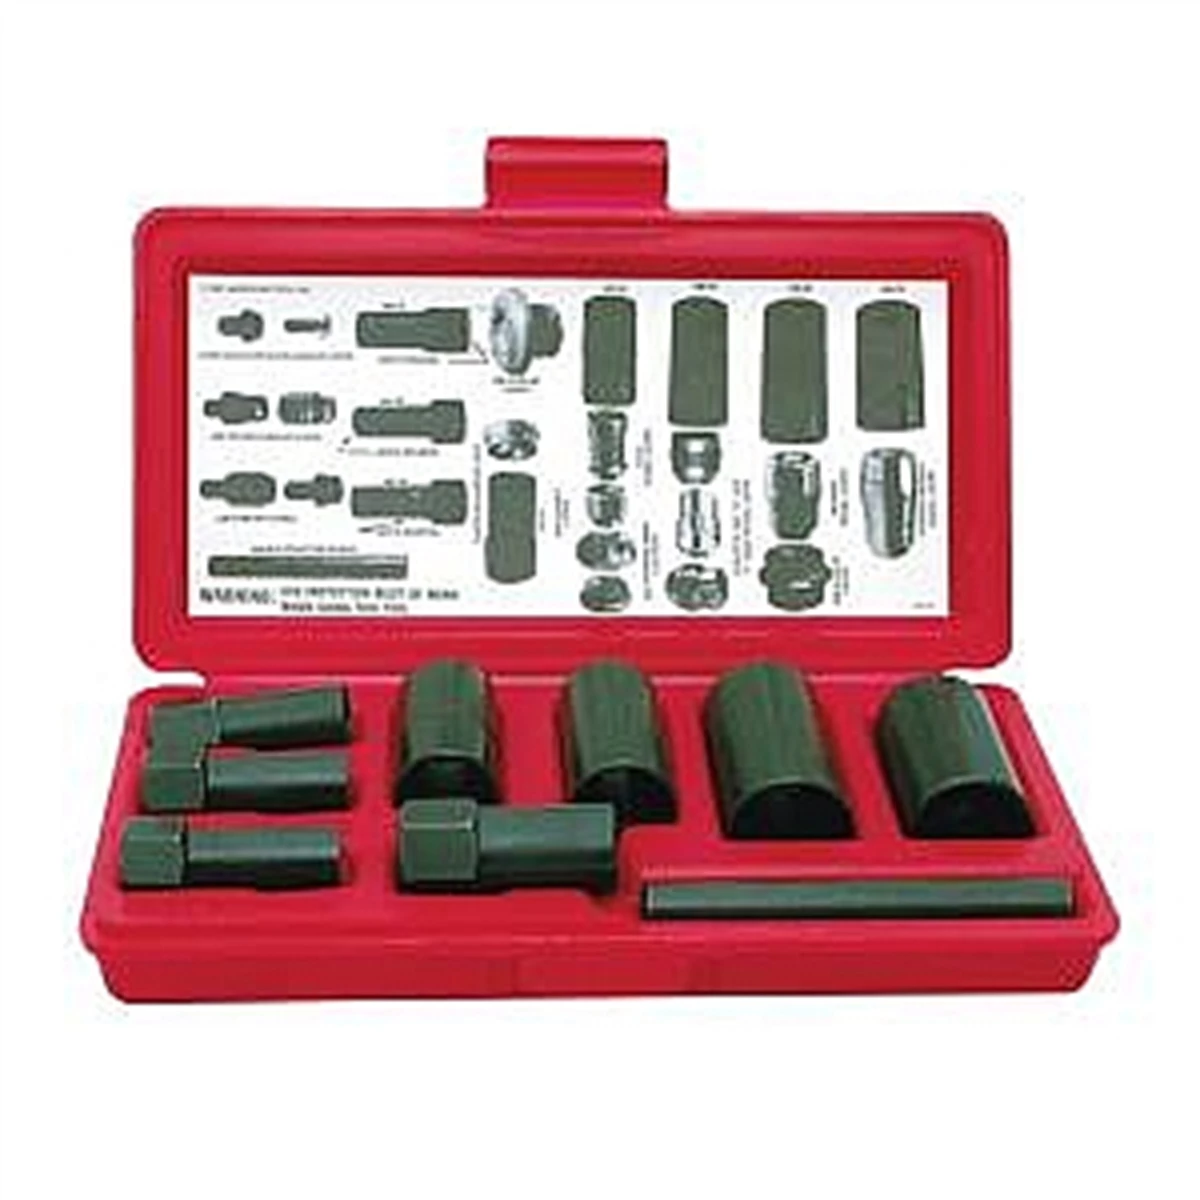
Internal Replacement Parts for 1/2" Stud Remover/Puller Parts Ki
Mfg: Assenmacher Specialty Tools
Part #: 500
Frequently Asked Questions
Can I drill out a locking wheel nut without damaging the stud?
It’s extremely difficult to drill only the locking nut while preserving the stud beneath, especially with hardened security lugs. The nut and stud are the same approximate diameter and made of similar materials. Most technicians who choose drilling intend to drill through both and replace the stud. If you must save the stud, the weld-nut method is a better choice.
Will welding on a locking lug damage my aluminum wheel?
Welding can damage aluminum wheels if spatter isn’t controlled or if excessive heat discolors the finish. Proper protection—welding blankets, magnetic shields, or metal tape—prevents spatter damage. Working quickly and allowing the wheel’s thermal mass to dissipate heat prevents discoloration. Many technicians perform this operation daily without wheel damage when proper precautions are taken.
Why do GM capped lug nuts fail so often?
GM’s two-piece capped lug nuts have a stainless steel or chrome decorative cap over a smaller hex core. In rust-belt environments, corrosion between the cap and core causes the cap to swell and round off. The cap may separate from the core, leaving nothing for a socket to grip. This design is notoriously problematic on vehicles exposed to road salt, leading many techs to recommend replacement with solid one-piece lugs.
Is it safe to use an oxy-acetylene torch near an aluminum wheel?
Yes, when done properly. Aluminum’s high thermal conductivity and the wheel’s large mass make it an effective heat sink. Working quickly with a concentrated flame on the steel fastener allows removal without melting or significantly damaging the wheel. Experienced technicians routinely use this method. However, it requires proper torch skills and safety awareness—this isn’t a technique for first-time torch users to learn on customer vehicles.
What’s the best way to prevent locking lug problems?
Use anti-seize compound on threads during installation, torque to specification rather than over-tightening, and store the locking lug key with the vehicle’s tire tools. Inspect locking lugs during routine service and replace any showing corrosion, rounding, or damage before they fail completely. In severe corrosion environments, consider replacing aftermarket locking lugs with standard one-piece lugs and relying on other theft deterrents.
Can I reuse a wheel stud after heating it with a torch?
No. Heating a stud to cutting temperatures fundamentally changes the steel’s metallurgy, reducing strength and fatigue resistance. Even studs that appear intact after thermal extraction should be replaced. Wheel studs are safety-critical fasteners under significant cyclic loading—the modest cost of a new stud is never worth the risk of failure. Always replace studs after thermal extraction methods.
Recommended Tools for Locking Lug Removal
Successful locking lug extraction depends on having the right tools for the job. Whether you’re attempting extraction sockets, welding, or drilling, quality equipment makes the difference between a quick repair and a frustrating struggle. Our Lugnut Sockets – Wrenches selection includes specialized sockets, extractors, and wrenches designed specifically for wheel service.
- Extractor sockets and specialty wrenches for seized and stripped lugs
- Lug nut sockets in standard and deep configurations
- Impact-rated tools for stubborn fasteners

The Toolsource Technical Team blends decades of real-world automotive service experience with up-to-date technical research. Our writers collaborate with professional mechanics, shop owners, and diagnostic specialists to deliver practical, workshop-ready guidance you can trust.


Follow us on social media