
A battery with worn-off paint, a missing terminal cover, or embossed markings hidden under the clamp is a more common comeback generator than most techs expect. Guess wrong on polarity for even a second and you can walk a straightforward jump start or terminal swap into a fried BCM, a popped main fuse, or a customer standing next to a dead vehicle that was running fine an hour ago. None of this requires guesswork. There’s a reliable, repeatable way to confirm polarity on any 12V vehicle built after the mid-1970s, and a few extra checks for the rare older or oddball exceptions.
Why Polarity Confusion Still Happens on the Lift
Modern battery cases are molded with a “+” and “-” cast into the plastic right next to each post, but that marking is frequently hidden directly underneath the cable clamp, under a leftover sliver of a terminal boot, or on the backside of the case facing the fender well. Add in aftermarket or warehouse-replacement batteries that don’t match the OE group size layout, missing or broken terminal covers, and corrosion or grime obscuring the case entirely, and it’s easy to see why a customer — or even a distracted tech — second-guesses which post is which. Group size matters here too: a given battery group (say, a 24F) has a standardized post layout, so if you know the group size stamped on the case sticker, you already know which side the positive terminal should be on before you look at anything else.
This isn’t just a DIY problem. Techs get bitten by this on vehicles that are mid-teardown, on bench-tested batteries pulled for load testing, and on any job where the terminal covers have gone missing over the vehicle’s life. Treat polarity ID as a verification step, not an assumption, every time you’re working around a battery you didn’t personally install.
Visual Identification: What to Check First
Before reaching for a meter, run through the visual cues in this order:
- Case markings. Look for “+” and “-” cast into the plastic immediately beside each post. If a cable or boot blocks the view, loosen the clamp enough to shift it, or get a flashlight at a low angle — the embossing is often very shallow and easy to miss under shop lighting.
- Post size. On most top-post batteries, the positive post has a visibly larger diameter than the negative. This is a deliberate design choice so the wrong-size cable clamp physically can’t be forced onto the wrong post.
- Cable routing. Trace each cable with your eyes or a hand along its length. The cable that terminates at a bare metal point on the frame, body panel, or engine block (the ground strap) is negative. The cable that routes toward the fuse/junction box, starter solenoid, or alternator is positive — it’s also usually the longer, harder-to-follow run, since the positive distribution point is rarely right next to the battery.
- Group size sticker. Cross-reference the group size code (e.g., P24F) against a battery fitment chart. Standardized groups have a fixed terminal orientation, so once you know the group, you know the layout even if the case markings are unreadable.
If two or more of these checks agree, you can proceed with confidence. If they conflict, or the battery is clearly a replacement that doesn’t match the vehicle’s original group size, don’t rely on orientation alone — confirm electrically.
[PRODUCT_SEARCH: digital multimeter for automotive battery diagnostics]


GearWrench Pro RMS Digital Multimeter GWDM107 Automotive Tool
Mfg: GearWrench
Part #: GWDM107
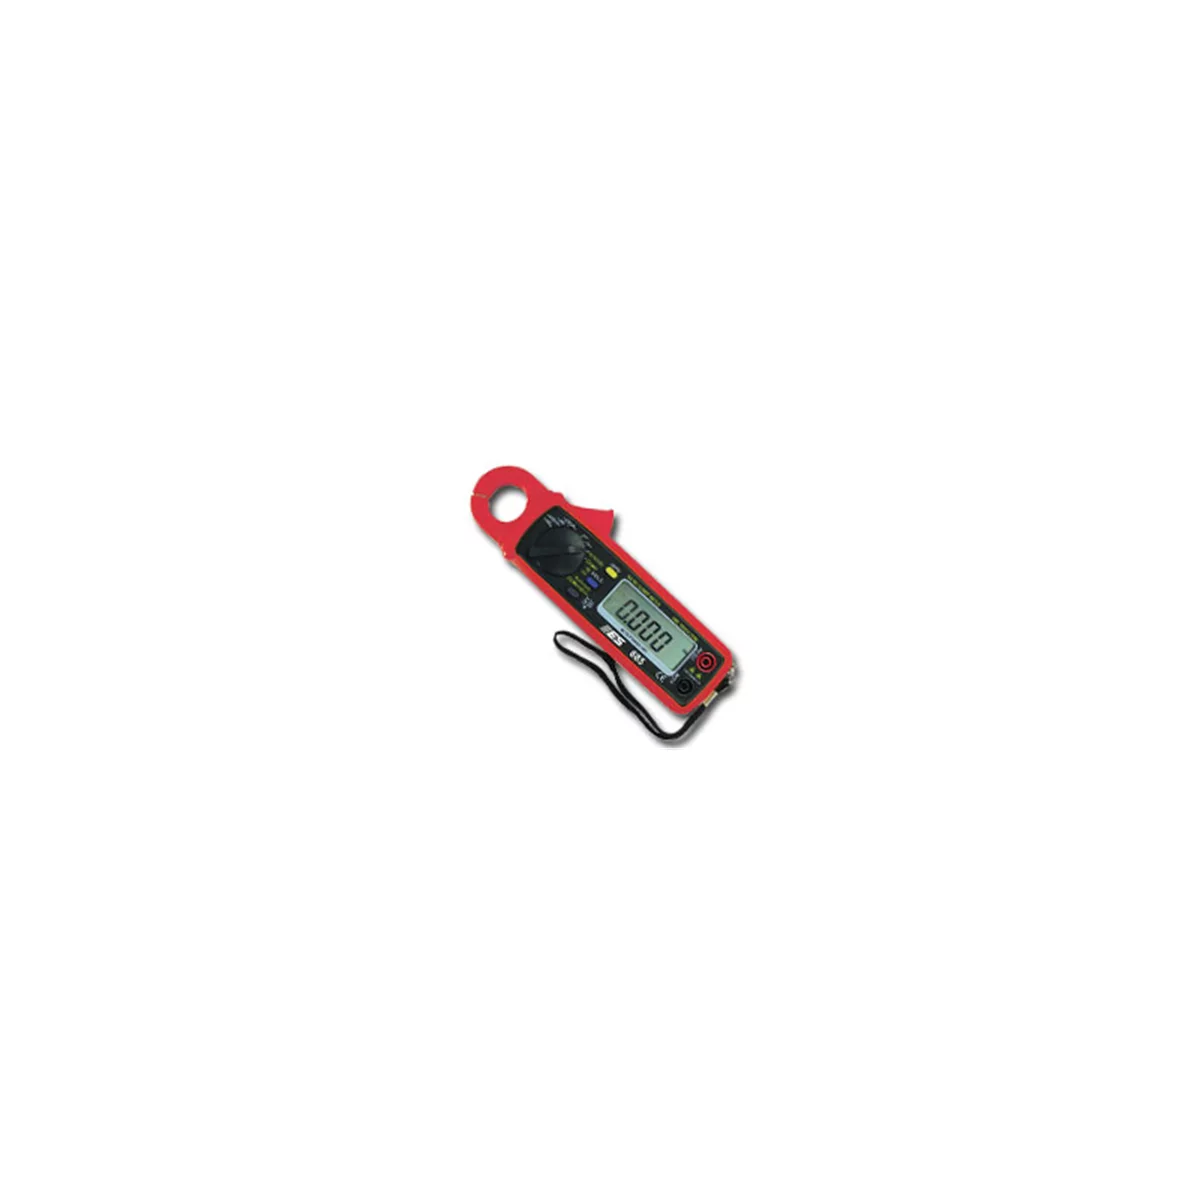
Current Probe and Digital Multimeter with Free Fuse Buddy Curren
Mfg: Electronic Specialties
Part #: 685P
Confirming Polarity With a Multimeter or Test Light
This is the step that removes all doubt, and it takes under a minute with the right tool.
Multimeter method: Set the meter to DC voltage. Place the black (COM) lead on one terminal and the red lead on the other, then read the display. A positive voltage reading (around 12.0–12.8V on a healthy battery) means your red lead is on the positive post. If the meter shows a negative reading, your red lead is actually on the negative post — the leads are simply reversed from what the display is telling you. Either way, the meter gives you a definitive answer without relying on faded case markings.
Test light method: Clip one lead of a test light to a known bare-metal ground point on the chassis or engine block. Touch the other probe to each battery terminal in turn. The terminal that lights the test light when referenced to chassis ground is positive; the one that does nothing (because it’s already at the same potential as the ground you clipped to) is negative.
Both methods work on any 12V negative-ground vehicle, which covers essentially every mass-produced car and light truck built since 1975. Positive-ground electrical systems existed on some British cars and a handful of American vehicles through the 1950s, but they’re effectively extinct on anything still driving into a modern shop. If you’re ever working on a pre-1975 classic or a kit car, verify ground polarity before assuming — don’t extend the “it’s always negative ground” rule past where it actually applies.
Jump Starting: Order of Operations and Smart-Jumper Behavior
Once polarity is confirmed, the jump sequence itself is standard, but the details matter:
- Connect the positive (red) clamp to the dead battery’s positive post.
- Connect the other positive clamp to the donor battery’s (or jump pack’s) positive terminal.
- Connect the negative (black) clamp to the donor’s negative terminal.
- Connect the final negative clamp to an exposed metal ground point on the dead vehicle — a bracket or bolt on the engine block, not the dead battery’s negative post. This keeps any spark away from the battery itself.
- Start the donor vehicle or activate the jump pack, let it charge briefly, then attempt to start the dead vehicle.
- Disconnect in reverse order.
Modern lithium jump packs almost universally include reverse-polarity protection — they’ll refuse to output power and flash a warning LED if the clamps are backward. That’s a useful safety net, but it’s not a substitute for confirming polarity yourself, and it is not universal. Cheap lead-acid jump boxes and most older-style jumper setups have no such protection: hook them up backward and they’ll blow a fusible link or fuse immediately, with no warning beyond the vehicle refusing to do anything. Never treat “the jumper didn’t complain” as confirmation you got it right — some units simply don’t check.
What Reverse Polarity Actually Damages
Hooking up a jump backward isn’t a minor error that just fails to start the car. Depending on the vehicle’s electrical architecture, the fault current can take out:
- The main alternator fuse or a fusible link buried in the main fuse/junction box — often requiring significant disassembly just to access and replace, turning a free jump into a billable diagnostic and repair job.
- Body control modules, instrument clusters, or other electronics that sit on unprotected or lightly protected circuits — on some vehicles this has meant replacing an entire instrument cluster from a reverse-polarity event during what should have been a routine service visit.
- The vehicle’s charging system components if the reversed connection is held long enough for significant current to flow before a protective device opens.
The failure isn’t always contained to one cheap part. On vehicles with sensitive network wiring or shared grounds, reverse polarity can cascade into multiple modules going dark at once, and diagnosing which ones actually failed versus which are just reporting communication loss can turn into hours of diag time. This is the core reason polarity verification is worth the sixty seconds it takes — the downside of skipping it is wildly disproportionate to the time saved.
Quick Reference Checklist
- Check for “+”/”-” embossed on the case near each post (look under clamps and boots)
- Compare post diameter — positive is typically larger
- Trace cable routing — ground cable goes to bare chassis/engine metal, nearby and short; positive cable runs to the fuse box or starter, longer and less obvious
- Cross-check the group size code against a fitment chart if the battery looks like a replacement
- Confirm electrically with a multimeter (red lead positive = positive voltage reading) or test light referenced to chassis ground
- Connect jumper cables positive-to-positive first, then negative to a ground point away from the dead battery — never assume a jump pack’s reverse-polarity protection is universal
[PRODUCT_SEARCH: automotive battery testing and jump starting tools]



Frequently Asked Questions
Is it safe to assume every modern car is negative ground?
Yes, for any mass-produced vehicle built after 1975. Positive-ground systems disappeared from production vehicles by the end of the 1950s and only show up now on pre-1975 classics, some kit cars, and custom builds — verify those separately rather than assuming.
What if I can’t find any markings on the battery case at all?
Don’t guess. Use a multimeter or test light to confirm polarity electrically — it takes less time than searching the case a second time and removes all ambiguity.
Will a jump pack always warn me if I connect it backward?
Only smart lithium jump packs with reverse-polarity detection do this reliably. Basic lead-acid jump boxes and older jumper cable setups have no such protection and can blow a fuse or fusible link immediately if connected backward.
Which cable should I connect first when jump starting?
Positive to positive first, between the two batteries or the battery and jump pack. Connect the final negative lead to a bare metal ground point on the dead vehicle’s engine or frame, not directly to its battery’s negative post.
What’s the real cost if a customer connects a jumper backward before I see the car?
It varies by vehicle, but it commonly means a blown main fuse or fusible link in the junction box, which can take real diagnostic and labor time to access and replace, and in worse cases can take out an instrument cluster or other module.
Does post size reliably indicate polarity on every battery?
It’s a strong indicator on most top-post batteries — positive is the larger-diameter post, often with more corrosion buildup from the stronger electrical activity — but always confirm with case markings or a meter when the battery is a non-standard replacement.
Recommended Tools
The multimeters, test lights, and jump cables mentioned in this guide are available in our Battery Diagnostics & Charging section. These tools are essential for confirming polarity and diagnosing battery-related issues safely.
- Multimeters and test lights
- Jump starters and jumper cables
- Battery chargers and load testers

The Toolsource Technical Team blends decades of real-world automotive service experience with up-to-date technical research. Our writers collaborate with professional mechanics, shop owners, and diagnostic specialists to deliver practical, workshop-ready guidance you can trust.


Follow us on social media