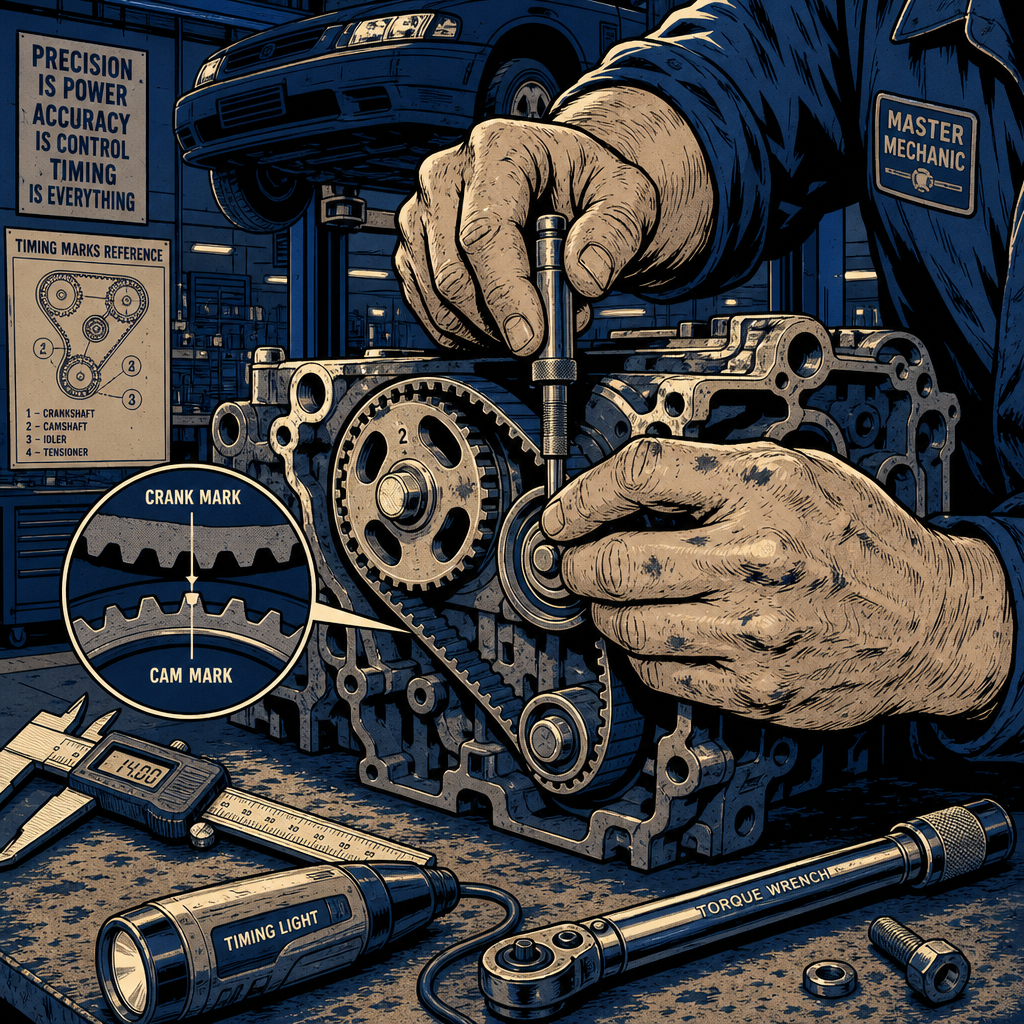
When you’re staring at timing marks that don’t quite line up after installing a new belt, the temptation to call it “close enough” can be strong—especially after hours of work. But here’s the reality: there is no margin of error with timing belt installation. One tooth off means you need to redo it. Whether you’re working on a Honda Civic, Toyota Camry, or any other interference engine, proper timing belt alignment is the difference between a smooth-running engine and expensive valve damage. This guide breaks down exactly how to identify timing errors, correct them efficiently, and use professional techniques to get the job done right the first time.
Understanding Why Perfect Alignment Matters
Timing belt alignment isn’t just about making marks line up—it’s about synchronizing the precise mechanical relationship between your crankshaft and camshafts. When your timing is off by even one tooth, the valve timing shifts relative to piston position. In interference engines (where pistons and valves occupy the same space at different times), this can lead to catastrophic contact between valves and pistons.
Even if your engine is a non-interference design, running with incorrect timing creates immediate problems. You’ll experience reduced power output, rough idle, poor fuel economy, and check engine lights. Modern engines with variable valve timing are particularly sensitive—being off by one tooth can trigger lean condition codes, retard ignition timing as a safety measure, and cause the engine to fall flat at higher RPMs. One technician reported a Hyundai that wouldn’t start because the intake cam was off just one tooth. After retiming, it fired right up.
The marks on your timing components exist for a reason: they represent the manufacturer’s engineered specification for valve events. Anything outside of those alignment marks matching up perfectly is too far off. Some techs have encountered situations where timing marks don’t align perfectly after block and head resurfacing, but in those cases, you count the cogs between marks to verify correct positioning. In standard installations, the marks must be dead-on.
Identifying a One-Tooth-Off Condition

Before you tear everything back apart, confirm you actually have a timing problem. The most critical step: after installing the belt and tensioner, rotate the crankshaft clockwise through at least two full revolutions, then recheck all timing marks. This ensures the belt has properly seated in all the gear teeth and the tensioner has done its job. Many apparent timing errors are simply the result of not completing this verification step.
When checking timing marks, look for these indicators of misalignment:
- Camshaft marks that sit one full tooth away from their reference points
- Marks that were aligned before rotation but shifted after two full crankshaft turns
- Both camshafts showing offset in the same direction (indicates the whole assembly shifted)
- Crankshaft mark on target but one or both cam marks off
On Honda D17 engines (2001-2005 Civic 1.7L), for example, the alignment is particularly sensitive. The marks need to line up exactly as shown in the service manual. If you’re seeing what looks like one tooth off on the cam gears while the crank is properly positioned, you have a confirmed problem that requires correction. Don’t second-guess yourself—if you’re 95% sure you need to reset everything, you’re right.
The Correct Procedure to Fix Timing Alignment
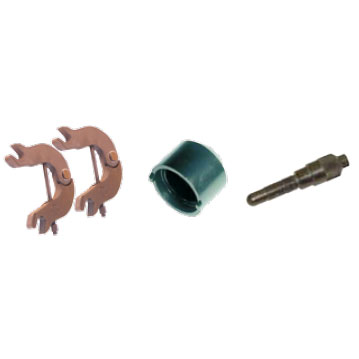
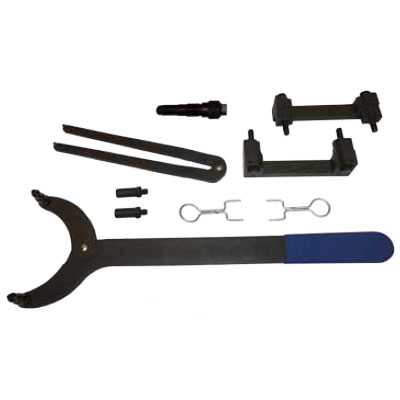
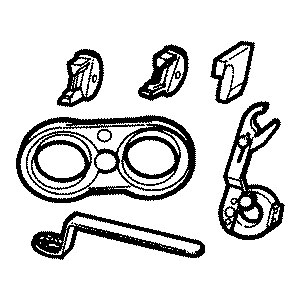
VW/Audi Camshaft Locking Tool Kit 2.5L, 3.2L, 4.2L FSi
Mfg: Baum Tools
Part #: BT40070KIT
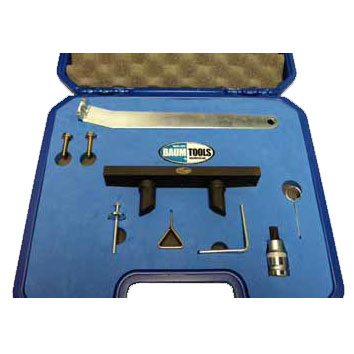
Camshaft Timing Kit for 2.0L Turbo FSi Engine VW/Audi
Mfg: Baum Tools
Part #: BT10252KIT
When you’ve confirmed your timing is off, here’s the professional approach to correcting it. First, remove the tensioner and timing belt completely. Do not attempt shortcuts like forcing the belt to slip a tooth while installed—despite what some old-school techs might suggest. The correct method takes a few extra minutes but eliminates the risk of incomplete correction or belt damage.
Start by positioning the crankshaft. Rotate it back to exactly match the timing mark—dead nuts on the money, as techs say. On most engines, this means the mark on the crankshaft gear aligns with a reference point on the oil pump housing or block. Some technicians prefer to back the crank off by half to one full tooth counterclockwise before installing the belt. This reduces belt tension during installation and makes it easier to route the belt without fighting spring pressure from the tensioner area.
Next, address the camshafts. Using a 17mm box-end wrench (or whatever size fits your cam bolts), rotate each camshaft independently to its top dead center position. The marks on the cam gears should align with references on the valve cover, head, or backing plate. Get these as tight to the marks as you can humanly achieve. On V6 engines with front and rear cylinder banks, do the rear bank first, getting it perfectly aligned and as tight as possible. Then set the front bank the same way.
Now install the belt following this sequence: start with the rear camshaft (if applicable), then route over the water pump, front camshaft, idler pulley, crankshaft gear, and finally the tensioner pulley. Keep the belt tight on the non-tensioner side as you route it. If you backed the crankshaft off slightly, rotate it clockwise back to the timing mark—this action pulls all the slack from the non-tension side and delivers it to the tensioner side where it belongs.
Professional Installation Techniques
Experienced techs use several tricks to make timing belt installation more reliable and less frustrating. One of the most valuable: use a paint pen to mark the old belt before removal. Place marks where each gear engages the belt, then transfer those marks to the new belt. This gives you a visual reference for which belt rib needs to engage with which gear teeth. Obviously, this only works if your old belt wasn’t already mistimed or broken, but for standard preventive replacement, it’s gold.
Another professional technique is the zip-tie method for dual-cam engines. Once you have both camshafts positioned correctly with the belt routed over them (but before installing the belt on the crankshaft), use zip ties to secure the belt to each cam gear. This locks the cams together in correct relationship. Then route the belt around the bottom end and over the crankshaft gear. Once everything is positioned, cut the zip ties off. This prevents the cams from shifting while you’re wrestling with getting the belt onto the crank gear.
For hydraulic tensioners, here’s a useful verification trick: install the tensioner with the pin still in place (preventing it from applying pressure), then hand-rotate the engine through two revolutions. Check that all marks align correctly. If they do, remove the pin to activate the tensioner. If they don’t, you haven’t wasted time removing and reinstalling the tensioner—just pull the belt and try again.
When routing the belt, keep tension on the already-installed portions to prevent slack. Work methodically around the circuit, ensuring the belt teeth fully engage each gear. Sometimes you need to wiggle the crankshaft or a camshaft slightly to get the last bit of belt to seat properly. This is normal—just make sure you reconfirm all marks after any adjustments.
What Not to Do: Risky Shortcuts to Avoid
The professional advice is clear: do it correctly, even if it takes longer. However, you’ll hear about various shortcuts in any shop. Understanding these methods and why they’re problematic helps you make informed decisions.
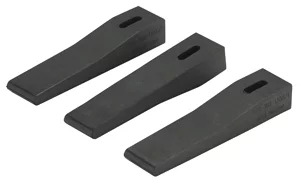
The most common shortcut involves using a screwdriver bit, hex key, or small tool wedged between the timing belt and a gear while rotating the crankshaft. The idea is to force the belt to slip one tooth over the tool, correcting the misalignment without removing anything. Some techs swear by this method and report using it successfully for years. However, it carries real risks: you can damage the belt, you might slip the wrong direction, or you could end up off by a different amount than you started. It’s the automotive equivalent of percussive maintenance—sometimes it works, but it’s not best practice.
Another shortcut is the “send it” approach—just running the engine with timing slightly off to see what happens. This is gambling with your engine. Best case, you get poor performance and have to redo the job anyway. Worst case, you bend valves or damage pistons, turning a $500 timing belt job into a $3,000 engine rebuild. As one tech put it: close enough only counts in horseshoes and hand grenades. Everything else needs fixed.
Some DIYers try to create new timing marks with a chisel or punch to match where their components actually aligned. Unless you’re an engine builder doing custom work with degree wheels and dial indicators, this is a terrible idea. The factory marks are engineered to specific valve events. Making new marks just creates permanent confusion for the next person who works on the engine.
Post-Installation Verification Checklist
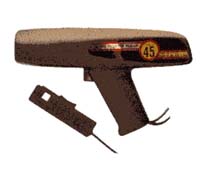
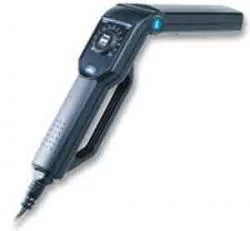
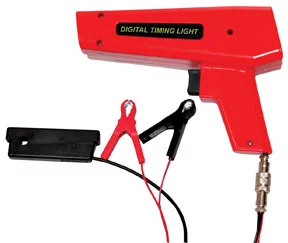
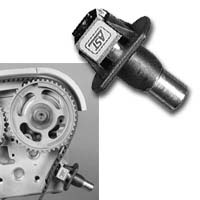
Digital Tach Advance Timing Light - Electronic Specialties 125
Mfg: Electronic Specialties
Part #: 125
After installing your timing belt, work through this verification sequence before calling the job complete:
- Rotate the crankshaft clockwise (direction of normal engine rotation) for at least two complete revolutions
- Recheck that the crankshaft timing mark aligns perfectly with its reference
- Verify that all camshaft marks align with their references simultaneously
- Confirm the tensioner has proper travel and the indicator (if equipped) shows correct tension
- Check that the belt runs true on all gears without riding up on flanges or showing edge wear patterns
- Verify no slack exists in the belt between any pulleys
- Double-check that all tensioner and idler pulley bolts are torqued to specification
- Install covers and accessories, then hand-rotate the engine two more revolutions before starting
Only after confirming perfect alignment through multiple rotations should you reinstall the remaining components and start the engine. On first start, listen for any unusual noises that might indicate contact between components. The engine should start readily and idle smoothly if timing is correct.
Model-Specific Considerations
While general principles apply across most engines, some platforms have particular quirks worth noting. Honda D17 engines (2001-2005 Civic with 1.7L) are common DIY projects and have specific alignment characteristics. The cam marks must align exactly with the references on the backing plate, and the crankshaft mark needs to point directly at the reference notch. Video guides specific to this engine are invaluable—they show the exact positioning better than any written description.
Toyota and Lexus V6 engines with three camshafts (intake, exhaust, and intake VVT) require particular attention to the sequence of belt installation and which marks to prioritize. Ford SHO engines are notably rev-happy when properly timed but fall flat around 5,000 RPM when even slightly off. Modern engines with variable valve timing systems are especially sensitive—timing errors can prevent the VVT system from functioning correctly, triggering multiple fault codes.
Volvo engines have a reputation for being nearly indestructible, with documented cases of vehicles running with timing off by multiple teeth (though sounding like diesels in the process). However, this durability shouldn’t encourage sloppiness—just because an engine survives mistiming doesn’t mean it’s acceptable practice. Any interference engine can suffer valve-to-piston contact if cranked over with severely incorrect timing.
When to Seek Additional Help
Most timing belt jobs are straightforward if you follow procedures carefully, but certain situations warrant extra caution or professional assistance. If you’ve attempted timing belt installation multiple times and the marks consistently refuse to align correctly after rotation, you may have a worn tensioner that isn’t maintaining proper belt tension, a worn belt that’s jumping teeth during rotation, or in rare cases, a bent valve from previous mistiming that’s preventing proper rotation.
If you’re working on a high-value or rare vehicle, consider the cost-benefit analysis of doing the work yourself versus having a specialist handle it. The time investment for a first-time timing belt replacement can easily exceed 8-10 hours when you factor in research, parts acquisition, the actual work, and potential rework. Professional techs who specialize in certain platforms can often complete the same job in 2-3 hours because they’ve done it dozens or hundreds of times.
That said, timing belt replacement is an excellent learning experience and builds real mechanical competence. The key is approaching it methodically, allowing adequate time, and refusing to compromise on the final result. When in doubt, consult factory service manuals rather than generic guides—they contain model-specific timing marks, torque specifications, and sequences that generic information can’t provide.
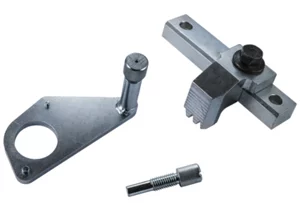

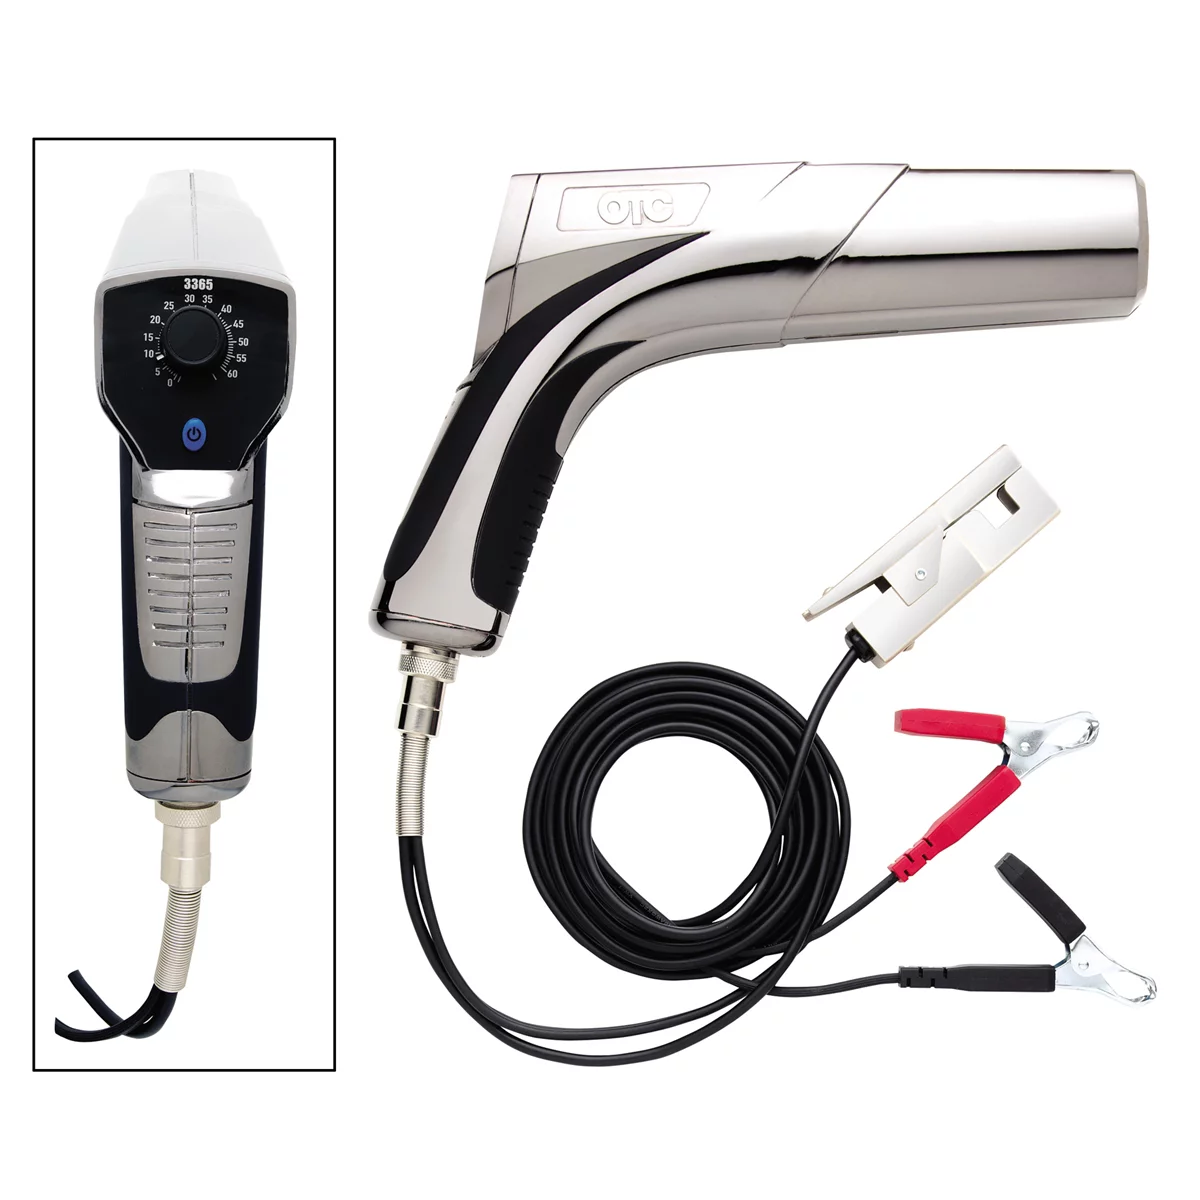
Advance Timing Light – Supersedes OTC 3377 & 3368
Mfg: OTC Tools and Equipment
Part #: 3365
ID: 97931
Frequently Asked Questions
Can I run the engine if timing is off by just one tooth?
Technically, most engines will start and run with timing off by one tooth, but performance will suffer significantly and you risk engine damage. You’ll experience reduced power, rough idle, poor fuel economy, and likely trigger check engine codes. On interference engines, the risk of valve-to-piston contact increases. Always correct timing errors before running the engine.
How do I know if I have an interference or non-interference engine?
Check your vehicle’s service manual or search online databases using your specific year, make, model, and engine code. Interference engines have timing belt replacement listed as critical maintenance because belt failure can destroy the engine. Non-interference engines may list it as important maintenance but note that belt failure won’t cause internal engine damage. When in doubt, treat every engine as interference and maintain timing belt service intervals religiously.
Should I replace the water pump when doing a timing belt?
Yes, almost always. The water pump on most engines is driven by the timing belt and requires the same labor to access. Water pump failure after timing belt replacement means repeating the entire job. The incremental cost of a water pump during timing belt service is minimal compared to the labor cost of doing the job twice. Many timing belt kits include the water pump for this reason.
Why do my timing marks not line up after machining the head or block?
Machining removes material from the head or block surface, which slightly changes the relationship between the crankshaft and camshafts. The timing marks may no longer align perfectly because the cam gears are now positioned slightly differently relative to the crank. In these cases, you need to count the teeth between timing marks according to factory specifications rather than relying solely on the alignment marks. This is specialized work best left to experienced engine builders.
How tight should the timing belt be after installation?
Modern timing belts use automatic tensioners that apply the correct tension—your job is just to ensure the tensioner operates properly and the belt routes correctly. For older manual tensioner systems, specifications vary by model but generally you should be able to twist the belt about 90 degrees at its longest run between pulleys. Too tight causes bearing wear and tensioner failure; too loose allows the belt to jump teeth. Always follow manufacturer specifications for your specific vehicle.
What’s the best way to learn timing belt replacement for my specific vehicle?
Start with the factory service manual, which provides exact specifications, torque values, and timing mark locations. Supplement this with platform-specific forums where experienced owners share tips and photos. YouTube videos from reputable channels can be invaluable for seeing the process in real-time, especially for complex engines. Consider practicing on a junkyard engine first if you’re tackling a particularly complicated or expensive vehicle. Most importantly, budget extra time for your first attempt—rushing timing belt work leads to mistakes.
Recommended Timing Tools
Getting your timing belt alignment right requires the right tools for the job. Whether you’re marking gear positions, rotating the crankshaft precisely, or verifying alignment, our Timing Tools selection covers the essentials for professional-quality installation.
- Timing mark indicators and alignment tools for accurate verification
- Crank and camshaft rotation tools for precise positioning
- Belt tension gauges and tensioner pulley specialists
Essential Tools for Timing Belt Work
Precision is everything when working with timing belts. Getting alignment right the first time requires the proper tools to measure, mark, and verify tooth-by-tooth positioning. Our Timing Tools collection includes everything you need to achieve professional-grade accuracy.
- Timing Belt Alignment Gauges – Measure tooth position with precision to prevent the misalignment mistakes that can cost thousands in engine damage
- Magnetic Dial Indicators – Track crankshaft and camshaft position in real-time to verify proper synchronization before reassembly
- Timing Pulley Locking Tools – Hold components perfectly still during installation so you maintain exact tooth alignment throughout the job

The Toolsource Technical Team blends decades of real-world automotive service experience with up-to-date technical research. Our writers collaborate with professional mechanics, shop owners, and diagnostic specialists to deliver practical, workshop-ready guidance you can trust.


Follow us on social media