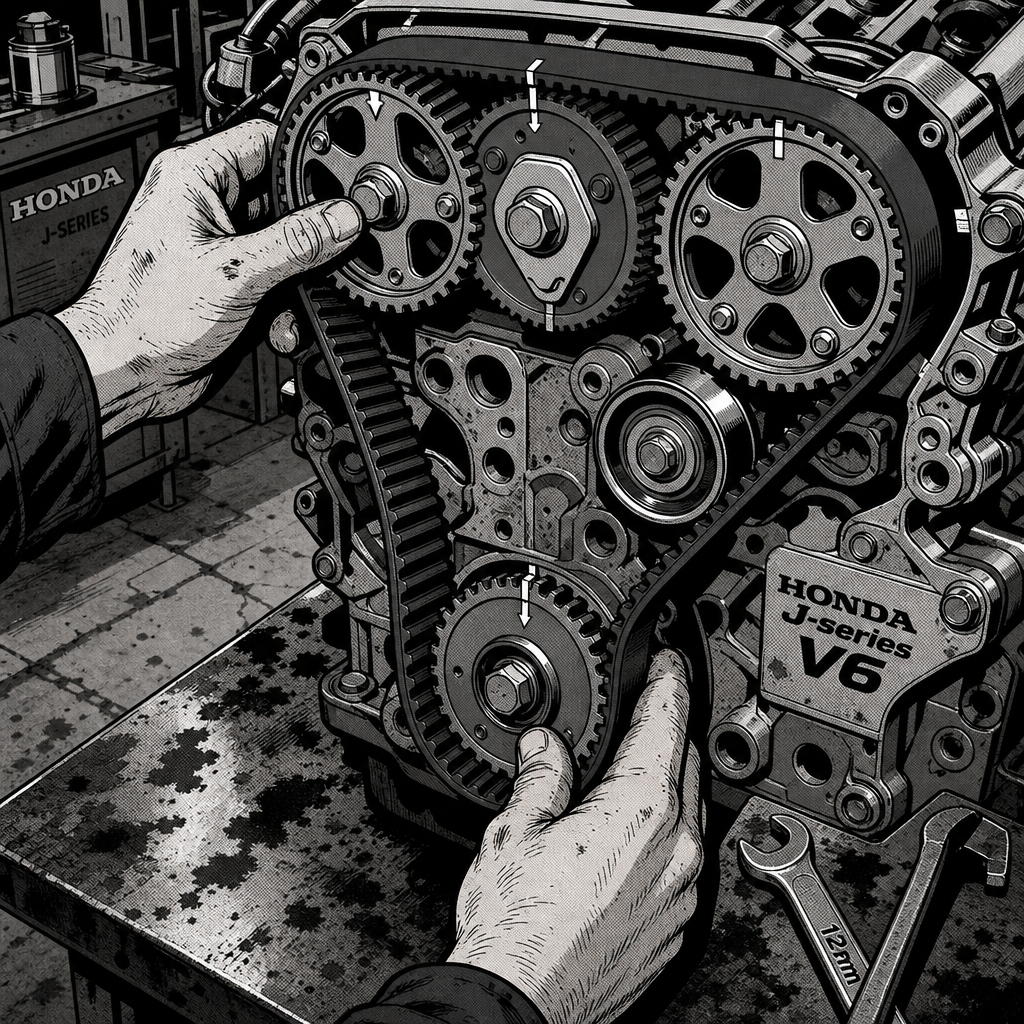
Timing belt replacement on Honda’s J-series V6 (J30, J32, J35) has a well-earned reputation among techs: it’s a job that rewards repetition and punishes rushing. The most common failure isn’t a tool problem or a bad part — it’s ending up a tooth off on the cams after the belt goes back on, usually because the new belt is stiffer than the old one and the routing sequence gets rushed. Since these are interference engines, a tooth-off timing error isn’t cosmetic — it changes valve-to-piston clearance and can bend valves if the engine is started before the mistake is caught. This guide walks through the prep, the routing sequence, and the verification steps that separate a clean 90-minute job from a comeback.
Why J-Series Belt Jobs Go Wrong
A new timing belt is noticeably stiffer than the one it’s replacing, and it hasn’t stretched from heat cycling the way the old belt had. That stiffness makes it behave like it’s slightly shorter than the belt you pulled off, which tightens up the margin for error when you’re trying to walk it over the cam and crank sprockets without introducing slack. On a job with three sprockets, an idler, a water pump, and a spring-loaded tensioner all fighting you at once, it’s easy for a cam gear to rotate a tooth while you’re wrestling the belt into place — even for techs who’ve done dozens of these.
The fix isn’t a different belt or a special tool — it’s technique. Experienced techs consistently point to two things: a specific belt routing order that keeps slack in a predictable, controllable spot, and a crank-positioning trick that removes the fight between the front cam and the crank sprocket. Both are covered below.
Tool Prep: Know What You Need Before You Start
Job speed on a J-series belt comes almost entirely from not stopping mid-job to hunt for the right socket, extension, or wrench. Lay out your tools before you pull the first bolt:
- A magnetic deep 10mm socket — it lets you start most timing cover bolts by hand, which is faster than fighting to align a socket on a bolt you can’t see.
- A 3/8″ electric impact with a long extension and swivel 10mm for the lower cover bolts (most of them are accessible this way; a couple will still need hand tools).
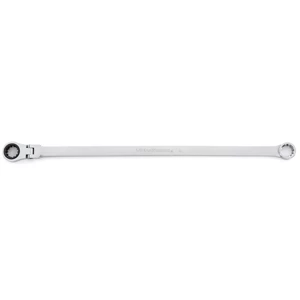
- A 12mm for the tensioner piston bolt, and a double-box flex-head spline wrench in 17mm/19mm for the tensioner and side motor mount bolts.
- A vice or equivalent to compress the tensioner piston, plus the tensioner’s factory retaining pin.
- A pry bar for releasing the tensioner pin once the belt is installed and timing is set.
If the vehicle has a strut bar, pull it first — it makes removing the rear timing cover significantly easier and isn’t worth fighting around. It’s also worth tracking bolt locations as you remove them (length and location vary: short ground bolt at the side mount, a mid-length bolt for the harness bracket under the power steering pump, a longer one above the alternator, and a distinct bolt for the PS pressure hose bracket at the rear valve cover). Keeping them separated saves real time on reassembly.


The Half-Tooth Crank Trick
The single most repeated tip for reducing tooth-off errors on these engines is positioning the crank slightly before top dead center — roughly half a tooth — instead of dead-on TDC before installing the belt. Get both cams close to TDC, remove the old belt and tensioner, compress the tensioner piston in a vice, and reinsert the retaining pin so it holds the tensioner collapsed. With the tensioner out of the way, set the cams to TDC and rotate the crank to that half-tooth-early position.
This does two things. First, it creates a small amount of working slack between the front cam and the crank sprocket, which is normally the tightest, most frustrating stretch of belt to seat without disturbing the cam. Second, when you release the tensioner pin later, the tensioner takes up that same small amount of slack on the front side — and in doing so, pulls the crank forward that last half tooth to true TDC as everything settles. In effect, the tensioner finishes the timing alignment for you instead of you fighting the belt to force it.
Correct Belt Routing Order
There are two working sequences techs use, and both aim at the same goal: control where slack ends up so it doesn’t show up as cam movement.
- Rear-cam-first method: Route the belt under the water pump to the rear cam first (the backing plate has a small lip that helps hold the belt in place), then to the front cam, then the idler pulley, and finally the crank — keeping tension between the cams as you go. This order tends to push the remaining slack to the crank-to-idler stretch, which is trickier to manage without the half-tooth trick.
- Front-cam-first method: Set the front cam a tooth back so the belt’s alignment mark lines up when you hook it on, which naturally tightens the span between the two cams. Route the belt so any looseness collects at the tensioner’s idler pulley — when you pull the tensioner pin, nothing on the cam side has room to move.
Whichever order you use, slide the crank sprocket slightly forward to give yourself room to slip the belt on, then push it back into position and route the belt over the tensioner pulley. Install the tensioner lower bolt first, snug by hand, pivot the tensioner into place, start the second bolt, then tighten both. Torque the tensioner’s 17mm bolt firmly — under-torquing it is a known cause of the tensioner rocking on the bolt over time, which can eventually shear the bolt in the bracket.
Verifying Timing Marks Before Reassembly
This is the step that gets skipped when a tech is rushing, and it’s the single biggest cause of comebacks. Before you put the rest of the front-end accessories and covers back on:
- Pull the tensioner pin (pry bar through the loop, released against the subframe) so the tensioner takes up slack normally.
- Rotate the crankshaft by hand two full revolutions.
- Recheck every timing mark — crank and both cams — against spec, not just once but after the second rotation.
Turning the engine over twice and re-checking marks before final reassembly is the difference between a five-minute fix and pulling the whole front end back apart. If a mark is off, address it now, with the covers still off and the belt still accessible — not after everything is buttoned up.
Quick Pre-Startup Checklist
- Crank and both cam timing marks verified aligned before releasing the tensioner pin
- Tensioner pin released and belt re-checked after two full hand rotations of the crank
- Tensioner mounting bolts torqued to spec (not just snug)
- No visible slack on any belt span between sprockets
- All accessory brackets and covers reinstalled with correct bolt lengths in original locations
- Engine rotated by hand one final time after full reassembly, with no unexpected resistance
- Do not attempt to start the engine until every mark above is confirmed
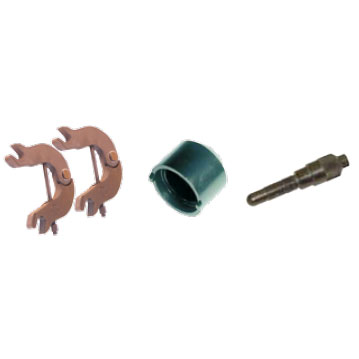
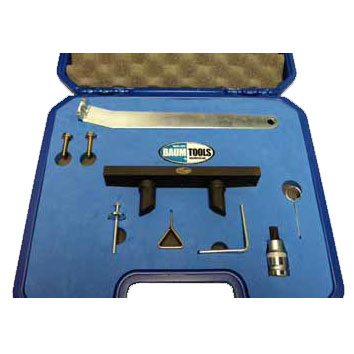
Camshaft Timing Kit for 2.0L Turbo FSi Engine VW/Audi
Mfg: Baum Tools
Part #: BT10252KIT
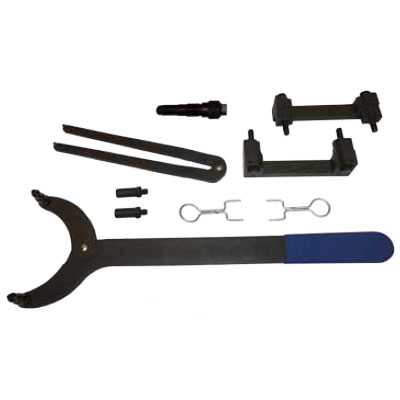
VW/Audi Camshaft Locking Tool Kit 2.5L, 3.2L, 4.2L FSi
Mfg: Baum Tools
Part #: BT40070KIT
Frequently Asked Questions
Is the Honda J-series V6 an interference engine?
Yes. If the cams and crank are out of time by even one tooth and the engine is started, pistons and valves can contact each other, bending valves and potentially causing further internal damage. Never start the engine until timing marks are verified.
How do I know if I bent a valve after a timing mistake?
If the engine was never started while out of time, valve damage is very unlikely — the risk comes specifically from cranking or running the engine with incorrect timing. If it was started, watch for rough idle, misfires, a check engine light with cylinder-specific codes, or low/uneven compression on a compression test, and follow up with a leak-down test to confirm.
Why does a new timing belt feel harder to install than the old one?
New belts are stiffer than a belt that’s been heat-cycled and has had time to stretch slightly, so they behave as if they’re a bit shorter. That reduced slack is what makes cam gears prone to shifting a tooth during installation if you’re not managing belt routing carefully.
Do replacement timing belts come with timing marks printed on them?
Not always. Many aftermarket belts ship without alignment marks, so you’re relying entirely on the engine’s own crank and cam timing marks (and, if you choose to add them, marks you make yourself with paint or a marker before removing the old belt) — don’t assume the new belt will guide you.
How long should a J-series timing belt job take?
Techs experienced with this specific engine report doing it in 60–90 minutes once they know the bolt locations and routing order from memory. First-timers should expect it to take significantly longer and shouldn’t treat extra time as a sign something’s wrong — it’s normal for this job.
Can I correct a tooth-off cam without pulling the belt back off?
Some techs use a method involving a zip tie or strap around the belt and a wrench on the crank to walk a cam gear forward a tooth without a full teardown, but this is more error-prone than resetting the tensioner and redoing the affected section properly. If you’re not confident in that technique, backing up and redoing the install correctly is the safer route.
Recommended Timing Tools
A J-series timing belt job is as much about having the right tools organized before you start as it is about technique. Stock your kit with the specialty sockets, wrenches, and tensioner tools this work requires. Browse our Timing Tools selection to find everything from magnetic deep sockets to flex-head wrenches and tensioner compression fixtures.
- Magnetic sockets and impact extensions for fast cover removal
- Flex-head wrenches and specialty sockets for tensioners and motor mounts
- Tensioner tools and compression devices for proper piston setup

The Toolsource Technical Team blends decades of real-world automotive service experience with up-to-date technical research. Our writers collaborate with professional mechanics, shop owners, and diagnostic specialists to deliver practical, workshop-ready guidance you can trust.


Follow us on social media