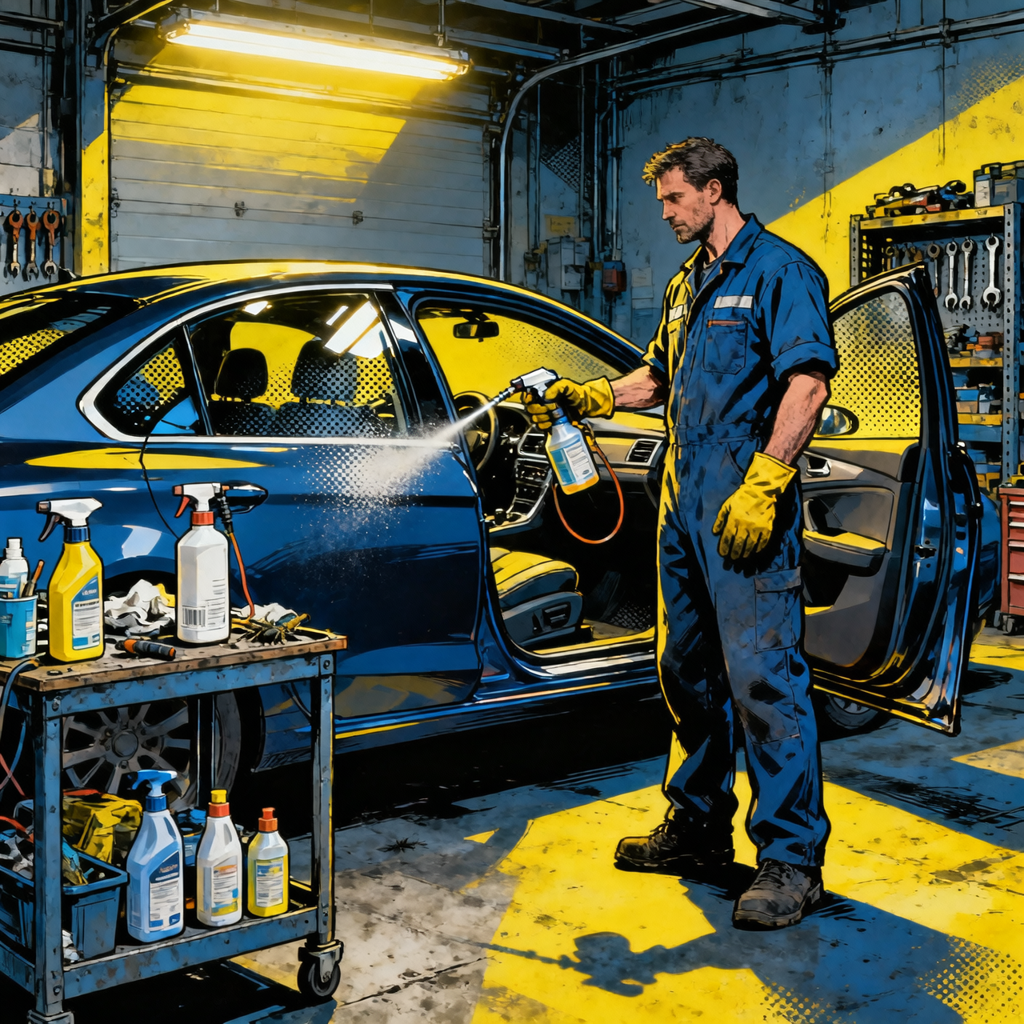
German cockroaches in a car are a sanitation and safety issue. They contaminate surfaces, damage trim insulation, invade HVAC ducts, and hitchhike to your home or shop. Unlike occasional invaders, German roaches reproduce rapidly and hide in tight seams and electronics cavities. A successful vehicle cleanout pairs thorough cleaning with targeted baits, insect growth regulators (IGRs), and careful air treatments. Expect 2–8 weeks of monitoring to break the life cycle.
Diagnose and Prepare: Containment, Inspection, Safety
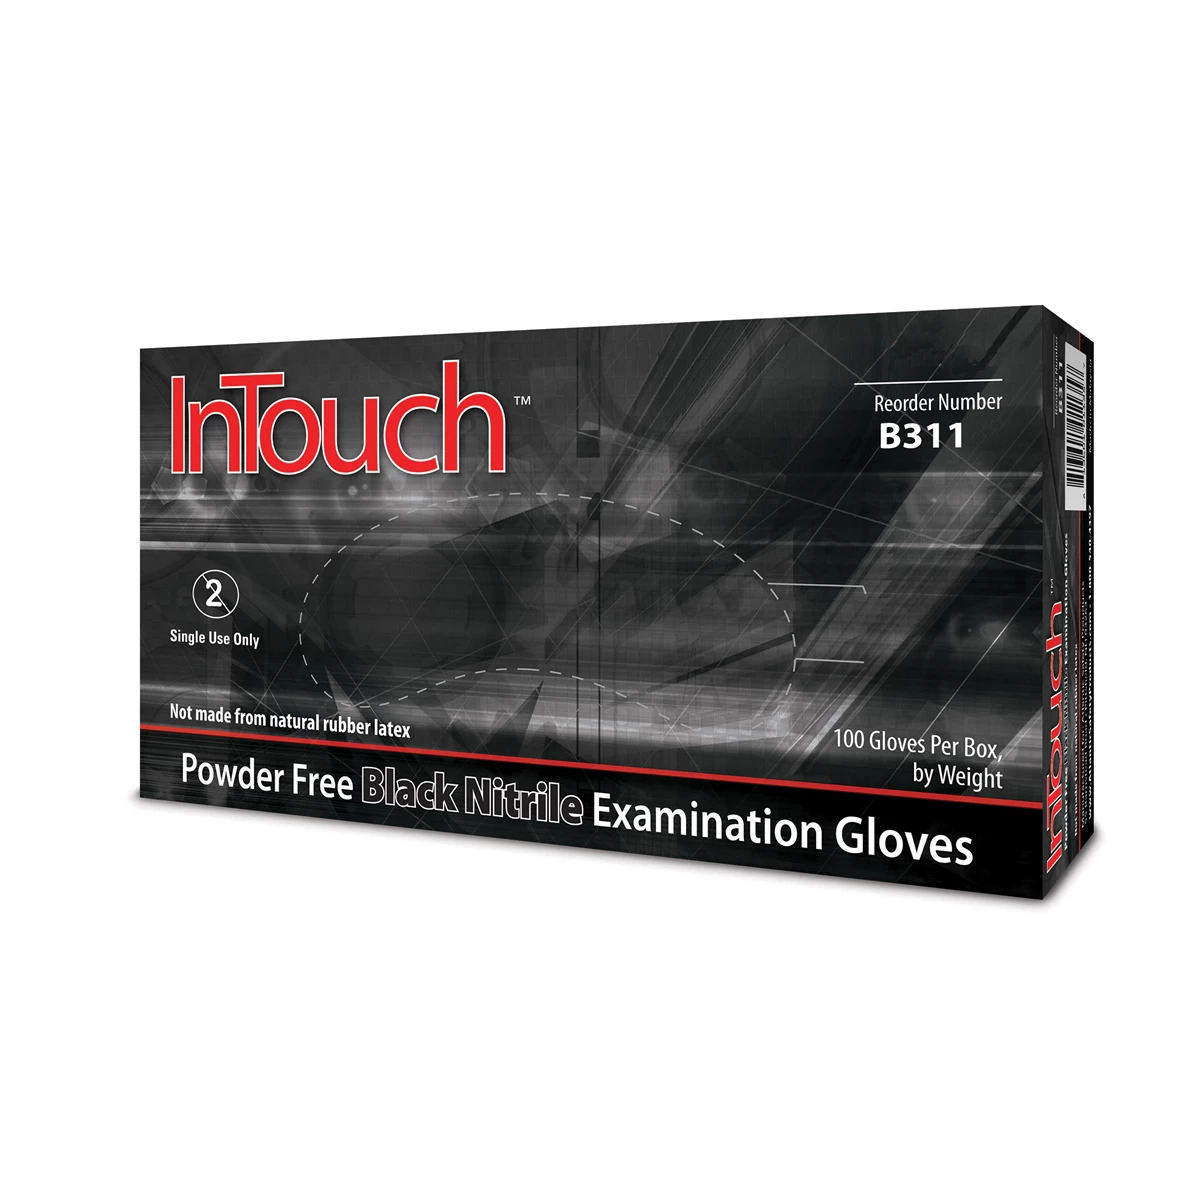
Small Intouch black nitrile glove Powder Free Exam 6MIL
Mfg: Atlantic Safety Products
Part #: B311-S
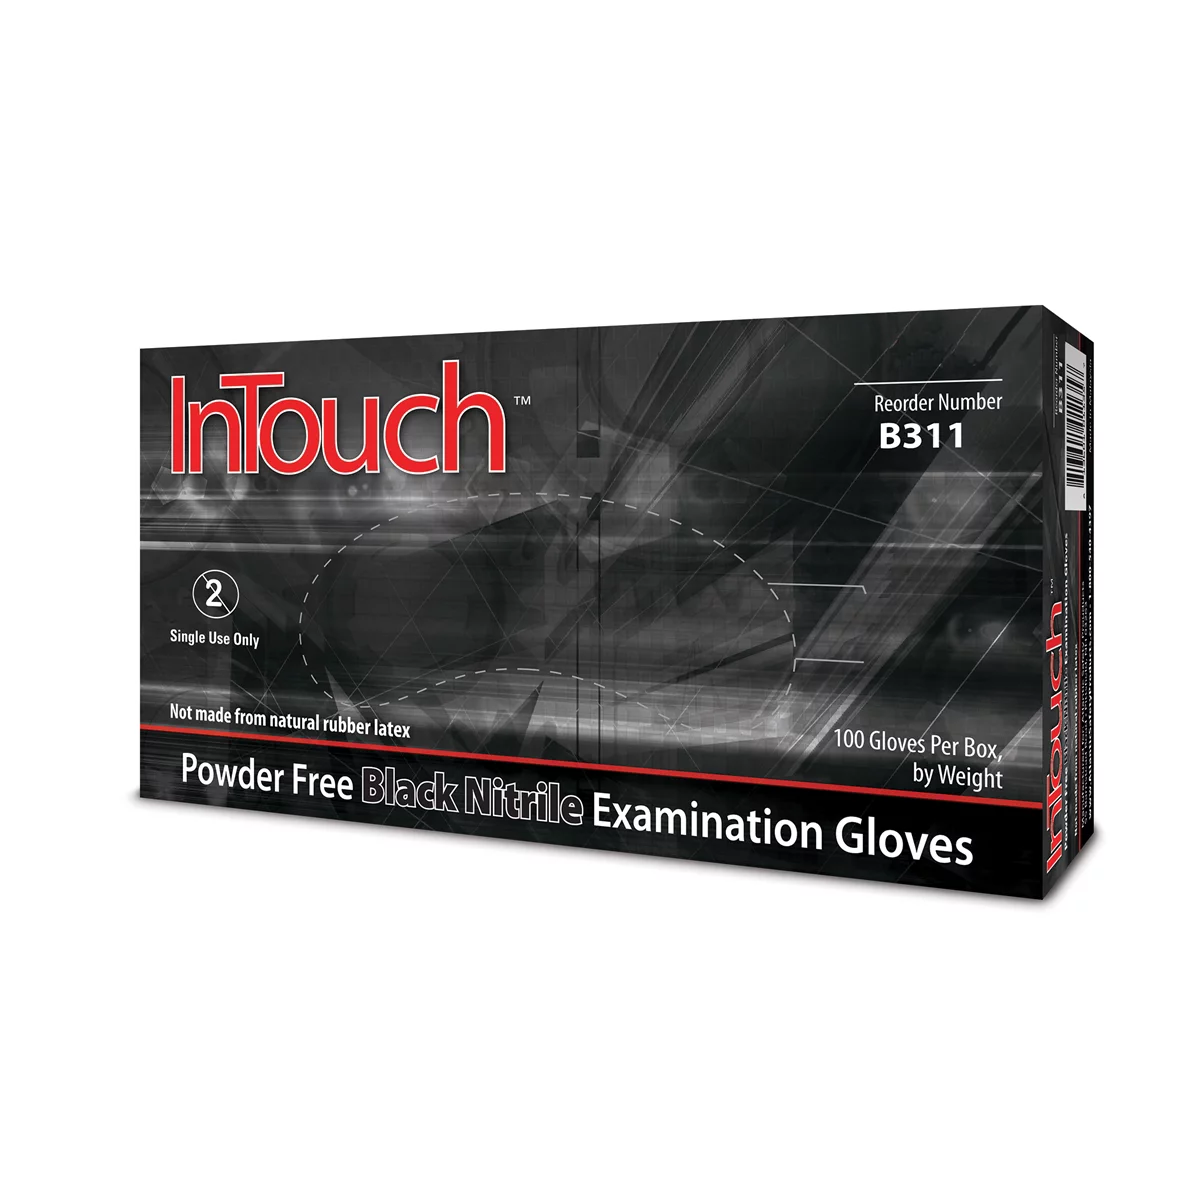
XL Intouch black nitrile glove Powder Free Exam 6MIL
Mfg: Atlantic Safety Products
Part #: B311-XL
Before you start, decide where you’ll stage the job so you don’t transfer pests to your home or customer waiting area.
- Work outdoors or in a well-ventilated service bay, away from high-traffic doors. Keep the vehicle away from living spaces and do not bring floor mats or bags inside.
- Personal protective equipment (PPE): nitrile gloves, safety glasses, and a respirator suitable for particulates and organic vapors when using aerosols, ozone, or chlorine dioxide (ClO2) products. Follow the product label for PPE requirements.
- Identify hot spots: look under front seats, along seat tracks, under the center console edges, in door pocket seams, under floor liner edges, behind trim where wiring passes through, glovebox seams, spare tire well, and around the cabin air filter. Check the headliner near dome lights if food debris or moisture has wicked upward.
- Isolate loose items: bag children’s seats, reusable grocery bags, and fabric accessories. Launder or heat-treat these outside the home (see prevention section).
- If you plan to remove seats or trim: disconnect the battery and wait the manufacturer-recommended time before unplugging seat airbags/occupancy sensors. Use proper torque on reassembly. If you’re not equipped for SRS-safe work, do not remove those components.
Deep Clean the Interior: Remove Food Sources and Harborage
Cleaning reduces food, improves bait uptake, and exposes cracks and crevices for treatment.
- Gross removal: take out trash, food packaging, and loose clutter. Discard vacuum contents outdoors in a sealed bag immediately after use.
- Vacuum thoroughly: use a HEPA shop vac with crevice and brush tools. Target seat rails, under-seat wiring channels, cup holders, seatbelt anchors, pedal box, console edges, spare tire well, and the trunk/cargo side pockets. Use compressed air or a blow gun to drive debris out of seams while vacuuming.
- Textile cleaning: shampoo carpets and upholstery or use a steam cleaner (careful around airbags, seat sensors, and delicate fabrics). Steam and extraction help remove grease films roaches feed on.
- Hard surface wipe-down: clean plastics and vinyl with an interior-safe APC (all-purpose cleaner). Avoid leaving heavy silicone dressings or strong fragrances; residues can interfere with bait acceptance.
- Cabin air filter: remove and discard the old one. You’ll replace it after air treatments. Inspect the blower wheel and intake plenum for debris and activity.
- No food rule: from this point until three weeks after last activity, prohibit eating and limit drink spills in the vehicle. Store groceries in sealed bins when transported.
Important: Avoid using repellent insect sprays (e.g., pyrethroid aerosols labeled as repellents) on interior surfaces you’ll later bait. Repellents can drive roaches deeper and reduce bait uptake.
Deploy Baits, IGRs, and Non-Repellent Residuals (Label-Driven)
The most reliable vehicle method is gel bait plus an IGR, optionally paired with a non-repellent residual insecticide labeled for indoor cracks and crevices. Always read and follow product labels, and comply with local regulations. Do not apply insecticides where passengers will contact them.
1) Gel bait (primary kill)
- Active ingredients: indoxacarb and similar modern actives offer strong secondary kill (roaches consume contaminated feces/carcasses).
- Placement method: apply pea-sized dots on disposable cards or masking tape (adhesive side down) for clean removal. Place dots where roaches travel but away from fingertip contact—under seat frames, along plastic-to-carpet seams, under dash edges, inside console overhangs, door pocket interiors, and the spare tire well ledge.
- Density: 15–30 pea-sized placements for a sedan; 25–40 for SUVs/minivans. Heavier placements where you saw activity. Replace any bait that dries out or is consumed.
2) IGR (insect growth regulator)
- Purpose: interrupts reproduction and prevents nymphs from maturing. This breaks the life cycle so you’re not only killing adults.
- Active ingredients: hydroprene or pyriproxyfen. Choose formulations labeled for indoor/vehicle-like environments, and follow point-source or crack-and-crevice directions.
- Placement: under seats, trunk side wells, spare tire cavity, and near dash lower panels (not in HVAC discharge). Keep away from direct contact areas.
3) Non-repellent residual (optional, label-permitted)
- Use a water-dilutable, non-repellent product labeled for indoor cracks and crevices. Some formulations with actives like dinotefuran are designed for sensitive areas. Verify legality and the label’s allowed use site before applying in a vehicle interior.
- Application: low-volume crack-and-crevice treatment only—seat tracks, console base seams, door sill seams, trunk pinch seams. Avoid overspray, porous fabrics, and any surface regularly touched by occupants. Do not spray inside the HVAC box.
Reapplication cadence: refresh bait and IGR weekly for the first 2–3 weeks, then every 10–14 days until monitors show zero activity for three consecutive weeks.
Treat HVAC and Airspace: Ozone/ClO2 with Strict Safety
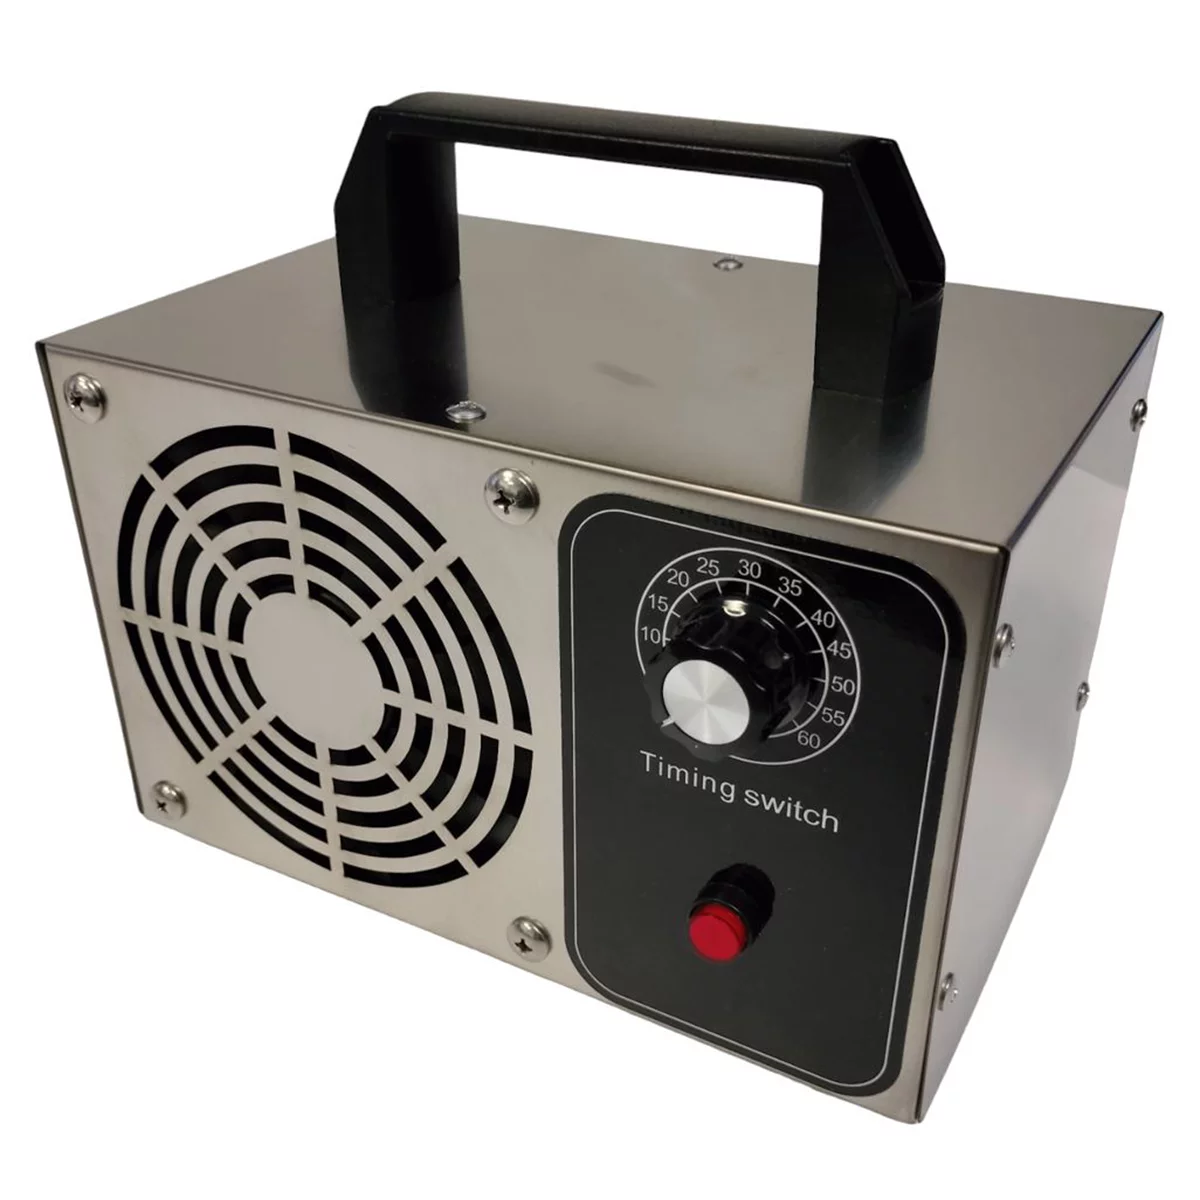
Air treatments help sanitize ducts and interior surfaces and can reduce residual odor and microbial load. They do not replace bait/IGR, but they complement it—especially in the blower housing and evaporator box where roaches may harbor.
Ozone generator (professional odor treatment device)
- Safety: never occupy the vehicle or workspace during ozone generation. Ozone is hazardous to breathe and can irritate or injure lungs and eyes. Remove pets and plants from the area. Post signage.
- Procedure (cycle-based):
- Remove the cabin air filter. Set HVAC to recirculate, fan medium-high, temp neutral. Close windows except a small gap (about 1–2 cm) on one window to allow controlled air exchange.
- Place the ozone generator on a non-conductive surface in the passenger footwell. Use a timer or remote switch so you don’t enter during operation.
- Run 30–60 minutes, then power off remotely. Allow 2–4 hours of natural dissipation with doors open or a fan exhausting from one door. Repeat 2–3 cycles over several days.
- Reinstall a new cabin air filter after the final cycle.
- Material caution: extended, continuous ozone exposure accelerates aging of rubber, elastomers, and some fabrics. Avoid marathon runs. Short, spaced cycles limit material impact.
Chlorine dioxide (ClO2) odor eliminators
- Use as directed by the manufacturer. These kits release ClO2 gas over hours to oxidize odors and contaminants.
- Safety: do not occupy the vehicle during treatment. Vent thoroughly after completion. Never mix ClO2 with other chemicals. Follow all label PPE guidance.
- When to use: if you want longer, lower-output oxidation than ozone, or avoid running HVAC during treatment. Seal the vehicle per kit instructions; tape off large gaps as needed. Vent fully before re-entry.
Note: “Bug bombs” (total release aerosols) distribute large droplets that settle quickly and often do not penetrate crevices where roaches live. They can be a limited-use adjunct in a sealed vehicle, but rely on baits/IGR for lasting results. Follow fire/ignition warnings and never place foggers in the engine bay.
Monitor, Repeat, and Verify: Break the Life Cycle
Elimination requires sustained pressure over at least one full reproductive cycle.
- Sticky monitors/pheromone traps: place 6–8 traps under front seats, rear footwells, and in the trunk/cargo area. Label locations and dates. Check after 3–4 days, then weekly. Replace as needed.
- Rebaiting: refresh gel where consumed or dried; rotate placements slightly to keep it attractive. Keep bait and repellent sprays separated.
- IGR maintenance: replace point sources per label (often 30–90 days). Maintain until you reach three consecutive weeks of zero catches.
- HVAC follow-up: after air treatments and reinstalling the cabin filter, run the fan in fresh-air mode for a few minutes daily to dry out the evaporator box and discourage harborage.
- Data-driven decisions: if trap counts plateau after two weeks, increase bait placements at the highest-activity zones and consider adding a label-approved non-repellent crack-and-crevice residual if you haven’t already.
Prevention After the Cleanout
- No food policy: keep all snacks in sealed containers. Vacuum crumbs promptly. Avoid leaving beverages overnight.
- Transport precautions: avoid storing cardboard, paper bags, and used boxes in the vehicle. These harbor roaches and egg cases.
- Home cross-contamination: stage groceries and gym bags in closed bins in the trunk, not on floorboards. Inspect and shake out before entering the house.
- Moisture control: fix water leaks, clogged sunroof drains, and AC condensate issues. Dry interiors quickly if they get wet.
- Maintenance cleaning: vacuum monthly and wipe hard surfaces. Replace the cabin air filter per the service schedule or sooner if contaminated.
Quick Checklist: Day 1–14 Action Plan
- Stage vehicle outdoors; wear PPE.
- HEPA vacuum and deep-clean; remove and discard cabin air filter.
- Place gel bait (15–40 dots on cards/tape) and IGR point sources.
- Run ozone or ClO2 per label in short, safe cycles; ventilate fully.
- Install sticky monitors (6–8) and log counts.
- Rebait and check traps weekly; repeat ozone/ClO2 if odors persist.
- Replace cabin air filter; enforce no-food policy.
FAQs
Do bug bombs work in cars?
Total release foggers can knock down exposed roaches in a small, sealed space, but they are often ineffective for deep harborage in seams and ducts. They also leave residues you’ll need to wipe from surfaces. If used, strictly follow the label, remove ignition sources, and rely on gel bait plus an IGR for lasting elimination.
Will freezing or heat alone solve the problem?
Extreme cold and heat can reduce populations, but results vary. Sustained interior temperatures over roughly 120°F (49°C) can be lethal to roaches given enough time; interiors parked in full sun can exceed this, but temperature is uneven and egg cases may be more tolerant. Prolonged subfreezing temperatures (especially below 0°F / -18°C for many hours) can also be lethal, but again, not guaranteed for all harborage areas. Use environmental extremes as supplemental—not primary—control. Bait and IGR remain the most reliable approach.
Is ozone safe for plastics and electronics?
Short, spaced ozone treatments are commonly used in automotive odor remediation. However, prolonged or repeated long-duration runs can accelerate aging of rubber seals, soft-touch coatings, and some fabrics. Keep cycles to 30–60 minutes with full ventilation between, and avoid daily marathon sessions. Do not run ozone while any person or animal is present.
How long will it take to eliminate roaches from a vehicle?
Plan for 2–8 weeks depending on infestation size, with weekly bait refresh, IGR maintenance, and monitoring. You’re aiming for three consecutive weeks of zero trap captures. Skipping weeks or reintroducing food will prolong the process.
Can I use diatomaceous earth (DE) in a car?
DE can harm insects, but the airborne dust is a respiratory hazard and difficult to control inside a cabin and ducts. Avoid dusting vehicle interiors or HVAC systems with DE or silica dusts. Focus on gel bait, IGR, non-repellent crack-and-crevice treatments, and thorough cleaning.
Should I hire a professional or DIY?
A careful DIYer can succeed with the process above. Consider a licensed pest professional if the dash or interior needs partial disassembly, if you’re uncomfortable with chemical selection and label compliance, or if monitors still show activity after 4–6 weeks of consistent effort.
Shop Paint & Finishing Tools
After decontamination and odor treatment, restore surfaces and trim with Automotive Paint & Finishing Tools.
- Surface prep: sanders, abrasives, fillers, and masking supplies.
- Application: spray guns, cups, and touch-up tools for panels and trim.
- Finishing: compounds, pads, and polishers for final gloss and blend.
Eliminating cockroaches from your vehicle requires specialized cleaning products designed for automotive pest control. Our Cleaning Supplies category offers professional-grade solutions to help you complete this process effectively.

The Toolsource Technical Team blends decades of real-world automotive service experience with up-to-date technical research. Our writers collaborate with professional mechanics, shop owners, and diagnostic specialists to deliver practical, workshop-ready guidance you can trust.


Follow us on social media