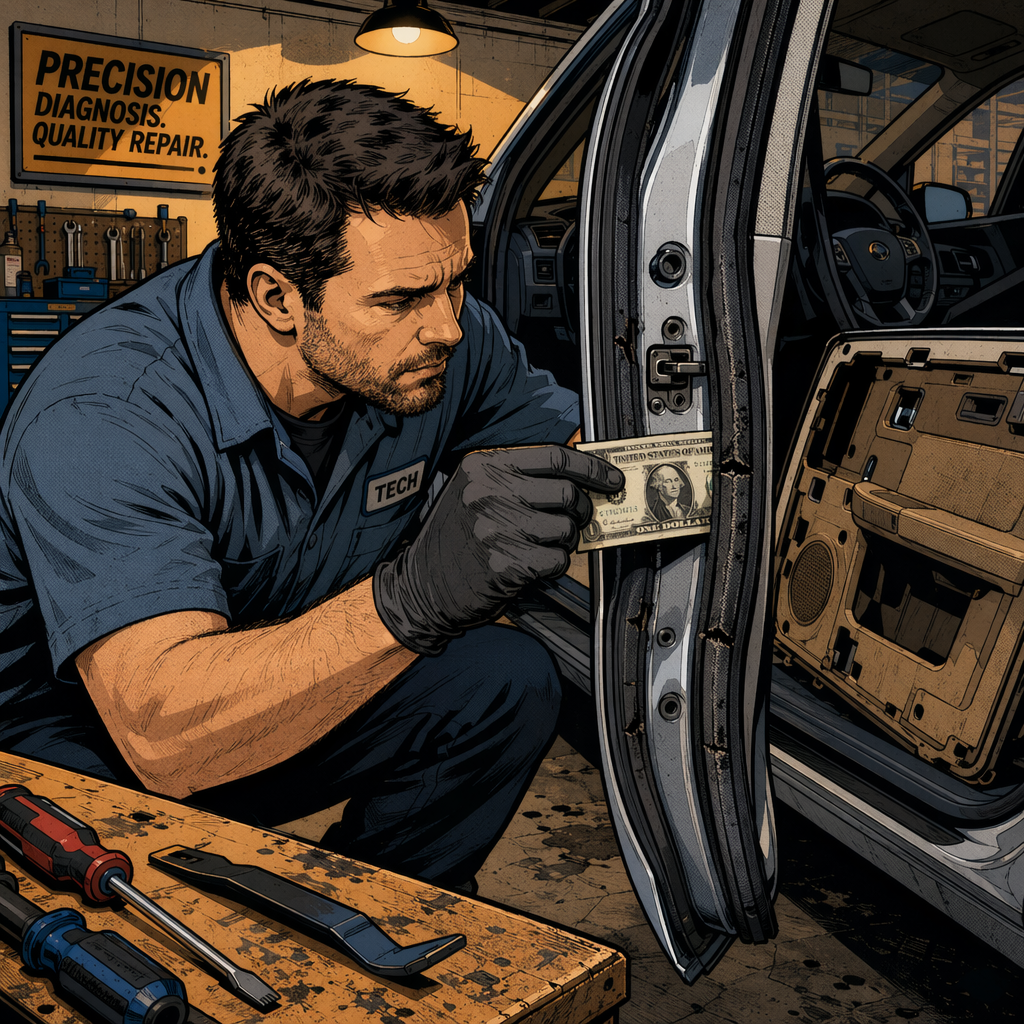
Wind noise complaints typically manifest above 45 mph as whistling, buzzing, or rushing sounds that disrupt cabin comfort. Unlike mechanical noises that correlate with engine RPM or wheel speed, aerodynamic noise increases with vehicle velocity and often presents intermittently based on wind direction. Proper diagnosis requires systematic elimination of potential sources, starting with the most common failure points and progressing to less obvious causes. This guide outlines field-tested diagnostic procedures and repair strategies for the most frequent wind noise sources encountered in modern vehicles.
Understanding Wind Noise Sources and Characteristics
Wind noise enters the cabin through gaps, damaged seals, or aerodynamic disturbances around body components. The primary sources include door and window weatherstripping, pillar seals, mirror assemblies, underbody panels, and HVAC system pathways. Each source produces distinctive characteristics that aid diagnosis.
Weatherstripping failures typically create whistling sounds that change pitch with speed variations. Split or deteriorated rubber allows air to vibrate the damaged section, producing intermittent noise as wind pressure fluctuates. Door seals generally cause noise localized to specific door edges, while pillar weatherstripping produces sounds near the A-pillar or windshield edge.
Mirror-related noise often presents as buzzing or fluttering, particularly when backing foam deteriorates or separates. The mirror housing creates turbulence, and missing dampening material allows vibration transmission into the cabin. Underbody panels and air dams produce whistling when bent, loose, or damaged, with noise intensity varying based on crosswind conditions.
HVAC system leaks create rushing sounds that persist regardless of climate control settings when fresh air mode pathways develop gaps. Unlike other sources, HVAC noise may continue at lower speeds and often includes a sensation of air movement near dashboard vents or footwells.
Initial Diagnostic Procedure and Isolation Techniques
Begin diagnosis with a controlled road test at varying speeds and wind conditions. Note the speed threshold where noise begins, whether it occurs constantly or intermittently, and if it correlates with specific wind directions. Document the apparent location—driver side, passenger side, front, or rear—to focus subsequent testing.
Perform climate control isolation testing by operating the vehicle with HVAC completely off, then test with fresh air mode, and finally with recirculation mode. If noise disappears with recirculation activated, suspect HVAC fresh air pathway leaks. This simple test eliminates an entire system from consideration and takes less than five minutes.
Visual inspection should cover all door and window weatherstripping, paying particular attention to pillar seals where the windshield meets the A-pillar. Look for splits, tears, compression set (permanent deformation), or separation from mounting channels. Weatherstripping deterioration often appears as cracking along bend points or flattened sections that no longer create proper sealing pressure.
Check mirror assemblies by removing the mirror cover and inspecting backing foam condition. Deteriorated foam appears compressed, crumbled, or completely absent. Test mirrors by temporarily taping around the housing perimeter with painter’s tape during a road test—if noise disappears, the mirror assembly requires attention.
Inspect underbody components on a lift, looking for bent air dams, loose belly panels, or damaged aerodynamic shields. Pay attention to fastener condition and panel alignment. Even slight deflection in plastic air dams can create sufficient turbulence for noise generation at highway speeds.
Door Seal and Weatherstripping Diagnosis
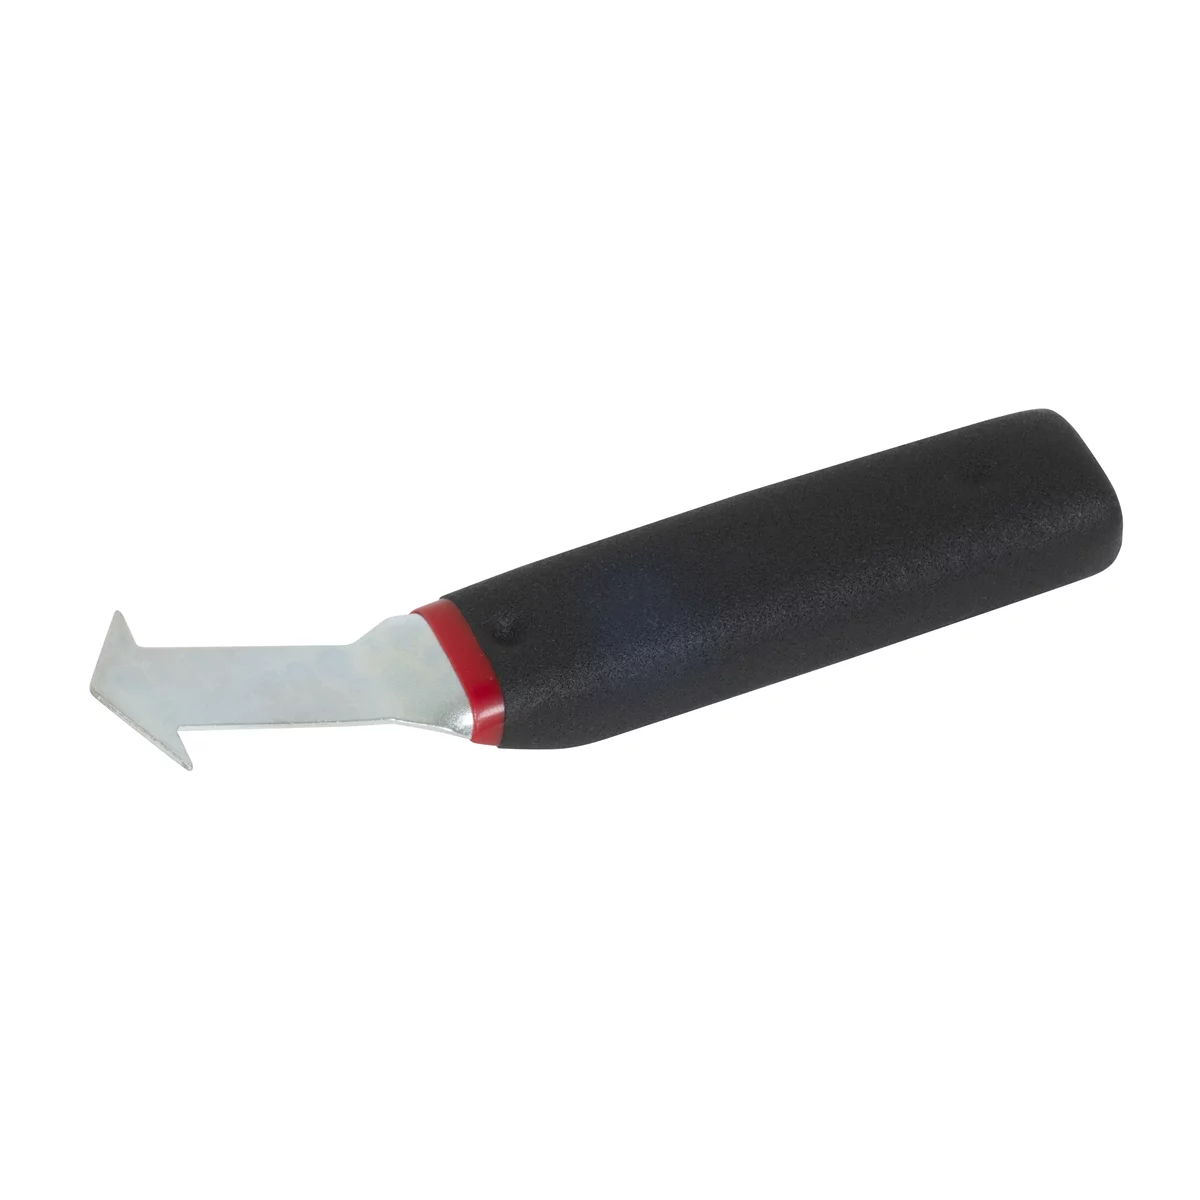
Door weatherstripping represents the most common wind noise source and requires methodical checking of multiple seal points. Modern vehicles use primary door seals mounted to the door frame and secondary body-mounted seals that create redundant sealing. Both require inspection.
Check door seal engagement by closing the door on a dollar bill at multiple points around the perimeter. The bill should require moderate force to extract when properly sealed. Repeat this test at six to eight locations around the door. Easy extraction at any point indicates insufficient seal compression, suggesting hinge wear, striker adjustment issues, or weatherstripping deterioration.
Inspect the seal rubber for compression set by examining the contact surface pattern. Properly functioning weatherstripping shows a uniform contact band across its width. Irregular contact patterns, gaps, or areas with no visible compression indicate seal failure or misalignment.
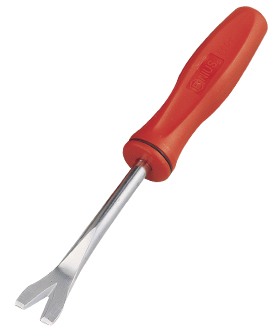
Remove the door panel to inspect seal mounting integrity. Weatherstripping clips into channels or adheres with butyl tape. Separated sections allow air infiltration even when the rubber appears intact externally. Run your hand along the seal backside feeling for gaps or loose sections.
For speed-dependent whistling isolated to door edges, apply temporary sealing with painter’s tape along suspected sections during road testing. Progressive taping helps pinpoint the exact failure location. Once identified, determine whether seal replacement, door adjustment, or striker realignment provides the appropriate repair.
Windshield and Pillar Weatherstripping Repair
Pillar weatherstripping failures produce distinctive whistling that intensifies with crosswinds. The seal runs along the A-pillar where windshield glass meets the body, creating a critical sealing point subject to UV exposure and flexing stress. Split seals in this location create particularly noticeable noise due to proximity to occupant ears.
Inspect pillar seals by running your fingers along the entire length while visually examining for splits, particularly at upper and lower bend points. Small splits may not be immediately visible but become apparent when the seal is gently stretched. Look for weathering indicators like surface cracking, hardening, or color fading that suggest imminent failure.
Test pillar seals by temporarily covering suspected sections with wide painter’s tape during a road test. If this eliminates the noise, weatherstripping replacement is required. Note that attempting to seal splits with adhesive rarely provides lasting results—the rubber has reached end-of-life and requires replacement.
Replacement requires windshield removal on most vehicles, as the seal integrates with windshield installation. This makes pillar seal replacement a significant repair requiring proper glass handling equipment and urethane curing time. In some cases, aftermarket add-on seals can supplement deteriorated factory seals, though results vary by application.
When replacing pillar weatherstripping as part of windshield service, ensure proper alignment before urethane cures. Misaligned seals create gaps that allow wind noise even with new components. Use the vehicle-specific installation procedure and allow full cure time before returning the vehicle to service.
Mirror Assembly and Mounting Diagnosis
Side mirrors create aerodynamic disturbance by design, and proper dampening prevents this turbulence from generating cabin noise. Mirror assemblies use backing foam between the housing and door skin to absorb vibration. Deteriorated or missing foam allows the housing to buzz against the door panel, transmitting noise into the cabin.
Remove mirror covers or housings according to manufacturer procedures. Most assemblies secure with clips or small fasteners accessible from inside the door. Once exposed, inspect backing foam condition. Factory foam may be dense closed-cell material or open-cell padding depending on application. Deteriorated foam appears compressed flat, crumbled, or may be completely missing.
Test mirror contribution to wind noise by temporarily removing the entire mirror assembly and conducting a road test. While impractical for customer vehicles, this definitively identifies mirror-related noise during diagnosis. Alternatively, adding temporary foam padding between housing and door, then testing, confirms whether foam deterioration causes the issue.
Replace missing or deteriorated mirror backing foam with appropriate density material. Automotive-grade closed-cell foam provides the best durability and dampening characteristics. Cut foam to match the mirror base footprint, ensuring adequate thickness to fill the gap between housing and door without preventing proper mounting.
Check mirror mounting fasteners for proper torque. Loose mirrors vibrate more readily and may contribute to noise even with adequate backing foam. Verify electrical connections for power mirrors don’t create interference or gaps that compromise foam effectiveness.
Underbody Panel and Aerodynamic Component Inspection
Underbody components including air dams, splash shields, and aerodynamic panels maintain critical positioning for both aerodynamic efficiency and noise prevention. Damage from road debris, improper installation after service, or fastener failure creates gaps and deflections that generate whistling at speed.
Perform thorough underbody inspection on a lift, looking for bent panels, missing fasteners, or separated clips. Pay particular attention to front air dams and wheel well liners where impact damage occurs most frequently. Even minor deflection in flexible panels can create noise-producing turbulence.
Check fastener condition carefully. Plastic clips and push-pins deteriorate over time and may appear installed while providing insufficient retention force. Panel movement under wind pressure creates intermittent noise. Replace any questionable fasteners with OEM or quality aftermarket equivalents.
Inspect wheel well liners for proper positioning and security. Liners separated from mounting points or bent into the airstream create significant noise. Running your hand along liner edges reveals gaps, separations, or contact with rotating components. Ensure liners don’t contact tires during suspension travel, which can cause both noise and tire damage.
For bent air dams or belly panels, determine whether straightening or replacement provides the better repair. Flexible materials may return to proper shape with careful reshaping and secure mounting. Cracked or severely deformed panels require replacement to eliminate noise and restore intended aerodynamic function.
Wind Noise Diagnosis Checklist
- Document noise characteristics: speed threshold, location, constant vs. intermittent
- Test HVAC modes: off, fresh air, recirculation to isolate system contribution
- Visually inspect all weatherstripping for splits, compression set, and separation
- Perform door seal dollar bill test at multiple points around perimeter
- Check pillar weatherstripping for splits, particularly at bend points
- Remove mirror covers and inspect backing foam condition
- Inspect underbody panels, air dams, and wheel well liners for damage or deflection
- Verify all underbody panel fasteners are present and properly engaged
- Use progressive taping technique to isolate specific failure locations
- Road test after each repair to confirm noise elimination
Frequently Asked Questions
Q: Why does wind noise only occur above certain speeds?
A: Wind noise results from aerodynamic pressure and turbulence that increase exponentially with speed. Small gaps or damaged seals don’t generate sufficient air velocity to produce audible noise at lower speeds. Once threshold velocity is reached, turbulent air flow through gaps creates whistling or buzzing sounds. This speed-dependent characteristic distinguishes wind noise from mechanical issues.
Q: Can I permanently fix wind noise with tape or sealant?
A: Tape serves as an excellent diagnostic tool but provides only temporary repair. Adhesive-backed foam strips or butyl tape may work for minor gaps in non-critical areas, but deteriorated weatherstripping requires replacement for lasting results. Attempting to seal split rubber with adhesives rarely succeeds because the underlying material has degraded and will continue deteriorating.
Q: How do I differentiate between wind noise and wheel bearing noise?
A: Wheel bearing noise correlates with wheel speed, not vehicle velocity, and continues when coasting. It typically presents as humming or growling that changes pitch with speed but persists during deceleration. Wind noise appears only above specific speeds, may be intermittent based on wind direction, and stops when speed drops below the threshold. Additionally, bearing noise often increases during turns that load the affected bearing.
Q: Why does wind noise seem worse after window or windshield replacement?
A: Improper weatherstripping installation during glass service commonly causes new wind noise. Misaligned seals, insufficient urethane curing time, or incorrect seal positioning create gaps absent before service. Quality glass shops use OEM installation procedures and allow proper cure time, but verification of seal integrity should be part of post-installation inspection.
Q: Can door adjustments eliminate wind noise without replacing weatherstripping?
A: If weatherstripping remains pliable and undamaged, door adjustment or striker repositioning may restore proper seal compression. However, rubber with compression set or deterioration won’t seal properly regardless of adjustment. Perform the dollar bill test at multiple points—if seal compression is uniform but insufficient, adjustment helps. Irregular compression patterns indicate weatherstripping replacement is necessary.
Q: How long should weatherstripping last before requiring replacement?
A: Quality weatherstripping typically lasts 7-12 years depending on climate exposure, UV intensity, and usage frequency. Vehicles in hot, sunny climates experience faster deterioration. Regular inspection should begin around year five, looking for early signs of hardening, cracking, or compression set. Preventive replacement before complete failure prevents water intrusion and noise issues.
Diagnostic Tools for Wind Noise Troubleshooting
Isolating wind noise sources requires systematic testing and careful observation. Our Automotive Noise Detection Tools help pinpoint the exact origin of cabin noise, from weatherstripping failures to aerodynamic disturbances.
- Stethoscopes and listening devices for precise noise localization
- Pressure and flow diagnostic equipment for HVAC system testing
- Inspection mirrors and lighting tools for underbody component assessment

The Toolsource Technical Team blends decades of real-world automotive service experience with up-to-date technical research. Our writers collaborate with professional mechanics, shop owners, and diagnostic specialists to deliver practical, workshop-ready guidance you can trust.


Follow us on social media