A missing radio faceplate can be frustrating and might leave you with a, seemingly, non-functional audio system in your vehicle. Understanding your options and knowing how to deal with the situation can help restore your car’s audio enjoyment swiftly.
Understanding Radio Faceplates
Before you dive into solutions, it’s essential to understand what a radio faceplate is and its purpose. A radio faceplate is the front part of a car stereo unit that typically houses the controls and display. It serves as a critical component for operating your audio system and often is designed with removable characteristics to combat theft.

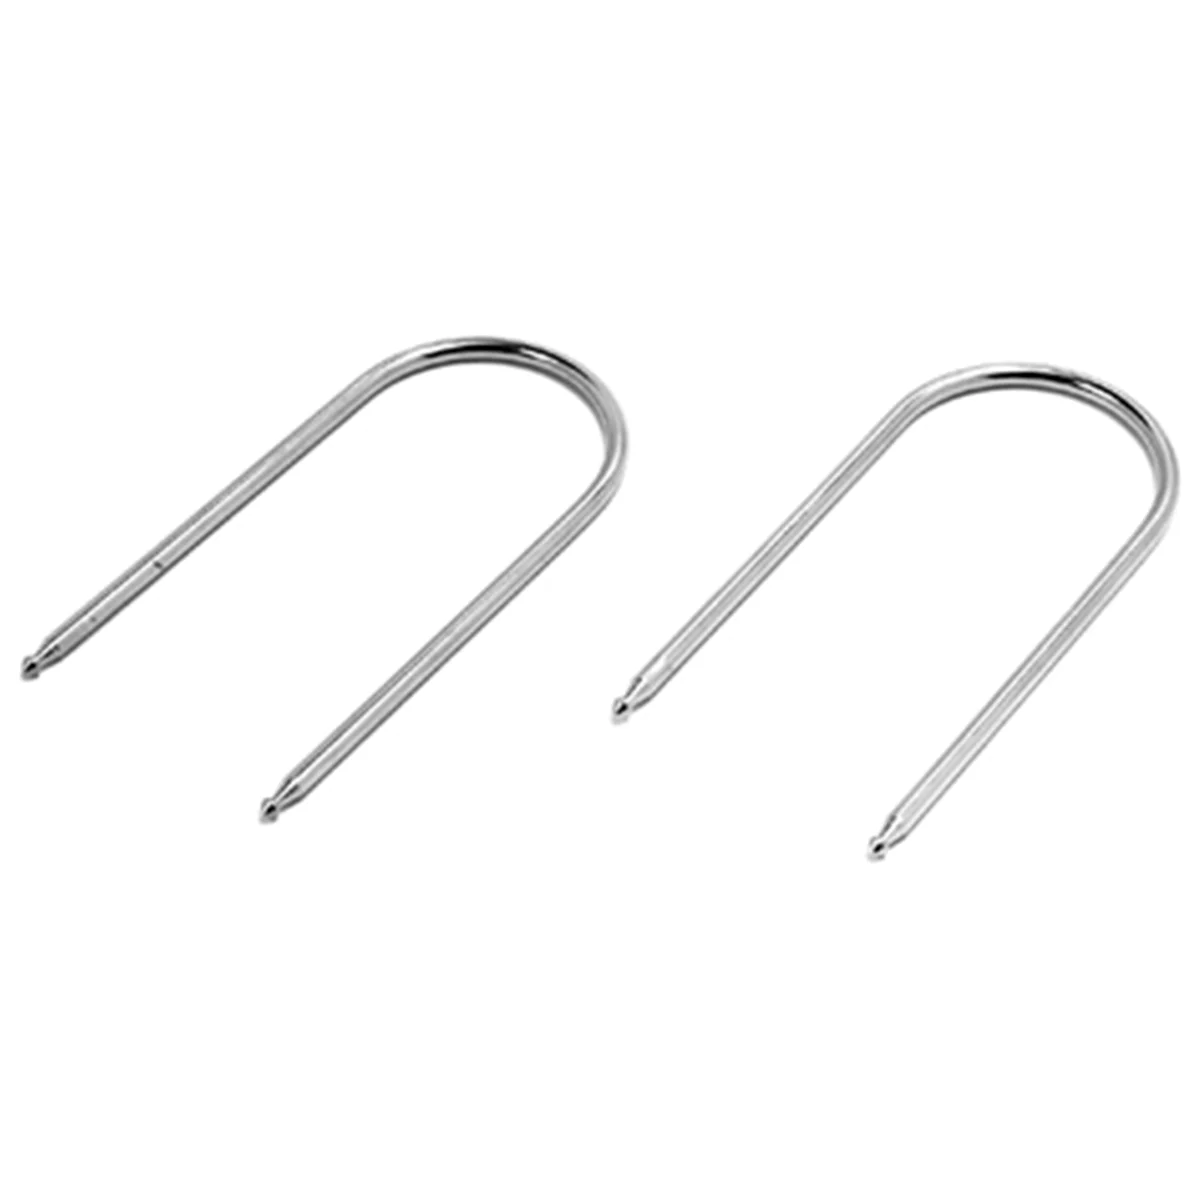
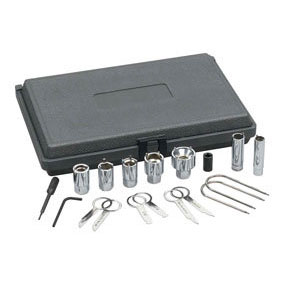
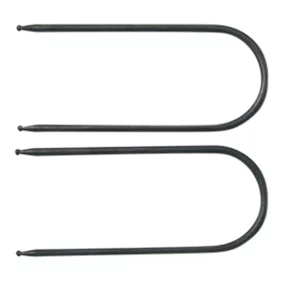
Ford Radio Removal Tool A580 - Easy Dashboard Audio Removal
Mfg: CTA Manufacturing Corp.
Part #: A580
Step 1: Check the Vehicle Thoroughly
If you find yourself dealing with a missing faceplate, your first step should be a thorough investigation of your vehicle. The faceplate could be anywhere, including:
- Glovebox: Check if the previous owner has left the faceplate here.
- Center Console: Look in the compartment, as well as under or around the console.
- Under the Seats: Often, faceplates fall into the hard-to-reach gaps between seats.
- Trunk: Don’t overlook the trunk as it might be hiding there.
Step 2: Contact Previous Owner
If you can’t find the faceplate in your search, reaching out to the previous owner is a practical next step. They may have the faceplate stored away with other accessories. A quick conversation can save you time and effort in finding a replacement or can open up an avenue for acquiring the original component.
Step 3: Assessing the Current Head Unit
If all else fails, you need to assess the head unit currently installed in your vehicle. To do this:
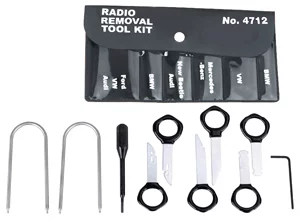
- Remove the Head Unit: Use universal radio removal tools available online or at automotive stores. These tools will allow you to slide the head unit out of the dashboard.
- Identify the Model: Once removed, look for the brand and model information usually printed on the outside of the unit or inside where the connectors are located. This helps in finding a compatible faceplate.
- Search for Replacement: Websites like eBay or specialty audio retailers may have the specific faceplate you need. Ensure compatibility by matching the model details.
Step 4: Consider a New Head Unit
If the search for the faceplate proves fruitless, consider opting for a new head unit. Modern units are available at various price points and often come with enhanced features like Bluetooth, USB ports, and touchscreen displays. When selecting a new unit, keep in mind:
- Database Reference: Use automotive websites like Crutchfield which can provide recommendations based on your vehicle make and model.
- Installation Simplicity: Many aftermarket stereos are designed for easy DIY installation. If you’re familiar with basic wiring, you can usually handle this installation yourself.
- Compatibility: Check for wiring harness compatibility to avoid complicated modifications.
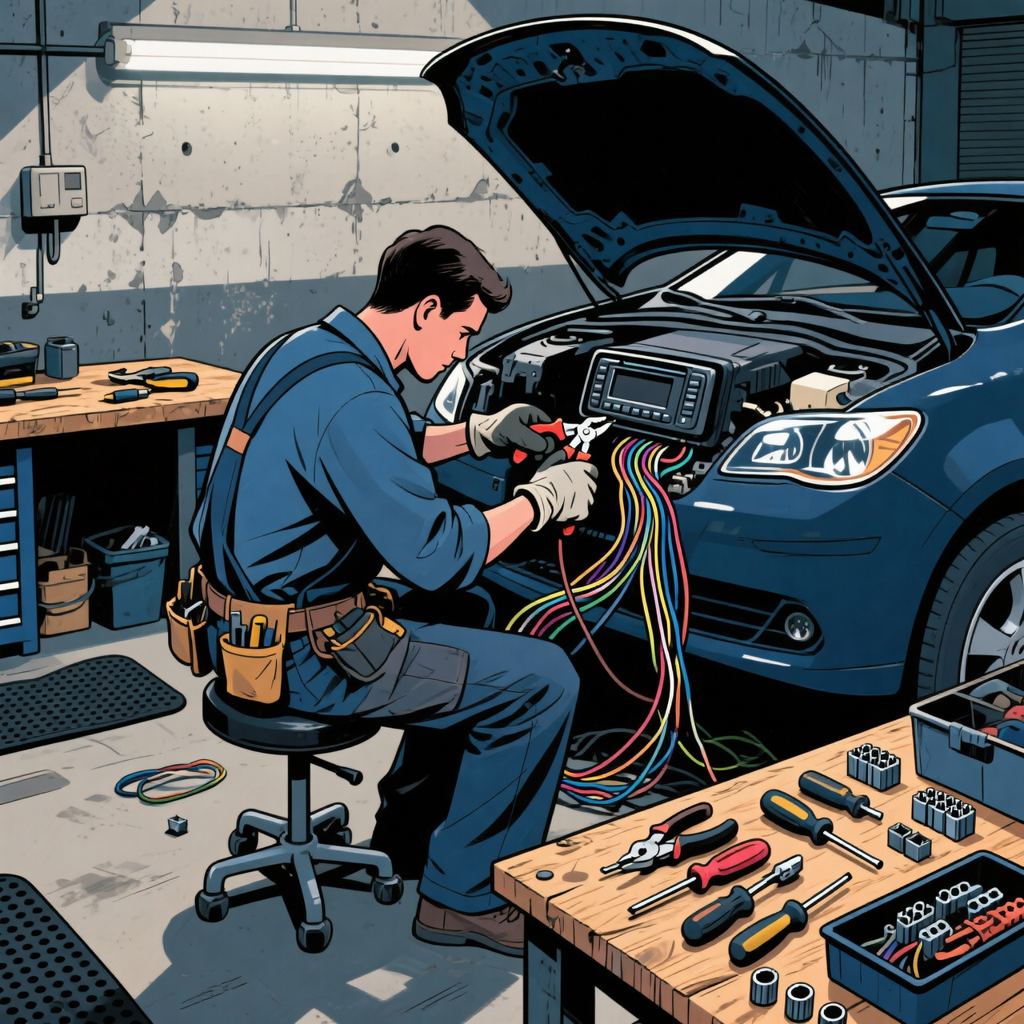
Step 5: DIY Installation and Wiring
For those choosing to replace the stereo themselves, proper wiring and installation are vital steps:
- Gather Tools: You’ll typically need wire strippers, crimp connectors, and a screwdriver.
- Understand Wiring: Refer to your vehicle’s wiring diagram and the new stereo’s wiring instructions. Be cautious of existing wires.
- Test Connections: Before sealing everything up, test the unit and connections to ensure functionality.
- Secure Everything: Once confirmed, secure all wiring and replace covers for a clean finish.
Checklist for Finding or Replacing a Radio Faceplate
- Search the vehicle thoroughly (glovebox, under seats, trunk).
- Contact the previous owner for the faceplate.
- Remove the head unit to check for model information.
- Search online for replacement options if needed.
- Evaluate different head unit options for best feature set.
- Follow proper procedures for DIY installation.
FAQs
What if the missing faceplate cannot be found?
If the missing faceplate cannot be retrieved, purchasing a new head unit is the best option. New models provide advanced features and connectivity.
Can I install a new head unit myself?
Yes, with basic tools and wiring knowledge, many individuals can install their own head unit, often successfully.
Where can I find a replacement faceplate for my stereo?
Replacement faceplates can typically be found online through marketplaces like eBay, or by searching specific auto accessory websites.
Are there cheaper alternatives for a stereo system?
Options like Bluetooth FM transmitters can serve short-term purposes, but quality audio will be compromised.
What should I consider when purchasing a new head unit?
Consider compatibility with your vehicle’s make, budget, and desired features such as Bluetooth, USB, and auxiliary input.
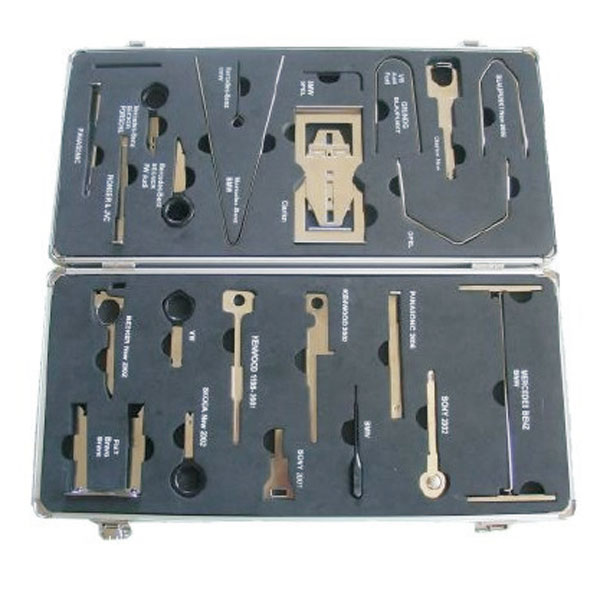
Recommended Tools
If you’re looking to streamline your efforts in dealing with missing radio faceplates, consider exploring our Radio Removal Tools.
- Specialized tools for easy head unit removal.
- Compatible with various vehicle makes.
- Essential for DIY installations.
The Toolsource Technical Team blends decades of real-world automotive service experience with up-to-date technical research. Our writers collaborate with professional mechanics, shop owners, and diagnostic specialists to deliver practical, workshop-ready guidance you can trust.


Follow us on social media