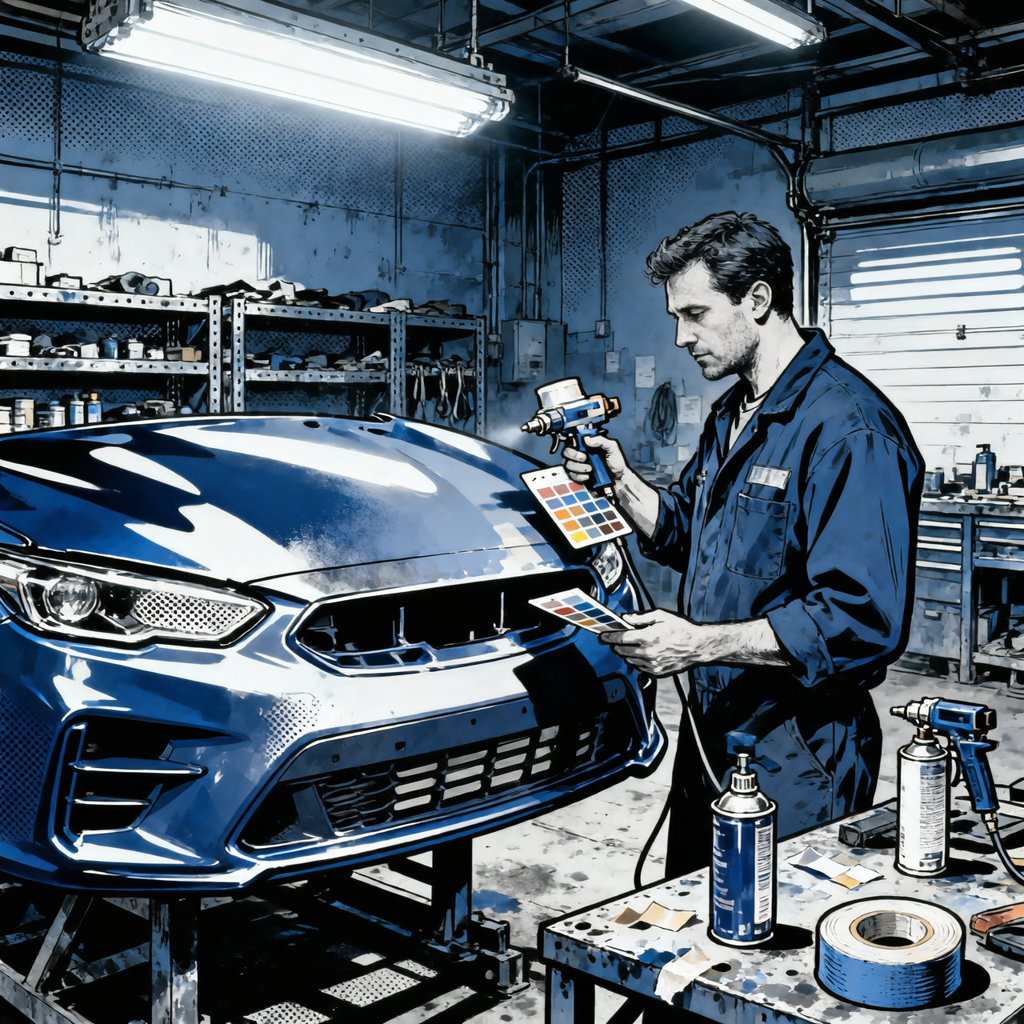
Matching a plastic bumper to adjacent metal panels is one of the most demanding tasks in refinish. Metallic and pearl systems amplify small differences in substrate, orientation, and film build. With the right tools, sealer strategy, static control, and spray technique, you can get bumper-to-hood/fender matches that hold up in daylight, LEDs, and camera sensors. This guide provides a step-by-step process, decision points for blending, and troubleshooting tips to get you from “close” to “customer-pleasing.”
Why Plastic vs. Metal Looks Different (and How to Control It)
- Substrate energy and static: Plastic carries static differently than steel/aluminum. Static can influence how metallics and pearls orient during atomization and drying, changing face color and flop. Use anti-static methods to reduce this variable.
- Thermal behavior: Plastic warms and cools slower than metal, impacting solvent flash and flow. Differences in panel temp and booth temp/humidity can shift color value and flop.
- Orientation and curvature: Bumpers have more crown and break lines. Metallics/pearls show darker at steep viewing angles. If the bumper is sprayed flat on a stand while the hood is sprayed near flat in-car, the flakes lay differently, creating visible side-tone differences when reinstalled.
- Groundcoat value: Transparent colors (yellows, greens, blues, some pearls) are highly sensitive to sealer shade and hiding. A too-dark groundcoat can push the side tone dark even if the face is right.
- Process separation: OEM bumpers are often painted on different days, lines, or even by vendors. In refinish, you can overcome those variables—but only if you treat the stack, environment, and technique consistently.
Tools and Materials That Make Matching Easier
No products found for "spectrophotometer"
- Multi-angle spectrophotometer and software for variants and formulas.
- Spray-out cards (plain and black/white split) and a bumper offcut panel when possible.
- Color evaluation light (handheld “sun gun”) with 5000K–6500K settings and a strong CRI.
- Anti-static solutions: ionizing air gun or bar, anti-static wipe, and a ground strap for plastic stands.
- Plastic cleaner, adhesion promoter for TPO/PP/EPDM as required by your paint system.
- Primer-sealer system with defined value shades (e.g., VS1–VS7). Keep all shades in stock.
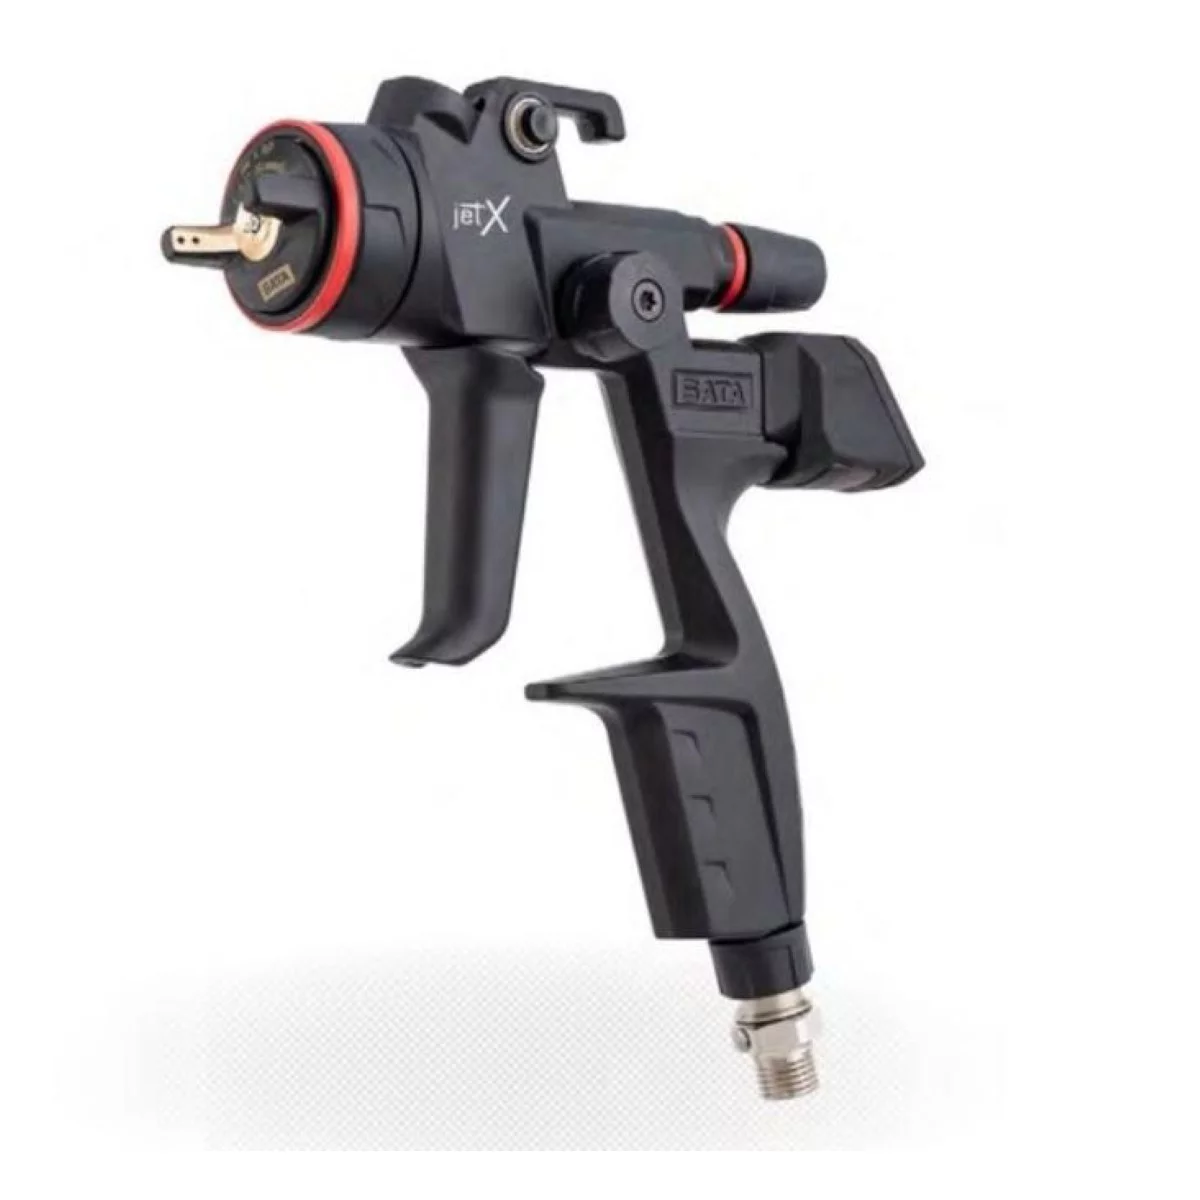
- HVLP/HR gun with correct tip (often 1.2–1.3 mm for base), digital regulator, and clean, dry air.
- Reducer range matched to booth temps (cool/standard/warm) and hardeners matched to clear.
- IR lamp or bake system, surface thermometer, hygrometer/thermometer for booth conditions.
- Blend solvent/fade-out blender, soft-edge foam tape, panel stands adjustable to install angle.
Step-by-Step: Matching Metallic/Pearl on a Plastic Bumper
- Confirm system data and variant:
- Scan a clean area of the master panel (hood/fender) with a multi-angle spectro. Compare formula variants and choose the closest by face and flop, not just formula distance.
- Mix a small batch precisely on a digital scale. Keep notes on every gram of tint change.
- Prep and static control:
- Clean bumper thoroughly with plastic-safe cleaner, then scuff with gray pad or P800-P1000 where appropriate. Blow off with ionized air and wipe with anti-static cloth.
- Attach a ground strap from the metal stand to a booth ground point. Avoid synthetic gloves that build static; use nitrile and maintain contact with grounded surface.
- Build the same stack as the car:
- Apply adhesion promoter per TDS only if substrate requires. Do not over-apply; it can affect topcoat flow.
- Choose sealer shade by formula guidance and your experience. For transparent colors, err slightly lighter in value to prevent dark side tone, unless OEM stack dictates otherwise.
- Apply sealer uniformly to achieve a consistent value and texture similar to adjacent panels.
- Spray-out off the same stack:
- Spray two test cards with the same sealer used on the bumper. Apply base exactly as you will on the part—same gun, pressure, distance, overlap, flash times, and number of coats.
- Include a control card with half black/white to evaluate coverage and undertone. If you can see undertone on the white, hiding is insufficient.
- Dial in the basecoat application:
- Apply medium-wet coats to achieve even coverage; monitor hiding over the sealer. For metallics/pearls, finish with a controlled orientation coat (“drop coat”) at slightly reduced pressure and increased gun distance, with 70–80% overlap, moving in the primary viewing direction.
- Match the installed orientation: Angle the bumper on the stand to mimic the car’s installed angle relative to the hood/fenders. Spray the orientation coat in the same direction you would view the car.
- Maintain consistent booth conditions. Target similar panel temperatures for bumper and adjacent sheet metal by pre-warming the bumper if needed.
- Evaluate and adjust:
- Flash per TDS, then check spray-out under a sun gun at face (0°) and flop angles (15°/45°/75°). Evaluate next to the vehicle, not in isolation.
- If face is on but flop is dark: lighten the side tone by adjusting metallic control (e.g., reduce coarse metallic slightly, add a trace of fine aluminum or white per your system’s tinting guide). If face is right but the color reads green/blue off-angle, refine pearl balance with micro-adjustments (very small increments).
- Re-shoot spray-outs after any tint change. Avoid chasing with the bumper itself.
- Clearcoat and texture management:
- Apply clear with the same wetness and texture level you deliver on adjacent panels. Overly heavy clear can deepen perceived color and change flop.
- Allow proper flash and bake. Avoid rapid IR assault on cold plastic; bring panel temp up gradually to target to prevent solvent trap that can dull color.
When (and How) to Blend Adjacent Panels
Metallic/pearl colors with a visible hue shift across angles often require blending to hide side-tone differences. Bumper-to-hood matches are especially sensitive because the panels meet across a long, flat seam.
- Decision triggers for blending:
- Transparent or high-pearl hues; strong hue shift under different lights; large, flat adjacent panel; customer quality expectations and color sensitivity.
- Blend strategy for a front end:
- Mask soft edges on hood/fenders, prep blend zones with fine scuff (P1500–P2000 or ultra-fine scuff pad), and apply base fade into these panels to visually connect flake orientation and value.
- Use a fade-out blender to melt the blend edge; then clear the entire blended panels for durability and gloss consistency.
- Estimating and documentation:
- Photograph and measure under a sun gun; note visible hue variance. If available, capture spectro readings to support the need for blending and tint time on estimates/supplements.
- Document sealer shade selection and spray-out results to justify materials and labor.
Verification: Lighting, Angles, and Cameras
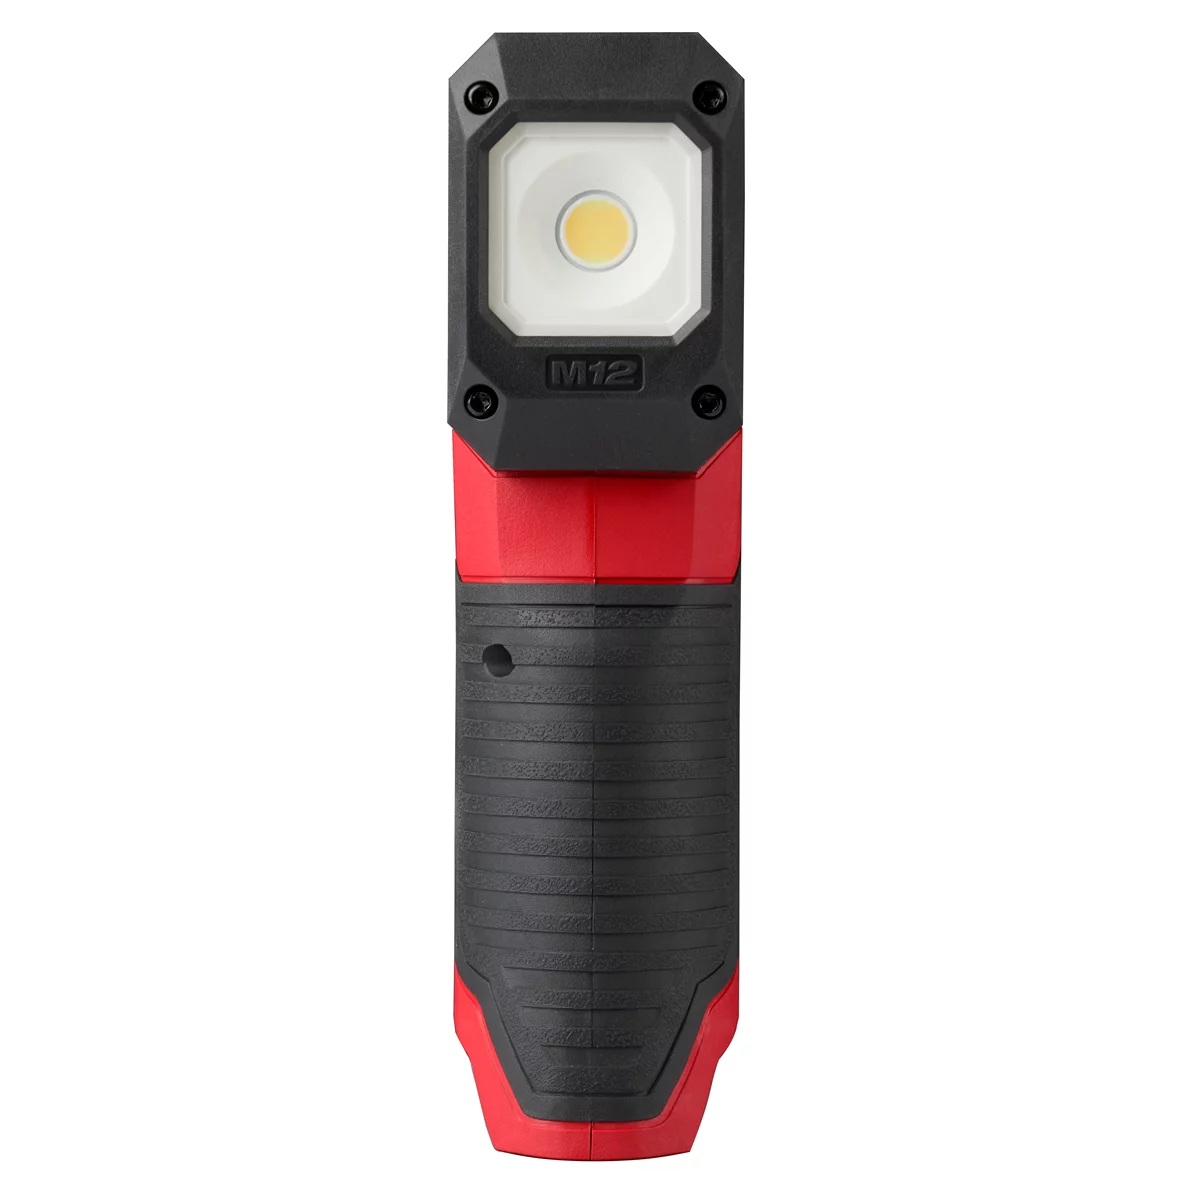
M12?,,? Paint and Detailing Color Match Light
Mfg: Milwaukee Electric Tools
Part #: 2127-20
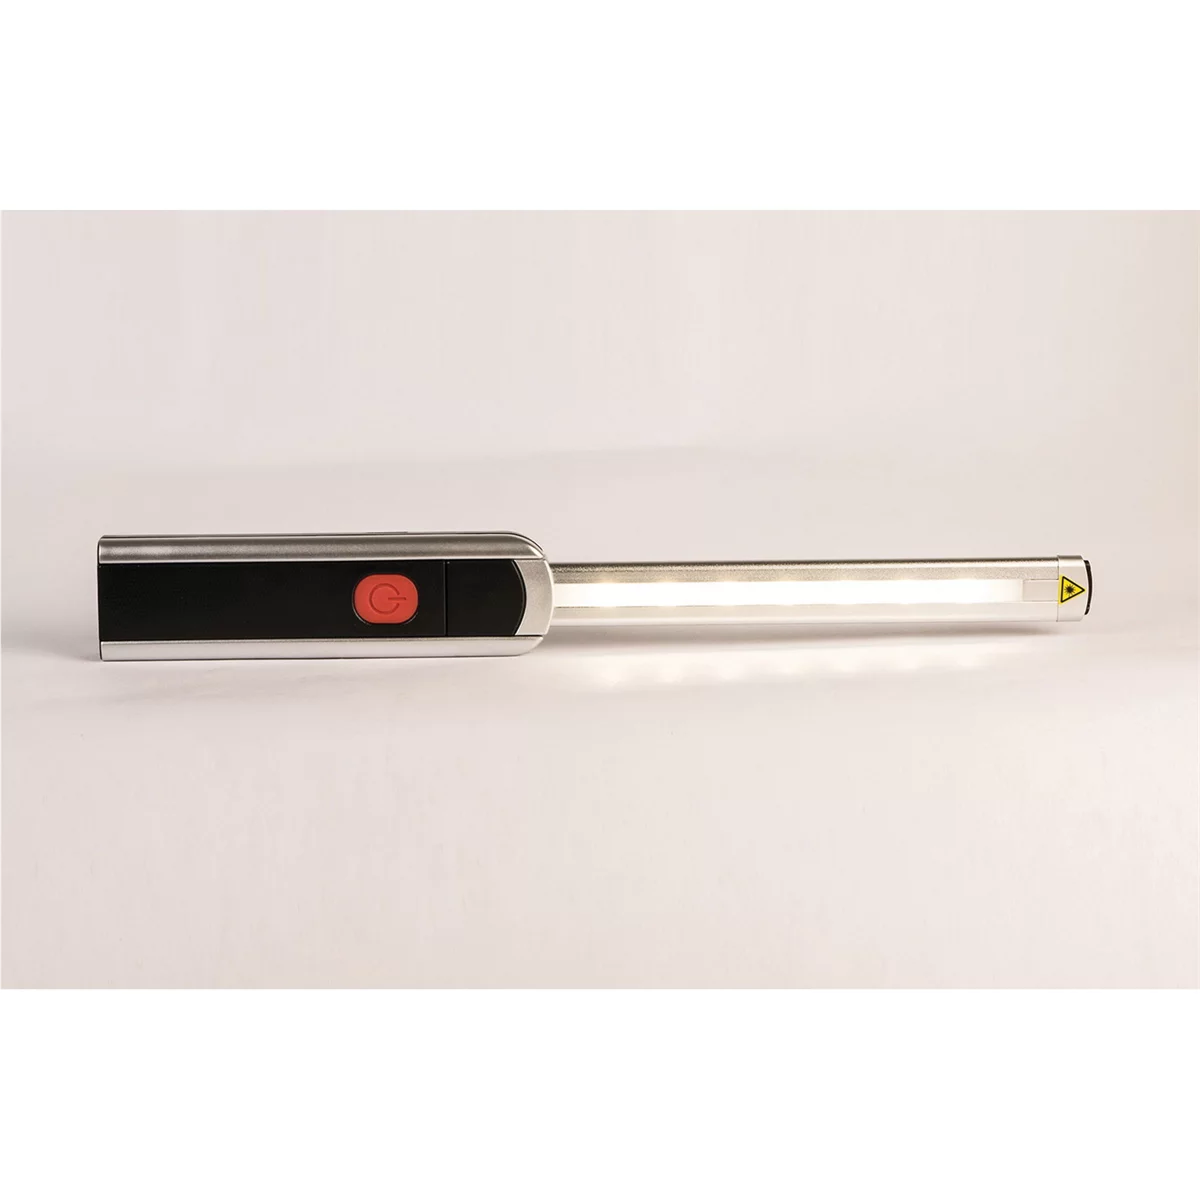
RBL Products HH1 Hand Held Color Matching Light, 550 Lumens, 650
Mfg: RBL Products
Part #: RBL.HH1
- Lighting: Inspect under multiple sources—5000K daylight LEDs, warm shop LEDs, and natural sun. Gas station canopy lighting can exaggerate hue shifts; note, don’t overreact to a single light condition.
- Angles: Check face and flop. Walk the seam line from 0° to steep angles. What looks perfect head-on can drift at 45° if flakes are misoriented.
- Cameras: High-contrast smartphone HDR will exaggerate differences. Use your eyes under controlled light and record-keeping photos for documentation.
Troubleshooting Common Mismatch Scenarios
- Face matches, flop is too dark on the bumper:
- Cause: Overly dark groundcoat; flakes sitting too flat; heavy clear deepening tone.
- Fix: Lighten sealer value one step; fine-tune aluminum blend (reduce coarse, add fine/white per TDS); adjust orientation coat at slightly lower pressure; apply consistent clear texture.
- Good head-on, bumper looks greener/bluer at angle:
- Cause: Pearl imbalance or different application orientation vs. adjacent panels.
- Fix: Micro-adjust pearl tints; reshoot spray-outs; mount bumper to mimic installed pitch and respray orientation coat in viewing direction.
- Coverage looks thin and part reads dark overall:
- Cause: Transparent color over too-dark sealer; insufficient hiding.
- Fix: Re-seal with correct value shade; add one uniform base coat before orientation coat; verify hiding on black/white card.
- Static pull and mottling on plastic only:
- Cause: Inadequate static control; dry spray; inconsistent gun distance.
- Fix: Ionized blow-off before and between coats; ground the stand; increase overlap and maintain wet edge; verify air quality and pressure.
- Mismatch worsens after bake/cure:
- Cause: Panel temp differences; solvent retention in plastic vs. metal; reducer/hardener too fast or too slow for booth conditions.
- Fix: Pre-warm plastic; match reducer to booth temp; stage IR to avoid skinning; allow full cool-down before final inspection.
- Customer sees mismatch only indoors:
- Cause: Spectral spikes in LED/fluorescent lighting accent specific pearls/metallics.
- Fix: Validate under multiple lights. If legitimate, adjust pearls with micro-tints and re-blend as needed.
Quick Checklist: Plastic-to-Metal Match
- Scan the master panel; select the right variant and mix precisely.
- Replicate the OEM stack: adhesion promoter (if required), correct sealer value.
- Neutralize static: ionized air, anti-static wipe, ground the stand.
- Spray orientation: angle the bumper to match installed pitch.
- Use spray-outs off the same sealer and technique; evaluate under a sun gun.
- Control the orientation coat: lower pressure, longer distance, high overlap.
- Decide on blending early; document with photos/reads for estimate support.
- Verify under daylight and LED; photograph for records.
FAQs
Is a perfect plastic-to-metal match actually possible?
Yes. It’s difficult, but with correct sealer value, static control, orientation-matched spraying, and (when appropriate) blending into adjacent panels, you can achieve an OEM-level visual match. The challenge increases with highly transparent metallic/pearl colors and long seam lines (bumper-to-hood).
Do I still need flex additives on plastic parts?
Most modern 2K base/clear systems are engineered with sufficient flexibility for bumper covers and do not require separate flex additives in base/clear. Some manufacturers still specify additives for particular components or primers. Follow the paint system’s current TDS; adding flex when it’s not specified can alter color and gloss.
How important is sealer shade for metallic/pearl colors?
Critical—especially for transparent colors. The wrong value shade can push side tone darker or lighter even when the face reads correct. Always use the recommended shade and verify hiding with a black/white test card before committing to the part.
Should I paint the bumper off the car or installed?
Either can work. If you paint off-car, position the bumper on a stand to closely match the installed angles and spray your orientation coat in the same direction you’ll view the car. Painting flat on a stand often leads to flop differences once installed.
Why does the match look different under LEDs or in photos?
Different light sources emphasize different parts of the spectrum; LEDs and phone cameras can exaggerate hue and flop differences. Validate under multiple lighting conditions (sun gun and daylight) and rely on controlled visual checks as well as documentation photos.
When should I insist on blending adjacent panels?
Blend if the color is highly transparent, if the seam is long and flat (e.g., bumper-to-hood), or if you see a measurable/visible side-tone difference after dialing in base. Blending is the most reliable way to make the transition invisible and meet high customer expectations.
Shop Automotive Paint & Finishing Tools
Essential Paint and Body Products
Master color matching with the right tools and materials from our Paint and Body category. Whether you’re working with primers, topcoats, or matching compounds, we have everything needed for professional-grade results.
Shop these recommended supplies for your next bumper and panel project:
- Color Matching Systems – Spectrophotometers and color chips to ensure perfect paint accuracy
- Surface Preparation Tools – Sandpaper, body fillers, and prep solutions for flawless finishing
- Application Equipment – Spray guns, tape, and masking supplies for professional coverage

The Toolsource Technical Team blends decades of real-world automotive service experience with up-to-date technical research. Our writers collaborate with professional mechanics, shop owners, and diagnostic specialists to deliver practical, workshop-ready guidance you can trust.


Follow us on social media