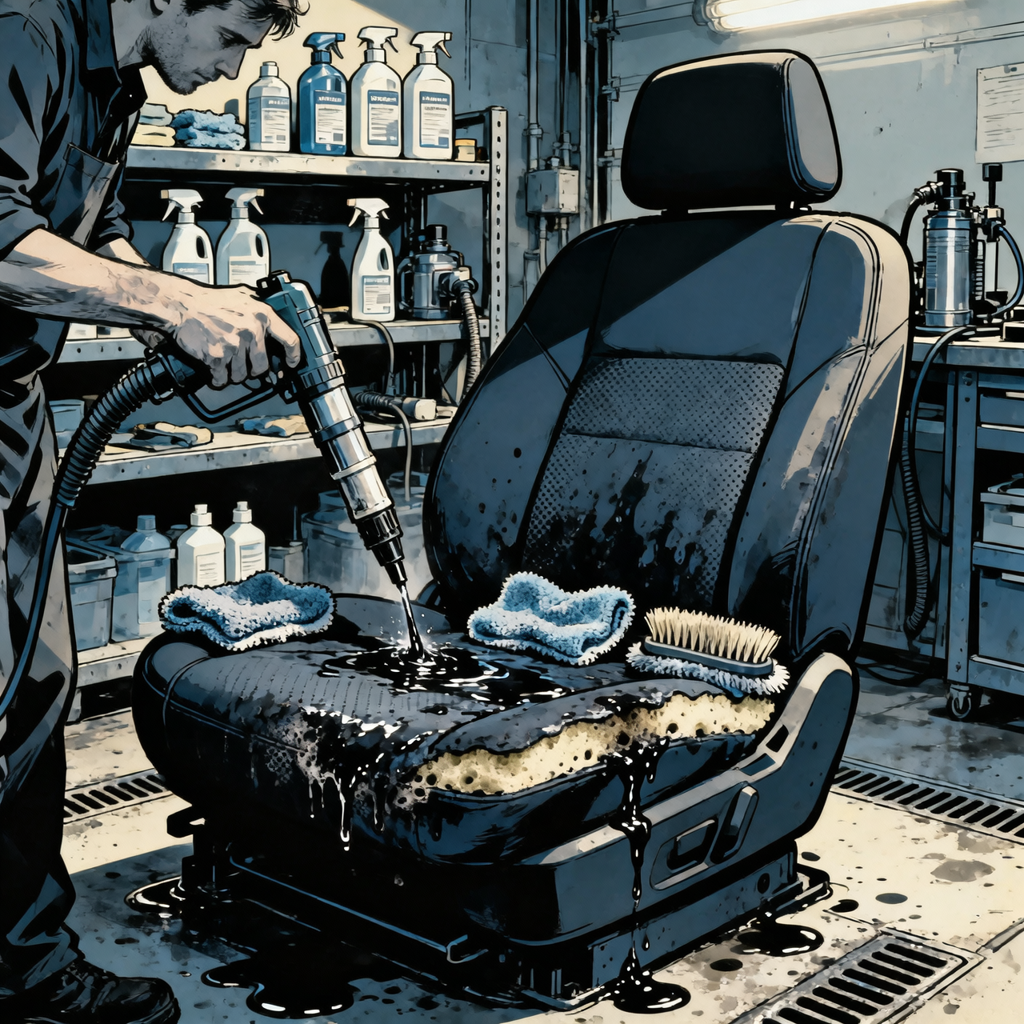
Bodily fluid contamination in vehicle interiors presents one of the most challenging cleaning scenarios technicians face. Unlike common beverage spills or mud, organic fluids penetrate deep into upholstery fibers and foam backing, creating immediate staining and long-term odor issues if not addressed correctly. The key to successful remediation lies in understanding the chemistry involved: bodily fluids contain proteins, salts, and organic compounds that require enzymatic breakdown rather than simple surface cleaning. Time is critical—once these fluids dry and oxidize, they bond with fabric fibers and create persistent odors that resist conventional cleaning methods. This guide provides the professional protocols needed to fully remediate affected upholstery and prevent recurring odor problems.
Understanding Why Immediate Action Is Critical
The urgency in addressing bodily fluid contamination cannot be overstated. Within the first few hours, fluids migrate through fabric surfaces into foam cushioning and backing materials. As moisture evaporates, concentrated proteins and salts crystallize within the fiber structure, creating both visible staining and molecular odor compounds. In warm conditions or high humidity, bacterial growth accelerates this process, producing ammonia and other volatile compounds that create the characteristic “nursing home” smell technicians associate with dried urine or other organic fluids.
The fabric type significantly impacts how quickly remediation must begin. Microfiber and suede materials are particularly vulnerable because their fine fiber structure wicks fluids rapidly through capillary action, spreading contamination across a larger area than smooth fabrics. Heated seats compound the problem by accelerating evaporation and essentially “cooking” proteins into the material. Once the affected area dries completely, the cleaning difficulty increases exponentially—what might have been a 30-minute extraction job becomes a multi-stage process requiring repeated treatments and possibly professional ozone treatment or complete seat reupholstering.
Temperature also plays a role in long-term odor management. Even after apparently successful cleaning, residual organic compounds trapped in foam or beneath waterproof backing can reactivate during hot, humid conditions. This explains why vehicles cleaned in winter may develop odors the following summer. Professional remediation must therefore address not just surface contamination but complete saturation and extraction of all affected layers.
Enzyme Cleaner Selection and Application Protocol
Enzyme-based cleaners represent the only effective chemical approach for breaking down organic contamination. Unlike surfactant-based cleaners that simply suspend dirt for extraction, enzymes catalyze the breakdown of protein chains, urea, and other organic molecules into simpler compounds that rinse away cleanly. Pet urine removers work effectively for this application because they’re formulated for the same protein and urea chemistry found in human bodily fluids.
Professional-grade options include P&S Terminator, Superior Products Zap-It (available at O’Reilly Auto Parts), and various veterinary-grade products. The active enzyme concentrations vary, so follow manufacturer dilution ratios precisely—more concentrated isn’t necessarily better, as enzymes require proper pH and moisture levels to function optimally. Most professional formulations work at dilution ratios between 1:4 and 1:10 depending on contamination severity.
Application technique matters as much as product selection. Saturate the affected area completely—the enzyme solution must reach every contaminated layer to be effective. Use a pump sprayer or trigger bottle to apply product, working from the outside edges toward the center to prevent spreading. Allow adequate dwell time, typically 10-15 minutes, but don’t let the area dry during treatment. Enzymes require moisture to remain active. For deep contamination, apply product, agitate gently with a soft brush (Scrub Ninja pads work well on delicate materials), then apply a second saturation before extraction.
Avoid heat during enzyme treatment. High temperatures denature enzyme proteins, rendering them ineffective. This means no steam cleaning or heated extractors during the enzyme stage—save heat application for later sanitizing steps if needed. Also avoid combining enzyme cleaners with other chemical treatments in the same step, as pH shifts or chemical interactions can inhibit enzyme activity.
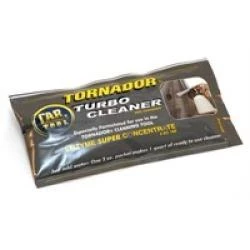
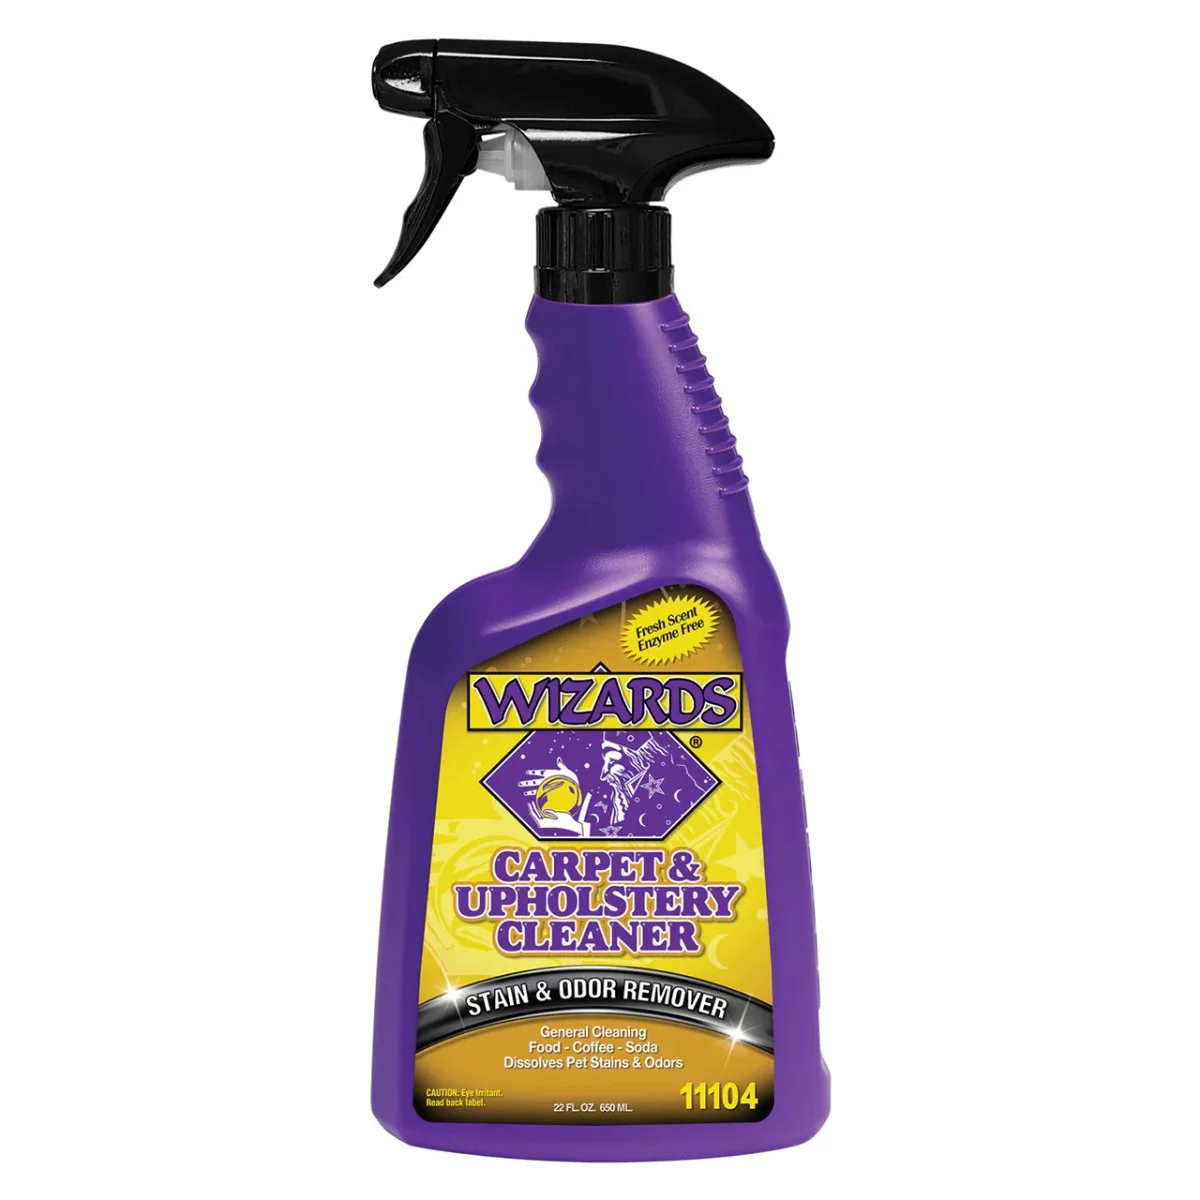
11104 Carpet and Upholstery Cleaner, 22 oz Spray Bottle
Mfg: Wizard Industries
Part #: 11104
Extraction Process and Equipment Requirements
Proper extraction is non-negotiable for bodily fluid remediation. Surface wiping or blotting removes only surface moisture while leaving contamination deep in the upholstery structure. Professional results require equipment capable of flushing contaminated areas with clean water while simultaneously pulling moisture and dissolved contaminants from deep layers.
A carpet extractor, wet/dry vacuum with upholstery attachment, or dedicated automotive extractor provides the necessary suction power. Portable units like the Bissell SpotClean Pro work for mobile detailers, while shop-based operations benefit from larger extractors with heated tanks. The key specification is water lift capacity—look for minimum 80-inch water lift for effective upholstery extraction.
The extraction technique follows a specific sequence. After enzyme dwell time, begin extraction without adding additional product. Make overlapping passes with the extraction head, applying firm pressure to compress foam and force moisture to the surface. You’ll notice the extracted water appears discolored—continue extraction until the return water runs clear. This typically requires 4-6 passes over contaminated areas.
Next, flush the area with clean water (no chemicals) and extract again. This step is critical but often skipped: flushing removes residual enzymes, dissolved proteins, and cleaning product that would otherwise remain in the fabric. Repeat the water flush and extraction cycle 2-3 times. The goal is to restore the upholstery to as close to neutral pH as possible with no residual cleaning chemicals that might attract dirt or create their own odor as they degrade.
For severe contamination that has reached the seat foam, you may need to extract until the pad feels only slightly damp rather than saturated, then allow 4-6 hours of drying before reassessing. Use fans to accelerate drying but avoid heat sources that might set any remaining contamination. If odor persists after drying, the contamination has likely reached waterproof backing or seat frame components, requiring seat removal and treatment of structural components.
Secondary Cleaning and Fabric Restoration
After successful enzyme treatment and extraction, the affected area typically shows water marks or appears different in texture and color compared to surrounding fabric. This necessitates a secondary cleaning phase that treats the entire seat panel for uniform appearance. Spot-cleaning alone will always leave visible differences in fabric texture and shading.
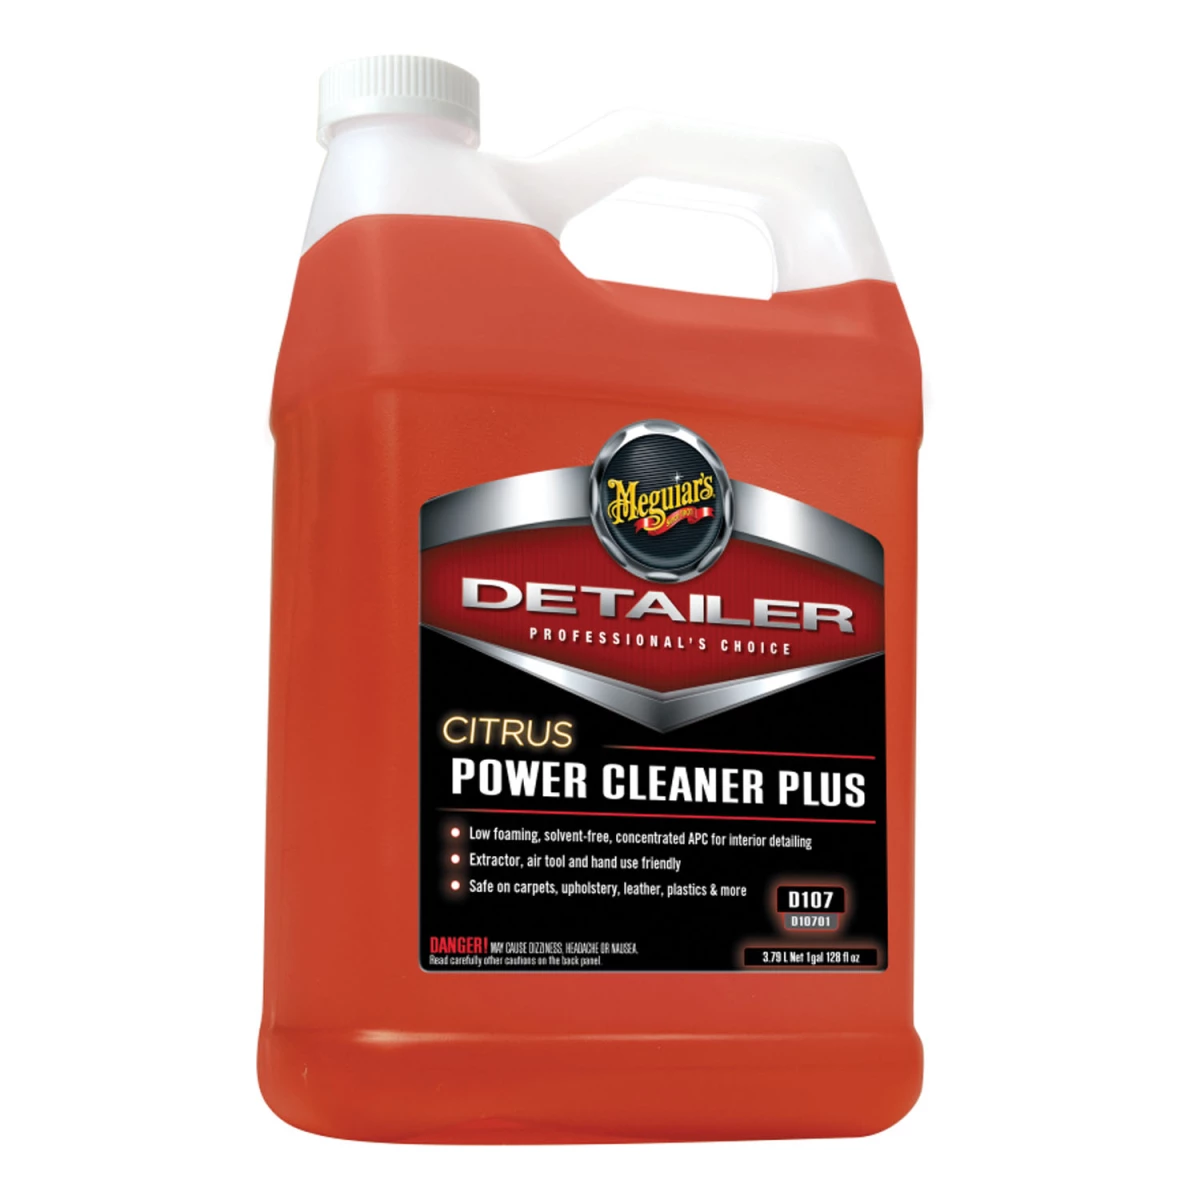
Koch Chemie Pol Star represents the professional standard for this phase, diluted at 1:20 for most applications. Alternative quality products include Meguiar’s D101 All Purpose Cleaner (diluted appropriately for interior fabrics) or P&S Carpet Bomber for heavy-duty applications. These surfactant-based cleaners remove remaining surface oils, dirt, and any residual enzyme cleaner while restoring fabric appearance.
Apply the diluted cleaner evenly across the entire seat surface using a pump sprayer. Agitate with a soft-bristle brush or microfiber applicator pad, working in overlapping sections. Pay attention to seams and stitching where contamination often hides. Allow 3-5 minutes dwell time, then extract thoroughly using the same technique as the enzyme phase. The goal is to clean the entire seat to a uniform level, eliminating any visual difference between the treated area and surrounding fabric.
For microfiber and suede materials, reduce agitation intensity to prevent damage to the delicate fiber structure. Never use rotary brushes or aggressive scrubbing on these surfaces—the gentle mechanical action from foam applicator pads or soft brushes provides sufficient cleaning action when combined with proper chemistry and extraction. After extraction, these materials benefit from light brushing with a suede brush while still slightly damp to restore the directional nap.
If you’ve treated one seat, strongly consider treating all seats to matching standards. Different cleaning levels on adjacent seats will be visually obvious, and clients often prefer uniform appearance across the entire interior even if only one area required remediation.
Odor Prevention and Long-Term Solutions
Successfully eliminating visible staining doesn’t guarantee odor won’t return. Residual contamination in foam, beneath moisture barriers, or in ventilation systems can reactivate during temperature and humidity changes. Professional odor prevention requires addressing these hidden reservoirs.
For persistent odor after proper extraction, chlorine dioxide (ClO2) treatment provides effective sanitization without the risks associated with ozone generators. ClO2 water sanitation tablets dissolved in distilled water create a spray solution that oxidizes odor-causing compounds at the molecular level. Test on an inconspicuous area first, particularly with suede or microfiber, as some formulations may affect fabric finish. Apply sparingly, allow dwell time according to manufacturer specifications, then extract with clean water.
Ventilation system contamination sometimes goes unnoticed during initial assessment. If odors persist after thorough seat cleaning, inspect HVAC intake areas, cabin air filters, and floor carpet beneath seats. Bodily fluids can splash or run onto carpet and into ventilation intakes, creating secondary odor sources that recontaminate treated areas through the air system.
For vehicles that will see repeated “high-risk” situations, prevention beats remediation. Waterproof seat covers designed for medical transport, protective throws with absorbent tops and waterproof backing, or even disposable puppy pads provide barrier protection without the awkwardness of visibly protecting seats before intimate activities. These preventive measures save hours of cleaning time and preserve upholstery condition.
Document your work with before and after photos, and provide clients with realistic expectations about odor elimination timelines. Explain that initial treatments handle visible contamination and most odor, but complete odor elimination may require 48-72 hours of drying plus observation through various temperature conditions. This manages expectations and provides justification for potential follow-up treatments if odor returns during the first heat cycle.
Professional Remediation Checklist
- Begin cleaning within 24 hours of contamination—sooner is always better
- Assess contamination depth by checking foam compression and moisture penetration
- Select appropriate enzyme cleaner formulated for protein breakdown
- Saturate affected area completely with enzyme solution at proper dilution ratio
- Agitate gently with soft brush or pad—avoid aggressive scrubbing on delicate fabrics
- Allow 10-15 minute dwell time without letting area dry out
- Extract thoroughly until return water runs clear
- Flush with clean water and extract again—repeat 2-3 times
- Apply surfactant-based interior cleaner to entire seat panel
- Extract entire seat to uniform cleanliness level
- Use fans for drying—avoid heat sources during initial drying phase
- Inspect for watermarks or uneven appearance requiring additional treatment
- Test for residual odor after complete drying before returning vehicle
- Consider ClO2 or other sanitizing treatment if odor persists
- Clean adjacent seats to matching standards for uniform appearance
Frequently Asked Questions
Can I use a steam cleaner to sanitize upholstery after bodily fluid contamination?
Avoid steam during enzyme treatment as heat denatures the enzymes and makes them ineffective. After successful enzyme treatment and extraction, steam can be used for final sanitization, but it’s not necessary if proper enzyme and extraction protocols were followed. Steam alone without enzyme treatment will set protein stains and make them permanent.
Why does the odor come back weeks later even after thorough cleaning?
This typically indicates contamination reached areas not fully addressed during initial cleaning—usually deep in foam padding, beneath waterproof seat backing, or in ventilation systems. Temperature and humidity changes cause residual organic compounds to release volatile odor molecules. This requires follow-up treatment focusing on complete saturation and extraction of foam layers, possibly requiring seat removal for access to backing and frame components.
Will enzyme cleaners damage microfiber or suede upholstery?
Quality enzyme cleaners formulated for automotive use are safe for all fabric types when used at proper dilution ratios. The risk comes from over-agitation during cleaning or using excessive heat. Test any product on an inconspicuous area first, and avoid aggressive scrubbing that can damage the delicate fiber structure of microfiber and suede materials.
How long should I wait before using the vehicle after this type of cleaning?
Allow minimum 6-8 hours of drying with good ventilation before use, preferably 24 hours for complete drying. Using the vehicle before complete drying can drive remaining moisture deeper into foam or create mildew issues. Run fans or position the vehicle in a warm, dry area with windows cracked to accelerate drying without applying direct heat.
Can I use household pet urine cleaners or do I need automotive-specific products?
Household pet enzyme cleaners work effectively because they target the same protein and urea chemistry. Products like Nature’s Miracle or Simple Solution provide the same enzymatic action as automotive-specific products, often at lower cost. The key is ensuring the product is enzyme-based rather than just a masking fragrance, and following proper extraction protocols regardless of product source.
What should I do if the stain and odor won’t come out after multiple treatments?
Persistent contamination after proper enzyme treatment and extraction usually indicates the fluids reached the seat frame, springs, or mounting brackets. This requires seat removal and treatment of structural components, or in severe cases, foam replacement. Some contamination scenarios exceed the practical limits of cleaning and require reupholstering. Professional ozone treatment can address odors but doesn’t remove the contamination source, so odors may return.
Equipment and Supplies for Upholstery Cleaning
Professional bodily fluid remediation requires specialized tools and cleaning products. Browse our Shop Equipment and Supplies for extraction equipment, enzyme cleaners, and application tools needed to handle contamination effectively.
- Carpet extractors and wet/dry vacuums with upholstery attachments
- Professional-grade enzyme and surfactant-based cleaners
- Application tools including pump sprayers, brushes, and microfiber pads

The Toolsource Technical Team blends decades of real-world automotive service experience with up-to-date technical research. Our writers collaborate with professional mechanics, shop owners, and diagnostic specialists to deliver practical, workshop-ready guidance you can trust.


Follow us on social media