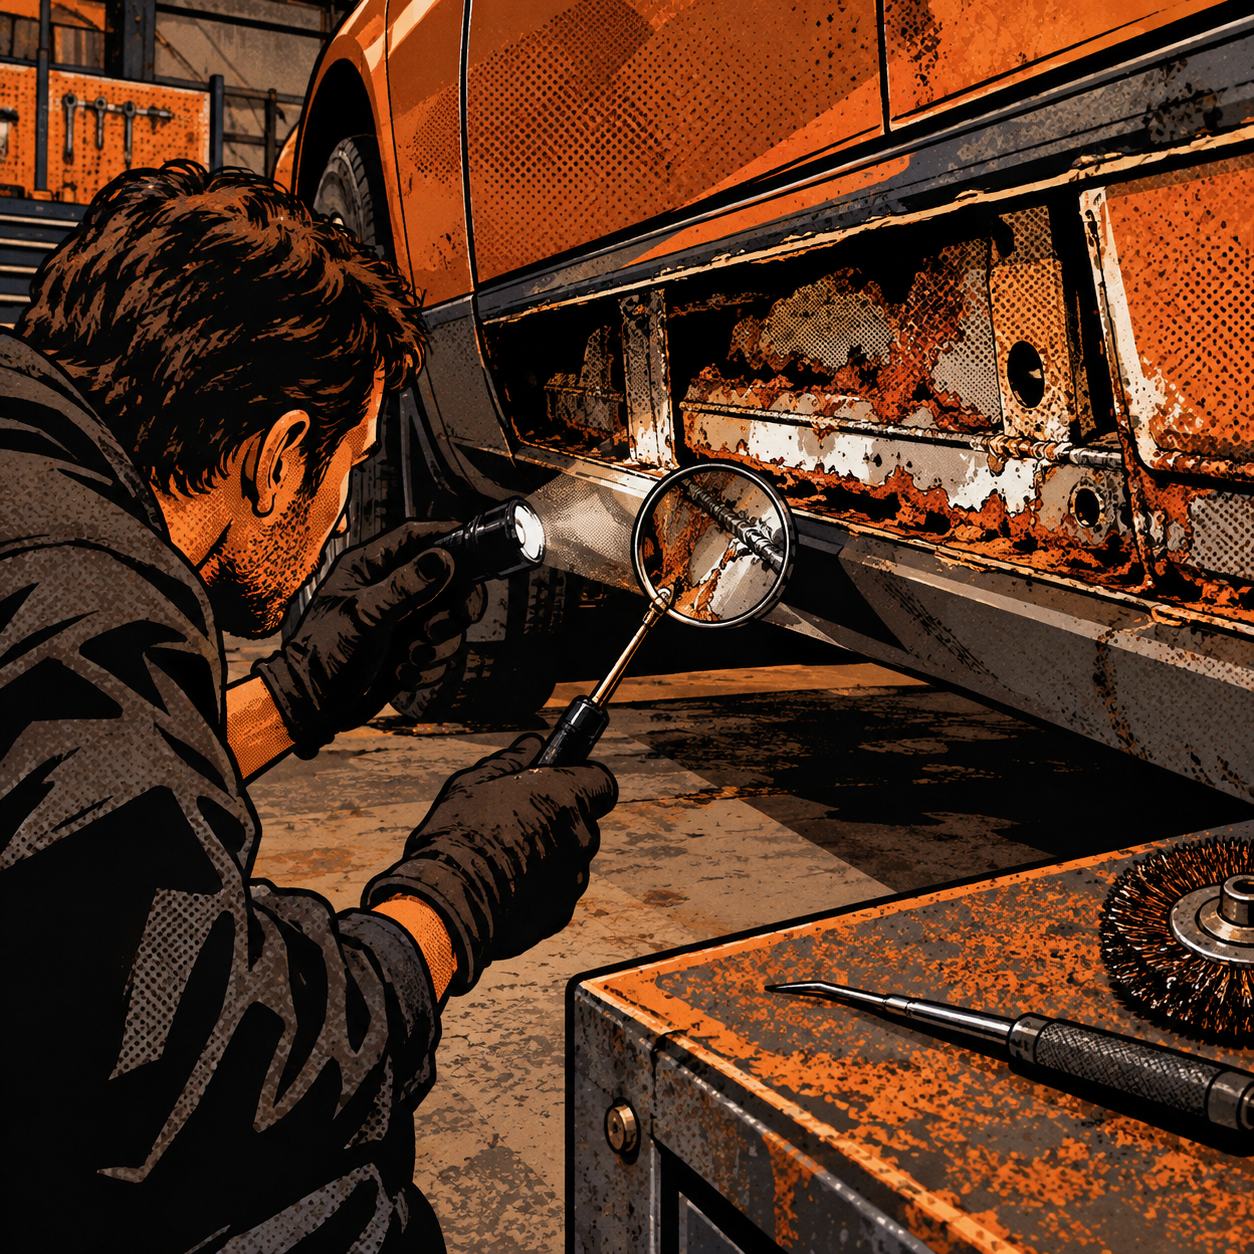
Rust repair on a rare or discontinued model is a different job than patching a common daily driver. Parts aren’t a phone call away, service documentation is thin, and the corrosion is rarely where it looks worst from the outside. Technicians who take on these projects — orphaned European hatchbacks, low-production performance trims, anything the parts counter stopped stocking decades ago — need a different workflow: find rust before you cut, protect bare metal the moment it’s exposed, and be ready to fabricate what you can’t buy. The following is a practical walkthrough based on real shop experience with this kind of work.
Locating Hidden Rust Before You Cut Anything
The rust you can see is rarely the full extent of the problem. On many unibody cars, water and road dirt collect in seams that have no factory seal, and corrosion spreads from the inside out for years before it breaks through paint. Common trouble spots include the seam between the side panel and the wheelhousing top, the lower rocker where it meets the floor pan, and any corner where the windshield or rear glass seals age out and start weeping.
Before committing to a repair plan:
- Pull interior trim, wheel liners, and splash shields to inspect seams directly rather than relying on exterior appearance.
- Probe suspect panels with a pick or small screwdriver — paint can bridge a rust hole and look solid until you press on it.
- Check for trapped debris. A wheelhousing packed with dirt holds moisture against bare metal indefinitely; clearing it out is sometimes the first “repair” step.
- Run water over door corners, glass edges, and panel seams with the interior exposed to catch leaks that aren’t obvious when the car is dry.
- Use an inspection mirror or a cheap borescope to look inside box sections and rails before deciding how much metal has to come out.
Document what you find with photos before cutting. On cars with no published repair panels, those photos become your only reference for how the structure was originally shaped once the rusted section is gone.
Shaping Replacement Metal by Hand
When no patch panel exists for the car you’re working on, you’re fabricating from flat sheet. This doesn’t require a full fabrication shop — a lot of credible structural and cosmetic patch work has been done with a hammer, a dolly, and a vice to form compound curves by hand. The key is working the metal in small increments, checking fit against the surrounding panel constantly, and not trying to force a finished shape in one pass.
A practical sequence:
- Make a cardboard or thin-aluminum template of the area before cutting out the rusted section, so you have a pattern for the replacement piece.
- Rough-shape the new panel oversized, then trim to final fit after the curves are close — it’s easier to remove a little material than to stretch metal that’s too small.
- Clean both the new metal and the mating edges on the car to bare metal with a wire wheel or flap disc. Any paint, primer, or seam sealer left in the weld path causes porosity.
- Dry-fit with clamps or self-tapping screws before any welding, and sight down the panel line to check for waves or low spots.
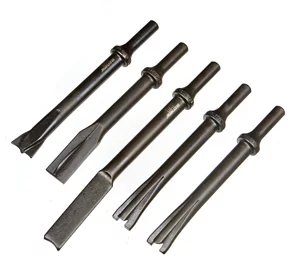
Find welding and metal-shaping tools:


Weld-Through Primer and Weld Technique
Bare metal starts oxidizing the moment it’s exposed, and on a project that spans weeks or months, that’s long enough for surface rust to take hold in exactly the seams you just cleaned. Weld-through primer (sometimes sold as weld-through or weld-thru zinc coating) is made for this: it goes on in a thin coat over bare metal, protects it during the time between cutting and final welding, and — unlike standard primer — doesn’t foul the weld or cause excessive spatter when you weld directly through it. Any primer that’s left on an overlap seam after welding stays there as corrosion protection; what’s on the visible surface gets wiped off with thinner before top-coating with epoxy primer.
On weld method: factory seat rails, floor seams, and other structural joints were often plug-welded rather than continuously welded. Plug welding — drilling a hole in the top layer and filling it with weld to fuse both layers — mimics factory strength and flexes similarly to the surrounding structure, which matters on load-bearing joints like seat mounts. A continuous butt weld or full seam weld is also structurally valid and in many cases stronger, but it changes how the panel flexes and can look out of place on a concours-level restoration. Pick the method that matches the job: structural integrity first, originality second if it’s a daily driver; originality first if it’s a numbers-matching restoration.
Dealing with Corroded Fasteners and Broken Mounting Hardware
Fender and panel fasteners on older cars frequently thread into plastic cage nuts embedded in the body structure. Those cages shatter when you try to back out a seized screw, and on discontinued models the cage nut itself usually isn’t available as a replacement part. When that happens, cut the screw head off rather than forcing it, then fabricate a replacement mounting point: a metal strap or spacer matched to the original cage thickness, welded to the inner liner or structure in the same position, re-threaded to accept a standard bolt. It takes longer than swapping in an OEM part, but it restores correct panel alignment without guessing at shims.
General rules for corroded fastener removal:
- Apply penetrating oil and give it time — minutes, not seconds — before applying torque.
- Use heat on surrounding metal (not the fastener itself, if it’s near trim or glass) to break the rust bond.
- If a fastener is going to shear, decide in advance whether you’re saving the hole/thread or the surrounding part, and cut accordingly.
- Have a plan for a replacement mounting point before you start, rather than discovering mid-removal that no fix exists.
Fabricating Parts No One Sells Anymore
On a rare model, the part you need may simply not be in production, and the used market may be thinner than expected. A machine shop with CNC capability or a 3D printer changes what’s possible — brackets, spacers, trim clips, and similar non-structural or lightly-loaded parts can often be reverse-engineered from a good original or a parts-car donor and reproduced. For anything load-bearing, treat a 3D-printed part as a pattern or fit-check only, then reproduce it in metal.
Before fabricating, source whatever factory documentation exists — service manuals, parts diagrams, wiring schematics — even if it’s for a related model rather than an exact match. Having that reference saves far more time than it costs to track down, especially for anything involving wiring or sensor placement.
Engine and Wiring Harness Swaps on Orphaned Platforms
Swapping a newer or higher-output engine into an older chassis is common on rare performance models, but the wiring is rarely a drop-in match even within the same manufacturer’s lineup. Differences as small as an added relay for variable valve timing, or additional circuits for boost control on a turbo variant, can stop a swap cold if they’re missed. Before cutting into any harness:
- Get a complete donor harness rather than a partial one — a cut harness costs more time to diagnose than it saves in shipping.
- Confirm which sensors and connectors the donor engine actually uses versus what the service manual lists as optional equipment.
- Label every circuit before disconnecting anything, especially on cars where no wiring diagram is readily available.
- Budget extra time for mismatches between engine and chassis wiring generations — it’s the rule on cross-model swaps, not the exception.
Quick Pre-Repair Checklist
- Inspect hidden seams (wheelhousing, rockers, glass corners) before finalizing a repair scope
- Photograph and template the original shape before cutting out rusted metal
- Clean all weld surfaces to bare metal and apply weld-through primer immediately
- Match weld method (plug vs. continuous) to the joint’s structural and cosmetic requirements
- Plan fastener and mounting-point repairs before fasteners shear, not after
- Source full documentation and complete donor assemblies before starting an engine or harness swap
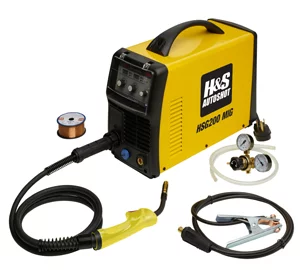
Find welding, cutting, and fabrication equipment:


FAQs
How do I know if weld-through primer is actually protecting the seam?
If applied correctly, the coating stays intact on the inside of an overlap joint after welding — you won’t see bare, shiny weld spatter-only metal where primer should be. Wipe the visible top-side weld area with thinner before topcoating; the hidden overlap layer stays protected permanently.
Is a plug weld or a continuous weld stronger for patch panels?
A continuous weld is generally stronger in raw tensile terms, but plug welding matches factory flex characteristics on joints designed for it, like seat rails and some floor seams. For non-structural patch panels, continuous welding ground smooth is usually the practical choice.
Can 3D-printed parts be used on a car that sees regular driving?
Only for non-load-bearing items like trim clips, spacers, or fitment patterns. Reproduce anything structural or safety-related in metal, using the printed part as a template if needed.
What’s the best way to deal with broken plastic cage nuts on fender bolts?
Cut the fastener head off rather than forcing it and shattering more of the cage. Fabricate a metal replacement mount matched to the original thickness and weld it in place, then re-thread for a standard bolt.
How much metal should I remove when cutting out rust?
Cut back until you reach clean, solid metal with no pitting or discoloration, even if that means removing more than the visibly rusted area. Leaving marginal metal at the weld edge is a common cause of early repair failure.
Is it safe to swap a wiring harness from a different engine variant of the same car?
Only with a complete harness and full documentation of the differences — added relays, extra sensors, and boost or valve-timing circuits are common gaps between variants. Treat any partial or pre-cut harness as a higher-risk option.
Recommended Metal Fabrication Tools
The repair techniques in this guide — hand-shaping panels, fabricating replacement patches, and welding structural joints — require proper tooling. Our Metal Fabrication category stocks the hand and power tools needed for body panel work on rare classics and custom repairs.
- Hand-shaping tools: hammers, dollies, and wooden blocks for forming compound curves
- Sheet metal working: tin snips, shears, nibblers, and straightedges for cutting and fitting patch panels
- Welding and surface prep: wire wheels, flap discs, and weld-through primer applicators

The Toolsource Technical Team blends decades of real-world automotive service experience with up-to-date technical research. Our writers collaborate with professional mechanics, shop owners, and diagnostic specialists to deliver practical, workshop-ready guidance you can trust.


Follow us on social media