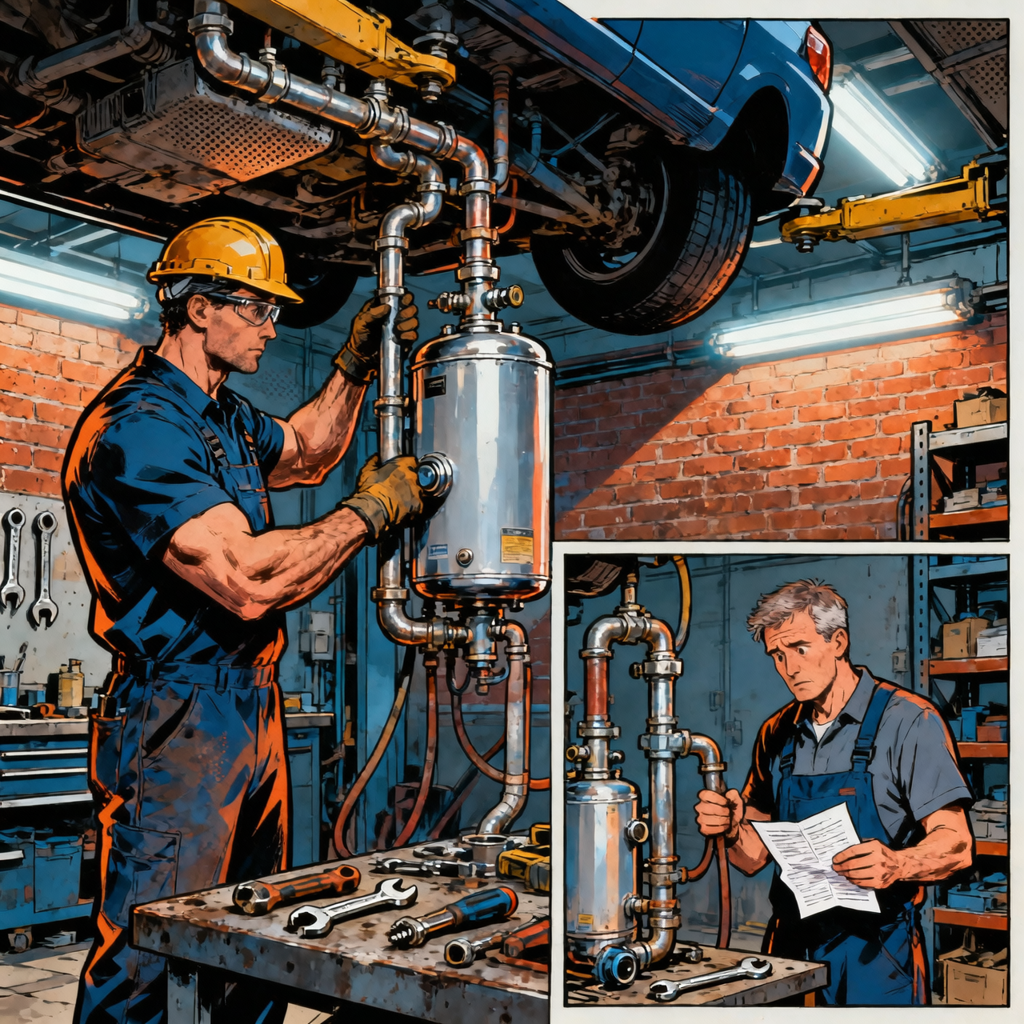
Gas hot water installation combines plumbing, gas fitting, and building code compliance—requiring professional-grade safety standards. Professional installations cost $900-$1,500, but risks from DIY work extend far beyond labor savings. This guide explains why gas installation demands different risk calculations than other DIY projects.
Safety Risks: Why Gas Installation Isn’t Like Other DIY Projects
Gas leaks are invisible and cause explosions, fires, or carbon monoxide poisoning. The National Fire Protection Association documents dozens of residential gas explosions yearly, many from improper installations.
The zero-margin-for-error reality of gas connections
Natural gas operates at roughly 0.25 PSI in residential systems. Every connection point must seal perfectly. Professional installers pressurize systems to 15 PSI for 15 minutes using specialized equipment that detects leaks too small to see. Threaded connections require specific torque specs—overtightening cracks fittings; undertightening leaves gaps. Professional gas fitters use calibrated torque wrenches and gas-rated pipe dope. Flexible gas connectors have code-specified length limits, usually 36 inches maximum, with CSST installation requiring specialized training.
Carbon monoxide and venting hazards
Gas water heaters produce carbon monoxide—killing roughly 430 Americans yearly per the CDC. Proper venting requires draft calculations and specific slope ratios (minimum 1/4 inch per foot for atmospheric vents). Incorrect venting allows exhaust gases to back into living spaces. Power-vented and direct-vent models need 120V electrical circuits and precise termination distances from windows (typically minimum 12 inches). Improper vent placement allows exhaust re-entry.
Gas leak detection beyond soapy water tests
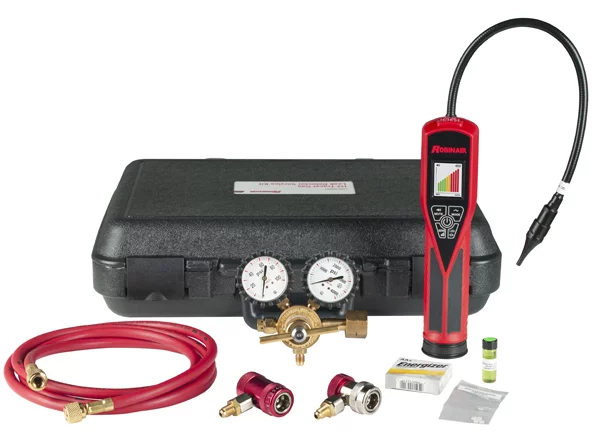
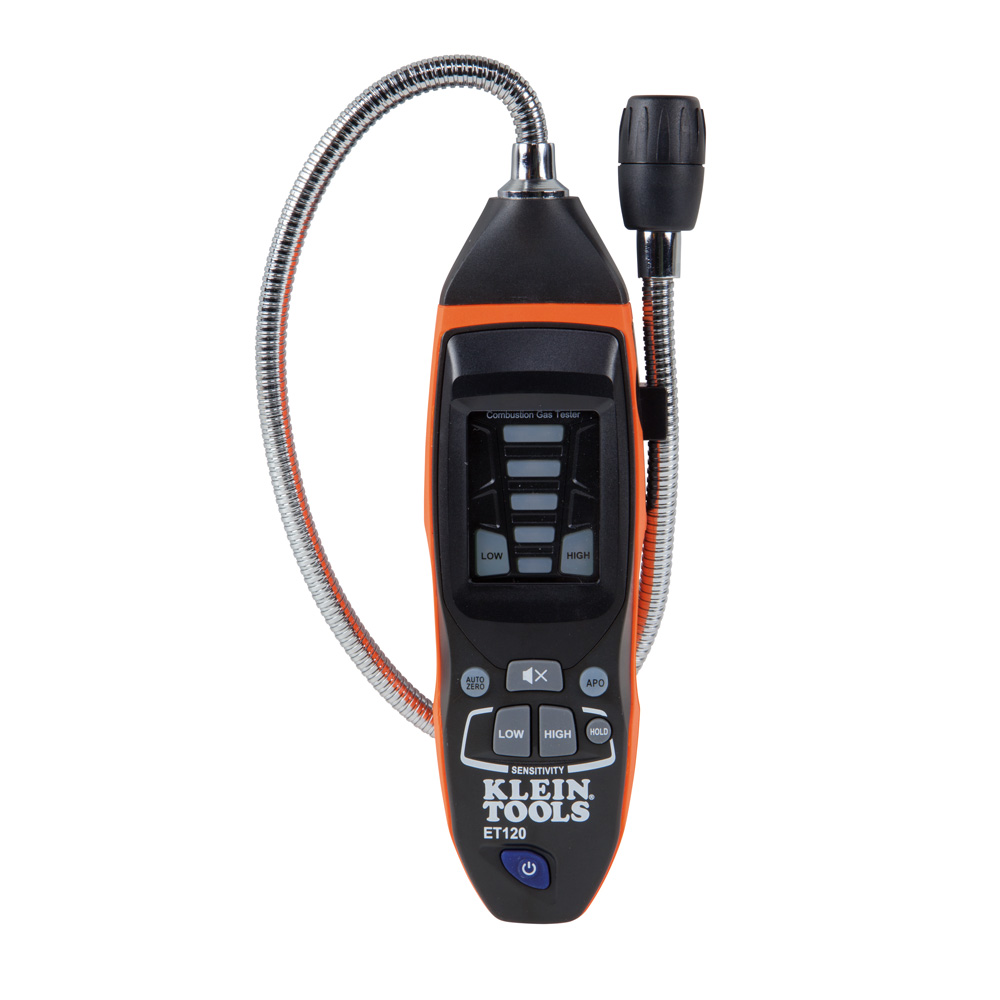
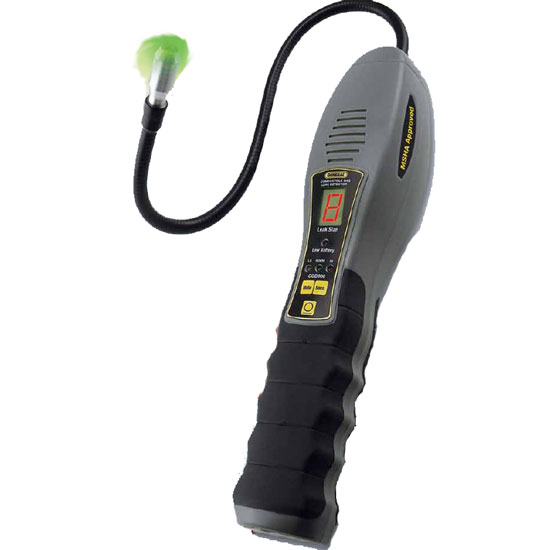
While soapy water tests offer basic checks, professional combustible gas detectors sense concentrations as low as 10 parts per million—catching leaks before they become dangerous. Professionals test flame color (blue indicates proper combustion; yellow/orange suggests incomplete combustion) and operate systems under various scenarios including thermal cycling.
Legal Requirements: Permits and Code Compliance
Unpermitted gas work is classified as a misdemeanor in most jurisdictions, with fines ranging from $500-$10,000. Unpermitted installations create permanent records affecting home sales, refinancing, and insurance claims.
Municipal permit requirements and inspection processes
Nearly all municipalities require permits for gas water heater replacement, even for identical units. Permit fees run $50-$200. Most jurisdictions require the installer to hold a plumber’s license or gas fitter certification. Inspections verify proper equipment setup, venting, temperature-pressure relief valve piping, combustion air, and clearances. Common failure points include wrong venting termination, missing expansion tanks, undersized gas lines, and inadequate combustion air. The EPA provides resources on combustion safety informing these codes.
Local venting and combustion air codes
Venting requirements vary by region. Atmospheric vent systems need 6-inch clearance from single-wall vent pipe to flammables, or 1 inch for Type B double-wall pipe. Total vent length typically cannot exceed 30-40 feet. Combustion air calculations require 50 cubic feet per 1,000 BTU input or 1 square inch per 4,000 BTU for outdoor air. Coastal regions often ban atmospheric venting due to wind effects. High-altitude locations (above 2,000 feet) need de-rated appliances.
Expansion tank requirements
Expansion tanks are now code-required in most jurisdictions. Modern codes mandate backflow preventers and check valves creating closed systems where water expansion has nowhere to go except potentially through the temperature-pressure relief valve. A 50-gallon water heater typically needs a 5-gallon expansion tank, sized for your location’s static water pressure. Inspectors consistently flag missing expansion tanks as violations.

Cost Reality Check: Professional vs DIY Installation
True cost breakdown of professional installation ($900-$1,500)
Labor ($400-$700) covers disconnection, code-required updates, connection, pressure testing, and permit coordination. Permit fees ($50-$200) provide third-party verification. Material costs include expansion tanks ($60-$120), flexible gas connectors ($20-$80), TPR discharge piping ($15-$40), seismic strapping ($25-$50), and miscellaneous supplies ($30-$60). Professional installation includes one-year labor warranty covering leaks or venting failures.
Hidden DIY costs
DIY appears cheaper—saving $600-$1,000 in labor—but requires specialized tools ($200-$500 total for wrenches, cutters, torch, gas detector). Required expansion tanks add $60-$120. New shut-off valves cost $30-$80. Mistakes multiply costs: cross-threaded fittings require replacement ($20-$100), failed venting inspections mean redoing work ($100-$400). Unpermitted work discovered at home sale requires complete professional reinstallation—paying twice for one job.
Regional pricing variations
High-cost-of-living areas see quotes of $1,500-$3,000. Mid-sized cities typically run $900-$1,500. Rural areas might reach $700-$1,200. Regional building codes affect pricing: California’s seismic rules, coastal power-venting requirements, high-altitude de-rating, and cold-climate freeze protection all add complexity professionals anticipate but DIYers discover mid-project.
| Installation Approach | Upfront Cost | Time Required | Warranty Protection | Risk Level |
|---|---|---|---|---|
| Licensed Professional | $900-$1,500 | 2-4 hours | Full manufacturer + installation warranty | Minimal |
| DIY with Permit | $300-$600 + tools | 5-12 hours | Manufacturer warranty if installed correctly | Moderate |
| DIY without Permit | $250-$500 + tools | 5-12 hours | Manufacturer warranty void, insurance compromised | Very High |
Warranty and Insurance Implications
How DIY installation voids manufacturer warranties
Major manufacturers (A.O. Smith, Rheem, Bradford White, State) require professional installation as a warranty condition. Warranty coverage applies only when installation follows all applicable codes and is performed by licensed professionals. Water heater warranties cover defects for 6-12 years. Manufacturers investigate expensive claims and may deny coverage if professional installation cannot be proven. Improper installation causing premature failure may void coverage entirely.
Insurance coverage risks
Standard homeowner’s insurance covers water damage from heater failures—potentially $15,000+ for flooded basements. Coverage excludes damage from improper or unpermitted installation. If an unpermitted DIY heater floods your basement, insurers may deny claims, arguing the damage resulted from improper installation rather than a covered peril. Gas leaks from bad installation causing explosions have resulted in complete coverage denial. Courts uphold these denials.
Protection benefits of licensed professional installation
Licensed professionals create documented responsibility through permits, licenses, and installation receipts. Contractor liability insurance ($1-2 million typical coverage) handles errors—connection leaks, carbon monoxide problems, or equipment failure. This shifts risk from you to the contractor. The cost difference amounts to roughly $60-100 annually amortized over the water heater’s life.
Technical Skills Required for DIY Success
Gas line connection procedures and pressure testing
Shut off gas supply and purge lines. Never reuse flexible connectors—these are single-use. Use gas-rated pipe compound or thread tape (applied to male threads only). Connections require specific torque values per American Gas Association specs. Hand-tighten plus 1.5-2 wrench turns typically achieves proper torque. Pressure testing pressurizes the system to 15 PSI for 15 minutes, watching for pressure drops detected by manometers or digital gauges. Soapy water tests confirm electronic testing results—any bubbles indicate leaks requiring reconnection.
Soldering requirements
Soldering applies to water line modifications rather than gas connections. Water heater connections need dielectric unions where copper meets steel to prevent galvanic corrosion. Proper soldering requires cleaning pipes with emery cloth, applying flux, heating evenly until solder flows via capillary action, and creating a complete seal. Too much heat burns flux; too little creates weak joints. Push-fit fittings (SharkBite-style) skip soldering but have mixed code acceptance—check local regulations and verify proper installation with square-cut pipes, thorough deburring, and correct insertion depth.
Proper venting installation and draft testing
Vent connectors must slope up minimum 1/4 inch per foot. Keep runs short and straight—each elbow reduces draft. Single-wall vent pipe needs 6-inch clearance to flammables; Type B double-wall needs 1 inch. Connect sections with minimum three sheet metal screws per joint, with male ends pointing down to prevent condensation leaks. Draft testing lights the pilot and burner, heats for 5-10 minutes, then holds incense near the draft diverter—smoke should be drawn upward, not spilling into the room. Install carbon monoxide detectors on every level as backup safety.
Pre-Installation Assessment Checklist
- Legal verification: Confirm whether homeowner installation is permitted and what licenses are required
- Permit requirements: Determine costs, application process, and inspection scheduling
- Gas supply sizing: Verify existing gas line diameter supports the new heater’s BTU rating
- Venting compatibility: Confirm existing vent pipe meets current code or plan modifications
- Combustion air adequacy: Calculate whether installation space provides sufficient air supply
- Expansion tank requirement: Check local codes and determine tank size needed
- Seismic requirements: Verify earthquake strapping requirements for your location
- Access and clearances: Measure doorways and verify code-required clearances
- Electrical requirements: Confirm 120V circuit availability for power-vent models
- Water pressure testing: Measure static pressure for expansion tank sizing
- Drain location: Verify TPR discharge pipe can terminate properly (within 6 inches of floor)
- Old unit removal: Plan for draining and removing 150-300 pound appliance
- Tool inventory: Confirm availability of pipe wrenches, tube cutters, gas detector, pressure gauge
- Insurance notification: Contact insurance to understand coverage implications
- Warranty research: Read manufacturer warranty terms for installation requirements


FAQ: Gas Hot Water Installation Questions
Can I install a gas water heater myself if I’m handy?
Technical ability and legal permission differ. Most jurisdictions legally require licensed plumbers for gas work. Even where legal, you must obtain permits, pass inspections, and risk voiding warranties and insurance. Gas work requires specific knowledge of pressure testing, venting calculations, and code compliance beyond general tool competency. Most experienced DIYers conclude professional installation provides better value when accounting for time, specialized tools, permits, and risk transfer.
Do I really need a permit for water heater replacement?
Yes. Nearly all municipalities require permits. Permits ensure code compliance inspection, create public records for future owners, and protect you legally. Permit costs ($50-$200) are small compared to unpermitted work risks. Unpermitted installations discovered at home sale can delay deals, requiring complete professional reinstallation or significant price reductions. Insurers may deny claims for unpermitted gas work. The small amount saved by skipping permits isn’t worth five-figure losses if problems arise. The International Code Council publishes codes forming local requirements.
What’s the actual difference between gas and electric installation difficulty?
Electric installation is simpler and safer for DIY. Electric installs skip gas connections, venting, combustion air calculations, and explosion/carbon monoxide risks. Work involves shutting off power, draining the old unit, connecting water and electrical lines (240V typical), and verifying operation. Most jurisdictions allow homeowner electrical work on their property, though inspections remain required. Electric heaters have fewer code complications—no venting calculations, no combustion air requirements, simpler permitting. The downside is higher operating cost because electricity typically costs more than natural gas. Installation is roughly 40% simpler than gas. If both are available, installation simplicity alone may justify choosing electric, especially for DIYers.
Will DIY installation void my water heater warranty?
Most major manufacturers require professional installation as a warranty condition. Coverage applies only when installed by licensed professionals following applicable codes. Manufacturers don’t proactively verify installation credentials unless you file expensive claims. For routine issues, many manufacturers honor warranties without documentation. For expensive failures like tank leaks or component failures, manufacturers investigate closely and may deny claims if professional installation cannot be proven. Voided warranty on a $600 heater failing after 4 years becomes a $600 loss instead of free replacement. Risk exposure over a 10-year lifespan might exceed DIY labor savings.
How long does professional installation actually take compared to DIY?
Professionals complete standard replacements in 2-4 hours including same-location, same-size jobs with no complications. First-time DIY installations typically take 6-12 hours over multiple days accounting for research, permits, supply runs, and troubleshooting. Professionals predict problems; DIYers discover them mid-project (corroded valves, incompatible venting, missing expansion tanks), requiring additional supplier trips. Inspection failures add 2-4 hours plus rescheduling delays. Learning—videos, code reading, equipment understanding—adds 3-5 hours before starting. For homeowners valuing time at $25-50/hour, professional installation savings often match or exceed labor cost differences.
What happens if I install without a permit and later want to sell my house?
Unpermitted work creates serious home sale problems. Home inspectors check permits by matching install dates against municipal records. Unpermitted work prompts three buyer responses: requiring retroactive permits (possibly meaning complete professional reinstallation), demanding price reductions ($1,500-$3,000) for professional reinstallation, or walking away entirely. Some buyers can’t proceed regardless of price if lenders require permits for major systems. Title companies may refuse to insure properties with known unpermitted work. Municipalities discovering unpermitted work may issue stop-work orders or require removal—rare but possible. Even without disclosure, you face legal liability if buyers later discover unpermitted work and prove you knew about it. Small permit-skipping savings create outsized risks exactly when trying to complete home sales.

The Toolsource Technical Team blends decades of real-world automotive service experience with up-to-date technical research. Our writers collaborate with professional mechanics, shop owners, and diagnostic specialists to deliver practical, workshop-ready guidance you can trust.


Follow us on social media