Ask a shop full of techs why they got into cars, and a surprising number will point to a controller, not a wrench — renting a racing game from the video store and spending a weekend trying to 100% it on a family TV. That nostalgia runs deep, but there’s a real gap between tuning a car on a screen and tuning one in your driveway. This guide bridges that gap: what’s realistic, what tools you actually need, and how to approach your first bolt-on upgrades the way a shop would, without wrecking your car, your budget, or your warranty.
Why Game-Era Nostalgia Still Fuels Real Car Builds
Street racing and tuning games sold a fantasy of instant, dramatic transformation — a new exhaust, a body kit, and a nitrous button turning a commuter car into a street weapon. That fantasy got a lot of people curious about cars in the first place, and curiosity is a legitimate entry point into the hobby. The problem is that the game logic doesn’t map onto real mechanical work: there’s no undo button, parts interact with each other in ways a menu screen never shows, and a mismatched upgrade can create drivability or safety problems instead of fixing them.
The useful part of that nostalgia is the motivation. The job of a technician — or a motivated DIYer acting like one — is to take that motivation and route it through a process: research, the right tools, correct torque specs, and a plan for testing the car before and after any change. That’s the difference between a build that holds up and one that turns into a parts-cannon project with no finish line.
Setting Realistic Goals: Virtual Mods vs. Real-World Upgrades
Before buying anything, define what you’re actually trying to achieve: better sound, better handling, better daily reliability, or a show-car look. These goals often conflict. A stiffer suspension setup that feels great on a track day can make a daily driver miserable on potholed roads. A loud exhaust that sounds great in a game clip can fail state noise or emissions inspections.
Three things to nail down early:
- Your actual use case — daily driver, weekend car, or track-only build changes which parts make sense.
- Your state’s emissions and modification laws — exhaust, suspension height, and tinting all have legal limits that vary by state.
- Your actual mechanical skill level — bolt-on parts (intakes, cat-back exhausts, lowering springs) are reasonable first projects; anything involving the engine’s internals, tuning the ECU, or structural work should wait until you’ve built experience or involve a shop.
Write the goal down before you order parts. It keeps you from buying something because it looked good on a forum thread rather than because it fits your car and your plan.
No products found for "1/2 inch drive click-type torque wrench"
Tools Every First-Time Builder Needs in the Garage
Most failed first projects trace back to missing or wrong tools, not bad parts. A minimum kit for safe bolt-on work includes:
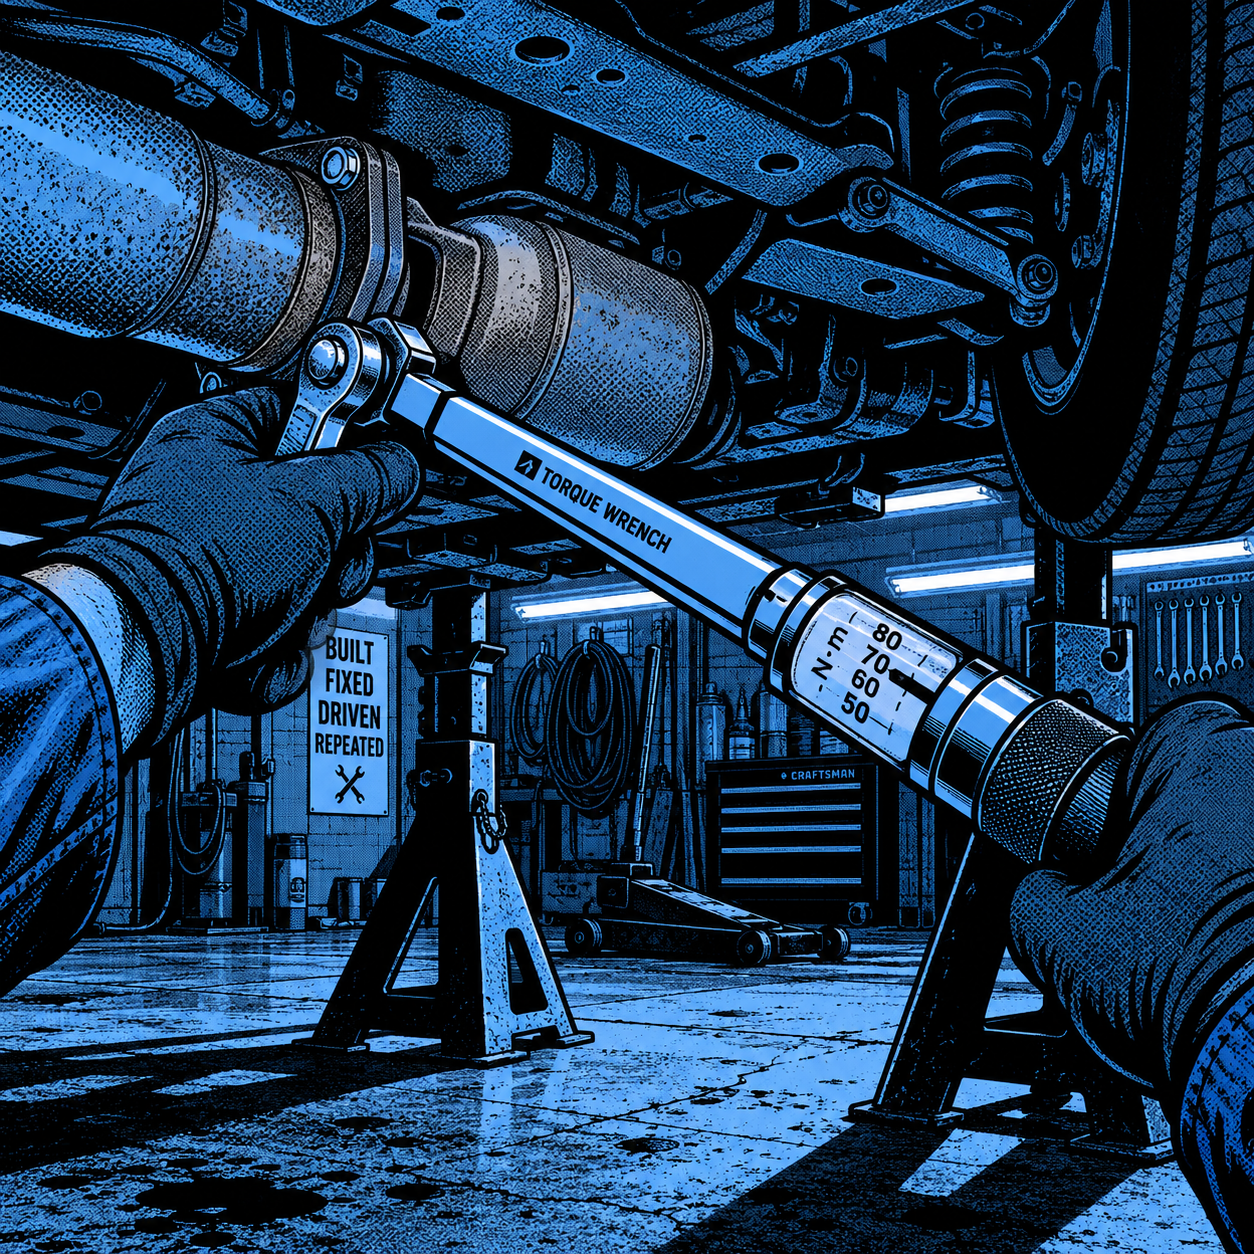
- A torque wrench (both a 3/8″ drive for smaller fasteners and a 1/2″ drive for wheels and suspension bolts) — guessing torque is how studs snap and parts work loose.
- A quality socket and ratchet set in both metric and SAE, since many vehicles mix fastener standards.
- Jack stands rated for your vehicle’s weight, plus a floor jack — never work under a car supported only by a jack.
- Wheel chocks to prevent rolling once the car is lifted.
- An OBD-II scanner to read codes before and after any modification that touches the intake, exhaust, or electronics.
- Penetrating oil and a basic impact driver for fasteners that haven’t been touched since the factory installed them.
Buying cheap on the torque wrench and jack stands is the one place to avoid cutting corners — both are directly tied to safety, not just convenience.
Step-by-Step: Tackling Your First Bolt-On Upgrades
A cat-back exhaust, a cold air intake, or a set of lowering springs are common first projects because they’re reversible, don’t require reflashing the ECU, and have a large base of documented installs for most common platforms. Approach each the same way:
- Read the install guide fully before starting, including the torque spec table, and confirm you have every tool listed — not just the ones you assume you’ll need.
- Scan for existing codes with the OBD-II tool so you have a baseline. If a code appears after the install, you’ll know whether it’s related to the work or was already there.
- Work one fastener type at a time and torque to spec as you go rather than finger-tightening everything and coming back — it’s easy to miss one under the car.
- Check clearances before starting the engine — exhaust hangers, intake piping, and suspension components all need clearance from heat shields, wiring, and moving parts.
- Road test at low speed first, listening for rattles, checking for warning lights, and confirming nothing is contacting the ground or chassis.
- Re-torque after the first 50–100 miles for anything bolted to suspension or exhaust hangers — factory gaskets and bushings settle.
Quick Pre-Wrench Checklist
- Goal defined (sound, handling, reliability, or looks) and matched to the right part category
- Local emissions/modification laws checked for the specific part
- Install guide and torque specs read in full before ordering parts
- Correct tools on hand, including a properly sized torque wrench
- Baseline OBD-II scan completed and saved
- Jack stands and wheel chocks rated for the vehicle’s weight
- Time blocked out to finish the job in one session — half-finished suspension or exhaust work isn’t safe to drive on
Diagnostics, Safety, and Staying Street Legal
Every modification should end with a diagnostic check, not just a visual once-over. Clear any stored codes after confirming they’re pre-existing, then drive the car and scan again. A code that returns after a repair attempt usually means a connector wasn’t seated, a sensor was disturbed during the install, or a part is incompatible with the vehicle’s factory tuning.
Safety-critical items — anything touching brakes, suspension, steering, or the exhaust near the catalytic converter — deserve a second look before the car goes back on the road. If a shop originally serviced that component under warranty, confirm the modification won’t void coverage; many manufacturers can decline warranty claims on related systems if an aftermarket part is linked to a failure.
On the legal side, exhaust decibel limits, minimum ride height, window tint percentage, and emissions equipment requirements are enforced differently by state and sometimes by county. A part being popular on enthusiast forums doesn’t mean it’s legal where you live. Keep the installation receipt and any compliance documentation (CARB EO numbers for emissions-related parts, for example) in the glovebox in case of an inspection.

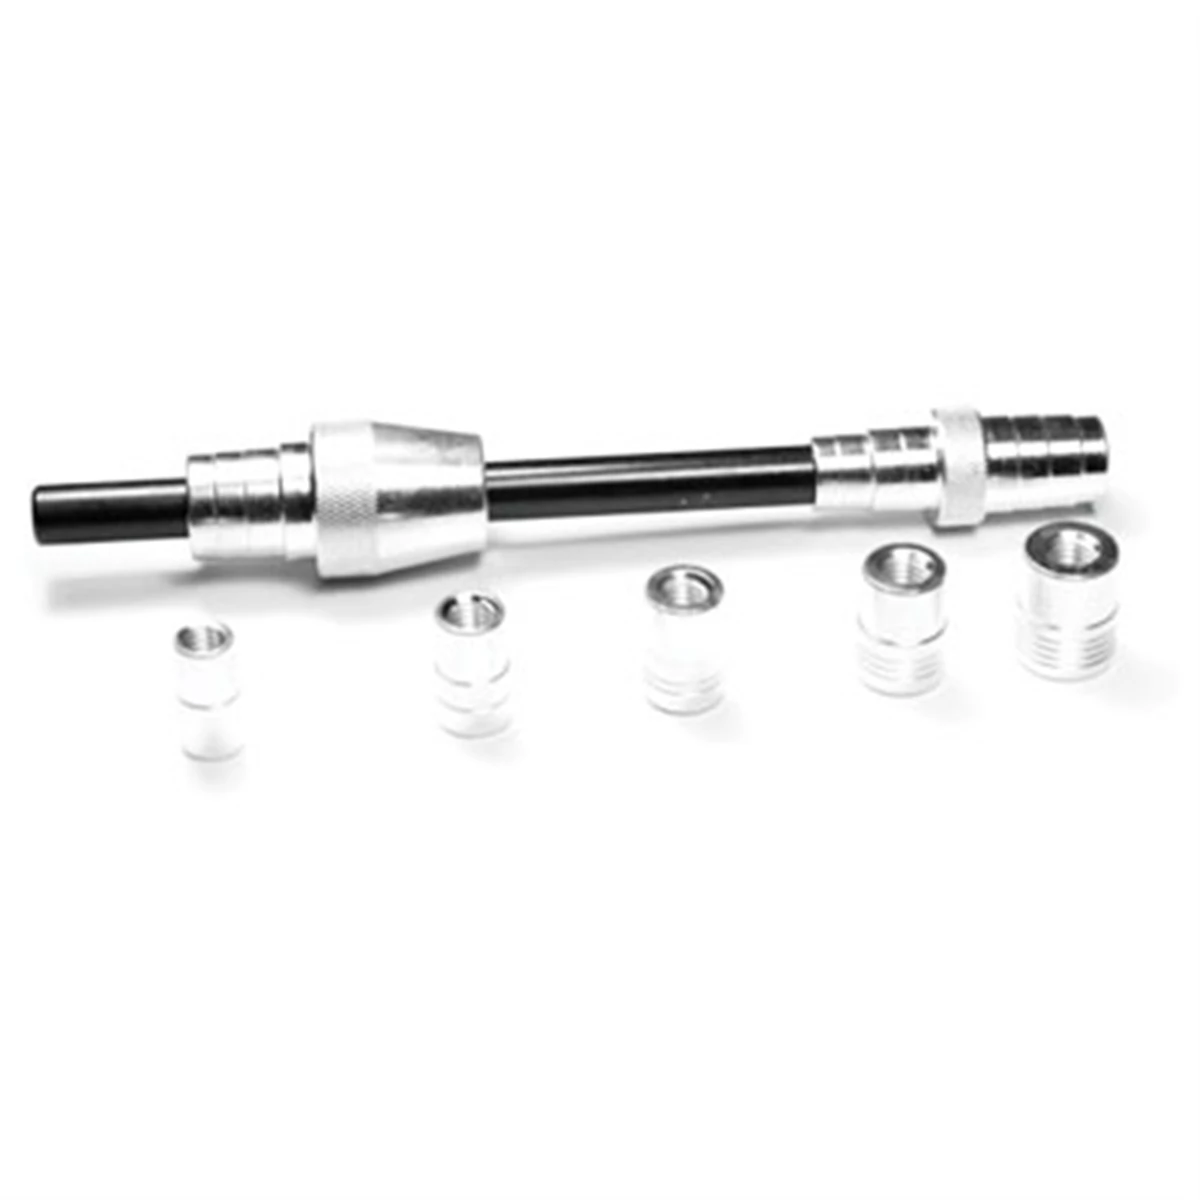
Metric Clutch Alignment Tool W1158P - Wilmar Performance Tool
Mfg: Wilmar - Performance Tool
Part #: W1158P

Frequently Asked Questions
Do I need a professional alignment after lowering springs or coilovers?
Yes. Changing ride height changes camber and toe, which affects tire wear and handling. Budget for an alignment immediately after any suspension height change.
Will a cold air intake or cat-back exhaust trigger a check engine light?
It can, especially if a sensor connector is disturbed or an intake isn’t properly sealed, allowing unmetered air in. Scan before and after the install to catch this early.
Can I use a standard click-type torque wrench for suspension bolts?
Yes, as long as it’s rated for the torque range specified in the install guide — suspension bolts often require more torque than a small 3/8″ wrench can deliver, so check the range before buying.
How long should I wait before re-torquing new exhaust or suspension hardware?
Re-check torque after the first 50–100 miles. Rubber bushings and gaskets compress slightly under normal driving, which can loosen initial torque settings.
Is it worth starting with a full kit instead of buying tools one at a time?
For a first build, a mid-range mechanic’s tool set plus a dedicated torque wrench covers most bolt-on work and is usually cheaper than buying pieces individually later.
What’s the safest first modification for someone with no experience?
A cat-back exhaust or a cold air intake. Both are bolt-on, reversible, well documented for most common vehicles, and don’t require ECU tuning or touching safety-critical systems.
Essential Hand Tools for Your Build
Throughout this guide, one point keeps coming back: the right tools make the difference between a successful modification and a parts-cannon disaster. Before you start your first bolt-on upgrade, make sure you have the hand tools you’ll need on hand. Our hand tools collection covers everything from torque wrenches to socket sets.
- Torque wrenches in multiple drive sizes (3/8″ and 1/2″) to hit fastener specs accurately.
- Metric and SAE socket and ratchet sets for fasteners that vary by make and model.
- Penetrating oil and impact drivers for seized or factory-installed fasteners.

The Toolsource Technical Team blends decades of real-world automotive service experience with up-to-date technical research. Our writers collaborate with professional mechanics, shop owners, and diagnostic specialists to deliver practical, workshop-ready guidance you can trust.


Follow us on social media