A flood-damaged vehicle rarely announces the full extent of its problems on day one. The carpet is obviously wet, the cabin smells off, and the customer wants a quick answer on whether it’s salvageable. But the real damage — corroded connectors, waterlogged control modules, mold colonies growing behind trim panels — often doesn’t surface for weeks or months. This guide lays out a systematic shop workflow for assessing, drying, and inspecting a flood-affected vehicle before you commit to any repair, so you’re not chasing electrical gremlins on a comeback six months later.
Step 1: Establish the Water Line and Entry Point
Before touching anything, document the high-water mark inside and outside the vehicle with photos and measurements. This single data point drives every decision that follows.
- Below door sill / floor only: Likely limited to carpet, padding, and floor-mounted wiring. Still requires full inspection, but the scope is narrower.
- At or above door panel level: Water has almost certainly reached door wiring looms, window regulators, speakers, and possibly the lower dash. Electrical components at this height should be treated as compromised, not just “possibly wet.”
- Above seat cushion level: Assume seat electronics (heaters, airbags, position sensors), the lower instrument panel, and any floor-mounted control modules are affected. On many modern platforms, low-mounted modules include body control units, restraint system components, and infotainment/telematics hardware — all expensive, all sensitive to moisture and corrosion.
Check the air intake and airbox before any attempt to start the engine. Low-mounted intakes can trap standing water, and cranking an engine with water in a cylinder causes hydraulic lock — bent rods, cracked blocks. Pull the plugs or injectors and manually rotate the engine first if there’s any doubt water reached the intake tract.
Step 2: Advise on Insurance Before Any Repair Work Begins
This is as much a service-advisor conversation as a technical one, but it belongs early in the process. If the vehicle carries comprehensive coverage, flood damage is typically covered even without collision coverage — but starting the engine, driving the vehicle, or beginning teardown before the adjuster documents the loss can jeopardize the claim. In some regions, insurers will deny claims outright if the owner started the engine after the flood. Advise customers to contact their carrier and get an adjuster assigned before any diagnostic work beyond a visual inspection.
For vehicles without flood coverage, or where the owner is proceeding regardless of insurance outcome, be direct about scope: a true interior strip-down, dry-out, and full electrical inspection is labor-intensive. Set expectations that this is not a same-day job, and that some vehicles — particularly those with water above the dash or with critical modules mounted low in the floor pan — may not be economically repairable even when mechanically salvageable.
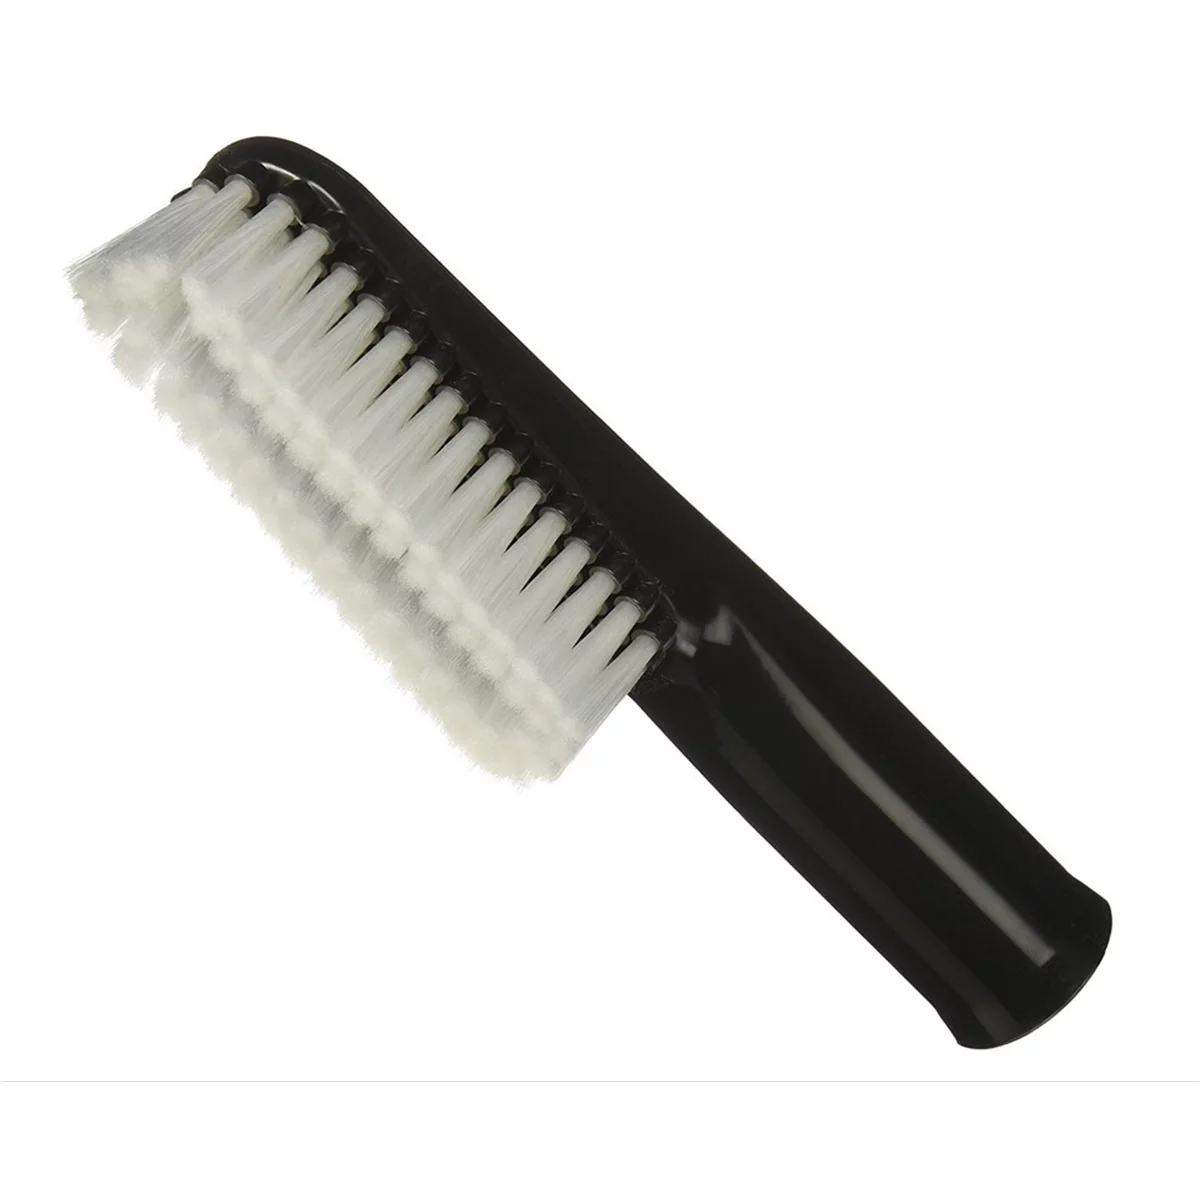
Shop-Vac 9018033 Soft Bristle Auto Brush, Plastic Construction
Mfg: Shop-vac Corporation
Part #: 9018033

Shop-Vac® Professional® 500 Max. CFM Air Mover
Mfg: Shop-vac Corporation
Part #: 1032005
Step 3: Strip the Interior Completely
Surface vacuuming is not sufficient. Water wicks under carpet into foam padding, sound-deadening material, and seam channels where it sits and starts breaking down.
- Remove seats, center console, and door sill/kick panels to access carpet edges.
- Pull carpet and underlying padding out as a unit where possible. Padding that has absorbed water should generally be replaced rather than dried and reused — it rarely returns to spec and becomes a long-term mold reservoir.
- Inspect the floor pan itself for any wiring harnesses, connectors, or grommets routed underneath. Many vehicles route body control, parking sensor, or seat wiring through the floor — these need to be unplugged, inspected, and dried individually, not just wiped down in place.
- Extract and shampoo the carpet if it’s being reused, then let it dry fully in sunlight or with forced air before reinstalling. Never reinstall carpet or padding that’s still damp — this is the single most common cause of recurring mold complaints.
[PRODUCT_SEARCH: wet/dry shop vacuum and carpet extractor for auto interior]
Step 4: Dry the Cabin and Verify with Instruments, Not Guesswork
Once the interior is stripped, the goal is to get ambient moisture and material moisture down to baseline before reassembly. Running a shop dehumidifier with the doors closed, combined with fans to keep air moving across the floor pan and lower door cavities, is the standard approach. Expect this to take multiple days, not hours, especially in humid climates.
Ozone treatment can address lingering odor but should be used cautiously and briefly — extended ozone exposure dries out and cracks leather, vinyl, and rubber seals. If ozone is used, limit it to short cycles and follow up with a leather/vinyl conditioner on affected surfaces.
Don’t rely on “it feels dry” as your endpoint. Use a moisture meter on the carpet padding, headliner, and lower door panels, and check for condensation inside tail lights or headlight housings as a secondary indicator of trapped humidity in the cabin. Only reinstall carpet, insulation, and trim once readings are back to a dry baseline.
Step 5: Inspect Electrical Systems Before Reassembly
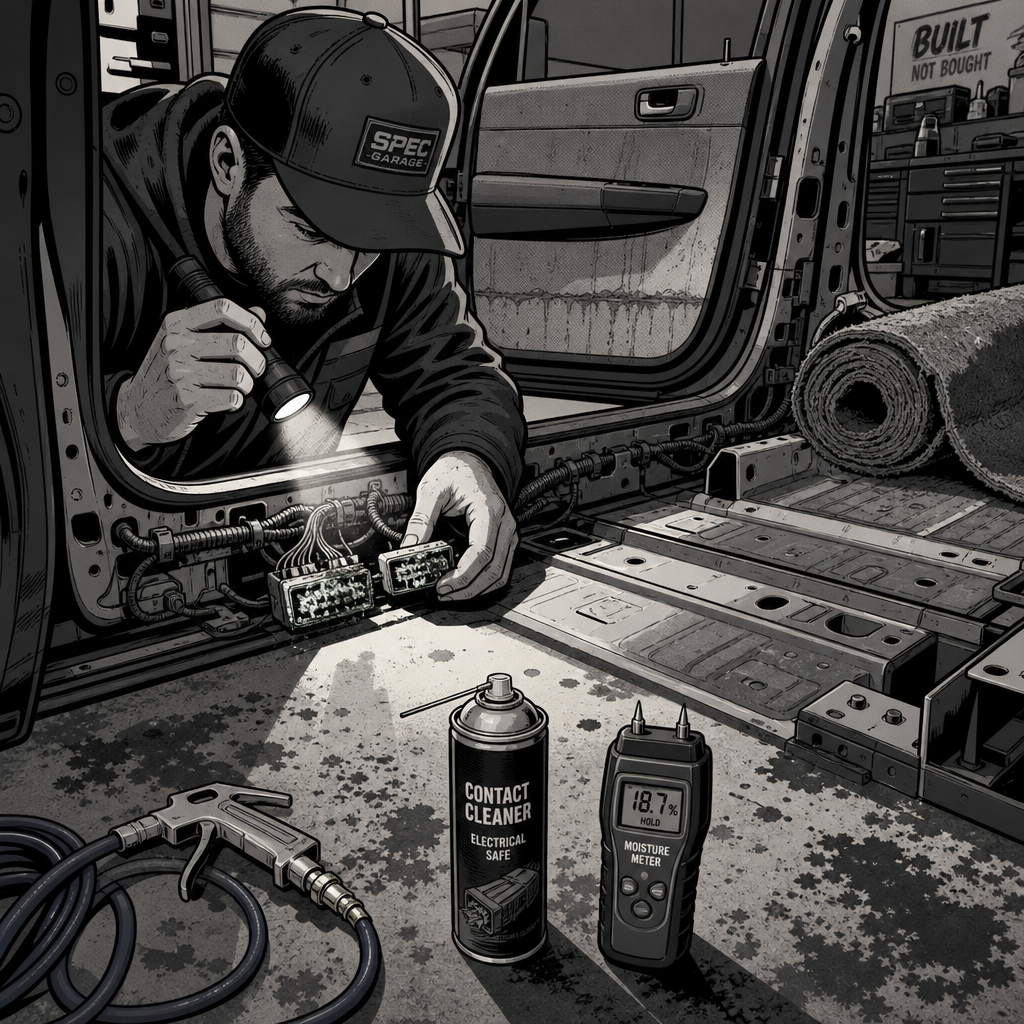
This is the step most likely to get skipped under time pressure, and the one most likely to generate a comeback. Water intrusion rarely fails a component on contact — the wire jacket and connector housings are usually fine initially. The failure mode is corrosion that develops over weeks to months as residual moisture wicks into connector pins and terminal crimps through capillary action, then oxidizes.
- Disconnect and visually inspect any connector located below the water line, particularly those near the floor pan, door sills, and under-seat harnesses.
- Look for green/white corrosion buildup on pins, discoloration in the connector housing, or moisture visible through connector locks.
- Apply dielectric grease or contact cleaner and dry connectors thoroughly with compressed air before reseating — do not simply plug wet or damp connectors back together.
- Flag any control module mounted low in the vehicle (body control module, SRS/airbag module, parking assist module) for closer inspection or replacement if there’s visible water staining on the housing or connector.
- Check the battery and battery tray area specifically. Corrosion-driven shorts here are a documented failure mode that can take months to appear and often present as a battery that won’t hold charge or shows signs of overheating/boiling.
Set expectations with the customer that some electrical issues from flood exposure won’t show up on today’s inspection — they document baseline readings now specifically so a future issue can be traced back to this event rather than treated as a new, unrelated fault.
Quick Reference Checklist
- Photograph and measure the water line, inside and out
- Check air intake/airbox for standing water before starting the engine
- Confirm insurance/adjuster status before proceeding with teardown
- Remove seats, carpet, and padding completely; replace saturated padding
- Dehumidify and verify dryness with a moisture meter, not by feel
- Inspect and clean all connectors below the water line before reassembly
- Document findings for future comeback diagnosis
[PRODUCT_SEARCH: automotive electrical connector and corrosion repair tools]


Frequently Asked Questions
Can a flood-damaged vehicle be safely driven once it looks and smells dry?
Not automatically. Surface dryness doesn’t confirm that connectors and modules below the water line are free of trapped moisture or that corrosion hasn’t already started. A full electrical inspection is warranted before returning the vehicle to regular use, especially if water reached door-panel height or higher.
How long can electrical problems take to appear after a flood?
Corrosion-driven failures commonly take anywhere from a few weeks to under a year to manifest, since the failure depends on oxidation building up at connector pins rather than an immediate short. This is why baseline documentation at intake matters.
Is ozone treatment safe to use on a flooded interior?
It’s effective for odor but should be limited to short sessions. Extended exposure degrades leather, vinyl, and rubber seals. Follow any ozone treatment with a conditioner on leather and vinyl surfaces.
Should carpet padding be dried and reused, or replaced?
Replacement is generally the safer call. Padding that has absorbed floodwater is difficult to fully dry and tends to retain moisture and organic contaminants that support mold growth even after the surface appears dry.
What’s the biggest risk of starting the engine before inspection?
Hydraulic lock from water in the intake or cylinders, which can cause severe internal engine damage. Always check the airbox and confirm no water reached the intake tract before any attempt to start the vehicle.
Does comprehensive insurance cover flood damage?
In most cases, yes — flood damage is typically a comprehensive claim rather than collision. However, starting or driving the vehicle before an adjuster documents the damage can affect the claim outcome, so advise customers to contact their insurer before repair work begins.
Automotive Electrical Tools & Diagnostic Equipment
Flood-damaged vehicles demand careful electrical inspection, corrosion removal, and systematic testing before return to service. The Automotive Electrical Systems category includes the meters, cleaners, and diagnostic tools needed for post-flood inspection and repair.
- Multimeters, clamp meters, and diagnostic scan tools for baseline and post-repair electrical testing
- Connector repair kits, dielectric grease, and contact cleaners for corrosion removal and protection
- Battery testing and charging equipment for verifying proper electrical system function

The Toolsource Technical Team blends decades of real-world automotive service experience with up-to-date technical research. Our writers collaborate with professional mechanics, shop owners, and diagnostic specialists to deliver practical, workshop-ready guidance you can trust.


Follow us on social media