
Now I’ll compress the content by removing redundancy and tightening sentences:
Your air conditioner compressor fails and you’re facing one of the most expensive HVAC repairs. Understanding whether you can fix it yourself, when to hire a professional, and how to evaluate quotes can save thousands. This guide covers diagnostic steps, cost breakdowns, and key decision points to avoid wasting money on a failing system.
Is Your Compressor Actually Broken?
Before spending thousands on replacement, verify the compressor is actually the problem. Many technicians misdiagnose electrical issues as compressor failure.
Manual contactor test: DIY diagnostic first step
The contactor is a relay that powers the compressor. When it fails, the compressor won’t run—but the compressor itself may be fine. To test: turn off power at the breaker, remove the condenser panel, and locate the contactor (a black cube with wires). With power restored, use an insulated screwdriver to press the contactor closed while watching the compressor. If it runs, you need a $15-30 contactor, not a $3,000 compressor. This eliminates the most common field misdiagnosis.
Signs of internal vs. external compressor failure
External failures are repairable. Look for burnt wires, damaged capacitors (bulging or leaking), or tripped thermal switches—replaceable for under $200. Internal failure shows loud grinding or rattling inside the sealed housing, running but no pressure, or oil residue indicating seal failure. Use a multimeter to check continuity between terminals—infinite or zero resistance confirms internal electrical failure. If you hear humming but no start, check the hard-start capacitor first.
When burnt wires can be safely repaired
Burnt wire connections are often mistaken for compressor failure. Test the windings with a multimeter (5-20 ohms common-to-run, 3-15 ohms common-to-start, run-to-start should equal the sum). If normal, the compressor is fine. Cut back burnt wire to clean copper, install new terminal connectors, and verify tight connections. These repairs hold up for years. Burning typically comes from loose connections causing resistance and heat, not compressor defects. According to HVAC technicians on HVAC-Talk, this repair solves the problem permanently when the compressor tests good.
No products found for "AC compressor contactor relay HVAC"
Compressor Replacement Costs Breakdown
Understanding legitimate costs helps spot fair quotes from gouging.
Why $2,500–$3,500 is the market standard
Compressor replacement is labor-intensive, requiring 6-12 hours for refrigerant recovery, removal, brazing, vacuum procedures, and recharge. Labor at $125-175/hour accounts for $1,500-2,000. The compressor costs $400-800 for residential 3-5 ton units. Add refrigerant ($100-300), supporting components, and EPA disposal. These numbers are consistent across the industry for legitimate work.
Hidden expenses: refrigerant, evacuation, nitrogen, disposal
Beyond compressor and labor, mandatory expenses add up: refrigerant recovery and disposal ($75-150), nitrogen purging ($40-60), receiver/dryer replacement ($80-150), vacuum pump time (minimum 1 hour), orifice tube or expansion valve ($50-100). R-410A refrigerant runs $80-120 per pound with systems needing 6-15 pounds. These aren’t optional—they’re required for a repair that won’t fail within months.
Regional pricing and labor rate factors
Geographic location dramatically affects pricing. Urban markets see $3,500-4,500 for work costing $2,200-2,800 in rural areas. Southern states with year-round AC demand have more competitive pricing. Licensed, insured contractors charge more than unlicensed handymen, but insurance and warranties justify the premium. Emergency or weekend service adds 50-100%. Get three quotes from licensed contractors during normal hours for accurate baseline pricing.
Repair vs. Full System Replacement Decision
This decision balances cost against system longevity.
Age and failure pattern: which option makes sense
Apply the 50% rule: if repair costs exceed 50% of replacement cost and the system is over 10 years old, replace the entire system. A $3,000 repair on a 12-year-old system makes little sense when full replacement costs $5,500-7,000 with 10-year warranties. For systems under 7 years, compressor replacement is usually justified. The 7-10 year range requires analysis: multiple prior repairs? Corroded condenser coil? Refrigerant leaks elsewhere? One failure in an otherwise healthy 8-year-old system justifies repair. Multiple failures signal system-wide deterioration.
Metal contamination risk when compressor fails internally
Internal compressor failure (seized pistons, broken valves, scored cylinders) releases metal debris through the entire refrigerant system. This contaminates the condenser, evaporator, and metering device, causing premature new compressor failure. Professional protocol requires replacing the condenser and installing filter/dryers—adding $800-1,500 but mandatory for warranty coverage. Contractors skipping this deliver repairs that fail within 6-24 months. Ask how they’ll address contamination; reputable contractors perform acid tests on recovered refrigerant.
Long-term cost analysis: 5-year and 10-year scenarios
A $3,000 repair on a 10-year-old system buys 3-5 more years before evaporator coil, air handler motor, or control board failure. Total 10-year cost: $3,000 now + $6,000 replacement later = $9,000. A $6,500 full replacement gives 12-15 years with warranties—total 10-year cost is $6,500. For older systems, full replacement wins. For newer systems (under 7 years), the $3,000 repair buys 8-12 more years versus $6,500 for 3-5 additional years—repair wins clearly.
What Professionals Do During Replacement
Understanding proper procedures helps verify competent service and identify shortcuts causing premature failure.
Proper evacuation, vacuum, and recharge procedures (4-8 hours minimum)
Legitimate replacement can’t be rushed. After installing the new compressor, technicians must pull deep vacuum (500 microns or lower) for minimum 1 hour to remove all moisture and air. Moisture causes acid formation destroying compressors within months. Many contractors skip this, pulling vacuum for only 15-20 minutes—not enough. Refrigerant recharge must happen by weight using scales, not gauges. The entire process should take 4-8 hours minimum. Jobs completed in 2-3 hours indicate skipped steps.
Critical parts to replace: receiver/dryer, O-rings, orifice tube
| Component | Why Replacement is Mandatory | Typical Cost | Failure If Skipped |
|---|---|---|---|
| Receiver/Dryer or Accumulator | Absorbs moisture; saturated after system exposure | $80-150 | Moisture causes acid buildup, compressor failure in 6-18 months |
| Thermal Expansion Valve or Orifice Tube | Metal contamination from failed compressor clogs metering device | $50-120 | Improper refrigerant flow, new compressor overheats and fails |
| All Refrigerant Line O-rings | Rubber degrades; opening system requires fresh seals | $20-40 | Slow refrigerant leaks, compressor damage from low charge |
| Liquid Line Filter/Dryer | Captures debris and residual moisture after contamination | $40-80 | Contaminants remain in system, reduced compressor life |
Every quote should itemize these components. Contractors saying “we’ll see if they need replacement” plan to skip them. These parts are mandatory when repairing air conditioner compressors.
How to verify compressor was actually replaced
Compressor scams happen. Before final payment, verify the new compressor serial number against the old unit (photograph the old one beforehand). New compressors have manufacturing dates within the past 12 months. Check for fresh brazing joints—new silver solder should be visible. Demand the old compressor be left on-site for inspection. The EPA requires disposal documentation for recovered refrigerant—ask for the recovery log showing quantities removed.
DIY vs. Professional: Safety & EPA Compliance
Many homeowners consider DIY compressor replacement to save money, but residential AC work presents unique challenges and legal requirements.
Refrigerant recovery and EPA certification requirements
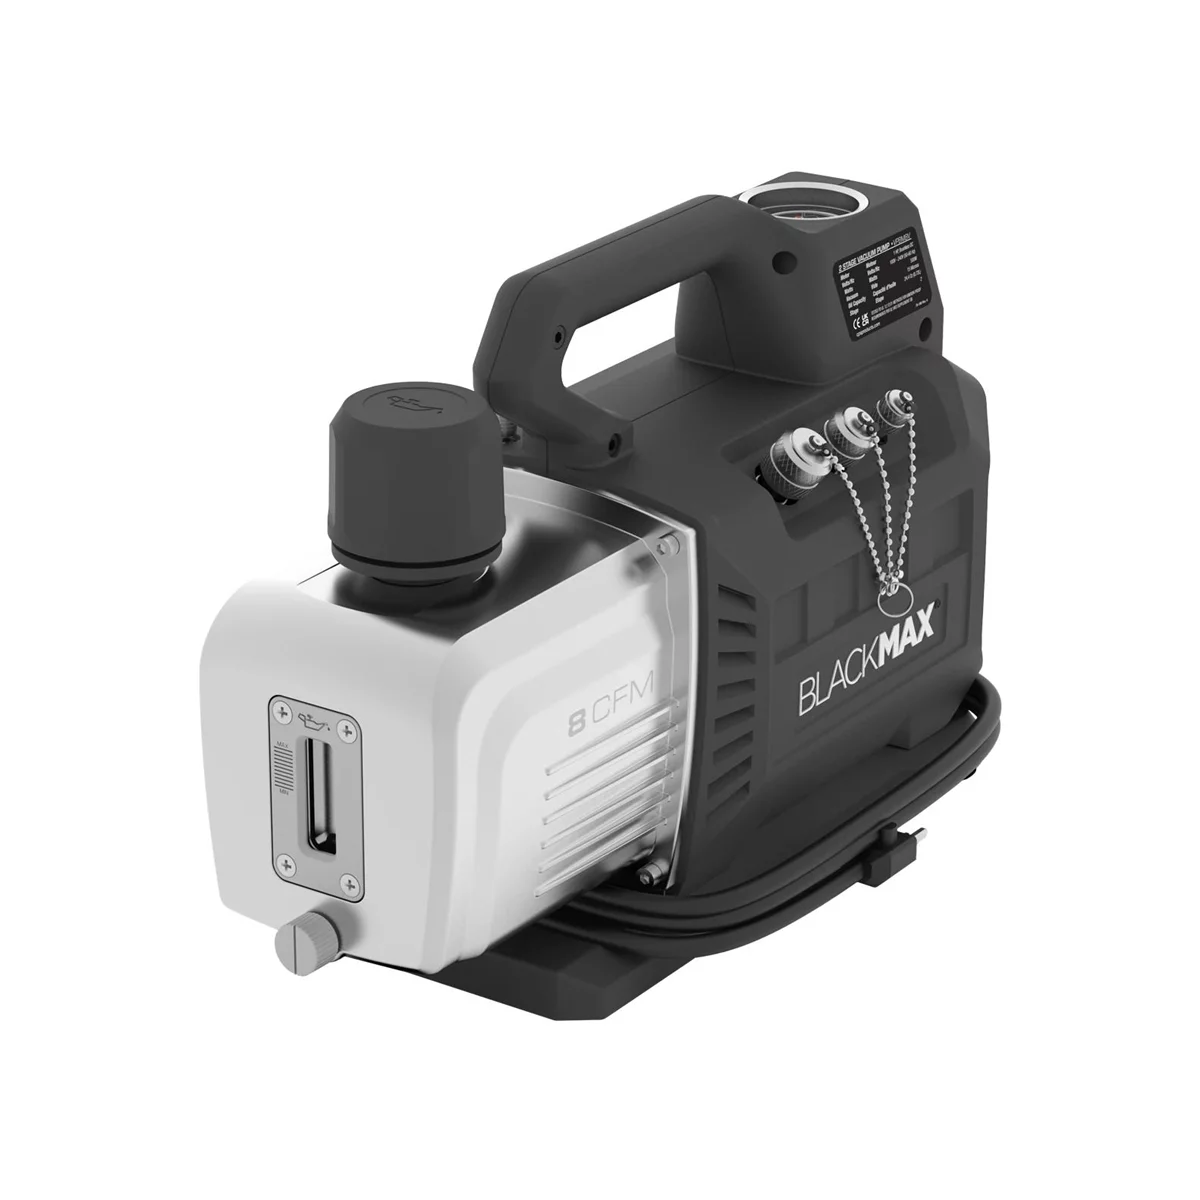
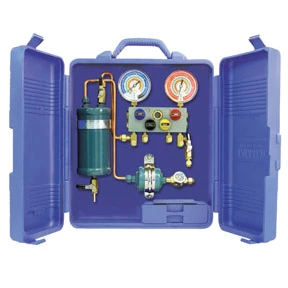
Federal law requires EPA Section 608 certification to purchase, handle, or release refrigerants. Venting to atmosphere carries $37,500 per violation fines. Legal DIY requires: recovery machine ($300-800), manifold gauge set ($150-300), vacuum pump ($200-400), refrigerant scale ($100-200), micron gauge ($150-250), approved disposal tanks, and certified facility fees. The EPA enforces Section 608 regulations for homeowners. Equipment rental is rarely available due to liability. Most DIYers find equipment costs exceed professional repair charges for single jobs.
Why moisture and humidity contamination causes future failures
Refrigerant systems must remain absolutely dry. Moisture combines with refrigerant to form hydrochloric and hydrofluoric acids that corrode copper lines and destroy windings. Professional vacuum removes moisture by creating deep vacuum that causes water to boil away at room temperature. Achieving 500 microns requires quality equipment and patience—cheap pumps can’t reach these levels. Opening the system on humid days without proper procedures guarantees contamination. Acid formation begins immediately. This is why DIY replacements fail within 12-24 months while professional jobs last 10+ years—the difference is moisture control.
Tools, permits, and liability risks for DIY attempts
Most municipalities require electrical and mechanical permits for compressor replacement. Brazing requires nitrogen purge to prevent copper oxide scale that damages the new compressor. Liability risks include refrigerant burns (R-410A operates at 400+ PSI), electrical shock from 240V circuits, and crushing injuries from heavy compressors (50-120 lbs). Homeowner’s insurance may deny claims for unpermitted work. Professional service is cost-effective for most homeowners.
Red Flags in Repair Quotes & Warranty Coverage
Protecting yourself requires understanding contractor tactics and warranty limitations.
Common contractor overcharges and scam tactics
Red flags: quotes over $4,500 for standard residential replacement (unless 6+ tons), high-pressure same-day decisions, refusal to itemize, or diagnosis without testing equipment. Some quote full replacement unnecessarily. Be wary of contractors demanding immediate payment or refusing permits. The most common scam: “compressor needs replacement” when the problem is a $30 capacitor. Always get three quotes and verify failure independently before authorizing work.
Warranty terms: what’s actually covered on new compressors
Manufacturer warranties typically cover parts 5-10 years, labor 1-2 years. Read carefully—coverage excludes missed maintenance, non-OEM parts used elsewhere, or improper refrigerant charge. Contractor workmanship warranties should cover labor minimum 1 year. Extended warranties rarely justify cost and require extensive documentation. Keep all service records to support claims.
Preventive maintenance to extend compressor lifespan
Simple maintenance dramatically extends life. Replace air filters monthly during cooling season to prevent evaporator icing and liquid refrigerant flood-back. Keep outdoor condenser coils clean—dirty coils cause high head pressure overworking compressors. Maintain proper refrigerant charge (both overcharge and undercharge damage compressors). Annual professional maintenance includes electrical connection inspection, capacitor testing, pressure verification, and amperage draw measurement. These steps cost $100-200 annually but extend compressor life from 10-12 years to 15-20 years.
Frequently Asked Questions
Is $3,000 fair for compressor replacement?
Yes, $2,500-3,500 is legitimate for professional replacement including evacuation procedures, receiver/dryer, orifice tube, refrigerant, and labor. Quotes under $2,000 likely indicate shortcuts or unlicensed work. Quotes over $4,000 for standard residential systems warrant additional estimates unless complications exist (difficult access, large tonnage, extensive contamination requiring condenser replacement).
Can I replace the compressor myself?
Technically yes with EPA 608 certification and $1,000-2,000 in recovery equipment, pumps, gauges, and brazing tools. However, specialized knowledge for proper evacuation, moisture control, and charging makes this inadvisable for first-timers. One mistake causes premature failure, wasting the investment. Residential systems require deeper vacuum levels than HVAC experience typically covers.
What causes premature compressor failure in newer systems?
Common causes: improper installation (wrong charge, inadequate vacuum allowing moisture), electrical problems (voltage fluctuations, failed capacitors, loose connections), dirty evaporator coils causing liquid flood-back, and manufacturing defects (especially 2015-2019 production runs). Systems failing within 2-5 years usually trace to installation errors. First-year failures are typically warranty-covered defects.
Should I use a rebuilt or used compressor instead of new?
Rebuilt compressors cost 40-60% less but carry higher failure risk and shorter warranties (1-2 years vs. 5-10 years). They’re viable for older systems (10+ years) where replacement is planned within 3-5 years. Used salvage compressors are extremely risky—unknown history and no warranty. For systems under 10 years, new OEM compressors are the only sensible choice given the labor investment required.
How long does compressor replacement actually take?
Minimum 4-6 hours for experienced technicians, often 6-8 hours with testing: refrigerant recovery (30-45 min), removal and installation (1-2 hrs), brazing (45-60 min), vacuum (1-2 hrs minimum), leak testing (30 min), recharge (30-45 min), system testing (30 min). Jobs under 3 hours indicate skipped vacuum time or shortcuts compromising longevity.
How do I know if my compressor is really bad?
Perform a manual contactor test to verify the compressor won’t run when directly powered. Check for burnt smell or oil residue. Use a multimeter to test winding resistance (3-20 ohms between terminals with balanced resistance). Open circuit (infinite resistance) or short circuit (zero resistance) confirms internal electrical failure. If running but not pumping, check suction and discharge pressures—both equalizing quickly after shutdown indicates internal valve failure. These tests eliminate misdiagnosis and confirm whether you need compressor repair or simpler electrical fixes.
While our guide focuses on air conditioner compressor repairs, having the right shop equipment makes any automotive repair job easier and safer. Explore our complete selection of lifting and shop tools to equip your workspace for success.
- Professional floor jacks and jack stands for secure vehicle lifting
- Creepers and mechanics’ seats for comfortable under-vehicle work
- Diagnostic lifts and hoist equipment for efficient repair access
The Toolsource Technical Team blends decades of real-world automotive service experience with up-to-date technical research. Our writers collaborate with professional mechanics, shop owners, and diagnostic specialists to deliver practical, workshop-ready guidance you can trust.


Follow us on social media