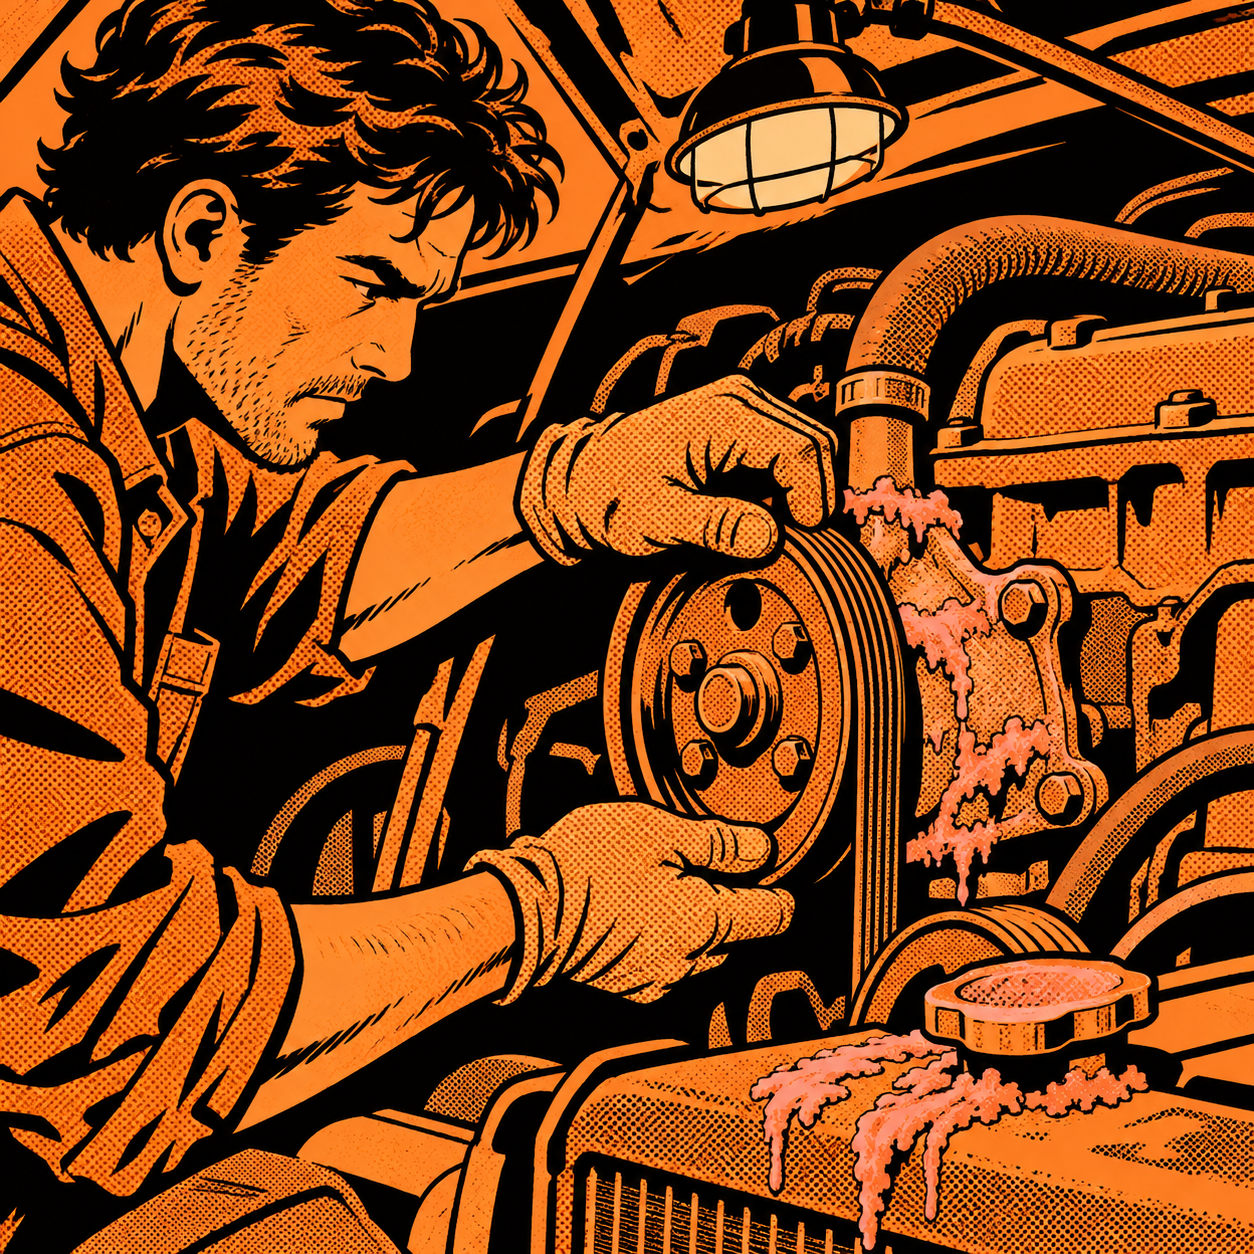
A customer brings in a vehicle with crusty pink, orange, or rust-colored residue around the radiator cap, water pump, or overflow neck, and the first question on the lift is always the same: is this a failing water pump, or did someone dump a bottle of stop-leak in there to buy time before a trade-in or private sale? The visual cues overlap enough that a rushed inspection can send a tech down the wrong repair path. This guide walks through a practical sequence for separating the two, so you’re not replacing a water pump that’s fine or missing one that’s actually grinding itself apart.
Start With the Pulley, Not the Reservoir
Before touching the radiator cap or popping the overflow tank, get your hands on the water pump pulley with the engine off and cold. Grab it at the 12 and 6 o’clock positions and check for any up-and-down or front-to-back play in the bearing. A healthy pump pulley should feel solid with zero detectable movement. Any wobble, even slight, points to bearing wear, which is often the real root cause of a pump that’s starting to leak or make noise.
While you’re at it, spin the pulley by hand (belt off if possible) and listen and feel for grinding or roughness. A pump bearing that’s on its way out will often telegraph a gritty or notchy feel well before it starts leaking externally. If you find play or grinding, you’ve got your answer regardless of what’s crusted around the cap — that pump needs to come off.
Read the Residue Correctly
Residue color and texture tell you a lot, but only if you know what you’re looking at. Failed water pump seals typically leave a fairly uniform, rust-tinted or coolant-colored crust concentrated right at the weep hole on the underside of the pump housing, with drip trails running down and off the bottom of the engine. It tends to look like dried coolant because that’s exactly what it is — coolant that mixed with road grime and oxidized in place.
Stop-leak residue behaves differently. These products are designed to seal small leaks by swelling and clogging gaps, and when they’re overused or the wrong formula is mixed with the coolant already in the system, they tend to leave a chunkier, almost clay-like or granular buildup. It commonly shows up smeared around the radiator cap seat, inside the filler neck, caked on the thermostat housing, and built up inside the overflow bottle — not just at a single failure point. If you see this gunk in multiple spots that have nothing to do with a specific seal or gasket, that’s a strong signal someone added a sealant product rather than the pump actively failing right now.
[PRODUCT_SEARCH: cooling system pressure tester kit]
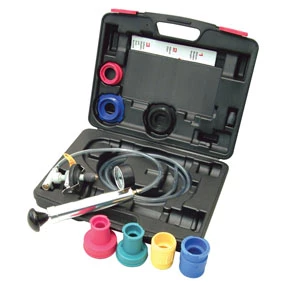
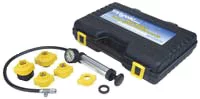

Heavy Duty Cooling System Pressure Test Kit
Mfg: OTC Tools and Equipment
Part #: ZTSE2384
Pressure Test Before You Commit to a Repair
Don’t quote a water pump replacement off visual inspection alone. A cooling system pressure tester is the fastest way to confirm whether you’ve got an active leak and where it’s actually coming from. Pressurize the system to the cap’s rated spec (usually printed on the cap itself, commonly in the 13-16 psi range) and watch the pump weep hole, hoses, heater core lines, and radiator seams for fresh wetness forming under pressure.
If the system holds pressure and no new leak appears, but you still see old crusty residue, you’re likely looking at a past leak that was already treated with stop-leak and is currently holding, at least for now. If the pump weeps visibly under pressure, that confirms active seal failure and the pump needs to be replaced — don’t try to chase that leak with more sealant.
Also check whether the system can build and hold full pressure at all. A system that won’t hold pressure but shows no visible external leak may be pushing coolant past a head gasket or into the oil, which is an entirely different and more serious diagnosis than a pump or cap issue.
Inspect the Radiator Cap Itself
The radiator cap is a wear item that gets overlooked constantly. Pull it and look at the rubber seal and the spring-loaded pressure valve. If the rubber is cracked, flattened, glazed, or visibly deformed, it won’t hold the system’s rated pressure, and that alone can cause symptoms that mimic a bigger cooling problem — reduced boiling point, coolant pushing past the seal, and air getting pulled into the system on cooldown.
Always replace a questionable cap with an OEM or OEM-spec cap rather than a generic aftermarket one. Pressure rating and seal material matter here, and a mismatched or low-quality cap is a cheap part that causes disproportionately annoying comebacks. If a pressure test shows the system won’t hold spec, swapping the cap is one of the first cheap things to rule out before you start pulling the pump.
Flush Before You Diagnose Further
If you find stop-leak residue anywhere in the system, plan on a full coolant flush before you do any further diagnosis, and definitely before installing a new pump, radiator, or hoses. Sealant particles that remain in the system will migrate and can clog a new radiator core, heater core, or the tiny passages in a new water pump just as readily as they clogged whatever leak they were sealing.
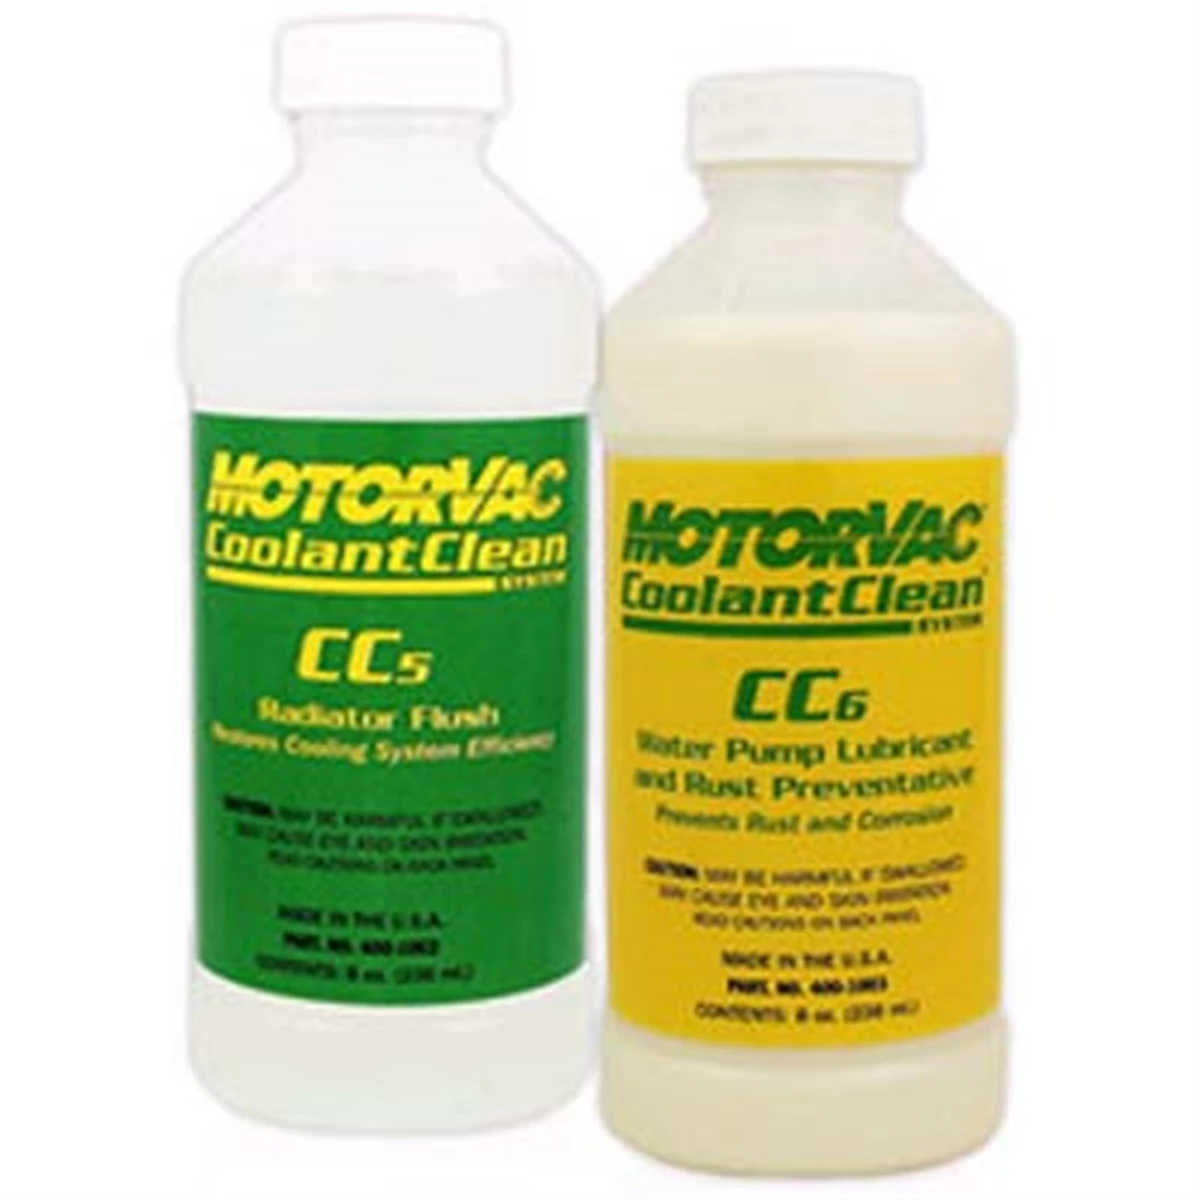
A standard drain-and-fill often isn’t enough to get the residue out of heater cores and radiator tubes. A proper flush, and in stubborn cases a chemical flush treatment followed by a thorough rinse, is worth the extra labor time to protect whatever new components go in. Skipping this step is one of the most common reasons a cooling system repair comes back with a new complaint a few weeks later.
Know the Used-Car Red Flag
If a vehicle just changed hands, treat stop-leak residue as a strong signal to inspect everything in the cooling system more carefully, not less. It’s common practice for a seller to add a bottle of sealant to mask a slow leak long enough to get through a test drive and sale. That means a car showing this residue may have a leak that’s been temporarily masked rather than fixed, and it could be worse than it appears once the sealant eventually fails or gets flushed out.
This is a good moment to set expectations with the customer: finding sealant residue isn’t necessarily a sign of a current failure, but it is a sign that the full system — pump, hoses, radiator, heater core, and head gasket — deserves a more thorough look than a routine coolant top-off would get.
[PRODUCT_SEARCH: cooling system flush and coolant service kit]
Quick Diagnostic Checklist
- Check pulley for play and listen for bearing roughness, engine off and cold
- Note where residue is concentrated: single point (likely pump) vs. widespread (likely sealant)
- Pressure test to rated spec and watch for fresh leaks under pressure
- Inspect and replace the radiator cap if the seal looks worn or glazed
- Confirm the system holds pressure with no hidden internal leak (head gasket)
- Plan a full flush if any sealant residue is found, before installing new parts

Cross Flow Adaptor Kit for Vehicle Cooling System
Mfg: Viper - Clore Automotive
Part #: 5015

Frequently Asked Questions
Can a failing water pump cause overheating even before it leaks visibly?
Yes. A worn pump impeller or a pulley with bearing play can reduce coolant circulation enough to cause overheating under load long before any external leak appears. Pulley play and pump noise are earlier warning signs than visible drips.
Is stop-leak ever safe to use as a permanent fix?
No. Stop-leak products are a temporary measure at best, intended to slow a small leak until a proper repair can be done. They’re not a substitute for replacing a failed gasket, hose, or pump seal, and leaving them in long-term risks clogging the radiator, heater core, or a new pump.
How do I know if stop-leak has already clogged something in the system?
Watch for reduced heater output, uneven radiator temperature across the core (cool spots felt by hand with the engine warm), or a system that heats up faster than it used to. These point to flow restriction from sealant buildup.
What pressure should I test the cooling system to?
Test to the pressure rating stamped on the radiator cap, typically 13-16 psi on most passenger vehicles. Always confirm against the manufacturer spec rather than assuming.
Should I flush the system even if I don’t find sealant residue?
If you’re replacing the pump, radiator, or hoses, a flush is still good practice to clear scale and old coolant breakdown products, but it becomes mandatory once any sealant residue is visible anywhere in the system.
Can I reuse the old radiator cap after a repair?
Only if the seal is intact, not cracked or glazed, and it holds the rated pressure during a bench or system test. Given how inexpensive a quality OEM cap is relative to the comeback risk, replacing it during any cooling system repair is usually the better call.
Shop Cooling System Tools
To diagnose and repair the cooling system issues covered in this guide, you’ll need the right diagnostic and service equipment. Browse our Automotive Cooling System selection for pressure testers, flush kits, and replacement parts.
- Cooling system pressure testers to verify active leaks under rated pressure
- Coolant flush kits to remove sealant residue and contaminants before new parts go in
- Replacement radiator caps, hoses, and water pump seals for common cooling repairs

The Toolsource Technical Team blends decades of real-world automotive service experience with up-to-date technical research. Our writers collaborate with professional mechanics, shop owners, and diagnostic specialists to deliver practical, workshop-ready guidance you can trust.


Follow us on social media