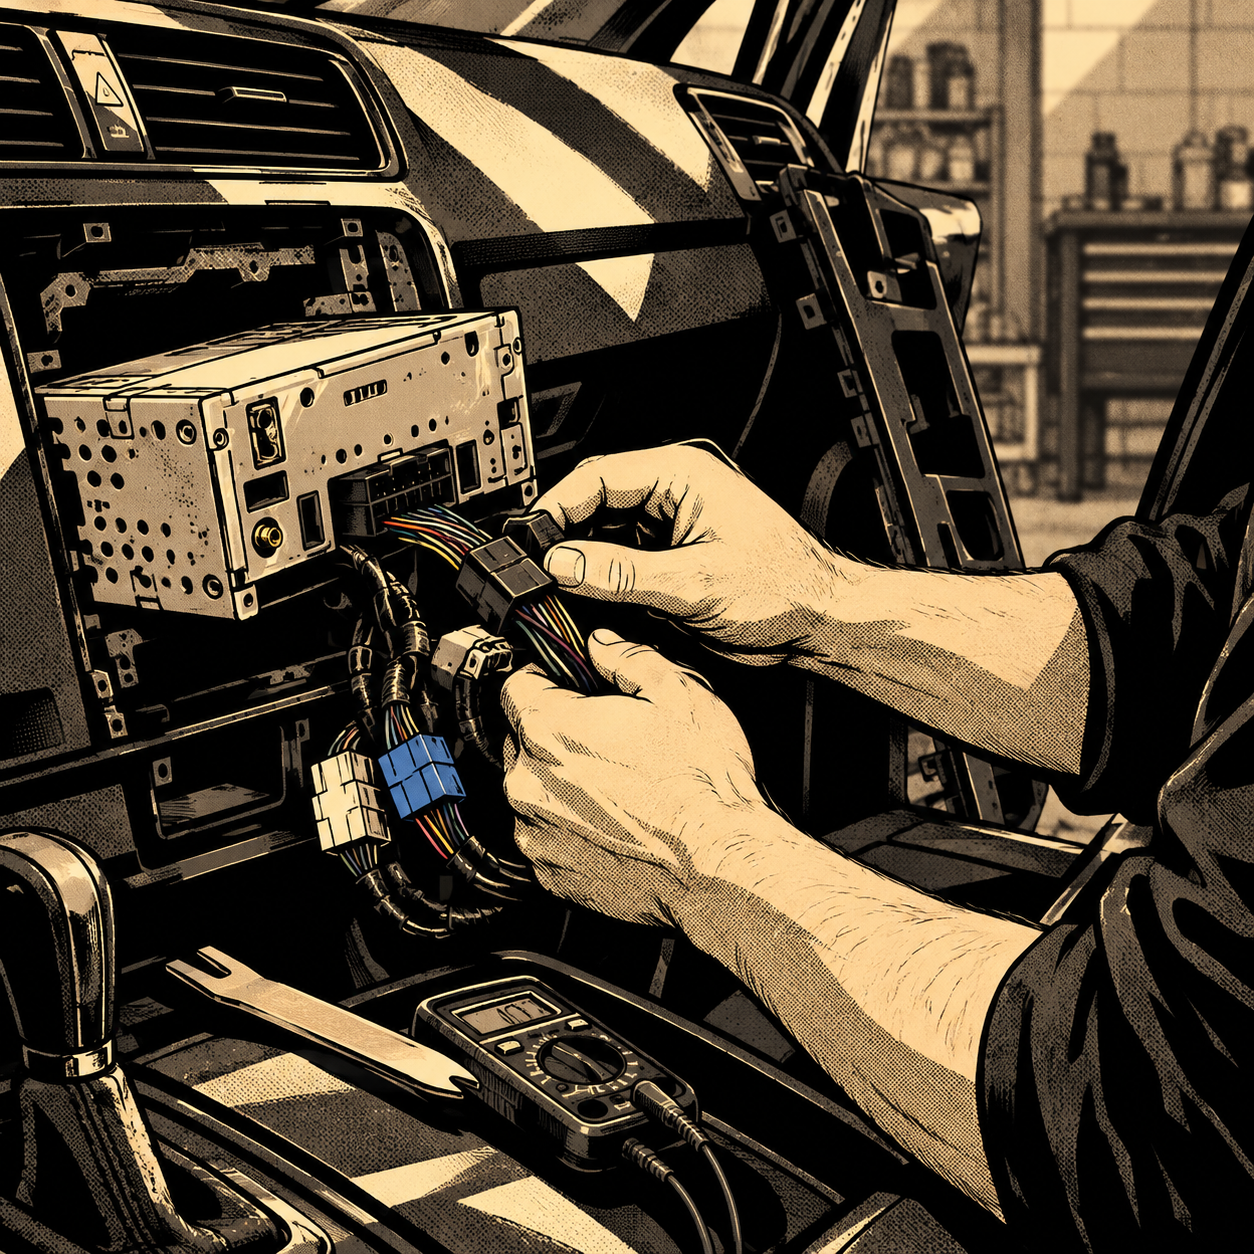
A frayed USB cable or a dead aux port sounds like a $20 fix, but dealerships routinely quote $400-$800 to touch it. Part of that quote is diagnostic time, part is OEM parts markup, and part is the labor required to pull a dashboard apart on a modern vehicle. Before paying that bill, it’s worth understanding what’s actually failing, what a shop is charging for, and whether that money is better spent on a repair or a full head unit upgrade that leaves you with more features than you started with.
Why Dealership Quotes Run So High
A $600 quote for what looks like a broken cable usually breaks down into three line items: a diagnostic fee (often $150-$200 just to confirm what’s wrong), the part itself (OEM connectors and sub-harnesses are not cheap and often aren’t sold separately from a larger assembly), and labor billed at shop rate to remove trim panels, pull the head unit, and access the wiring behind it. On most modern vehicles, the dash has to come apart in a specific sequence to avoid snapping plastic clips, and that sequence takes a trained tech real time even when they know the car.
Dealerships also tend to default to the most conservative fix: full assembly replacement rather than a spot repair. If the quote includes “replace the head unit” or “replace the wiring harness” for what is functionally a single damaged wire or connector, that’s a sign the estimate was padded for certainty, not necessity. It’s reasonable to ask the service writer for an itemized breakdown of parts versus labor before authorizing anything.
Diagnose the Actual Fault First
Before deciding on a repair path, confirm what’s actually broken:
- If an aux or USB port stopped working, check whether it’s a power issue (port doesn’t light up or charge) or a signal issue (device connects/charges but no audio) — these point to different failures.
- Wiggle-test the cable at the port while playing audio. A short that cuts out with movement usually means a frayed or crimped wire near the connector, not a failed head unit.
- Check for blown fuses related to the infotainment circuit before assuming the head unit itself is dead.
- If the touchscreen is glitching, freezing, or rebooting — rather than a port or cable issue — that’s a head unit problem, not a wiring problem, and no amount of cable work will fix it.
A $20 inspection mirror, a multimeter, and 15 minutes with the trim panel off will usually tell you whether you’re dealing with a $15 cable or a dead head unit. That alone can save you from paying a diagnostic fee for something you can confirm yourself.
Repair vs. Replace: When the Cable Fix Makes Sense
If the diagnosis comes back as a simple damaged cable — a common failure point on factory USB/aux pigtails that get pinched in center console lids — you have three realistic options:
- Order the OEM cable. Many manufacturer aux/USB pigtails are available through the dealer parts counter or sites like Crutchfield/Amazon for $15-$40, and plug straight into the back of the factory head unit.
- Splice a replacement in. If you’re comfortable with a soldering iron or quality heat-shrink crimp connectors, cutting the damaged section and splicing in a new USB/aux cable is a 20-30 minute job once the panel is open.
- Bypass it entirely with a wireless dongle. A $20-$40 Bluetooth or wireless CarPlay/Android Auto dongle that plugs into the existing USB port sidesteps a damaged cable altogether if the port itself still carries power.
None of these require $600. The labor-heavy part is accessing the connector, not the repair itself — and that access is the same whether you’re fixing a cable or swapping the whole unit.
Why an Aftermarket Head Unit Is Often the Better Spend
Here’s the detail that changes the math for a lot of owners: if you’re already quoted $600 for a repair, that’s close to — or more than — the cost of a quality aftermarket double-DIN head unit installed. Factory infotainment systems are notoriously limited on audio tuning (no real EQ control, no crossover settings, minimal sub integration), while a mid-range aftermarket deck gives you wireless Android Auto/Apple CarPlay, full equalizer and crossover control, and a straightforward path to adding an amp or subwoofer later.
Most vehicles built in the last 15-20 years that still use a single or double-DIN sized opening can accept a aftermarket unit with the right dash kit and wiring harness adapter — this turns what sounds like a custom install into a largely plug-and-play swap. The exceptions are vehicles with deeply integrated digital dash clusters or climate controls built into the factory screen; those are harder to replace without losing functionality, and it’s worth confirming compatibility before buying anything.
[PRODUCT_SEARCH: aftermarket double din head unit wireless android auto]


What the DIY Install Actually Involves
A head unit swap is one of the more approachable DIY jobs on a modern car, provided you plan the parts list before pulling anything apart:
- Confirm the DIN size and trim kit. Look up your exact year/make/model/trim — a dash kit that fits a base trim often won’t fit a version with a different climate control layout or screen size.
- Get the correct wiring harness adapter. This lets the aftermarket unit’s generic plug connect to your car’s factory harness without cutting factory wiring — critical if you ever want to sell the car with the stock unit still in hand.
- Check for steering wheel control integration. If your car has audio buttons on the wheel, you’ll need a steering wheel control interface module to retain that function on the new unit.
- Note any amp or premium sound system wiring. Factory Bose, Harman, or similar systems often route audio differently than a standard system and may need a line-output converter or amp bypass harness.
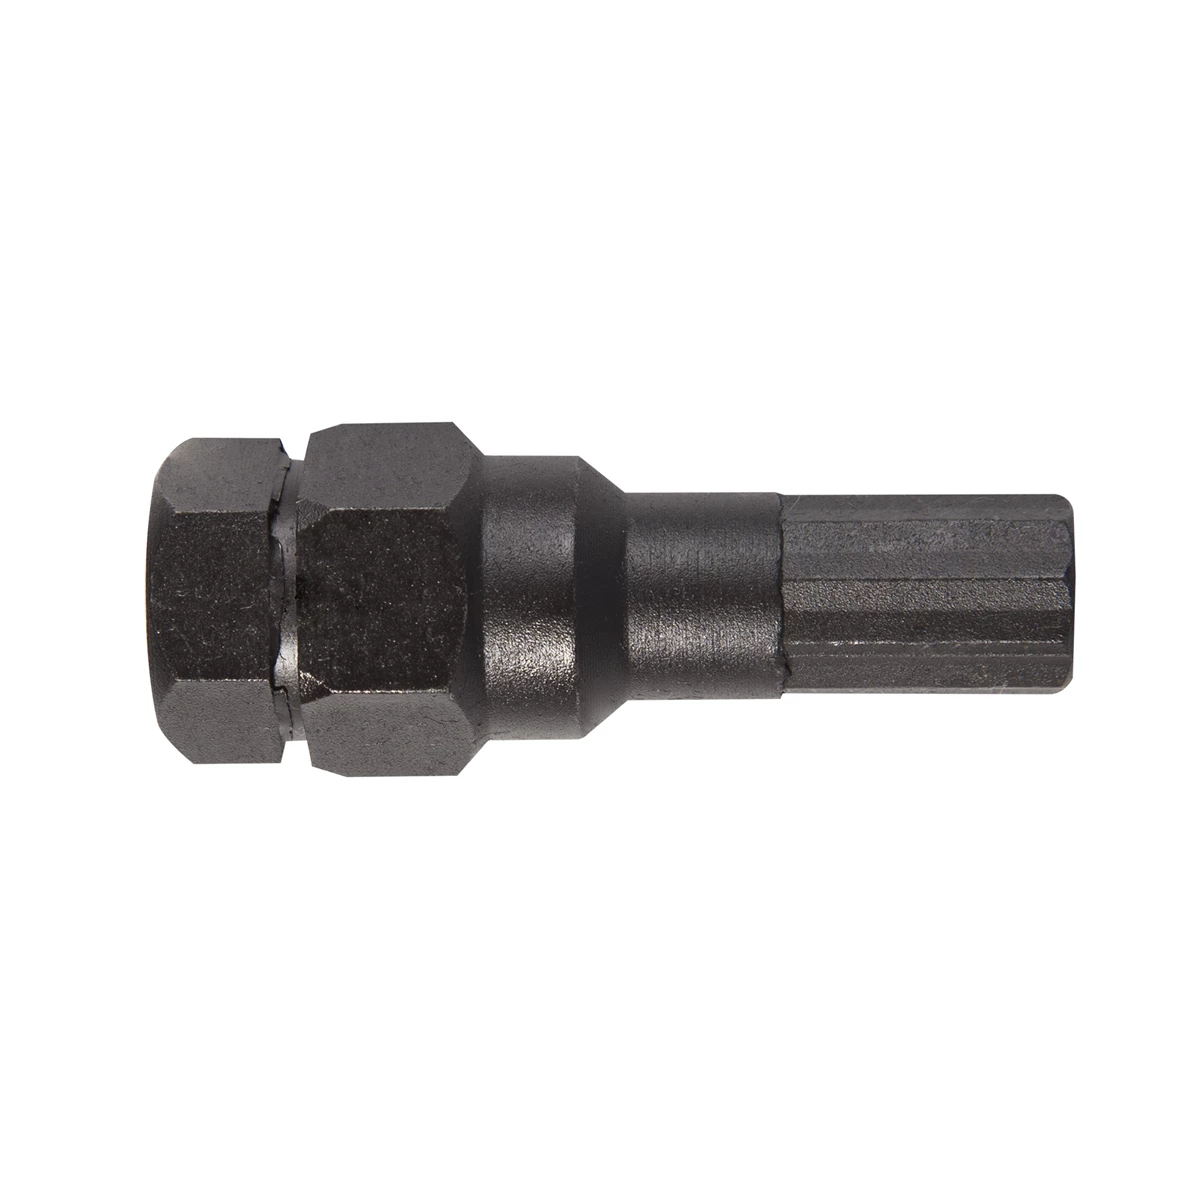
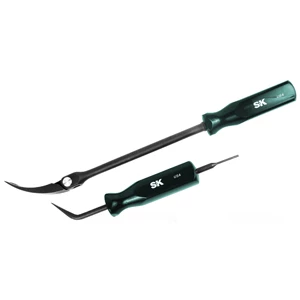
- Use proper trim removal tools. A basic plastic pry tool set avoids cracking dash clips that are expensive and slow to source as replacements.
- Keep the factory unit and connectors. Even a broken factory head unit can sometimes be resold for parts, and keeping the original wiring intact simplifies reverting the install later.
For most owners, the actual removal is a half-day job done with basic hand tools, a trim removal kit, and a wiring diagram specific to the vehicle. Dash and harness compatibility lookup tools (Crutchfield’s fit guide is a commonly used example) will tell you exactly what adapter and trim kit your vehicle needs before you order anything.
[PRODUCT_SEARCH: car stereo installation kit trim removal tools wiring harness adapter]
When It’s Still Worth Paying a Shop
DIY isn’t always the right call. Pay a professional installer (independent car audio shop, not necessarily the dealership) if any of the following apply: the vehicle has a deeply integrated digital cluster or HVAC controls tied into the factory screen, the install requires running new amp wiring through the firewall, you don’t have a safe place to work without losing small screws and clips, or you simply don’t have the time. A competent independent car audio shop will typically install a customer-supplied head unit for $100-$200 — a fraction of the dealership’s quote, with the added benefit that you choose the unit and keep the old one.
Quick Checklist Before You Pay for a Repair
- Confirm the actual fault (power, signal, or head unit failure) before authorizing any repair
- Ask for an itemized parts-vs-labor breakdown on any shop quote over $200
- Check if a $15-$40 replacement cable or wireless dongle solves it without opening the dash
- Compare the repair quote against the cost of a quality aftermarket head unit installed
- Verify DIN size, harness adapter, and steering wheel control compatibility before buying a unit
- Get a second quote from an independent car audio shop before accepting dealership labor rates


FAQs
Is $600 a normal price for a car radio repair?
It’s on the high end for a cable or connector repair, and it’s often more than installing a new aftermarket head unit. It’s reasonable for a full head unit replacement with OEM programming on some vehicles, but always ask for a parts/labor breakdown first.
Can I replace a factory head unit with an aftermarket one on any car?
Most vehicles with a standard single or double-DIN opening can accept an aftermarket unit with the right dash kit and harness adapter. Vehicles with integrated digital dash clusters or climate controls built into the factory touchscreen are harder to convert and need extra research before buying parts.
Will a wireless Bluetooth or CarPlay dongle fix a broken aux/USB cable?
Only if the port itself still has power and the cable isn’t the only path for signal. If the damage is in the cable between the port and the head unit, a dongle plugged into a working port can bypass it entirely for audio and phone connectivity.
Do I need to reprogram an aftermarket head unit to work with my car?
No — aftermarket units are generic and don’t require dealer programming. OEM replacement head units, by contrast, often do need to be coded to the vehicle, which is one reason factory replacements cost more and take longer.
What tools do I need for a basic head unit swap?
A plastic trim removal tool set, a basic wrench/socket set, wire crimpers or a soldering iron if you’re splicing anything, and the correct dash kit and wiring harness adapter for your specific vehicle.
Should I keep my factory head unit after upgrading?
Yes. Keep it along with the wiring harness adapter so the car can be returned to stock configuration later, which also helps resale value on vehicles where buyers expect factory electronics.
Radio Removal Tools
A successful radio repair or replacement requires the right tools to access the unit safely. Check our Radio Removal Tools for trim panel removal kits, wiring adapters, and extraction tools.
- Plastic pry and trim removal kits
- Wiring harness adapters
- Radio extraction and DIN tools

The Toolsource Technical Team blends decades of real-world automotive service experience with up-to-date technical research. Our writers collaborate with professional mechanics, shop owners, and diagnostic specialists to deliver practical, workshop-ready guidance you can trust.


Follow us on social media