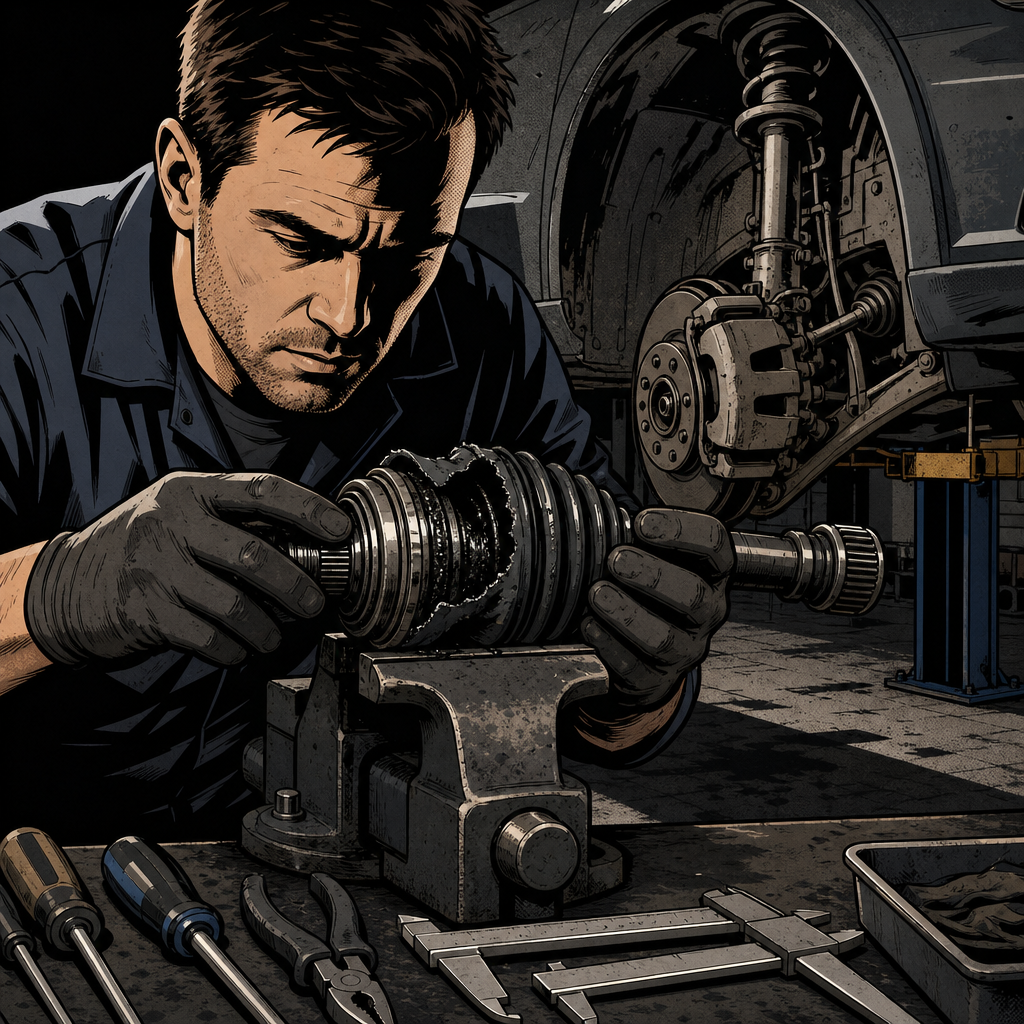
CV axle comebacks are one of the more frustrating repeat jobs in the bay, and they’re almost always traceable to the same root cause: a bargain-bin aftermarket axle with an outer boot that tears within weeks or months of installation. When the labor cost to swap an axle is the same whether the part costs $60 or $400, choosing the cheapest option on the shelf is rarely worth the risk of doing the job twice. Here’s a practical rundown of why this keeps happening, how to source a replacement that actually lasts, and what to tell customers who are shopping by price alone.
Why Aftermarket CV Boots Fail So Fast
The complaint shows up constantly: a customer or shop installs a reman or aftermarket CV axle assembly, and within 60-365 days the outer boot splits, flings grease across the wheel well, and lets contamination into the joint. This isn’t a fluke — it’s a pattern tied to how some low-cost axle lines are manufactured and warrantied.
- Some budget boot materials don’t tolerate the heat cycling and constant flexing at full steering lock as well as OEM rubber or premium thermoplastic compounds.
- Clamp quality and boot seating vary more on high-volume, low-cost production lines, which can lead to slow leaks that aren’t obvious at final inspection.
- Many budget aftermarket brands only warranty the outer boot itself for a few months, which is a signal about expected service life — read the fine print before you sell the part.
- Application-specific tolerances (joint articulation angle, spline count, boot diameter) get “close enough” on some universal-fit or economy lines, stressing the boot more than an application-correct part would.
If you’re seeing a pattern of early boot failures on a particular axle brand or part number across multiple repair orders, that’s worth flagging in your parts sourcing notes — it’s cheaper to steer around a bad line than to keep eating warranty labor on it.
OEM vs. Aftermarket: Comparing Cost and Value
Dealer/OEM axles typically run in the $700-$1,200+ range depending on make and application, while aftermarket assemblies can be found anywhere from $60 to $250. That spread is exactly why the temptation to go cheap is strong — but the real comparison isn’t part cost vs. part cost, it’s total cost of ownership including a second round of labor, diagnostic time, and a frustrated customer if the axle fails again.
A few cost-and-value data points worth keeping in your back pocket when quoting a job:
- OEM assemblies from the manufacturer’s parts site or a dealer parts counter are consistently the most expensive option but carry the lowest failure-rate track record for boot integrity.
- Mid-tier aftermarket lines sold through mainstream parts stores vary widely in quality even within the same store — “good/better/best” tiers exist for a reason, and the cheapest tier is where most of the early-boot-failure complaints originate.
- Labor is the fixed cost either way. If the axle swap takes 1-2 hours of shop time, that labor is spent whether the part costs $70 or $400 — so the marginal cost of stepping up a tier is often small relative to the risk of a comeback.
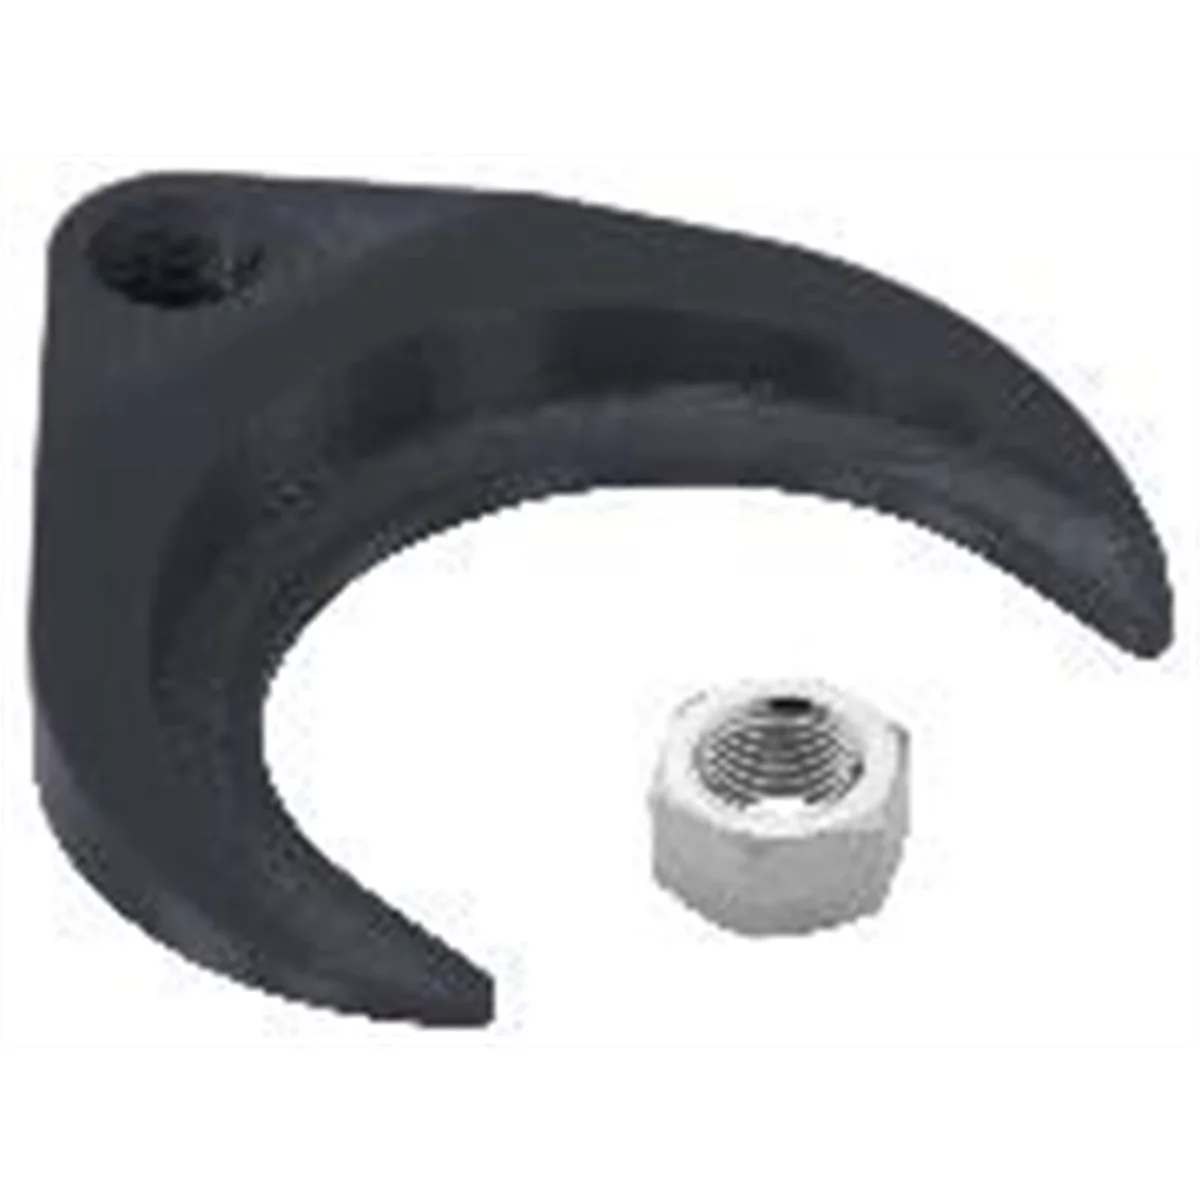
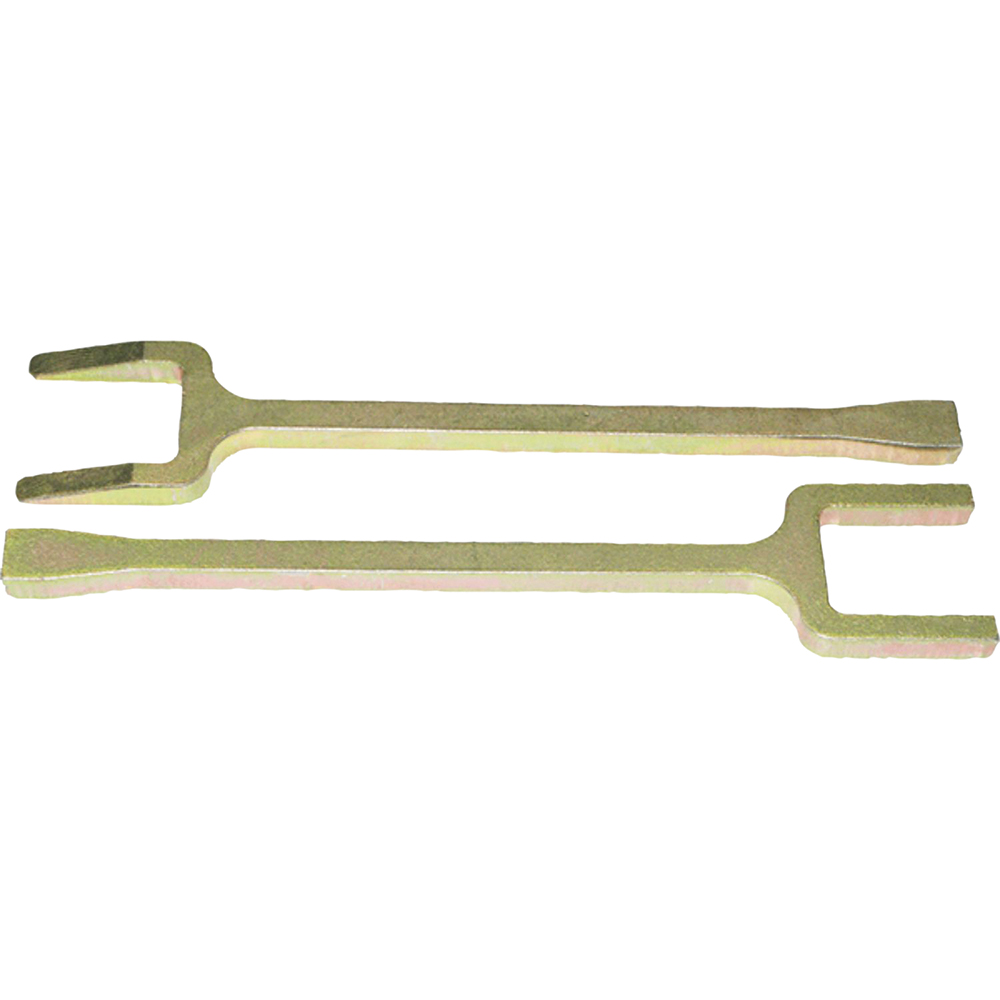

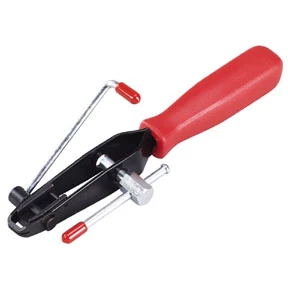
Axle Clamp Installer - CV Joint Boot Clamp
Mfg: Mopar Essential Tools
Part #: C-4975B
What to Look for When Choosing a Replacement Axle
Not every aftermarket axle is a bad axle — the issue is inconsistency, so vetting the part before it goes on the vehicle matters more than brand loyalty alone.
- Check the warranty terms specifically for the boot, not just the joint or shaft. A warranty that excludes the boot after 90 days is telling you something about expected boot life.
- Match application exactly — length, spline count, ABS tone ring (if equipped), and joint type. A close-fit universal axle stresses boots more than a direct-fit part.
- Look for application notes about upgraded components on the specific vehicle. On some higher-mileage or heavier-duty applications, certain axle SKUs are known in the trade for using a more robust inner joint design — worth asking your parts supplier if a given application has a “heavy duty” or reinforced version available versus the standard-duty part.
- Buy from a supplier with a real return policy and don’t wait too long to test-drive after install — if a boot is going to fail early, it’s often within the first week, and a supplier who won’t hassle you on a fast return is worth the relationship.
- Consider remanufactured OEM-core axles as a middle ground — often cheaper than new OEM but built on an OEM core with OEM-spec boots and joints, rather than a fully generic aftermarket design.
Installation Tips to Maximize Axle Life
Even a good axle can be set up for early failure with a sloppy install. A few things worth double-checking every time:
- Inspect the hub bearing bore and spline before installing the new axle — corrosion or galling in the bore can prevent the axle from seating fully, which stresses the boot from day one.
- Use new circlips/retaining clips where specified rather than reusing old ones; a loose retention at the transmission or intermediate shaft lets the axle work in and out slightly, flexing the boot beyond its design range.
- Torque the axle nut and control arm/strut fasteners to spec — under-torqued suspension components change the operating angle of the axle and can accelerate boot wear even on a good part.
- Double-check for boot clearance against the subframe, sway bar end link, or heat shields after everything is torqued down and the suspension is at ride height — a boot that’s rubbing on a bracket will fail regardless of build quality.
- Grease level and type matter if you’re replacing just a boot kit rather than the full assembly — use the joint manufacturer’s specified grease and quantity, not whatever’s left in the tube.
Warranty and Return Considerations
Because outer boot failure is the most common complaint, get warranty terms in writing (or screenshotted from the listing) before the part goes on the car, and set expectations with the customer up front. If you’re a shop installing a customer-supplied part, document the part’s warranty terms on the repair order — it protects you if it fails early and the comeback conversation turns into “who’s responsible for labor.”
If a part fails within the first days of driving, most retail parts stores will do a straightforward refund or exchange as long as the axle hasn’t been on the road long enough for the splines to corrode into the hub bearing. That’s a real cutoff — don’t sit on a return decision for weeks if you suspect a bad part.
When to Repair vs. Replace the Whole Axle
If only the boot has failed and the joint hasn’t been contaminated or run dry for long, a boot kit replacement can be a legitimate lower-cost repair — but it only makes sense if you catch it early, before grit and moisture have pitted the joint bearing surfaces. Once a customer reports a clicking or clunking noise on turns, or the boot has clearly been torn for more than a short drive cycle, replace the full axle assembly rather than trying to save the joint. The labor difference between a boot kit and a full axle is often small, and a full assembly resets the clock on both the joint and the boot together.
Quick Checklist Before You Order
- Confirm exact application: year/make/model, engine, trim, ABS/non-ABS
- Check whether the specific vehicle has a known “heavy duty” or reinforced axle SKU
- Read the warranty terms for the outer boot specifically
- Inspect hub bore/spline condition before installing
- Use new retaining clips and torque to spec
- Verify boot clearance at ride height after install
- Document part warranty on the repair order

FAQs
Q: How long should a CV axle boot last?
A: A quality boot, properly installed, should last well beyond 5 years/60,000+ miles in most driving conditions. Boots failing inside 12 months are a strong sign of a part quality or application-fit issue, not normal wear.
Q: Is it worth paying for an OEM axle over aftermarket?
A: When labor cost is fixed either way, yes — especially on vehicles where early boot failure has been reported for the aftermarket application. The premium buys a documented lower failure rate, not just a badge.
Q: Can I just replace the boot instead of the whole axle?
A: Only if caught early, before the joint has run dry or been contaminated. Once there’s noise on turns or the boot has been torn for a while, replace the full assembly.
Q: What should I check if a new axle fails within days?
A: Return it immediately if possible — most parts stores won’t hassle you on a refund if the splines haven’t corroded into the hub yet. Also inspect your own install: hub bore condition, retaining clips, and boot clearance at ride height.
Q: Do remanufactured axles use OEM boots?
A: It varies by remanufacturer, but many reman lines build on an OEM core and use OEM-spec boots and joints, making them a reasonable middle ground between full OEM cost and generic aftermarket risk.
Q: Should I warranty the labor if a customer supplies their own cheap axle?
A: Document the part’s source and warranty terms on the repair order before installing a customer-supplied part, and make clear that labor to redo the job isn’t covered if the part itself fails — this avoids disputes later.
Recommended Tools for CV Axle Work
Sourcing the right axle is half the job—the other half depends on having the right tools for proper installation and inspection. Our CV Joint Tools selection includes everything needed to remove, inspect, and install replacement axles correctly, and to perform boot repairs when they’re caught early enough.
- Joint removal and installation tools to avoid damaging the hub bore or splines
- Boot inspection and maintenance supplies for early troubleshooting
- Circlip and retention tools to ensure proper seating and axle security

The Toolsource Technical Team blends decades of real-world automotive service experience with up-to-date technical research. Our writers collaborate with professional mechanics, shop owners, and diagnostic specialists to deliver practical, workshop-ready guidance you can trust.


Follow us on social media