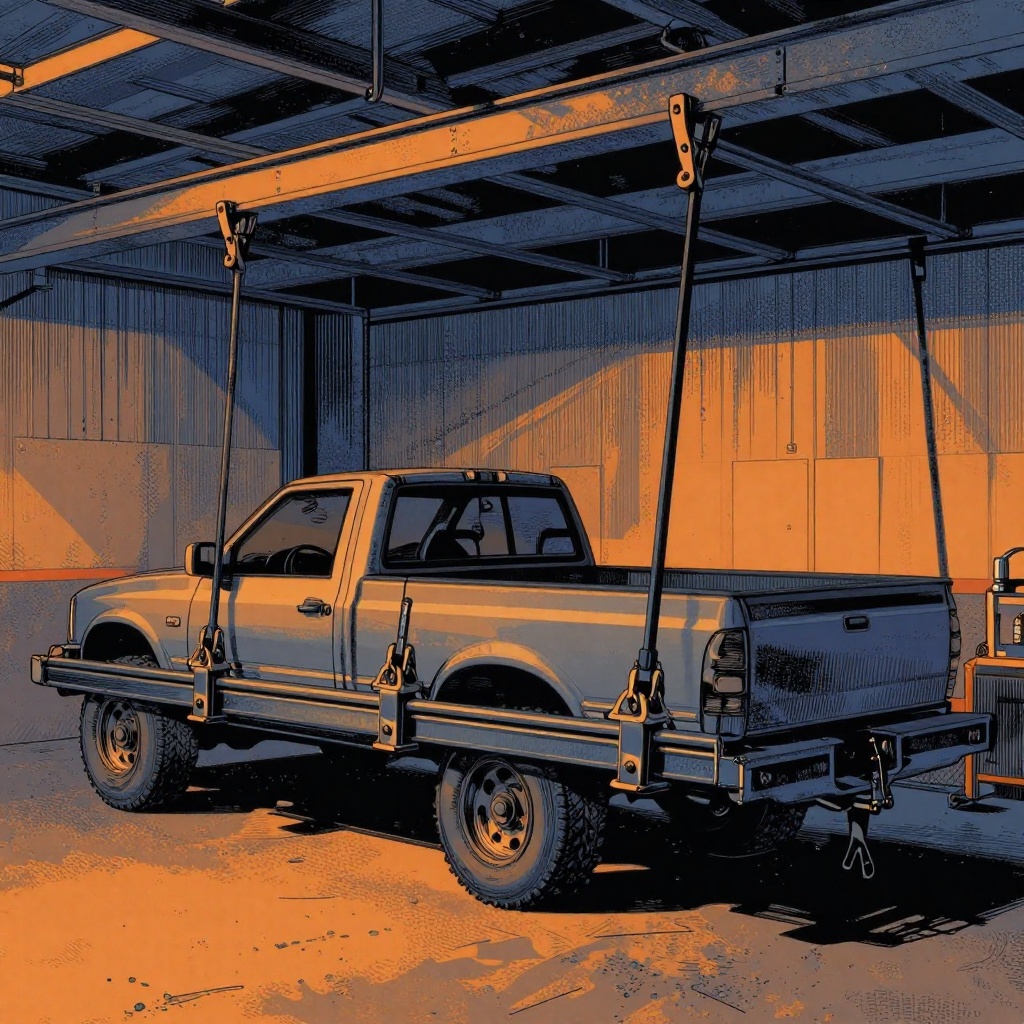
Bench-style racks with 3D measuring excel on full-frame trucks and SUVs—if you set them up right. Incorrect anchoring or measurement mode can lead to bad data, wrong pulls, and lingering fitment and alignment issues. This guide condenses shop-floor experience into a repeatable process for clamping, measuring, and pulling full-frame vehicles on a Car-O-Liner rack, with notes for common pain points like GM truck rear clamp placement and the differences between sway, sag, and diamond conditions.
When to Clamp vs. Measure on Wheels (and How to Set the Mode)
Car-O-Liner 3D systems can measure vehicles on clamps or on wheels, but you must select the correct mode and compensate the setup. The mode drives the reference geometry, so the choice has real consequences for accuracy and pull outcomes.
Use On-Clamps mode when:
- You’re performing structural pulls on a full-frame vehicle.
- You need the frame fixed relative to the bench for repeatable load paths.
- You’re sectioning a rail or replacing a front stub and require a rigid, known datum.
Use On-Wheels mode when:
- You’re doing quick damage verification or minor adjustments without structural pulls.
- OEM procedures allow ride-height measurement for specific checks.
Critical points:
- Select the mode in the software before you start the scan. If you switch modes later, recheck targets and re-reference the vehicle.
- If the tires are on but not bearing weight (e.g., sagging off the rack onto clamps), treat it as On-Clamps. Visuals can mislead—confirm by checking tire contact and clamp loading.
- Compensate for any wheel stands or height adapters in the software if used. Follow Car-O-Liner’s guidance for target placement and height compensation.
Truck Clamp Setup: Front and Rear Procedures That Don’t Slip
Truck clamp sets take time to configure on modern frames, especially GM rears and certain Jeep rails. Plan 3–4 hours for a full-frame initial setup. Speed comes with repetition, but accuracy comes from the fundamentals.
1) Pre-Setup Checks
- Identify frame type, rail profiles, and available clamping windows. Confirm model-year differences—rail holes and flange shapes can change year-to-year.
- Inspect rails for crush, flare, or laminated rust at clamp points. Avoid clamping over deformed sections; move to solid structure or use an alternate adapter.
- Verify bench level and tower travel clearance. Remove or reposition ramps if they interfere with tower positioning or chain angles.
- Stage the correct truck clamp kit, rail adapters, hardware, protective shims, and anti-slip serrations per the manufacturer.
2) Front Clamp “Sandwich” Setup
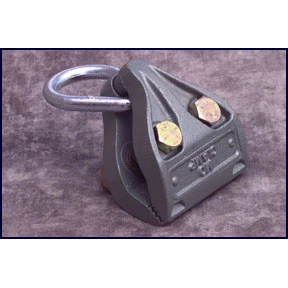
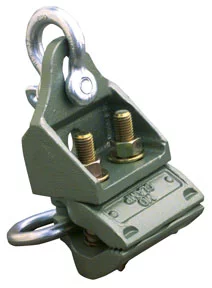
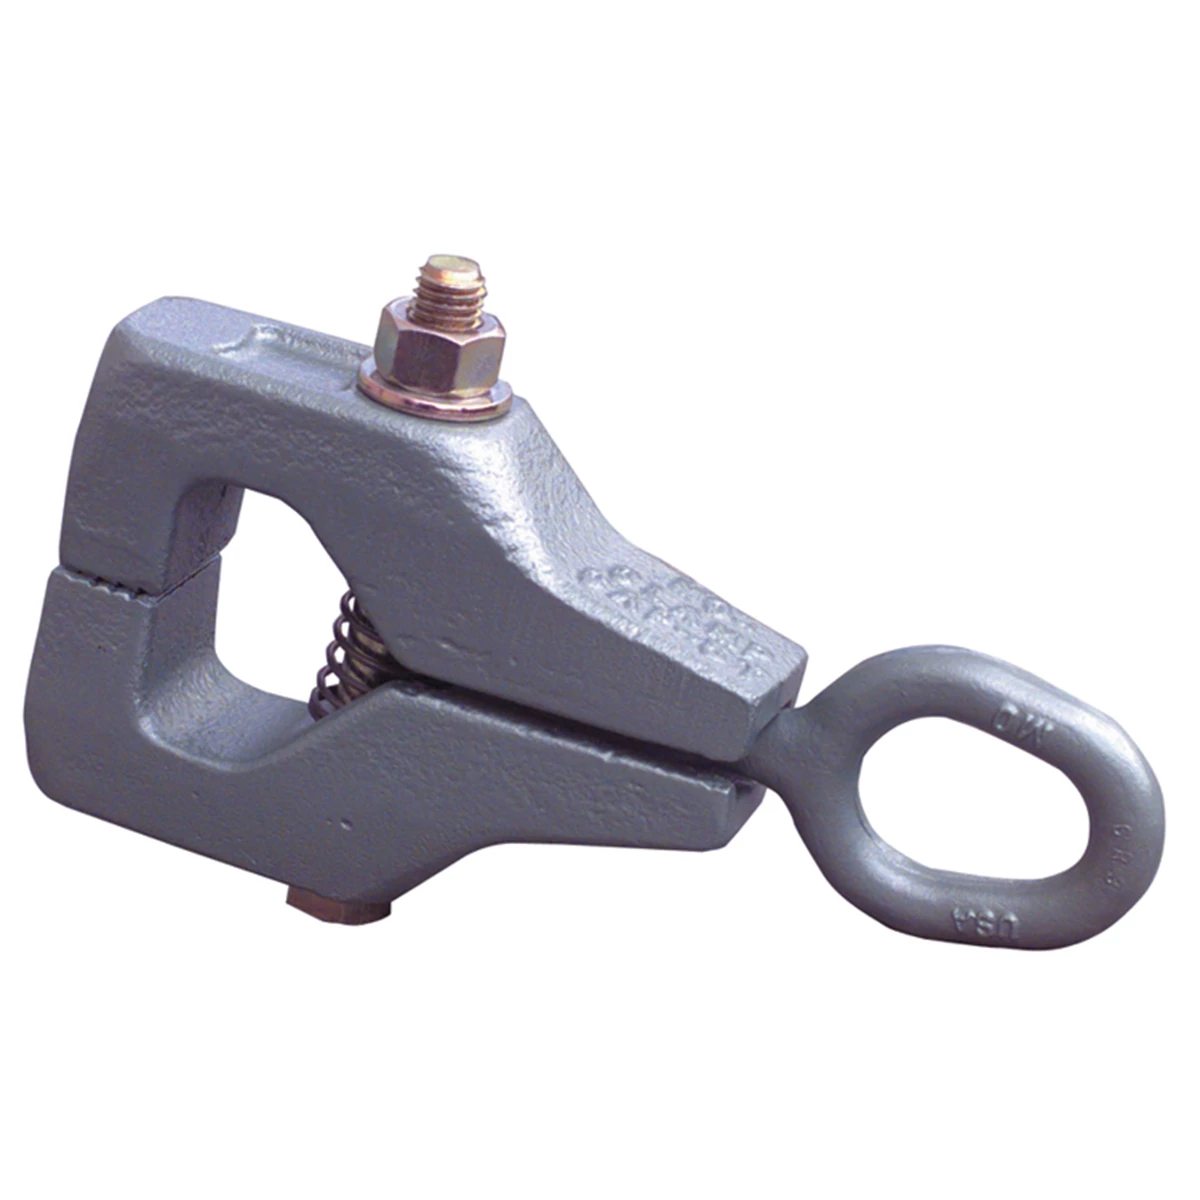
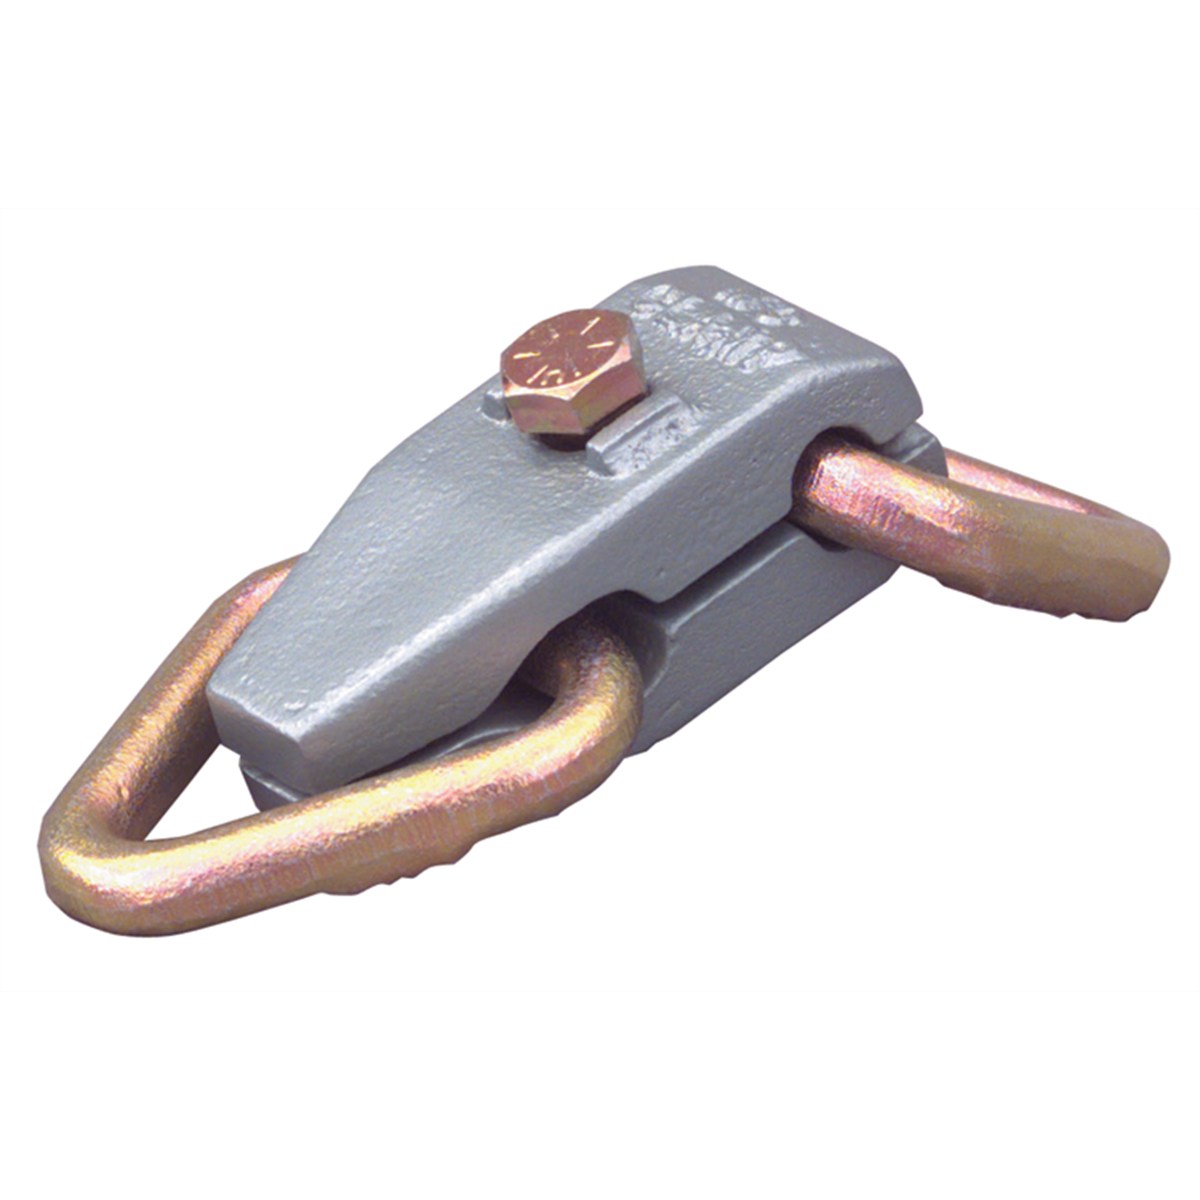
- Position the front clamp bases under the straightest, uncrushed section forward of the cab mounts. On many GM full frames, the front sandwich-style clamps seat reliably just aft of the front horns or near crossmember transitions.
- Use the correct jaw profile so the teeth fully engage the rail flange surfaces. Avoid toeing the jaws on edges—maximize surface engagement.
- Square the clamp to the rail; do not allow the clamp to skew with the rail taper. If the rail widens/narrows, shim with the manufacturer’s spacers to keep clamping faces parallel.
- Torque per the clamp kit’s spec. Typical heavy clamps use high-tensile fasteners; in general, you’ll see triple-digit Nm targets—always follow the kit manual. Re-torque after a light preload pull.
3) Rear Clamp Setup (Common GM Pain Point)
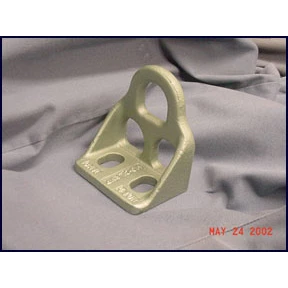
- GM rear rails frequently taper and may have bracketry near the axle kick. Use the designated rear adapters for the truck clamp kit and avoid clamping over open sections or holes.
- Position clamps just ahead of the rear rise where the rail is straight and accessible. If clearance is tight, swap jaw sets or adjust vertical posts to create tower access.
- Preload lightly with the bench tie-downs to seat serrations before the first measurement pass.
- Re-check parallelism of opposing clamps and verify that the rear pair shares the load—uneven anchoring allows twist under pull.
4) Chain Anchors and Bench Tie-Downs
- Use grade-80 or higher chain, with properly rated hooks and clevis.
- Anchor symmetrically. For sway pulls, balance lateral loads. For sag corrections, use opposing vertical anchors to resist lift.
- Keep chain angles within the manufacturer’s limits; shallow angles create slip, steep angles spike clamp loads. Typically aim for 30–45 degrees depending on the repair strategy.
5) Wheels On or Off?
- For structural pulls, remove wheels when they obstruct tower travel or create false support. If wheels remain installed, ensure they are not resting on the rack and the load is fully on the clamps.
- When measuring On-Clamps, having wheels on is fine if they’re hanging and not touching the deck. Confirm visually and by feel—tires should move with the body during a pull, not scuff the deck.
Measuring with Car-O-Liner 3D: Get the Numbers Right
Accurate measurement is half the repair. Incorrect mode or target placement can mislead you on sway, sag, or diamond conditions.
1) Vehicle Data and Targeting
- Select the exact year/trim. Full-frame trucks often have mid-cycle frame updates.
- Choose On-Clamps or On-Wheels in the software before placing targets.
- Level the bench. Calibrate the measuring bridge or sensors per schedule.
- Place targets on OEM reference points and avoid damaged or heat-affected areas. Verify three-dimensional references—length, width, height.
2) Identify the Deformation Type
- Sway: Lateral offset of rails. Common after front/rear corner hits. Correct with lateral pulls using opposing anchors.
- Sag: Vertical drop, often after under-ride or heavy front impacts. Correct with upward pulls and vertical anchoring; watch for rebound.
- Diamond: One rail forward, the other back (out of square). Requires opposing front and rear access to correct. More labor than sway-only in most cases.
3) Compensations and Supports
- Compensate for any auxiliary supports (wheel stands, axle stands) in the software or remove them before measuring.
- If sectioning a front stub, install temporary datum fixtures (EVO or equivalent) to hold geometry while you fit and measure.
4) Validate Before Pull
- Cross-check key diagonals and height pairs against known-good values.
- Save a baseline report with photos. This helps justify labor (setup time is billable) and documents structural condition.
Pull Strategy: Load Paths, Towers, and Control
Pulls must be planned around load paths and reaction points. Random tugging stretches rails, shifts clamps, and creates new problems like door gaps and misaligned sheet metal.
1) Plan the Sequence
- Start with gross misalignment (e.g., sway) before addressing sag or local buckles. Correct diamond earlier if access allows; it influences all other vectors.
- Use the lightest effective load and move in stages. Measure between stages; do not wait until “the end” to evaluate geometry.
2) Tower Placement and Chain Management
- Position towers to pull near-parallel to the desired correction. Avoid large side loads on the clamp jaws.
- Use softeners or protective blocks on rails where chains contact finished surfaces or radii.
- Preload clamps with light pulls, then re-torque hardware.
3) Heat and Release
- Follow OEM guidance for localized heat (many modern frames prohibit heat straightening). If permitted, use minimal controlled heat only where specified.
- Cycle pulls and releases to overcome set. Watch for spring-back and anticipate it in your final measurements.
4) Safety and Monitoring
- Keep personnel outside the line of pull and chain recoil zones.
- Use mechanical stops or safety straps for towers on steep angles.
- Monitor clamp bite; if a jaw creeps or polishes the rail, stop and reconfigure—do not “pull through.”
Front Stub Replacement on Late-Model Full-Frames (e.g., 2019 Yukon)
Front stub work demands rigid fixturing and repeatable datums. Bench anchoring with truck clamps, plus fixturing under control points, helps hold squareness while you section.
1) Preparation
- Obtain OEM sectioning procedure, weld methods, and corrosion protection steps specific to the VIN.
- Anchor the frame on clamps in On-Clamps mode. Add EVO-style fixtures at datum holes and crossmember pick-ups.
- Record a pre-cut 3D measurement, including critical diagonals.
2) Sectioning and Fit-Up
- Locate OEM-prescribed cut lines. Use backers or sleeves if required by the procedure; maintain gap per spec.
- Dry-fit the service stub with bolts or pins where possible. Clamp and measure: verify length, height, and squareness before welding.
- Control heat input—many OEMs specify GMAW with particular wire and shielding; use weld-through primer on internal overlaps where allowed.
3) Weld and Re-Measure
- Tack strategically, re-measure, then complete welds in sequence to minimize distortion.
- After cool-down, fully re-measure the front structure. Correct any small drift with targeted pulls before releasing the clamps.
4) Corrosion Protection and Final Checks
- Apply internal cavity wax, seam sealers, and topcoat per OEM.
- Perform a rolling alignment check after reassembly; structural accuracy doesn’t replace alignment verification.
Verification: Make Sure It’s Right Before Reassembly
Good numbers beat guesswork. Before you un-clamp, lock in your verification steps.
- 3D Measure: Confirm all primary reference points are within tolerance.
- Cross-Measure: Manually verify a few diagonals with a tram as a sanity check.
- Door/Panel Test-Fit: Hang key panels to check gaps and latch engagement on trucks/SUVs.
- Suspension/Alignment: Even with a bench-straight frame, worn or shifted suspension can hide issues. Plan for alignment after reassembly.
- Documentation: Export the final measurement report with photos for the file and insurer.
Quick Pre-Pull Checklist
- Mode set correctly (On-Clamps vs On-Wheels)
- Clamps torqued and re-torqued after preload
- Tires off the deck (if wheels installed)
- Tower paths clear; ramps repositioned if needed
- Baseline 3D measurements saved
- Chain angles planned; anchors rated and inspected
- Safety zones established; PPE on
Common Mistakes to Avoid
- Measuring in the wrong mode and trusting bad numbers.
- Clamping over deformed or thin sections that will slip under load.
- Ignoring rail taper—misaligned jaws reduce bite and twist rails.
- Pulling sheet metal to “fit” when the frame is still out of spec.
- Skipping re-measure between pull stages; small errors compound quickly.
FAQs
Do I have to remove wheels on a full-frame truck?
No, but if you’re in On-Clamps mode the wheels must not bear weight on the rack. Many techs remove wheels to improve tower access and avoid accidental support from the tires. If wheels remain installed, confirm they are free and that the vehicle “sags” onto the clamps.
Why is the rear clamp setup harder on some GM trucks?
Later GM full frames often have tapers, brackets, or hole patterns near the rear kick-up that limit jaw engagement. Use the designated rear adapters and choose a straight, solid section just ahead of the rise. Shim as necessary to keep jaws parallel and prevent creep under pull.
What’s the difference between sway, sag, and diamond?
Sway is lateral shift of the rails, sag is vertical drop (often the nose), and diamond is fore-aft skew of the frame corners. Diamond generally needs both front and rear access and more time, which can push a repair toward the total-loss threshold depending on the vehicle’s value.
Is it still worth pulling newer trucks, or are they always totaled?
It depends on actual cash value and insurer thresholds (commonly 65–85%). Late-model, high-value trucks and SUVs often justify structural pulls when the labor and parts cost stay below the threshold. Accurate measuring and setup protect the estimate from scope creep.
Can I leave the ramps on the rack during a pull?
Yes, if they don’t interfere with tower travel or introduce unintended support points. Ensure chains and towers have clear paths and that nothing contacts tires or suspension that would affect your On-Clamps measurement.
How much time should I charge for a truck clamp setup?
Plan 3–4 hours for an initial full-frame setup with truck clamps and 3D baseline measuring. Complexity, rust, accessory fitment, and model-specific challenges can push it higher. Document with photos and the baseline report.
Recommended Tools
To set up full-frame trucks correctly on the bench, see our selection of truck clamps and 3D measuring gear that supports accurate anchoring and repeatable measurements.
- Truck clamp kits, rear adapters, and protective shims for modern frames.
- Measuring bridges, targets, and datum fixtures for On-Clamps or On-Wheels work.
- Grade-rated chains, hooks, and anchoring hardware for controlled pulls.

The Toolsource Technical Team blends decades of real-world automotive service experience with up-to-date technical research. Our writers collaborate with professional mechanics, shop owners, and diagnostic specialists to deliver practical, workshop-ready guidance you can trust.


Follow us on social media