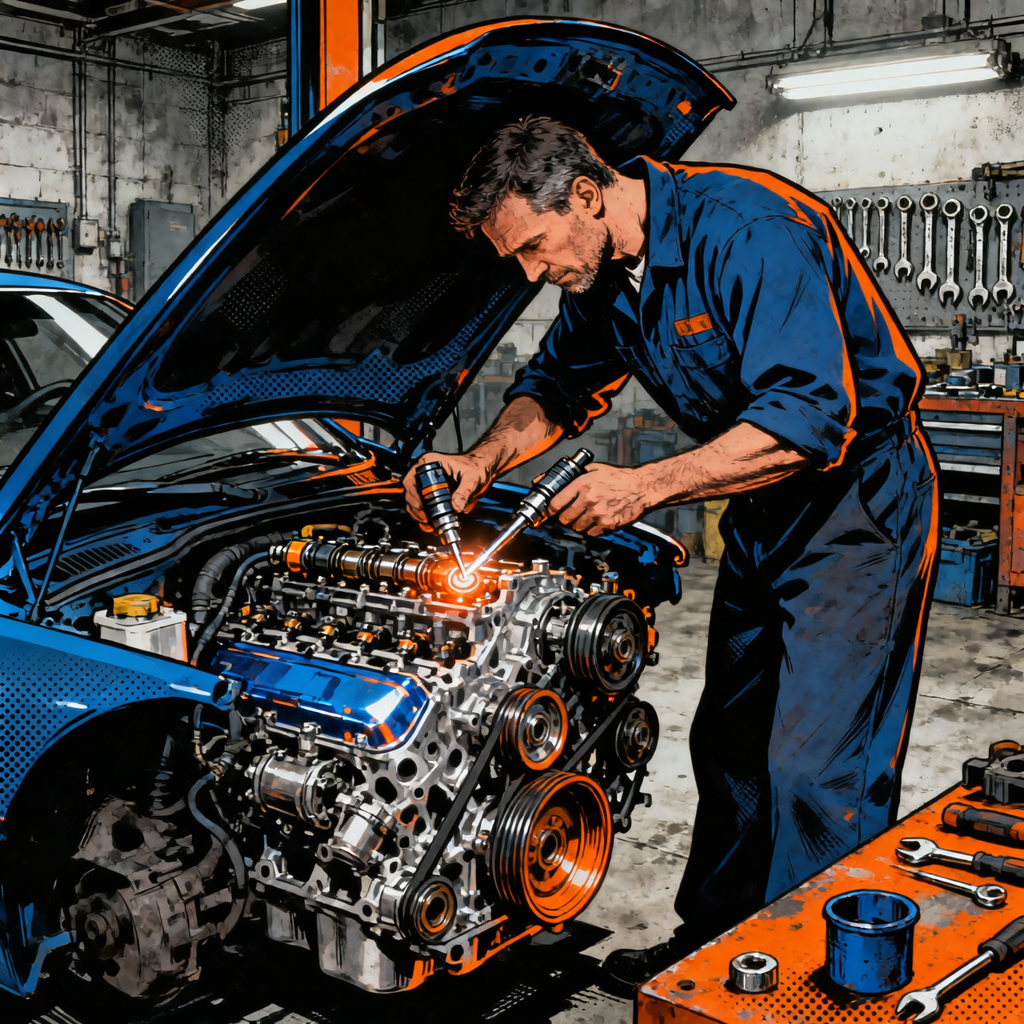
When your check engine light shows a camshaft position sensor fault (codes P0340-P0349), you’re dealing with one of the most common sensor failures. The camshaft position sensor tracks engine timing and sends data to the ECM for fuel injection and ignition control. Replacing it yourself saves hundreds in labor, but misdiagnosis wastes time and money.
Symptoms & Diagnosis: Is It Really the Sensor?
Warning signs and how to confirm diagnosis
The obvious sign is a check engine light with P0340-P0349 codes, but those don’t prove sensor failure—just that the ECM isn’t getting the expected signal. Watch for rough idling, hesitation during acceleration, hard starting (especially when warm), stalling at idle, and poor fuel economy. In severe cases, limp mode or complete no-start occur.
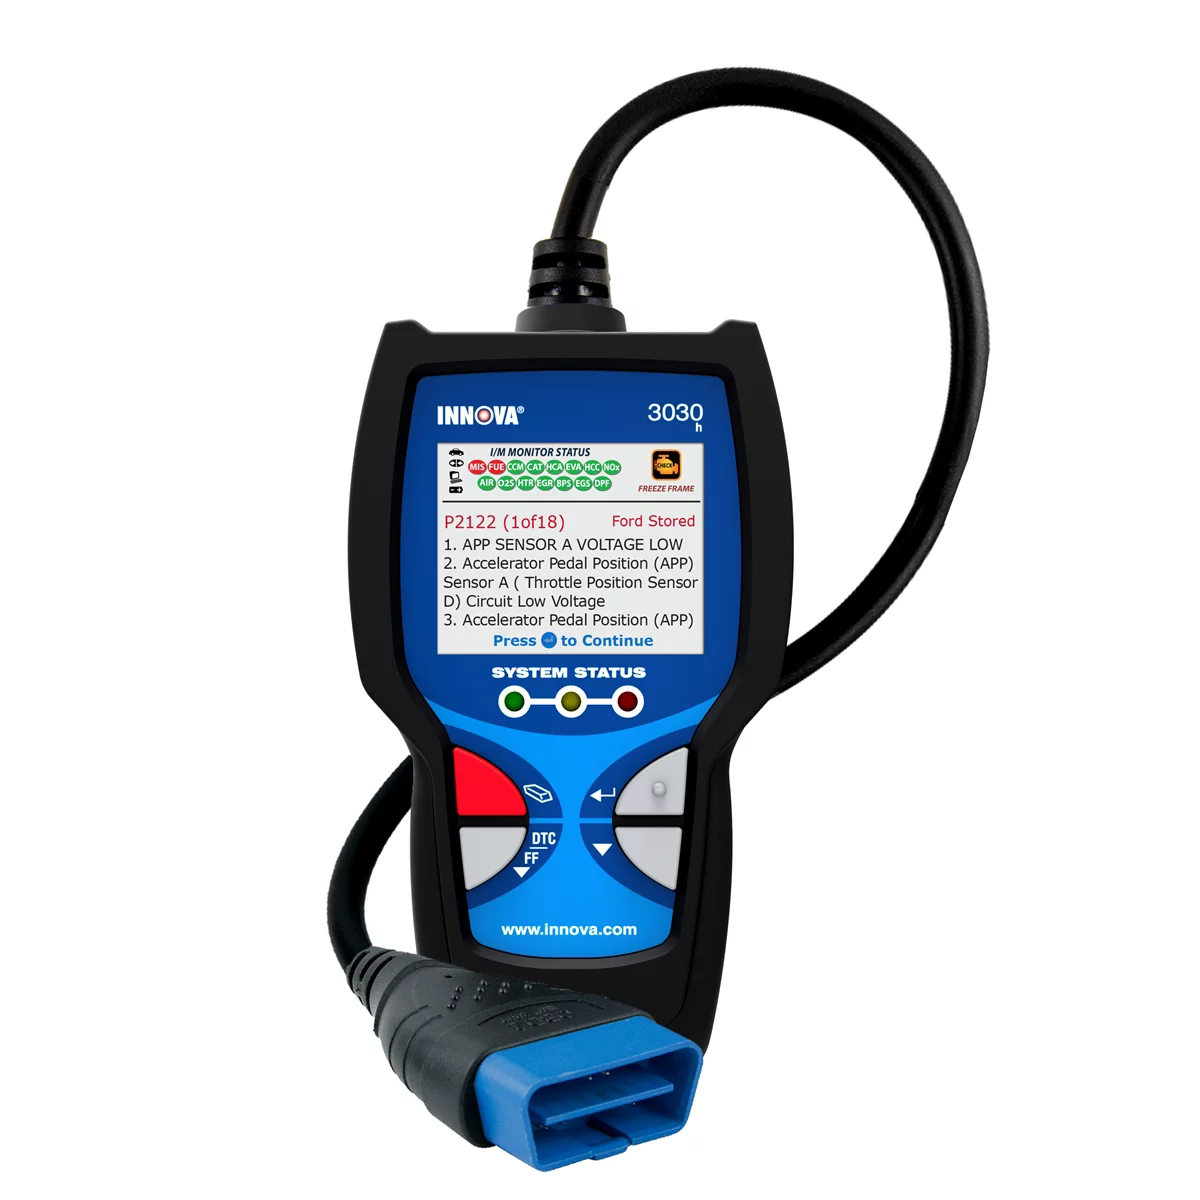
Before ordering parts, read codes with an OBD-II scanner. Check live data—a working sensor shows signals that change with RPM. No signal, erratic patterns, or flat lines confirm a sensor or wiring problem. Visually inspect the connector for corrosion, oil buildup, bent pins, or frayed wires (these often cause “sensor failures” that are actually wiring issues). Test sensor resistance with a multimeter (should be 200-900 ohms). Verify the connector receives proper voltage (5V or 12V reference). NHTSA emphasizes proper diagnosis prevents unnecessary parts replacement.
Why misdiagnosis costs money
Replacing a sensor when the real problem is timing chain wear, crankshaft sensor failure, or oil leaks wastes cash. Timing chain issues produce the same codes but won’t be fixed by sensor replacement—codes return immediately. Crankshaft sensors can trigger camshaft codes, and both might fail simultaneously on high-mileage vehicles. Misdiagnosis costs $60-500+ per wrong repair. Worse, timing chain failure causes catastrophic engine damage worth thousands.
Tools & Parts You’ll Need
Complete tools checklist
- Socket set (8mm, 10mm, 12mm)
- OBD-II scanner
- Flashlight or work light
- Combination wrenches
- Needle-nose pliers
- Electrical contact cleaner
- Dielectric grease
- Multimeter (optional)
- Safety glasses and gloves
- Shop towels
OEM vs aftermarket: cost and reliability
| Type | Cost | Warranty | Reliability |
|---|---|---|---|
| OEM (Dealer) | $100-$250 | 12-24 months | Excellent |
| OEM (Online) | $40-$80 | Varies | Excellent |
| Premium Aftermarket | $50-$120 | 12-36 months | Very Good |
| Budget Aftermarket | $25-$50 | 30-90 days | Fair |
OEM online retailers offer genuine parts 40-60% cheaper than dealers. Trusted aftermarket brands like Denso, NGK, and Standard Motor Products meet OEM specs. Skip ultra-cheap sensors—that $15 savings isn’t worth a sensor failing in six months.
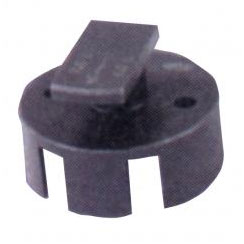
Camshaft Position Sensor Alignment Tool Ford T95T-12200-AR
Mfg: OTC Tools and Equipment
Part #: 303-529
Location Matters: Vehicle-Specific Variations
Accessibility differences
Passenger-side sensors are usually easy to reach (30-45 minutes for beginners). Driver-side sensors are often tucked near the firewall behind wiring and brake components, requiring 2-3 hours of work and multiple disassemblies.
Nissan Xterra/Frontier/Pathfinder: VQ-series engines have two sensors (one per cylinder bank). Passenger-side is relatively easy; driver-side requires working underneath with jack stands.
Other makes: Honda/Acura sensors mount on cylinder heads (easy). Ford varies by engine. European cars (BMW, Mercedes, VW, Audi) often hide sensors behind timing covers or require intake manifold removal. Subaru requires underneath access. Toyota/Lexus are generally straightforward. Always check your service manual before starting.
Step-by-Step Replacement
Disconnecting and removing
Park on level ground and let the engine cool. Disconnect the negative battery terminal with a 10mm wrench. Locate the sensor and trace the wiring harness to the connector. Press or lift the safety tab gently—don’t force it. Check for bent pins, corrosion, oil, or moisture. Clean the connector with electrical contact cleaner if needed.
Remove the mounting bolt (usually 8mm, 10mm, or 12mm). Be ready for oil leaks. The sensor typically pulls straight out. If stuck, gentle twisting works. Don’t pry on the sensor body. Clean the mounting bore thoroughly—remove old O-ring bits, sludge, and debris.
Installing the new sensor
Compare the new sensor to the old one to confirm they match. If the new sensor has an O-ring, lightly coat it with clean engine oil. Push the sensor straight into the hole. Hand-thread the bolt first to avoid cross-threading, then tighten to manufacturer specs (usually 80-120 inch-pounds). Don’t over-tighten—aluminum housings strip easily.
Reconnecting and testing
Plug the connector back on (listen for the click). Apply a small amount of dielectric grease to the connector. Route the wiring harness properly. Reinstall removed components. Reconnect the battery. Turn the ignition on for 5-10 seconds, then off, then repeat to initialize the ECM.
Start the engine and idle for a few minutes. Use your OBD-II scanner to clear codes. Test drive in varied conditions (idle, light/hard acceleration, cruising, coasting). The ECM needs to see the sensor signal under different loads. Scan for codes again—if none appear and drivability is restored, you’re done.
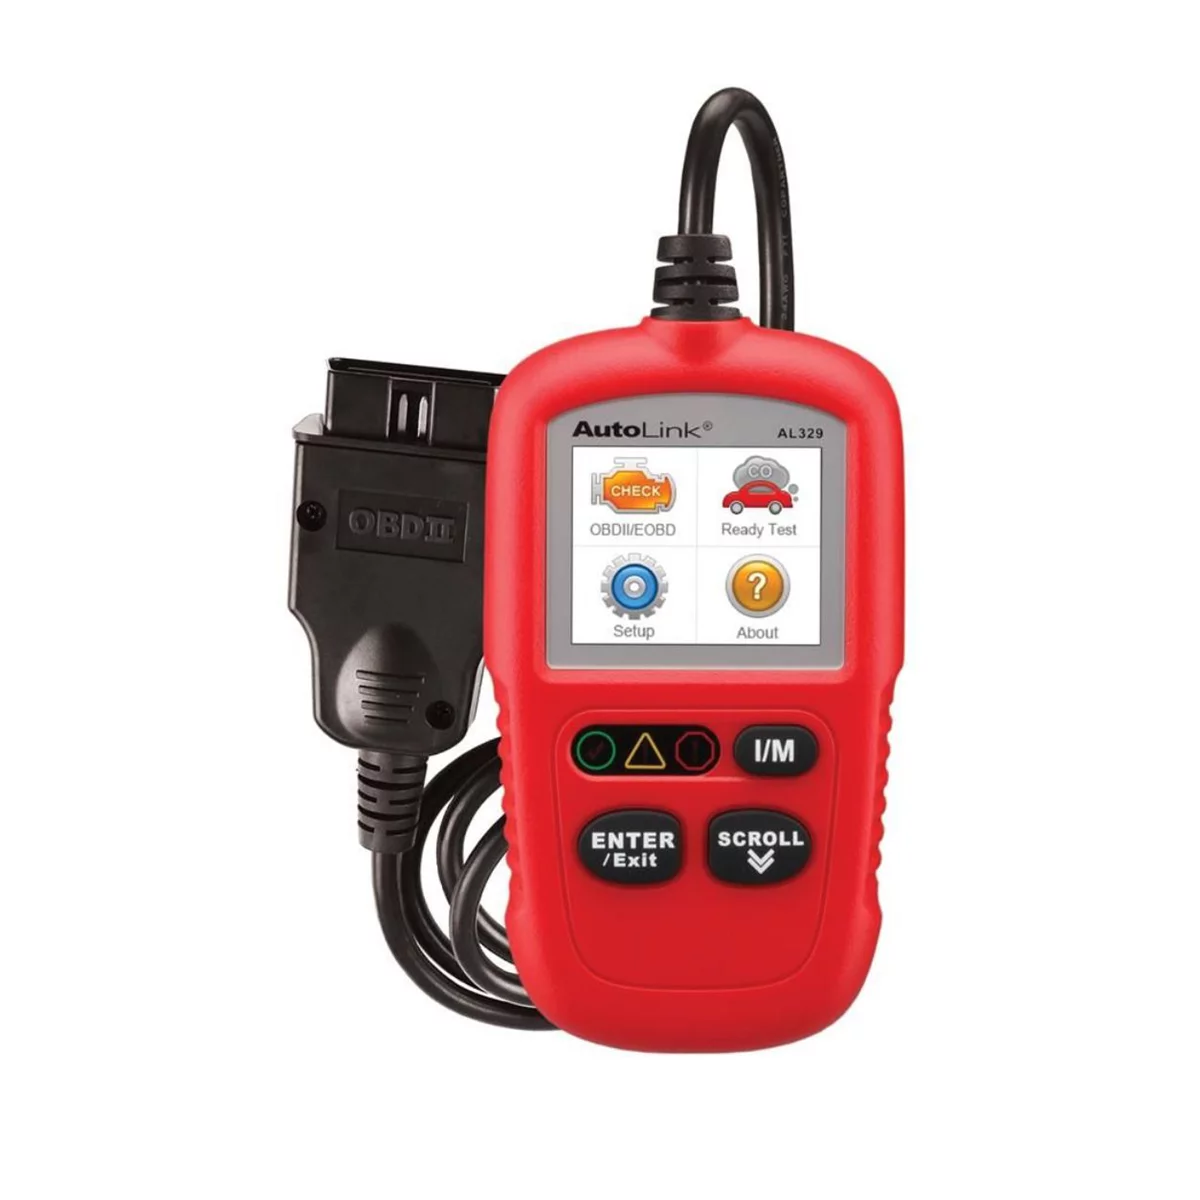
Code Reader w/One-Press I/M Readiness Key - 10 Pack
Mfg: Autel.us
Part #: AL32910PKBUNDLE

Related Issues & Troubleshooting
Crankshaft sensors and timing problems
Camshaft and crankshaft sensors work together. One failing can trigger codes for the other. The crankshaft sensor sits near the crankshaft pulley or flywheel. Codes P0335-P0339 indicate crank issues. On high-mileage vehicles (150,000+ miles), replace both cam and crank sensors preventatively—if one failed, the other is likely near failure.
Timing chain stretch or belt wear causes camshaft codes even with a working sensor. Red flags: metallic engine rattling, codes returning immediately after clearing even after sensor replacement, or simultaneous cam and crank codes. If you see P0011, P0021, or P0016/P0017 codes alongside basic sensor codes, timing parts are likely the problem. Inspect timing chain tensioners and guides for wear. Replace timing belts before their service limit (60,000-100,000 miles) to avoid catastrophic engine damage.
Common mistakes to avoid
Don’t over-tighten the mounting bolt—stripped threads in aluminum housings cost $500+ to repair. Always clean the mounting bore before installation. Use dielectric grease on connectors exposed to weather. Verify you have the correct sensor (some vehicles have different intake/exhaust or bank-specific sensors). Fix underlying oil leaks; the new sensor will fail if oil leaks continue.
DIY vs Professional: When to Call a Shop
Time estimates and skill requirements
Easy sensors: 1-2 hours for beginners, 30-45 minutes for experienced DIYers. Tough sensors: 3-4 hours for experienced mechanics, 6+ hours for first-timers. Basic mechanical skills required: removing bolts, disconnecting connectors, troubleshooting. If your sensor needs intake manifold removal, you need confident gasket and torque knowledge. OBD-II scanner comfort is essential; if terms like “live data stream” confuse you, have a shop diagnose first.
Cost comparison
DIY: $60-100 total (sensor $40-80 + supplies $10-20). Shop: $300-700+ for easy sensors ($80-150 part + $150-300 labor); $800-1000+ for complex jobs (intake manifold removal = 6-8 labor hours). Shops warranty parts/labor (12-24 months), won’t replace if it’s not the problem, and fix any damage they cause. For owners without tools, workspace, or time, professional work is worthwhile.
Safety and warranty considerations
A dead camshaft sensor rarely catastrophic immediately, but can cause limp mode or sudden stalling—serious safety risks. If experiencing intermittent stalling or bad performance, fix within 24-48 hours. Check your vehicle’s warranty before DIY work; aftermarket parts or DIY repairs might void coverage. A failed DIY attempt (wrong sensor) costs $60-100 with no benefit, then you still need a shop for diagnosis.
Frequently Asked Questions
How urgent is replacement?
If the check engine light is on but the car runs fine, you have a few days. If stalling, hesitating badly, or failing to start, tackle it within 24-48 hours. Don’t ignore codes for weeks—underlying problems like timing chain wear cause catastrophic damage.
Should I replace multiple sensors?
On high-mileage vehicles (150,000+ miles), replace all camshaft sensors and the crankshaft sensor together. If one failed from age and heat, others are near failure. Cost savings: $40-80 per sensor versus repeat jobs later. For newer vehicles or isolated sensor failures, replace only the bad one.
Do I need to remove wheels or major components?
Rarely need wheels. Simple jobs need basic hand tools and plastic cover removal. Complex jobs might need intake manifold removal, wiring harness moving, or fender well access. Research your vehicle beforehand to know what disassembly is required.
Can I drive with a bad sensor?
You can initially with just a check engine light, but as it worsens expect rough idle, stalling, trouble starting, and lost power. Complete failure prevents starting or causes stalling while driving—serious safety risks. Long-term driving can damage your catalytic converter from unburned fuel. Fix within a week of symptom onset.
Intake vs exhaust cam sensors?
Engines with variable valve timing have separate sensors for intake and exhaust camshafts on each bank (up to four total on V6/V8). These aren’t interchangeable—they’re tuned for different positions. Order the correct one: intake or exhaust, passenger or driver side. Diagnostic codes usually specify which failed.
Will disconnecting the battery reset codes?
Battery disconnection clears codes temporarily, but they return within minutes to hours if the problem isn’t fixed. Plus, it erases learned ECM values for idle, fuel trim, and transmission shifts, causing poor performance until relearned. Use your OBD-II scanner to clear codes after confirmed repair instead—preserves learned values while resetting the warning light.
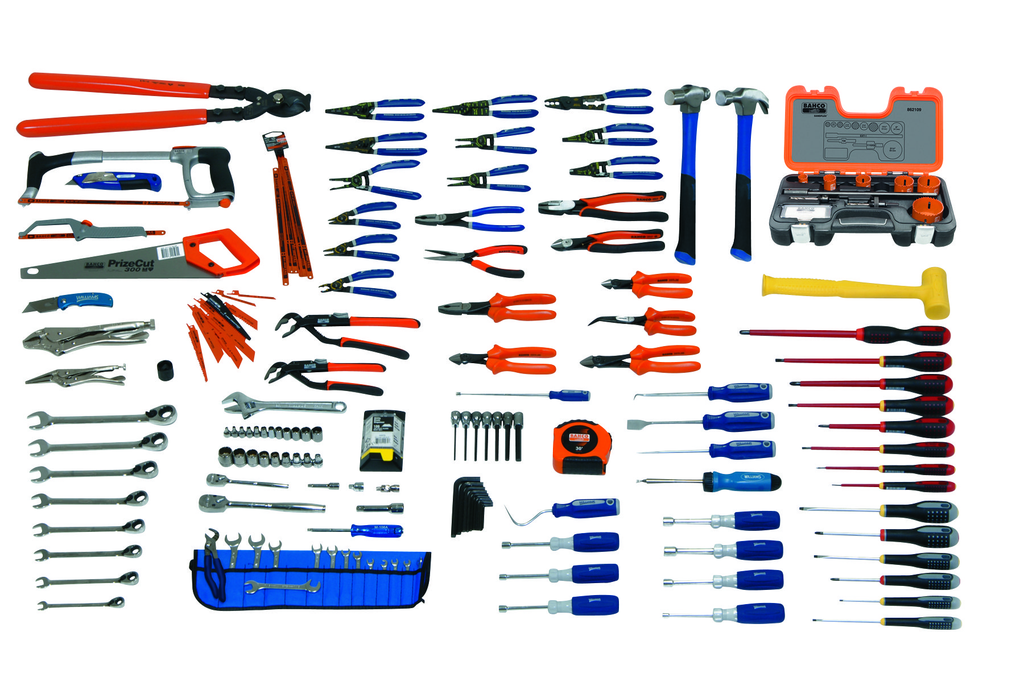
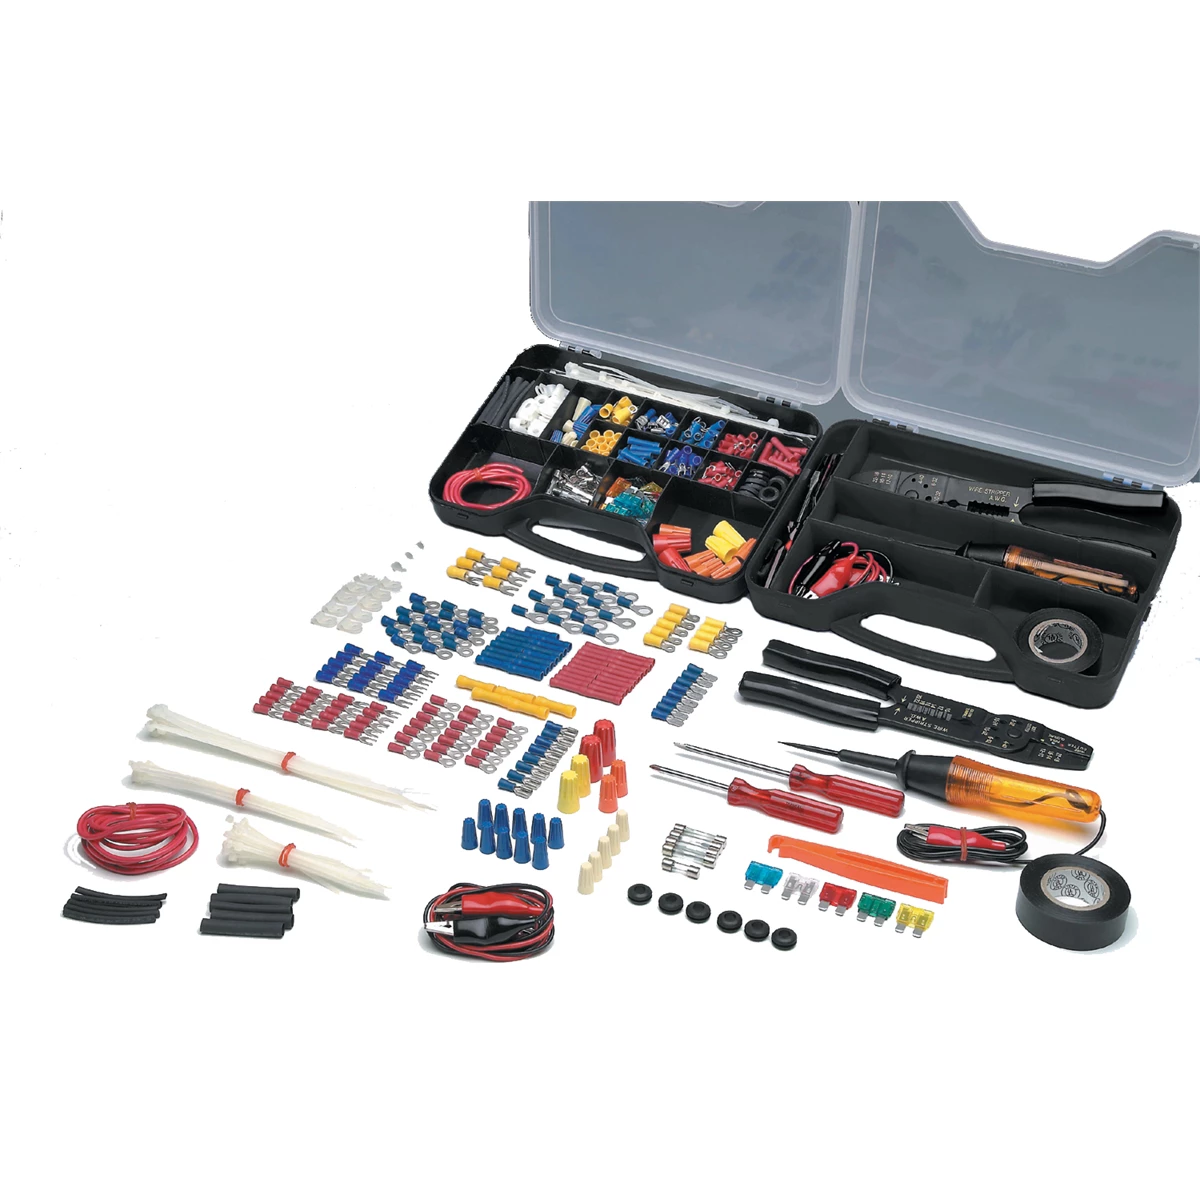
Electrical Maintenance Service Set With Tool Box
Mfg: J.H. Williams
Part #: JHWELECTRICALTB

The Toolsource Technical Team blends decades of real-world automotive service experience with up-to-date technical research. Our writers collaborate with professional mechanics, shop owners, and diagnostic specialists to deliver practical, workshop-ready guidance you can trust.


Follow us on social media