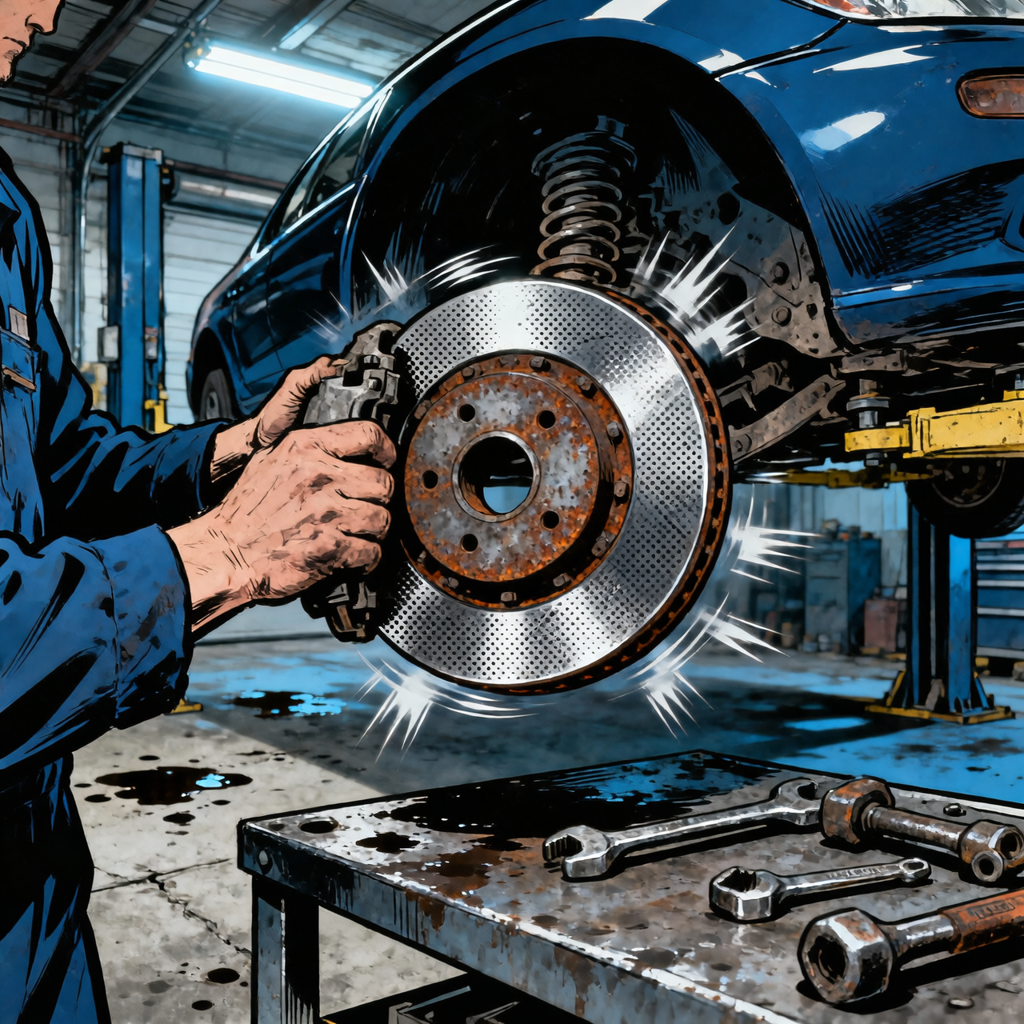
When your car shakes during braking, it signals a brake system problem. Most drivers blame “warped rotors,” but modern rotors rarely warp. Instead, you’re experiencing disc thickness variation (DTV) or lateral runout—conditions that create uneven contact between brake pads and rotors. Understanding what’s actually happening helps you fix it properly.
Why Your Car Shakes When Braking
The shaking comes from uneven friction during braking. While everyone calls this “warped rotors,” the reality is different. Brake rotors are cast iron components that withstand 1,000°F+ temperatures. They’d need to reach their recrystallization point to actually warp, which doesn’t happen under normal driving.
Disc Thickness Variation: The Real Culprit
Your rotor develops high and low spots—differences as small as 0.001 inches—causing brake pads to pulse across the surface. These variations create the vibration you feel. The rotor hasn’t bent; it’s developed uneven thickness through pad material transfer or imprinting.
During hard braking, especially from highway speeds, brake pads deposit microscopic friction material onto the rotor. Uneven deposition—from improper pad bedding or stops while extremely hot—creates localized buildup and thickness variation.
Lateral Runout and Wheel Hub Contamination
Lateral runout (the rotor wobbling on its axis) also causes vibration. Even 0.002 inches of runout creates noticeable shaking. The main cause is improper installation: rust on the wheel hub forces the rotor to sit at an angle. Incorrect lug nut torque or worn wheel bearings create the same wobble.
How Brake Pads Contribute
Cheap pads use inconsistent friction materials that transfer unevenly. Semi-metallic pads accelerate thickness variation without proper bedding. The bedding process—20-30 gradual stops—establishes even friction. Skip this, and vibration develops. Replacing only pads while keeping worn rotors perpetuates the problem.
Diagnosing Brake Shaking vs Suspension Issues
Suspension problems create similar symptoms. Confirm your brake system is the culprit before replacing parts.
The Hand Brake Test
Find a safe, empty parking lot. Reach 30 mph, shift to neutral, and apply the parking brake firmly. If you feel the same shaking as normal braking, your rear brakes are the problem. No unusual feeling means front brakes are at fault. Front issues are more common and produce steering wheel vibration.
Check Noise and Vibration Patterns
Speed-dependent vibration without braking indicates wheel balance or bent wheels. Shaking only during braking that worsens with harder stops points to brake problems.
Grinding means metal-on-metal contact—pads are gone. Squealing indicates worn pads hitting wear indicators. A pulsing groan matches vibration frequency and confirms uneven rotor contact.
Steering wheel shake indicates front brake problems. Seat or pedal vibration points to rear issues. Vibration throughout the vehicle suggests severe brake problems or suspension amplifying them.
Suspension Component Inspection
Worn suspension parts amplify brake shaking. Jack up the front end safely, support on jack stands, and grab each wheel at 12 and 6 o’clock. Excessive rocking indicates worn ball joints or wheel bearings. Grab at 3 and 9 o’clock to check tie rod ends. Any clunking means these parts need attention.

DIY Rotor and Pad Replacement
Replacing rotors and pads takes 2-3 hours with basic mechanical skills.
Tools and Torque Specs
Gather:
- Floor jack and two jack stands
- Lug wrench or impact wrench
- Torque wrench (essential for proper installation)
- C-clamp or brake caliper compression tool
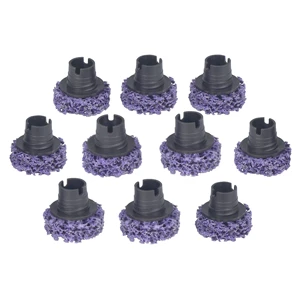
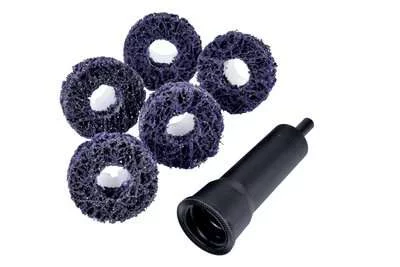
- Wire brush or rotary tool with wire wheel
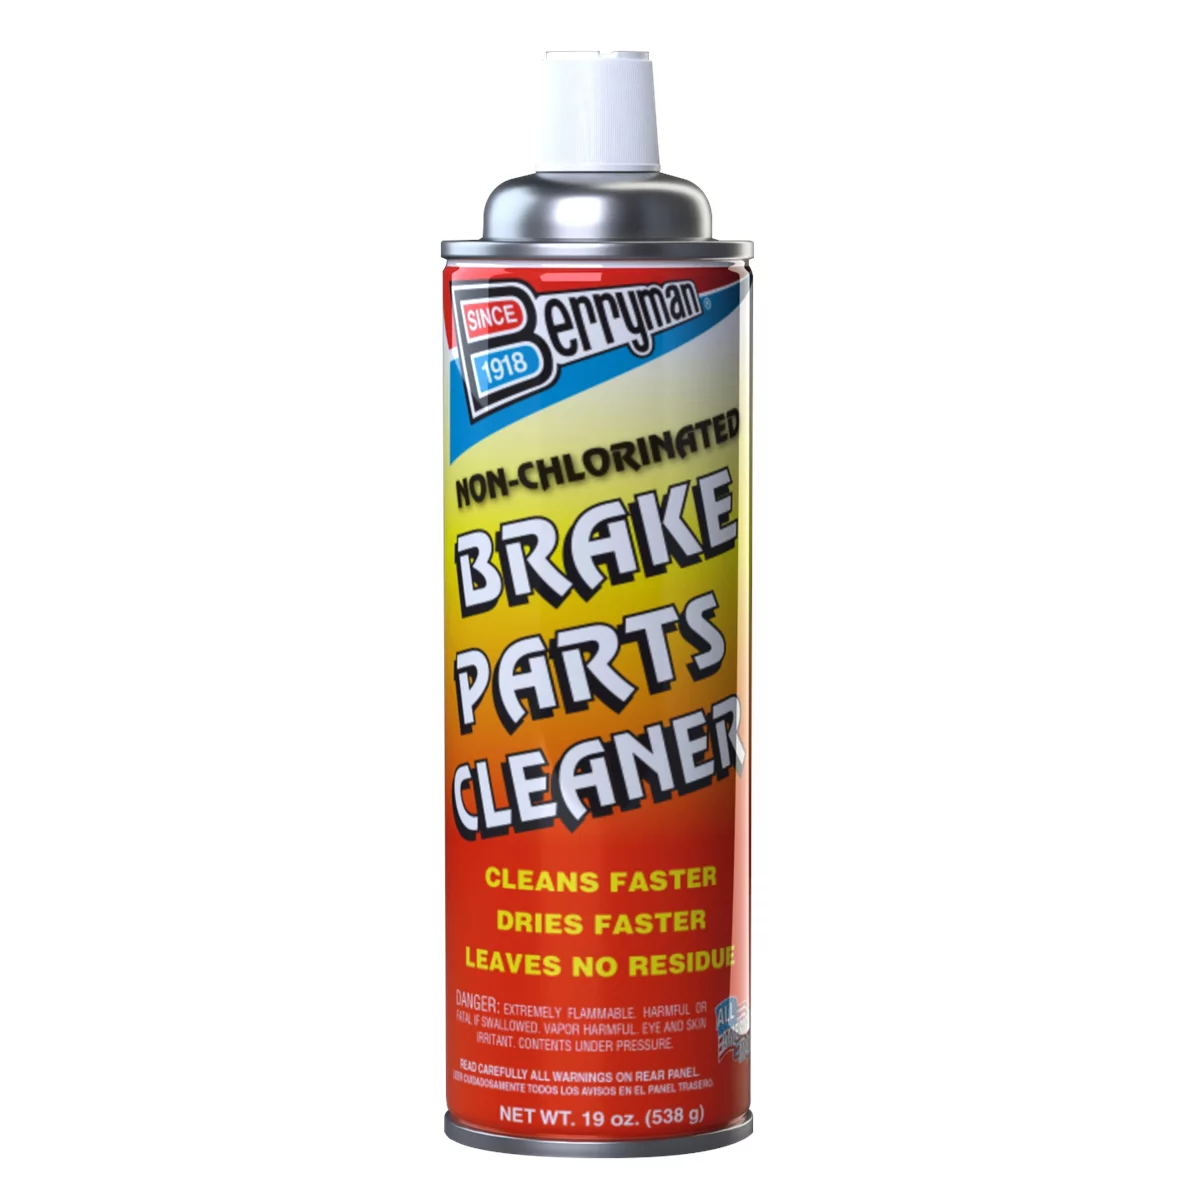
- Brake parts cleaner
- Anti-seize compound
- Socket set
- Bungee cord or wire
Torque lug nuts to 80-100 ft-lbs (cars) or 100-120 ft-lbs (trucks/SUVs). Caliper bracket bolts need 70-90 ft-lbs; slide bolts require 20-30 ft-lbs. Check your manual for exact specs—over-torquing can strip threads or create lateral runout.
Step-by-Step Installation
Remove the wheel. Unbolt the caliper and hang it with a bungee cord—never let it hang by the brake hose. Remove the bracket to access the rotor. Hit a stuck rotor with a rubber mallet.
Critical step: Clean the wheel hub face thoroughly with a wire brush to remove all rust and debris. Wipe with brake cleaner. Even a speck of rust creates lateral runout.
Apply thin anti-seize to the hub face. Mount the new rotor and hold it with a lug nut. Install new pads with clips and shims. Use a C-clamp to compress the caliper piston. Replace the bracket and caliper, torquing all bolts to spec.
Apply light anti-seize where the wheel contacts the hub. Install the wheel and lug nuts in a star pattern, then torque to spec. Pump the brake pedal until firm. Take a test drive with gentle stops from 30 mph. Avoid hard stops for 200 miles while pads bed in.
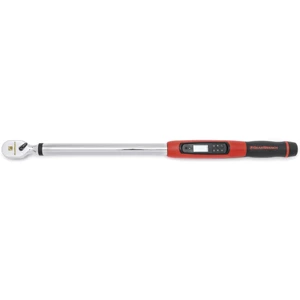
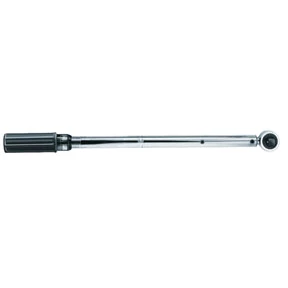
Accutorq(TM) Clikker Torque Wrench - 1/2 In Sq Drive - 50-250 Ft
Mfg: OTC Tools and Equipment
Part #: 7378
Cost Breakdown
Professional Repairs: $400-500 Per Axle
Expect $400-500 per axle ($800-1,000 for both) at independent shops. Dealerships charge 20-30% more. Breakdown:
- Parts: $150-250
- Labor: $150-200
- Supplies/disposal: $20-50
DIY costs $100-180 per axle for quality parts, plus $50-100 initial tool investment. Total DIY cost for both axles: $200-360—saving $600-700 versus shops.
Budget Parts
Detroit Axle rotor/pad kits run $80-120 per axle with good reviews. Other budget options:
- ACDelco Gold: $100-150
- Raybestos Element3: $120-180
- Wagner ThermoQuiet: $90-140
Premium parts (Brembo, Centric, Power Stop) cost $200-350 per axle but offer better metallurgy and coatings. For commuters, mid-range parts provide best value.
Turn vs Replace
Turning rotors costs $15-25 each but lasts only 6-18 months. New budget rotors cost $40-60 and last 2-4 years. Modern rotors are cheap enough that replacement usually beats labor costs for machining. Each machining reduces thickness and thermal mass, making rotors less effective. Once a rotor reaches minimum thickness, machining is unsafe and illegal.
Replace rotors if cost under $80 each. Turn only if rotors exceed $100 and have minimal variation and thick remaining material.
Safety & Prevention
Emergency Braking with Brake Shaking
You can usually stop safely, but with caveats. Thickness variation reduces braking efficiency since pads don’t maintain consistent contact. Expect 5-10% longer stopping distances, severe pedal pulsation, potential uneven pad grab causing vehicle pull, and increased wheel lockup risk without ABS.
The real danger: drivers experiencing vibration unconsciously brake less aggressively, extending stopping distances further. Don’t let this linger for months.
Prevention Checklist
- Bed new brakes: 20-30 moderate stops from 30-40 mph without complete stops until the end
- Avoid riding brakes—constant light pressure generates heat without cooling
- Use engine braking on descents; downshift to let compression do the work
- Clean wheel hubs during tire rotation (every 6,000-8,000 miles)
- Torque lug nuts correctly with a torque wrench every time
- Inspect brake components annually for uneven wear and rotor thickness
- Replace pads at 3-4mm remaining thickness—don’t wait for grinding
- Use quality parts; cheap options often create more problems
Warning Signs of Progression
- Vibration worsening over weeks: accelerating thickness variation
- Grinding or metal sounds: pads worn through, rotors damaged
- Sinking pedal or needing more pressure: possible brake fluid leak or master cylinder issues
- Vehicle pulling during braking: uneven pad wear or seizing caliper
- Burning smell: caliper sticking, pads engaged
- Clunking with vibration: suspension stress from prolonged brake issues
Ignoring brake shaking risks expensive damage. A $300 brake job can become $1,200 if delayed.
Frequently Asked Questions
Is Car Shaking While Braking Dangerous?
Mild brake vibration isn’t immediately dangerous but compromises braking performance. Schedule repairs within weeks. Severe shaking with grinding, pulling, or sinking pedal requires immediate attention. Vibration means longer stopping distances—schedule service promptly if uncomfortable.
Can I Drive Long Distances with Brake Shaking?
You can drive with minor vibration, but long highway trips accelerate deterioration. Sustained highway braking worsens shaking and damages wheel bearings and suspension. If you must travel before repairs, avoid aggressive braking, increase following distance, and use lower gears on downhill grades. Service brakes immediately after.
Why Do Rotors Shake at Highway Speeds?
Highway braking dissipates far more energy than city stops. Minor thickness variation creates pronounced pulsation at higher speeds because pads sweep the rotor surface faster, encountering high/low spots more frequently. Lateral runout is amplified—a wobbling rotor at 1,000+ RPM (highway wheel speed) vibrates much more noticeably than at 300 RPM (city driving).
Should I Replace Just Front Brakes or All Four?
Replace only the problematic axle if the other is still good. Front brakes do 60-70% of the work and wear faster—typically every 30,000-50,000 miles versus 60,000-80,000 for rears. If rears show significant wear (pads below 4mm, rotors near minimum, over 70,000 miles), do all four to save labor costs. Don’t let shops upsell rear service if they’re in good condition.
Can Warped Rotors Fix Themselves?
No. Vibration might temporarily improve after aggressive braking if pad material redistributes slightly, but this is temporary. Underlying thickness variation and runout remain. Continued driving worsens the problem. Only resurfacing (if thick enough) or replacement fixes it. Replacement is usually better long-term.
Do Ceramic Brake Pads Prevent Rotor Warping?
Ceramic pads reduce thickness variation likelihood but don’t prevent it. They create stable friction across wider temperatures and deposit material more evenly than semi-metallic pads. They also produce less dust and run quieter. However, ceramics won’t compensate for improper installation, lateral runout from contaminated hubs, or inadequate break-in. Preventing brake shaking requires proper installation—clean hubs, correct torque, proper break-in—regardless of pad type. Quality ceramic pads from brands like Akebono or Wagner support longer-lasting smooth braking when installation and maintenance are done right.
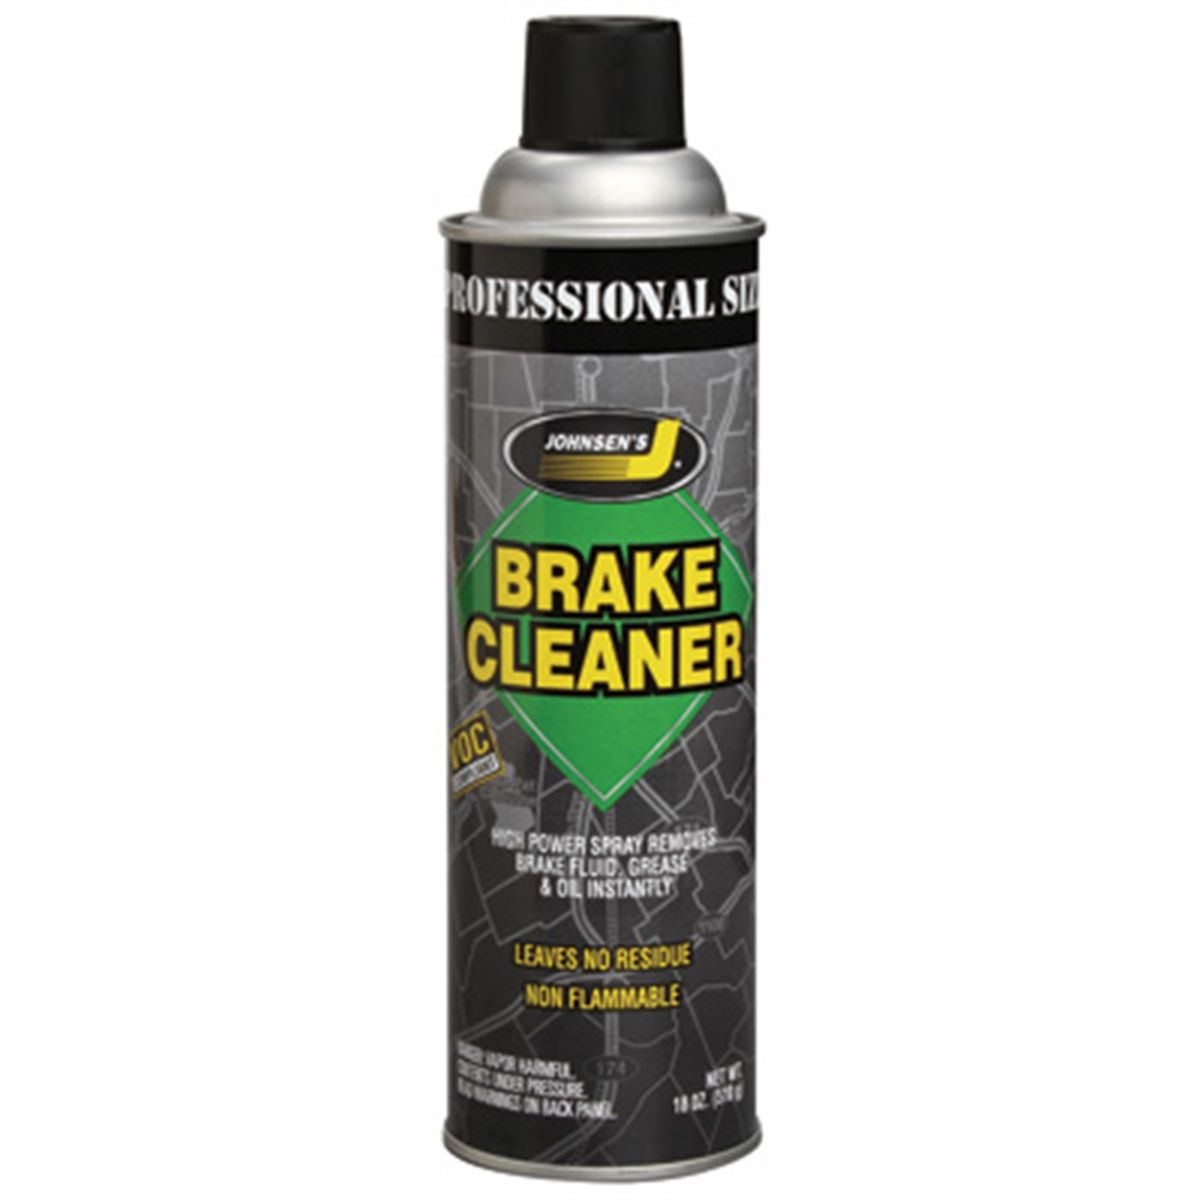
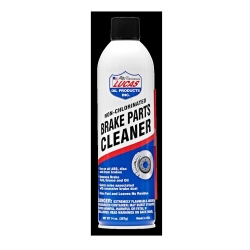
Recommended Brake Products
Fixing brake shaking often requires quality replacement parts and tools. Browse our complete selection of brake components and maintenance products to get your vehicle stopping smoothly again.
- Brake Pads & Rotors – Premium replacement sets for smooth, even braking
- Brake Fluid & Cleaners – Keep your hydraulic system in top condition
- Brake Tools & Accessories – Everything you need for professional brake work
For the tools in this guide, browse Brake Rotor Surfacing at Tool Source.

The Toolsource Technical Team blends decades of real-world automotive service experience with up-to-date technical research. Our writers collaborate with professional mechanics, shop owners, and diagnostic specialists to deliver practical, workshop-ready guidance you can trust.


Follow us on social media