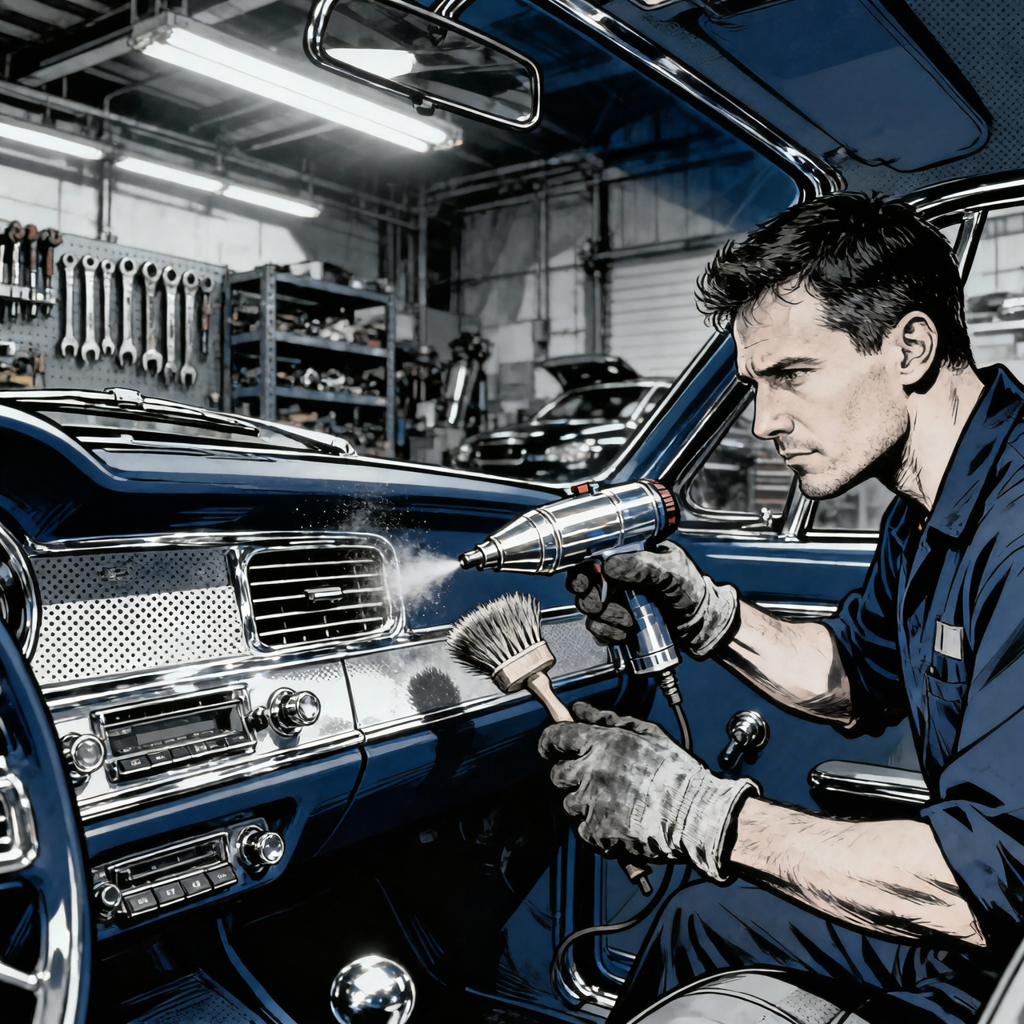
Interior dust and grit collect where vacuums struggle: vent vanes, switchgear, trim seams, slider tracks, seat rails, and textured plastics. The fastest, cleanest approach is simple: brushes and air, used with a vacuum to capture debris at the source. Add swabs and picks for the tightest gaps, and deploy steam or a cleaning gun when buildup resists agitation. This technician-oriented guide consolidates best practices into a repeatable process that works in a shop or mobile setting.
Tools and Materials: Brushes, Air, Steam, Swabs, Picks
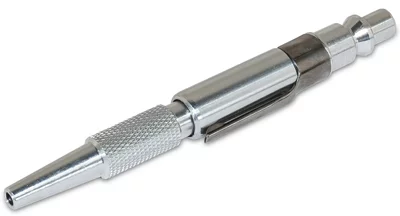
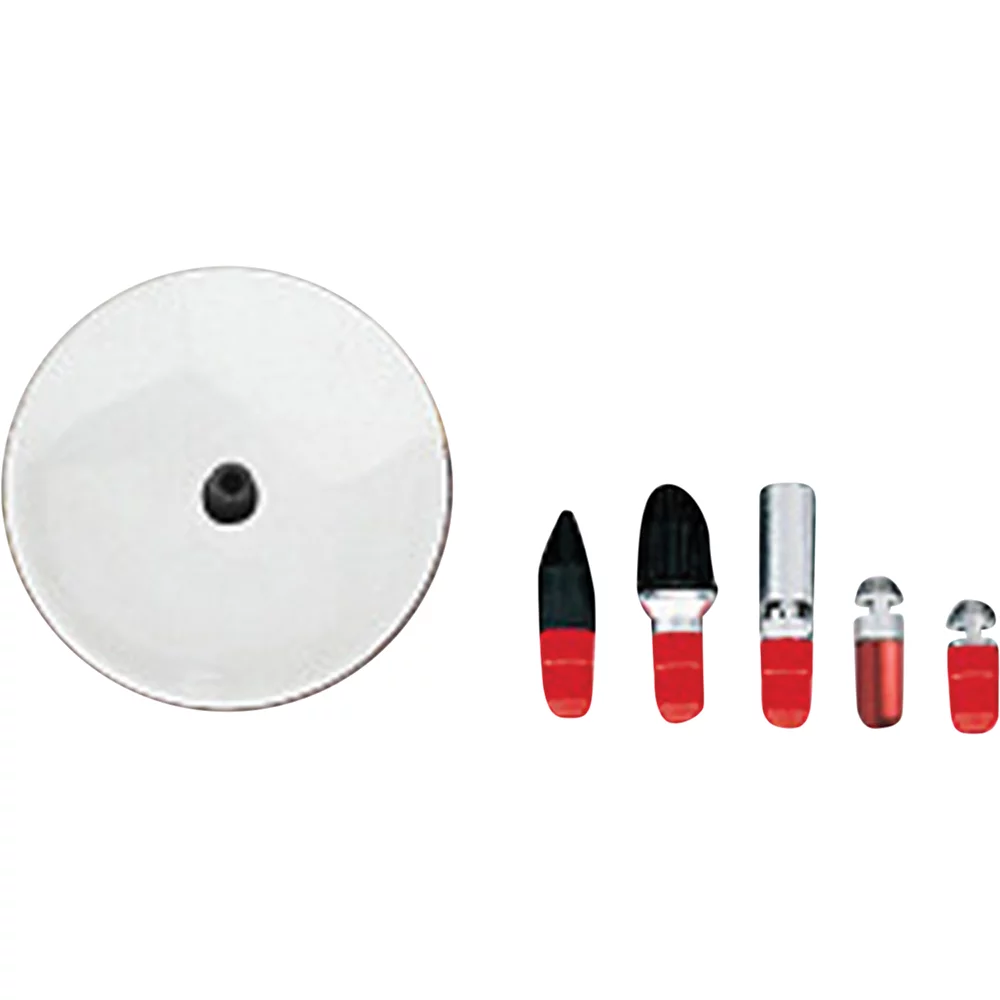
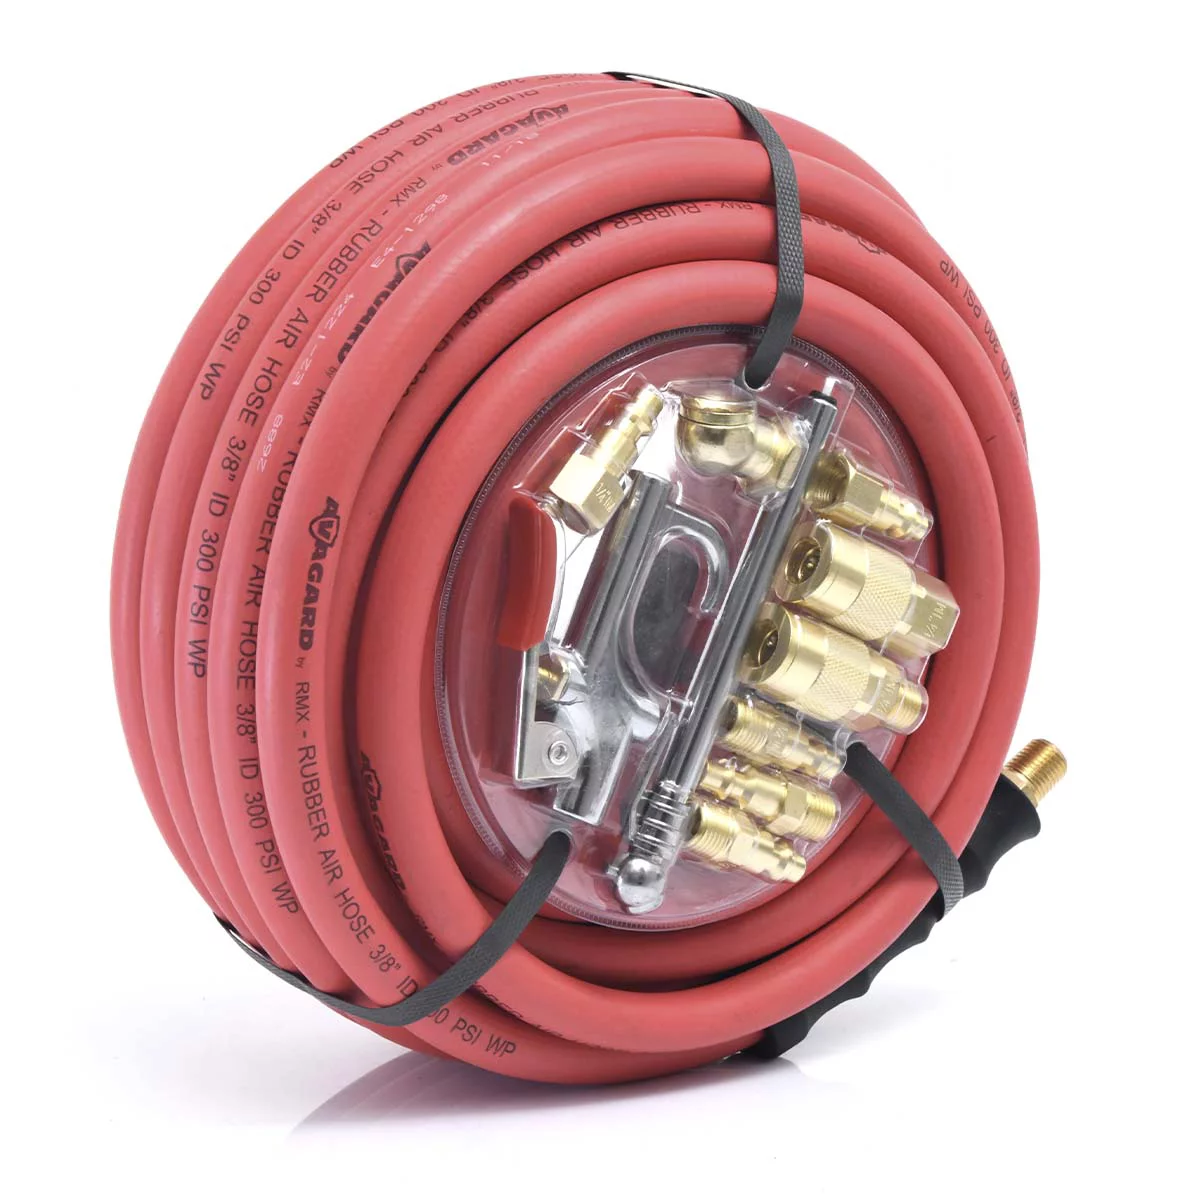
Equip for speed and control. Build a small kit that lives on the cart so you stop hunting for improvisations mid-job.
- Brushes
– Interior detailing brushes: Boar hair or ultra-soft synthetic for vents, seams, and bezels. Sizes 10–20 mm cover most interior work.
– Nylon/synthetic brushes: Slightly stiffer for textured plastics and stubborn grime (avoid on piano black or soft-touch coatings).
– Toothbrush-style detailers: Soft bristle for buttons and track edges; trimming bristles shorter increases stiffness and precision.
– Vent/straw brushes and pipe-cleaner style: Long, narrow, cylindrical for vent vanes and tight button rows. Tape any exposed metal ferrules to prevent marring. - Air sources
– Shop vacuum with blower mode: Flip the hose to switch between suck and blow. Use “suck” while brushing to extract; use “blow” sparingly to dislodge, ideally with a capture nozzle opposite the blast.
– Air compressor with blow gun: 30–60 psi for interior work near electronics and trim; up to 90 psi for mats and door jambs away from sensitive components. A rubber-tipped or pencil-tip nozzle helps aim air without marking surfaces.
– Compact electric blower: Small high-RPM handheld units are effective for interior seams and exterior mirror housings; helpful where compressors aren’t available.
– Air-driven cleaning gun (tornado-style): Combines cyclonic air with a diluted cleaner for rapid agitation in vents, cup holders, and textured plastics. - Steam cleaner
– Handheld or canister steamers: Useful for stuck-on residue and sanitizing. Keep passes short and follow with a wipe to control moisture. Avoid direct prolonged steam on delicate electronics and soft-touch coatings. - Swabs and picks
– Microfiber swabs/foam-tipped swabs: Reach switch edges, emblem recesses, and tight seams with minimal lint.
– Cotton swabs: Budget-friendly; remove cotton or flatten tips for tighter gaps when needed.
– Plastic or bamboo picks: Dislodge compacted debris from cracks; wrap the tip in microfiber or a wipe to reduce scratch risk. Rounded plastic blades (plastic razors) help lift debris at edges. - Chemicals and accessories
– All-purpose cleaner (APC): Use interior-safe formulations. Typical dilution 1:10 for heavy soils, 1:20 for general cleaning; adjust to product guidance.
– Foaming interior cleaner: Foam clings and shows where you’ve worked; ideal for vertical panels and button clusters.
– Rinseless wash solution: Lubricating pre-spray in tight zones (e.g., 1:256) to lift light dust safely around electronics.
– Microfiber towels: Edgeless, short-pile towels for residue removal and final buffing.
– Detailing gel/putty: Picks up fine dust in textured plastics and vents; use small pieces and discard when soiled. - PPE and protection
– Safety glasses and light gloves for compressed air and chemicals.
– Low-tack masking tape or screen covers for clusters and touchscreens if heavy air/steam is in play.
Prep and Safety Before You Blow, Brush, or Steam
Set yourself up to extract debris, not relocate it. A few minutes of prep keeps electronics safe and speeds the job.
- Power and test: Power down the vehicle where possible; avoid spraying directly into active switches or ports. Test any new chemical on an inconspicuous spot.
- Remove loose items: Take out floor mats, bin items, and seat-side contents. Shake or vacuum mats separately.
- Mask sensitive areas: Cover instrument clusters and infotainment screens if you’ll use air or steam nearby. Tape sharp brush ferrules to prevent accidental nicks on gloss trim.
- Vacuum setup: Fit a crevice tool and keep a round brush nozzle handy. Position the vacuum so you can hold its nozzle inches from the area you are brushing or blowing—this captures dislodged dust before it migrates.
- Pressure control: For interior blow-outs near electronics, stay around 30–40 psi. Increase only on durable plastics and away from open seams. Always wear eye protection.
- Child seats: If policy allows, remove and clean off-vehicle. If not, tilt and vacuum with a crevice tool; use minimal moisture around straps and hardware. Avoid strong chemicals on harness webbing.
Core Workflow: Brush While You Vacuum (Fastest, Cleanest)
Brushing while the vacuum captures debris is the most efficient, low-risk method for routine interior crevice work.
- Work top-down: Start at the dash top and vents, then switchgear, clusters, center stack, console seams, and door panels. Finish at seat rails and tracks.
- Dry agitation plus capture: Hold the vacuum crevice nozzle 1–2 inches to the side of the target area. Agitate with a soft brush, directing debris toward the nozzle. For rows of small buttons, use a straw/vent brush and sweep in one direction.
- Tight gaps and edges: Use microfiber or foam swabs for the seam between trim panels and around knobs. Lightly moisten swabs with rinseless wash to reduce friction and lift dust safely.
- Stuck-on grime: Mist a foaming interior cleaner or a light APC dilution (e.g., 1:20) onto the brush—not directly onto electronics. Allow 30–60 seconds dwell on textured plastics. Agitate and vacuum simultaneously. Avoid oversaturating seams.
- Precision dislodging: For compacted debris in cracks, use a plastic or bamboo pick with the tip wrapped in microfiber. Work parallel to the seam to minimize scratch risk and feed debris toward the vacuum nozzle.
- Repeat cycle as needed: Alternate dry brush/vac passes with targeted wet agitation on stubborn areas. Keep chemicals minimal around switches; follow with a dry microfiber to remove residual moisture.
- Final dust pickup: Use a small piece of detailing gel/putty to fish out remaining fines in textured plastics and vent vanes. Press, lift, and discard when soiled; don’t smear.
Finish panels with a light, non-greasy interior protectant if desired. Apply to a towel, not directly to surfaces, and buff dry to avoid buildup in seams.
Air-Assisted Cleanouts: Compressed, Blowers, and Cleaning Guns
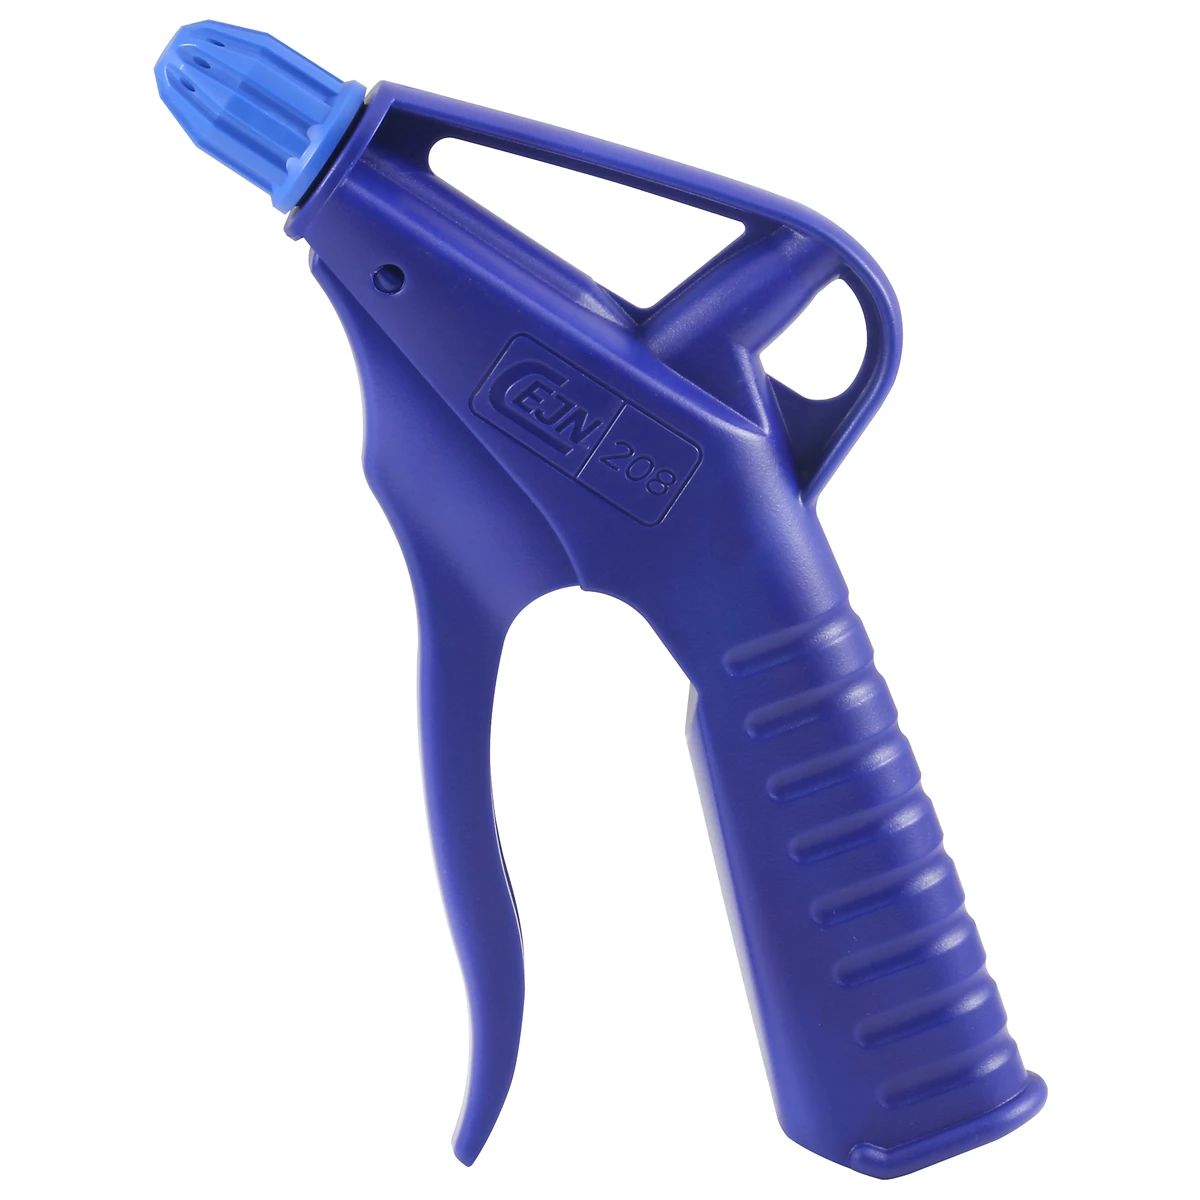
Air speeds up crevice cleaning, but control and capture are everything. The goal is to move debris out of traps and into the vacuum—never deeper into the dash.
- Air plus capture: Position the vacuum crevice tool opposite your blow direction. Use a low angle, short bursts, and 30–40 psi near electronics. Keep the nozzle moving to avoid forcing debris under buttons or into HVAC ducts.
- Shop vac blower mode: Flip the hose for a quick blow-out on door pockets and console bins. Immediately follow with brush-and-vac passes to collect what you’ve moved.
- Compact electric blower: Handy for seat tracks, console seams, and mirror housings. Use in short bursts with the vacuum in place to prevent recirculation.
- Air-driven cleaning gun (tornado-style): Fill with interior-safe cleaner (commonly 1:10–1:20 APC dilution unless product specifies otherwise). Run 60–90 psi for durable zones like cup holders, textured console plastics, and door jambs. Keep 1–3 inches from the surface and avoid direct blasting at screens or open seams. Follow with a microfiber wipe and a vacuum pass.
- Exterior-adjacent areas: For exterior panel gaps, mirrors, and door jambs, a leaf blower or high-output blower is fine. For cabin interiors, stick to controlled compressed air or compact blowers to avoid dust clouds.
Tip: If you must blow inside a vent, reduce pressure and angle the stream outward through the vane openings while the vacuum is positioned at the outlet. Avoid deep blasts that drive dust into the HVAC box.
Steam and Heat for Stuck-On Contamination
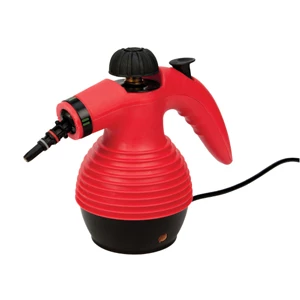
Steam is a targeted solution for baked-on residue (spilled drinks, food sugars, skin oils) inside tight crevices and button surrounds.
- When to steam: Use when mechanical agitation and mild chemistry stall, or when you want to minimize chemicals. Steam can soften residue quickly so brushes and swabs can lift it cleanly.
- Technique: Keep the nozzle 1–2 inches away and use short pulses. Immediately follow each pulse with a microfiber wipe to capture loosened material and moisture. For crevices, target the seam and chase with a swab or wrapped pick.
- Temperature and care: Most consumer units deliver around 212°F at the tip; pro units can exceed that. High heat can dull soft-touch coatings or craze glossy plastics. Test first and limit exposure time.
- Electronics caution: Avoid direct, prolonged steam on screens, backlit buttons, and open ports. Use a lightly dampened swab or a rinseless-wash moistened brush instead, and dry immediately.
- Follow-up: After steaming, a brief low-pressure air pass with vacuum capture helps remove any loosened residue from seams. Finish with a dry towel.
Quick checklist (bring to every interior crevice job)
- Soft and medium detailing brushes, vent/straw brush, toothbrush-style brush
- Microfiber/foam swabs, plastic or bamboo picks, plastic razor blades
- Vacuum with crevice tool; optional blower mode
- Compressed air with rubber-tipped blow gun (30–60 psi for interior)
- APC (1:10–1:20), foaming cleaner, rinseless wash (1:256)
- Microfiber towels; small piece of detailing gel/putty
- PPE: safety glasses, light gloves; screen covers or low-tack tape
FAQs
What air pressure is safe inside the cabin?
For interior crevices near electronics and trim seams, 30–40 psi is a safe starting range. You can increase to 50–60 psi on durable plastics away from open seams. Reserve 70–90 psi for mats, door jambs, and exterior gaps. Always use short bursts, a low angle, and keep a vacuum nozzle positioned to capture debris.
Is steam safer than chemicals?
Steam reduces chemical use and lifts oily or sugary residues quickly, but heat can dull soft-touch coatings and stress delicate trim if you dwell too long. Use short pulses from 1–2 inches away and wipe immediately. Around switches and screens, choose rinseless wash on a swab or brush instead of direct steam or strong APC.
Do detailing gels/putties actually work?
They’re excellent for picking up fine dust from textured plastics and vent vanes after you’ve removed heavier debris. Break off a small piece, press and lift, then discard as it soils. Expect only a few uses per piece. Avoid on fabric and perforated leather where residue can transfer.
Will toothpicks or bamboo skewers scratch surfaces?
Used bare on glossy or soft-touch surfaces, they can mar. Minimize risk by rounding the tip, softening with a quick dip in water or rinseless solution, and wrapping the tip with microfiber or a wipe. Plastic detailing picks are safer and reusable. Always work parallel to seams and feed debris into a vacuum nozzle.
How do I stop debris from getting blown deeper into the dash?
Use a vacuum nozzle as a catcher’s mitt: place it opposite the airflow and brush direction. Use low-pressure, low-angle bursts and short strokes with the brush to guide material into the vacuum. Avoid direct, deep blasts into vents or open seams. If debris is heavily impacted, agitate first with a brush and swab, then use minimal air to finish.
Can I use a leaf blower inside the cabin?
It’s overkill and tends to aerosolize dust. Leaf blowers are great for exterior drying, mirrors, and door jambs. Inside the cabin, stick to compressed air or compact blowers with controlled pressure and always pair with a vacuum capture.
Ready to put these cleaning techniques into practice?
Our Cleaning Supplies category features the professional-grade tools every technician needs to maintain pristine vehicle interiors.
Stock up on these essentials:
- Compressed Air Systems – Powerful, precise airflow for reaching deep vents and tight spaces
- Detail Brushes & Bristle Sets – Various sizes for buttons, crevices, and delicate surfaces
- Microfiber Cloths – Perfect for final wipe-downs and dust collection

The Toolsource Technical Team blends decades of real-world automotive service experience with up-to-date technical research. Our writers collaborate with professional mechanics, shop owners, and diagnostic specialists to deliver practical, workshop-ready guidance you can trust.


Follow us on social media