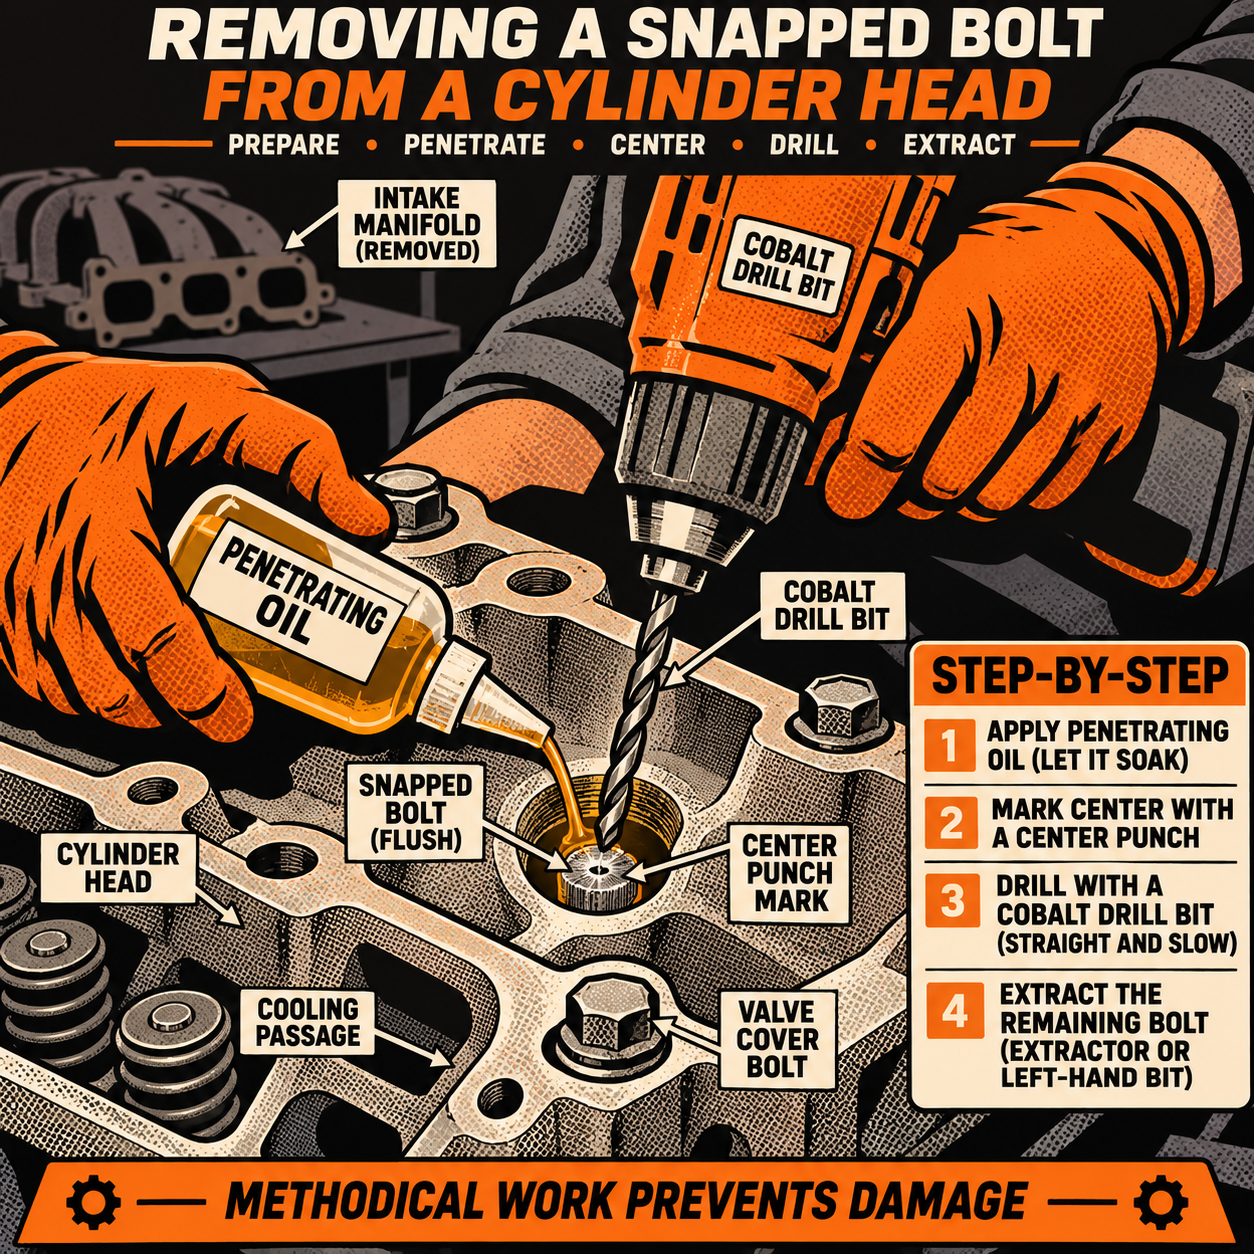
A snapped thermostat housing bolt is one of those jobs that tempts every shortcut in the book — re-tap just the top of the hole, weld a nut on without pulling anything apart, or just crank a bigger bolt in and hope. None of those hold up once you understand why the bolt is shaped the way it is. On most V8 and V6 engines where the thermostat housing doubles as part of the intake crossover (Ford’s 5.4 2V being a textbook example), that long bolt isn’t threaded its whole length by accident. It passes through the housing, through an unthreaded shank, and only picks up threads deep in the cylinder head — because it’s clamping more than one part at once. Skip that detail and you’ll fix one leak by creating another. Here’s the procedure that actually works, based on how techs who’ve done this job repeatedly describe it.
Why You Can’t Just Re-Tap the Top of the Hole
The most common shortcut suggestion is to drill the broken bolt shank slightly oversize near the top, tap new threads there, and run a shorter bolt in. It sounds reasonable until you look at what that bolt is actually doing. On integrated thermostat housing/intake crossover designs, the bolt isn’t just holding the thermostat cover to the housing — it’s also clamping the housing and intake gasket down against the cylinder head. The threads sit at the very bottom of the bore specifically so the bolt’s shank can pull the upper components tight as it seats.
If you tap new threads partway down and use a bolt that only reaches that point, you’ll successfully clamp the thermostat housing to itself, but the intake-to-head gasket joint underneath gets zero clamping force. You’ll torque it down, it’ll feel tight, and then it’ll weep coolant at the intake gasket — a harder leak to diagnose later because the top of the repair looks fine. Any fix that doesn’t put compression on the full gasket stack, from housing to head, isn’t a real fix. This is also why oversized washers, sleeves, or “tap it bigger and use a fatter bolt” ideas fall apart — the geometry of the original bolt was designed around clamping depth, not just thread engagement at the surface.
Step One: Get the Intake Manifold Off for Real Access
Before touching a drill, pull the intake manifold (or at minimum the aluminum crossover section covering that housing). Trying to extract a broken bolt through a tight, angled opening with limited visibility is how you end up drilling off-center, breaking an extractor, or gouging the head surface. With the intake off, you’re looking straight down at the broken bolt nub sitting in open cylinder head casting, with full clearance to work.
This is also the point where a lot of techs find the real condition of the gasket. Plastic intake gaskets on higher-mileage engines get brittle over time and are a common reason bolts snap in the first place — corrosion and uneven clamping load on a degrading gasket stresses the bolt. If you’re going through the trouble of pulling the intake anyway, plan to replace the gasket set, not just reuse what’s there.


3-PIECE GASKET SCRAPER SET (1/2", 1", & 1-1/2")-CARDED
Mfg: Wilde Tool
Part #: GS3.NP-CC
Drilling Out the Broken Bolt
With clear access, the standard approach is:
- Center-punch the exposed face of the broken bolt as precisely as possible.
- Start with a small pilot hole using a left-hand cobalt drill bit, run at low RPM. Left-hand rotation sometimes backs the bolt out on its own as the bit bites in — it costs nothing to try before committing to a full drill-and-extract.
- Flood the area with penetrating oil before and during drilling to reduce heat and friction.
- If the left-hand bit doesn’t walk it out, step up incrementally in bit size, staying centered in the bolt and avoiding the surrounding head threads.
- Once you’ve opened the hole to just under the original thread’s minor diameter, switch to an extractor or re-tap the full depth of the original hole — not just the top — and run a properly sized bolt the full original length.
Go slow here. A deep, blind hole helps keep the bit straight once you’re a short distance in, but wandering in the first few millimeters is what causes cross-threading or hitting the head’s water jacket. If you don’t have confidence drilling dead-center freehand, a drill guide block clamped over the hole is worth the setup time.
The Stud-Welder Alternative
A technique that’s gained traction and shows up in several shop videos: using a stud welder to fuse a new rod or nut directly onto the exposed face of the broken bolt, then backing it out like you would with a standard broken-bolt extraction using a welded nut. The short, high-current pulse from a stud welder generates enough localized heat to bond a nut or rod to the bolt face without transferring enough heat to damage surrounding aluminum or plastic components, and the heat cycle itself often helps break corrosion bonding in the threads.
The caveat techs who’ve actually tried this are clear about: it requires a stud welder specifically, not a general MIG or stick welder. A standard welder’s heat input is harder to control at that scale and risks warping the housing or damaging nearby plastic components. If you don’t have access to a stud welder, this isn’t a technique to improvise with a substitute tool — fall back to the drill-and-extract method instead.
Reassembly: Don’t Skip the Gasket Upgrade
Once the bolt is out and the hole is cleaned and re-tapped to full depth, this is the point to address the root cause. If the original failure involved a plastic intake gasket, replacing it with a metal-reinforced gasket (several aftermarket brands offer these specifically for this application) reduces the chance of a repeat failure from gasket creep or brittleness. Clean the bolt holes thoroughly — metal shavings or old thread sealant left in the hole will throw off torque readings and can cause the new bolt to bottom out early, under-clamping the joint.
Use a new bolt the full original length, verify it threads smoothly by hand before using a wrench, and torque to spec in the manufacturer’s sequence. Don’t assume the new bolt is identical to the OEM part — some techs run a stud and nut instead of a bolt in this hole as a more serviceable long-term fix, since it reduces the risk of a future bolt snapping flush and makes a future repair easier if it ever happens again.
Quick Reference Checklist
- Confirm the bolt clamps the housing AND the intake-to-head gasket before choosing a repair method
- Pull the intake manifold or crossover for full access — don’t attempt this blind
- Try a left-hand drill bit first; it sometimes backs the bolt out on its own
- Flood with penetrating oil throughout drilling to limit heat buildup
- Re-tap or re-thread the full original depth, not just the top of the hole
- Replace the intake gasket (metal-reinforced if available) while everything is apart
- Torque the new bolt to spec using the correct tightening sequence
Frequently Asked Questions
Can I just tap new threads near the top of the hole and use a shorter bolt?
No. On engines where the thermostat housing is part of the intake crossover, that bolt also clamps the intake gasket to the head. A shorter bolt threaded only near the top won’t apply any clamping force to that lower gasket joint, and you’ll develop a coolant leak at the intake gasket instead.
Do I really need to pull the whole intake manifold?
In most cases, yes, or at minimum the crossover section covering the housing. Attempting to drill a broken bolt through a narrow, angled opening with poor visibility significantly raises the odds of drilling off-center or damaging the head.
Will a left-hand drill bit actually remove the bolt without an extractor?
Sometimes. The counter-rotating bite of a left-hand bit can catch and unscrew a corroded bolt as it drills in. It’s not guaranteed, but it’s worth trying before committing to a full drill-and-extract sequence since it costs little extra time.
Is the stud-welder trick safe to try with a regular welder?
No. The technique relies on a stud welder’s short, controlled, high-current pulse to bond a nut to the bolt face without excess heat spreading to nearby aluminum or plastic. A standard MIG or stick welder doesn’t offer that same control and risks damaging the housing.
Should I replace the intake gasket while I’m already in there?
Yes. If a plastic gasket has gone brittle, it’s a likely contributor to the bolt snapping in the first place from uneven clamping. Replacing it, ideally with a metal-reinforced gasket, reduces the chance of a repeat failure.
What torque sequence should I follow when reinstalling?
Follow the manufacturer’s specified torque value and tightening sequence for the intake/thermostat housing bolts exactly. Uneven or out-of-sequence tightening can warp the housing or gasket and cause a leak even with a correctly repaired bolt hole.
Tools for This Repair
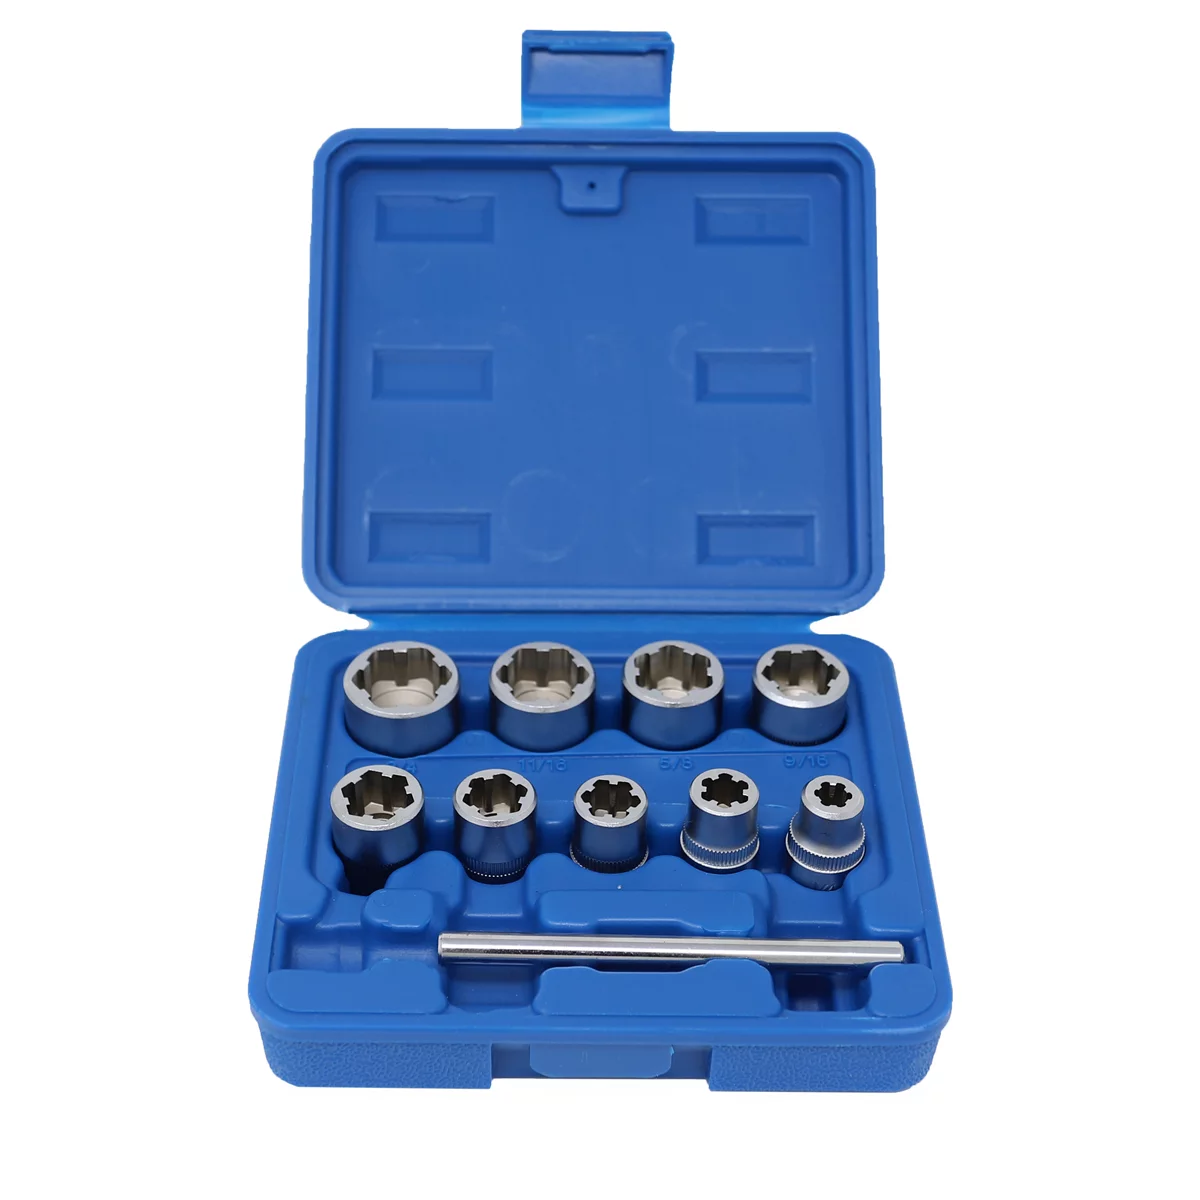
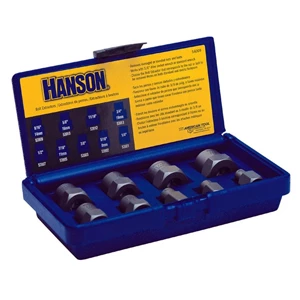
Having the right tools makes extracting a broken bolt and re-threading the hole straightforward. Check our Cutting, Threading and Drilling category for the drill bits, extractors, and taps you’ll need.
- Drill bits in multiple sizes, with left-hand options for controlled extraction
- Broken bolt extractors and specialty removal tools
- Taps and re-threading equipment for restoring the hole to original specifications

The Toolsource Technical Team blends decades of real-world automotive service experience with up-to-date technical research. Our writers collaborate with professional mechanics, shop owners, and diagnostic specialists to deliver practical, workshop-ready guidance you can trust.


Follow us on social media