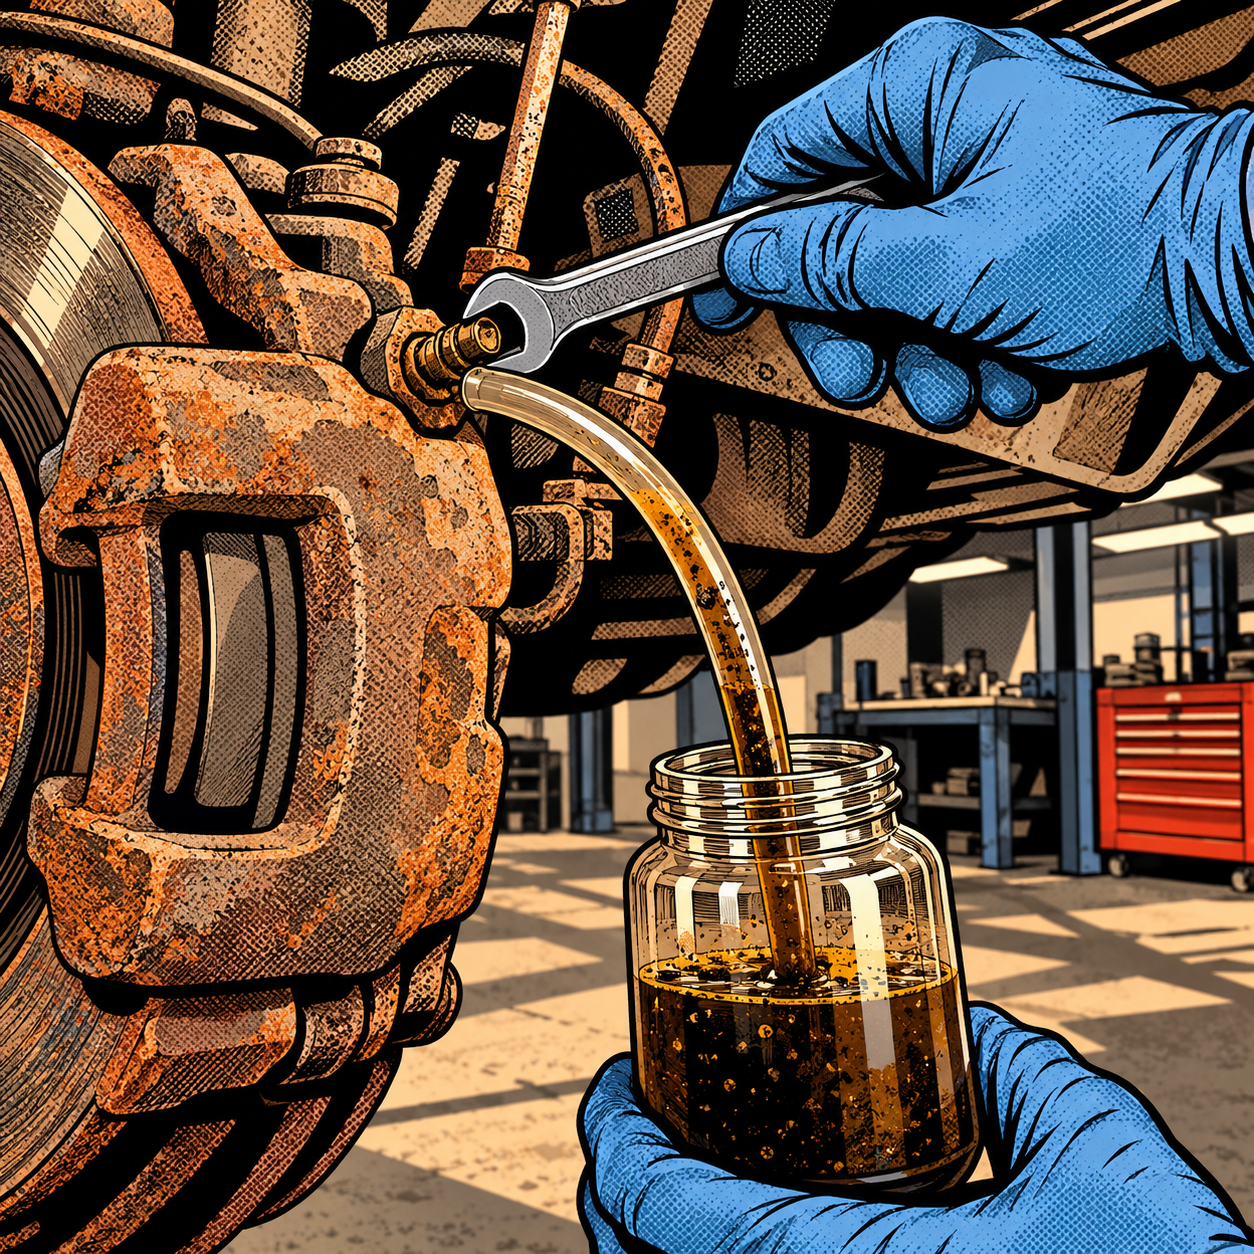
Every tech has pulled a bleeder screw and watched fluid come out looking like weak coffee, sweet tea, or in the worst cases, used motor oil. The question that follows is always the same: is a flush enough, or are the hard lines about to become a bigger job? The honest answer is that fluid color alone doesn’t tell the whole story, and treating a flush and a line inspection as the same task is how blown lines end up surprising people in parking lots. This guide breaks down what’s actually happening inside a brake hydraulic system over time, how to evaluate whether lines need attention beyond fluid replacement, and which bleeding method fits which job.
Why Brake Fluid Breaks Down Over Time
Glycol-based brake fluid (DOT 3, DOT 4, DOT 5.1) is hygroscopic — it absorbs moisture from the air by design, because trapping water as dissolved molecules is safer than letting it pool as free water that can flash-boil under hard braking and cause pedal fade. That absorption happens slowly, through micro-permeation in rubber hoses, reservoir vents, and seals, even in a system that’s technically “closed.” Three years or 30,000-50,000 miles of normal driving is enough for moisture content to climb meaningfully, which is why most manufacturers specify a flush interval in that range regardless of climate.
As moisture and copper/metal particulate build up from seal wear and corrosion inside calipers, calipers, and the master cylinder, fluid shifts from a clear pale yellow to amber, then brown, and eventually to a near-black, murky consistency. The darkening itself isn’t catastrophic — plenty of vehicles run fine on fluid that looks far worse than it should — but it’s a proxy for reduced boiling point and increased internal corrosion risk, which is the real mechanism behind long-term failures like sticking calipers and pinhole leaks in steel lines.
Reading Fluid Condition Before You Commit to a Job
Before quoting a flush, pull a sample at the furthest bleeder from the master cylinder and look at it against a white background. A few practical markers:
- Pale yellow to light amber: normal aging, flush on schedule, no red flags.
- Dark amber to brown: overdue flush; fluid has likely absorbed significant moisture; check reservoir for sediment.
- Black, gritty, or chunky: advanced contamination; expect possible caliper slide/seal issues and inspect every line and fitting before pressurizing the system.
Chunks or grit in the fluid are a reason to slow down, not speed up. That debris is usually deteriorated rubber or corrosion scale, and pushing it through narrow ABS valve bodies or caliper bores during a rushed flush can create a second problem you didn’t have before. A full system clean using clear hose on the bleeders lets you watch for both air bubbles and particulate in real time.

Flush Procedure That Holds Up on Older Vehicles
On a vehicle with unknown fluid history, don’t just crack a bleeder and call it done. Follow a sequence:
- Check master cylinder reservoir fluid level and condition first — if it’s already dark and gritty, expect the same throughout the system.
- Bleed in the order specified by the service manual (typically farthest-from-master first, but ABS-equipped vehicles may require a scan tool bleed procedure to cycle the valve body).
- Run enough new fluid through each wheel to see a full color change in the clear hose, not just a few pumps.
- Check pedal feel and height before and after; a soft or sinking pedal after a flush points to air still in the system or a bypassing master cylinder, not a fluid problem.
- Torque bleeder screws to spec — overtightened bleeders are a common source of comebacks on older calipers with corroded threads.
When a Flush Isn’t Enough: Evaluating Hard Lines
Dark fluid is a maintenance issue; corroded hard lines are a safety issue, and the two aren’t automatically linked. A vehicle can run 300,000 miles on original fluid with no line failure, while another with recently flushed fluid can blow a line sitting still in a parking lot because of external rust-through that had nothing to do with fluid condition. The fluid tells you about the inside of the system; the lines need a separate visual and physical inspection.
When inspecting steel hard lines, especially on vehicles from salt-belt states or anything over 10-15 years old:
- Look for surface rust that’s flaking, bubbling, or has visible pitting — surface discoloration alone isn’t disqualifying, but flaking scale usually means wall thickness loss underneath.
- Press gently on lines near frame rails, rear axle crossings, and any spot where road spray collects — a line that crunches or feels soft under light pressure needs replacement, not just cleaning.
- Check fittings and unions, which corrode faster than straight line runs and are common leak points.
- If one line shows advanced corrosion, inspect the rest of the system; corrosion from age and environment is rarely isolated to a single line.
If lines need replacement, pre-bent OEM-style lines fit correctly but typically require removing more surrounding components to route them properly — fuel lines, heat shields, exhaust hangers, and body clips often have to come off first, which is where most of the labor time actually goes, not the line swap itself. Many techs now default to stainless steel braided lines or coated replacement lines for vehicles that will see more road salt exposure, since they resist corrosion far better than bare steel over the vehicle’s remaining service life, even though they cost more upfront.
Choosing a Bleeding Method for the Job
Three practical options exist, and picking the wrong one costs time:
- Manual two-person pedal bleed: reliable baseline method, no special equipment, but slow and requires a second person or a pedal-locking tool.
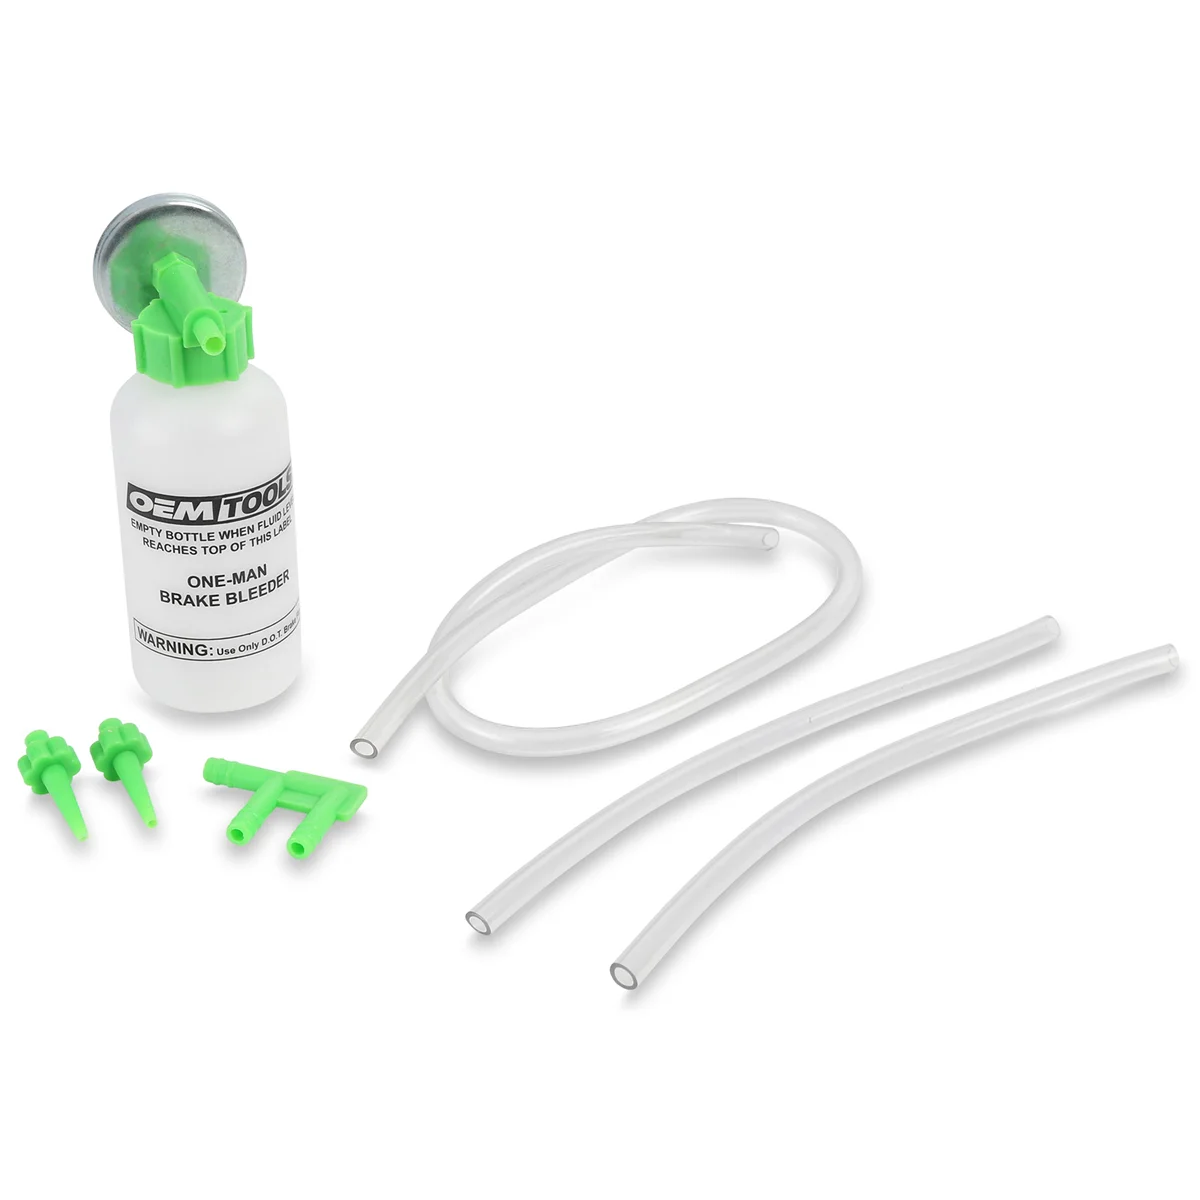
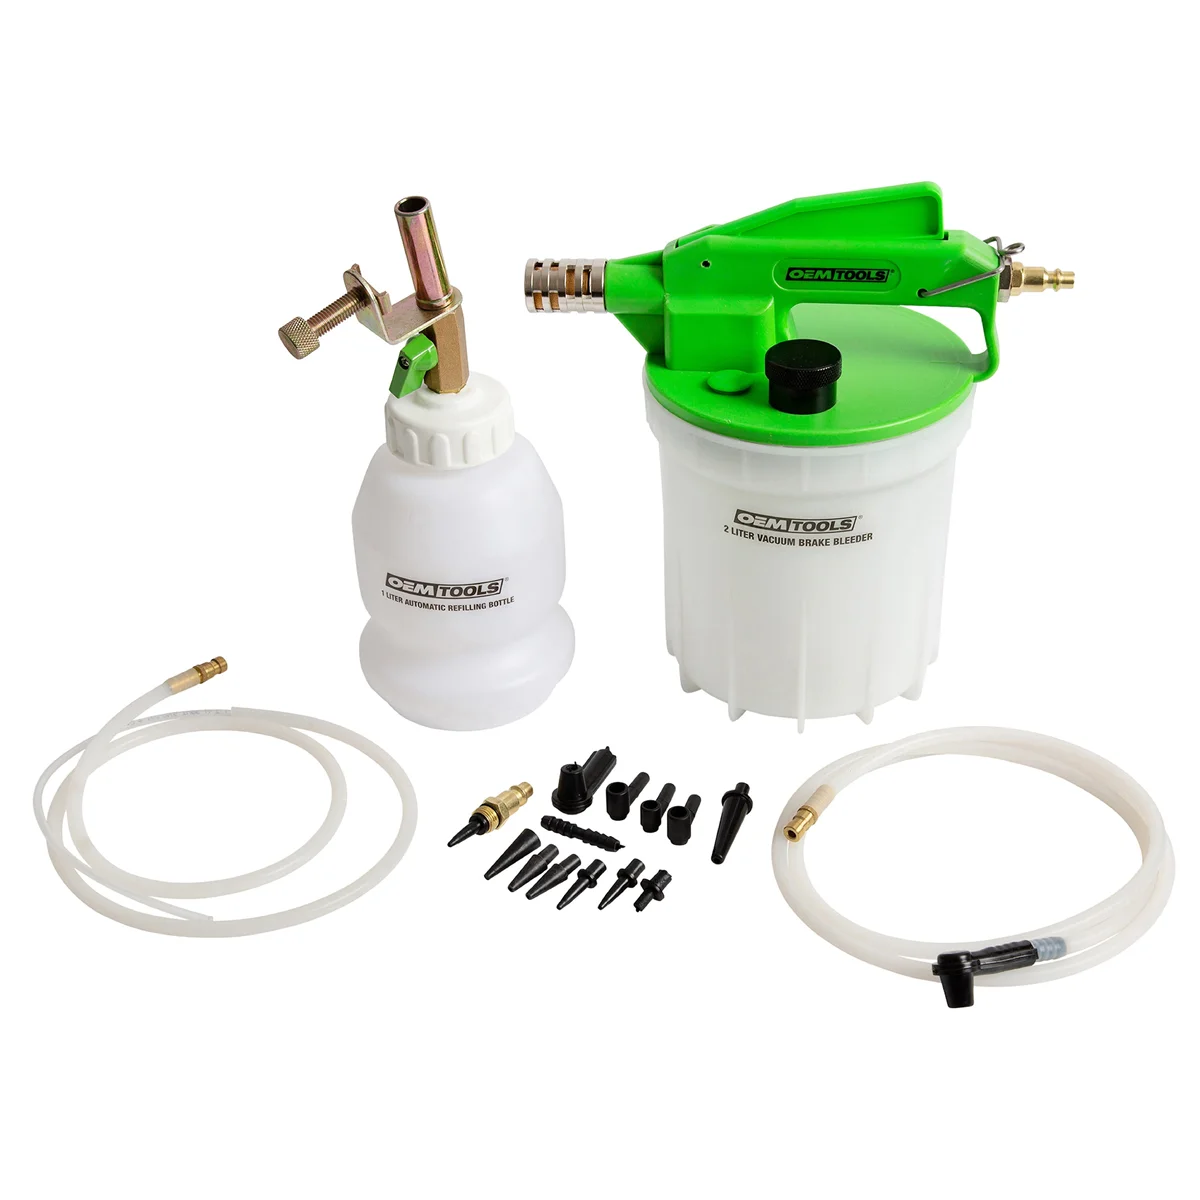
- Vacuum bleeder: pulls fluid through bleeder screws using a hand pump or shop vacuum attachment; fast for routine flushes and works solo. Can occasionally pull small air bubbles past bleeder threads that mimic a system leak — snug threads and a bit of thread sealant on the bleeder reduce false readings.
- Pressure bleeder: pressurizes the reservoir from the top, pushing fluid through the lines; required on some vehicle platforms where vacuum bleeding doesn’t reliably clear ABS modulators or specific caliper designs. Check the service procedure for the specific make before assuming vacuum will work.
Either powered method pays for itself quickly in shop time compared to manual pumping, especially on fleet or high-volume brake work, and reduces the pedal-pumping strain that adds up over years of flushes.
Brake Fluid Service Checklist
- Confirm fluid type matches manufacturer spec (DOT 3/4/5.1) before topping off or flushing
- Sample and visually inspect fluid color/clarity at a bleeder before starting
- Inspect all accessible hard lines and fittings for corrosion, not just the fluid
- Bleed in correct sequence; use a scan tool cycle on ABS-equipped vehicles if specified
- Verify pedal height/feel before returning the vehicle to the customer
- Document fluid condition and line inspection findings, especially if lines are borderline but not replaced


Frequently Asked Questions
How often should brake fluid be flushed?
Most manufacturers recommend every 2-3 years or 30,000-50,000 miles, but moisture absorption is environment-dependent, so vehicles in humid climates or with high brake-heat cycling (towing, mountain driving) benefit from more frequent checks even if the interval hasn’t technically passed.
Is dark brake fluid dangerous by itself?
Not directly — vehicles regularly run with heavily discolored fluid and stop normally. The concern is a lowered boiling point under sustained hard braking and long-term internal corrosion of calipers and the master cylinder, which is a gradual risk rather than an immediate one.
Do I need to replace hard lines just because the fluid is dirty?
No. Fluid condition and external line corrosion are separate issues. Dirty fluid calls for a flush; line replacement is only warranted when a physical inspection shows pitting, flaking, or soft spots in the steel itself.
Vacuum or pressure bleeder — which should a shop buy first?
A vacuum bleeder covers the majority of routine flush jobs and works solo, making it the better first purchase for general use. A pressure bleeder becomes necessary once you’re regularly servicing platforms whose service procedures specifically call for pressure bleeding.
Are stainless braided lines worth it over OEM steel replacements?
For vehicles that will stay in salt-exposed regions long-term, yes — they resist the corrosion that drives repeat line failures. For a vehicle with a shorter expected remaining lifespan, OEM-spec steel lines are usually the more cost-effective choice.
What’s the biggest risk during a brake fluid flush on an older vehicle?
Pushing corrosion particulate or deteriorated rubber debris into ABS valve bodies or caliper bores during the flush. Inspect fluid condition first, flush through clear hose to monitor what’s coming out, and don’t rush a system that shows heavy contamination.
Shop Brake Service Tools
Whether you’re performing a routine fluid flush or tackling a line replacement, having the right brake service tools on hand ensures efficient, reliable work. From manual bleeder setups to powered systems, proper equipment reduces comebacks and speeds up your workflow.
- Manual and powered brake bleeding systems
- Brake line inspection and replacement supplies
- Fluid sampling and disposal containers

The Toolsource Technical Team blends decades of real-world automotive service experience with up-to-date technical research. Our writers collaborate with professional mechanics, shop owners, and diagnostic specialists to deliver practical, workshop-ready guidance you can trust.


Follow us on social media