Floor mats seem simple until they cause a pedal-interference incident, trap moisture, or wear through under the driver’s heel. Whether your customers run all-weather mats year-round or swap to carpet in fair weather, the best practice is the same: use one properly secured set at a time, install it correctly, and maintain it so it performs safely. This guide lays out technician-grade procedures for selection, installation, seasonal changes, cleaning, and troubleshooting.
No search queries provided.
When to Choose All-Weather vs. Carpet Mats
Both mat types have a place. Focus on the customer’s climate, use case, and maintenance habits.
Use all-weather (rubber/TPE/TPR) mats when:
- Winter conditions bring snow, slush, salt, or road brine.
- There’s frequent exposure to mud, sand, beach debris, red clay, or construction dust.
- Pets, kids, or dirty work boots are common passengers.
- Fast cleanup and spill containment are priorities. Raised channels and tray edges help keep fluids off the carpet.
Use carpet mats when:
- Weather is dry and mild, road grime is minimal, and a premium look/feel is preferred.
- Noise reduction is desired. Dense carpet can modestly damp footwell noise and vibration.
- Precise pedal feel is important to the driver, and they prefer textile underfoot (e.g., performance driving or footwear preferences).
Good compromise options exist. Molded “liner” style mats add coverage beyond simple flat mats. Some double-layer systems include a clip-in carpet topper for comfort without giving up containment. Remind customers that “all-weather” means they can be used year-round if they like the look and feel.
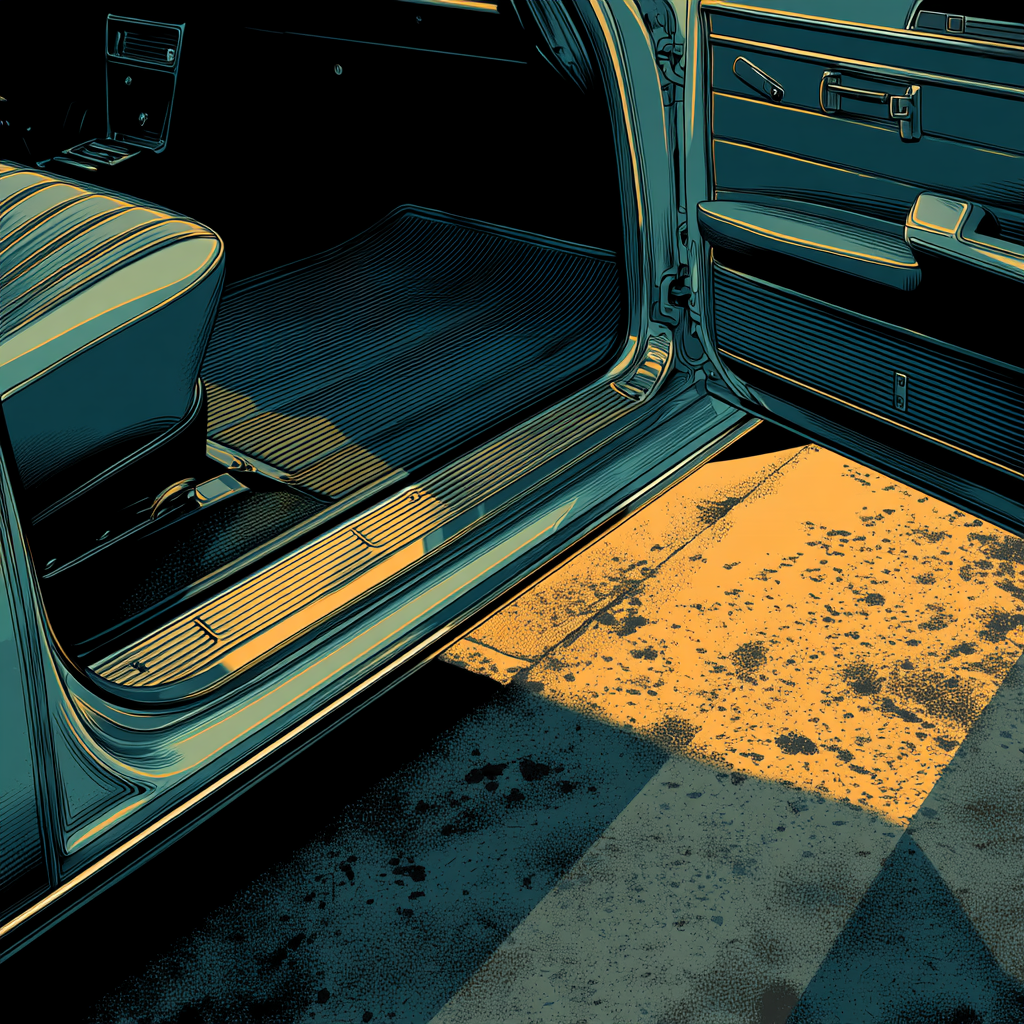
Safety Fundamentals: One Mat, Properly Secured
The number one rule: do not stack mats. Running an all-weather mat on top of a carpet mat (or vice versa) raises the floor, defeats retention anchors, and increases the risk of the mat shifting into the pedals. Many manufacturers explicitly prohibit stacking and have issued advisories following throttle-interference incidents.
Follow this install procedure for any mat set:
- Remove and inspect. Pull the existing mats. Check for curled edges, torn grommets, broken anchors, or a worn heel pad. Replace damaged parts before installing the new set.
- Vacuum the carpet. Clean the floor carpet to prevent debris from becoming a slip layer under the mat.
- Match position and orientation. Identify driver, passenger, and rear mats. Liner-style mats are side-specific. Confirm the dead pedal (left footrest) coverage does not crowd the accelerator.
- Engage retention anchors. Use the vehicle’s hooks, posts, or twist-locks. The mat’s grommets must fully seat on the anchor. For twist-locks, press the grommet area down slightly and rotate until locked; do not force.
- Verify clearance. With the engine off, sweep the accelerator and brake pedals through full travel. Confirm no contact with the mat and that the heel area lies flat without bunching.
- Check rear fitment. Ensure rear mats do not ride up under front seats or interfere with seat tracks or wiring.
Checklist: Pre-drive floor-mat safety
- Only one mat per seating position installed
- All anchors engaged and locked
- Edges flat; no curling under pedals
- Full pedal travel without contact
- Rear mats clear seat tracks and vents
Fitment and Product Types: Mats vs. Liners, and Material Choices
Correct fitment is critical. Universal mats can work in a pinch, but vehicle-specific mats or liners reduce risk and improve coverage.
Mats vs. liners
- Traditional mats are generally flat or mildly contoured. They protect the main footwell area and rely on channels for minor fluid containment.
- Liner-style mats are 3D-molded with raised edges that extend up the sidewalls and over the transmission tunnel. They’re best for snow, mud, and heavy spill control.
Material considerations
- TPE/TPR/Rubber blends: Non-absorbent, easy to rinse, stable from cold to heat. Look for a matte, textured finish for traction. Avoid glossy surface treatments that can become slippery.
- Carpet (nylon/poly): Best for comfort and appearance. Choose dense pile with backing that resists moisture penetration. Heel pads prolong life in the driver’s mat.
Coverage details to evaluate
- Driver’s heel area thickness and wear pad placement
- Dead pedal coverage without crowding the accelerator
- Raised edges and channel design to contain meltwater and spills
- Retention grommets aligned with OE anchors
- Compatibility with rear HVAC vents and seat track clearance
Brand and fit notes
Vehicle-specific products from established manufacturers typically align with OE anchors and pedal clearances. If a customer wants a premium look without the “industrial” vibe, consider molded textile-faced liners or double-layer systems with removable carpet inserts. Always confirm availability for the exact year, trim, and drivetrain (some floorpans vary).
Seasonal Swap Routine: Step-by-Step
If the customer prefers carpet in summer and all-weather in winter, a consistent swap procedure prevents damage and preserves fit.
- Remove the off-season set carefully. Disengage anchors without tearing grommets. Lift mats straight up to avoid scraping door sills or trim.
- Clean before storage. See the cleaning section below. Never store mats with embedded dirt, salt, or moisture—it hardens, causes odor, and deforms backing.
- Dry completely. Air-dry until no moisture remains on the face or backing. Do not place on heaters or in direct sun to “speed cure”—this can warp or harden materials.
- Label and store flat. Keep mats flat in a climate-controlled area. Avoid stacking heavy items on top. If vertical storage is necessary, use a wide hanger through the grommets to prevent creasing.
- Inspect anchors and carpet. Before installing the in-season set, replace any missing hooks/posts. Vacuum the floor carpet and treat any stains.
- Install and verify. Engage anchors, then perform the pedal-clearance check.
Cleaning and Care: Rubber/TPE vs. Carpet
Proper cleaning restores appearance and grip while preserving materials. Choose products intended for the surface to avoid slick finishes.
All-weather (rubber/TPE/TPR) cleaning
- Pre-rinse. Remove loose debris with a hose. For heavy mud or sand, tap the mat outside first to minimize scratching.
- Apply cleaner. Use an all-purpose cleaner or a dedicated rubber mat cleaner diluted per label. Avoid silicone tire shines or greasy dressings.
- Agitate. Scrub with a medium-stiff nylon brush. Work the channels and raised edges thoroughly.
- Rinse and inspect. Rinse until runoff is clear. Re-treat stained zones (oil, tar) with a citrus-based degreaser as needed, then rinse again.
- Dry and de-shine. Air-dry. If the surface dries chalky, apply a water-based, non-slip rubber conditioner designed for interiors, then buff dry to a matte finish. Do not use glossy dressings; they reduce foot traction.
Carpet mat cleaning
- Dry soil removal. Vacuum thoroughly using a crevice tool and carpet brush attachment. A rubber pet-hair brush or nitrile-glove “squeegee” technique lifts embedded hair and sand effectively.
- Pre-treat stains. Use an enzymatic cleaner for protein-based stains, a solvent spotter for tar/grease, and a dedicated salt stain remover (or 1:1 white vinegar:water) for winter salt rings. Blot; do not scrub aggressively.
- Shampoo and extract. Apply a carpet shampoo or low-foam APC. Agitate with a soft/medium carpet brush, then extract with a wet/dry extractor or rinse-and-vac method. Keep backing as dry as possible.
- Rinse and neutralize. Lightly rinse to remove residue. Over-soaking can delaminate backing; work in passes.
- Dry thoroughly. Stand the mats on edge to dry with moving air. Confirm they are fully dry (front and backing) before reinstalling to prevent odor and mildew.
Salt and red clay remediation
- Salt: Dissolve deposits with a dedicated salt remover or a mild vinegar solution. Follow with a neutral rinse to prevent re-crystallization.
- Red clay: Use a clay-specific pre-treatment, agitate gently, and extract repeatedly. Expect multiple cycles for heavy staining.
Maintenance interval
- All-weather mats: Rinse weekly in heavy-weather months; deep clean monthly.
- Carpet mats: Vacuum weekly; shampoo/extract at seasonal change or as needed.
Troubleshooting and Upgrades
Issue: Mat slides or won’t lock onto anchors
- Confirm the mat matches the vehicle’s anchor type (hook, post, or twist). Replace missing/broken OE anchors; they’re inexpensive and critical for safety.
- Inspect grommets for wear or tearing. Replace the mat if the grommet won’t secure.
Issue: Edges curl or mat buckles under pedals
- Heat exposure and improper storage cause warping. Warm the mat gently with ambient heat, lay flat with light, even weight to re-train. If curl persists near the accelerator, replace—do not risk interference.
Issue: Slippery surface after cleaning
- Remove oily dressings with an APC and hot-water rinse. Use only interior-safe, non-slip, water-based protectants, or none at all. The correct finish is matte with texture.
Issue: Driver’s heel wear-through
- Select mats with reinforced heel pads or thicker driver-area material. For carpet, consider mats with stitched heel pads; for rubber, look for molded traction pods.
Upgrade options to consider
- Molded liners for maximum coverage in harsh climates.
- Textile-faced molded liners for a premium look with raised-edge containment.
- Double-layer systems with clip-in carpet inserts to blend comfort and easy cleaning.
- Cargo liners to extend protection to the trunk or hatch area.
FAQs
Can I run all-weather mats year-round?
Yes. Many drivers prefer the containment and easy cleaning of all-weather mats in every season. Ensure they remain securely anchored and clean to maintain grip and appearance.
Is it ever safe to stack mats?
No. Stacking changes pedal geometry, compromises anchors, and increases the risk of pedal interference. Use one properly anchored mat per seating position.
How do I fix a mat that keeps slipping?
Verify the mat is vehicle-specific and uses the correct anchor style. Replace missing OE anchors, damaged grommets, or the mat itself if it cannot stay locked in place. Avoid universal mats in the driver position if they cannot be secured.
What’s the best way to remove winter salt stains?
Use a salt stain remover formulated for interiors, or a 1:1 white vinegar and water solution. Apply, dwell for a few minutes, blot, then extract and rinse. Allow to dry fully before reinstallation.
Do carpet mats really reduce noise?
Dense carpet can modestly damp footwell noise and vibration. The difference is subtle and most noticeable in vehicles with minimal factory insulation. If the driver prioritizes quiet, choose thick carpet mats with backing and consider additional under-carpet sound deadening.
What’s the difference between mats and liners?
Mats cover the flat floor area; liners are 3D-molded with raised edges that extend up the sidewalls and across the transmission tunnel for better spill and debris containment. Liners are recommended for severe weather, off-road use, and families with kids or pets.
Shop Floor Mat & Liner Maintenance
Looking for proper cleaning and maintenance? Explore carpet and rubber floor mat cleaning options that match the procedures in this guide.
- All-weather rubber/TPE mats and molded liner styles
- Vehicle-specific carpet mats with reinforced heel pads
- Retention-compatible designs for front, rear, and cargo areas
The Toolsource Technical Team blends decades of real-world automotive service experience with up-to-date technical research. Our writers collaborate with professional mechanics, shop owners, and diagnostic specialists to deliver practical, workshop-ready guidance you can trust.


Follow us on social media