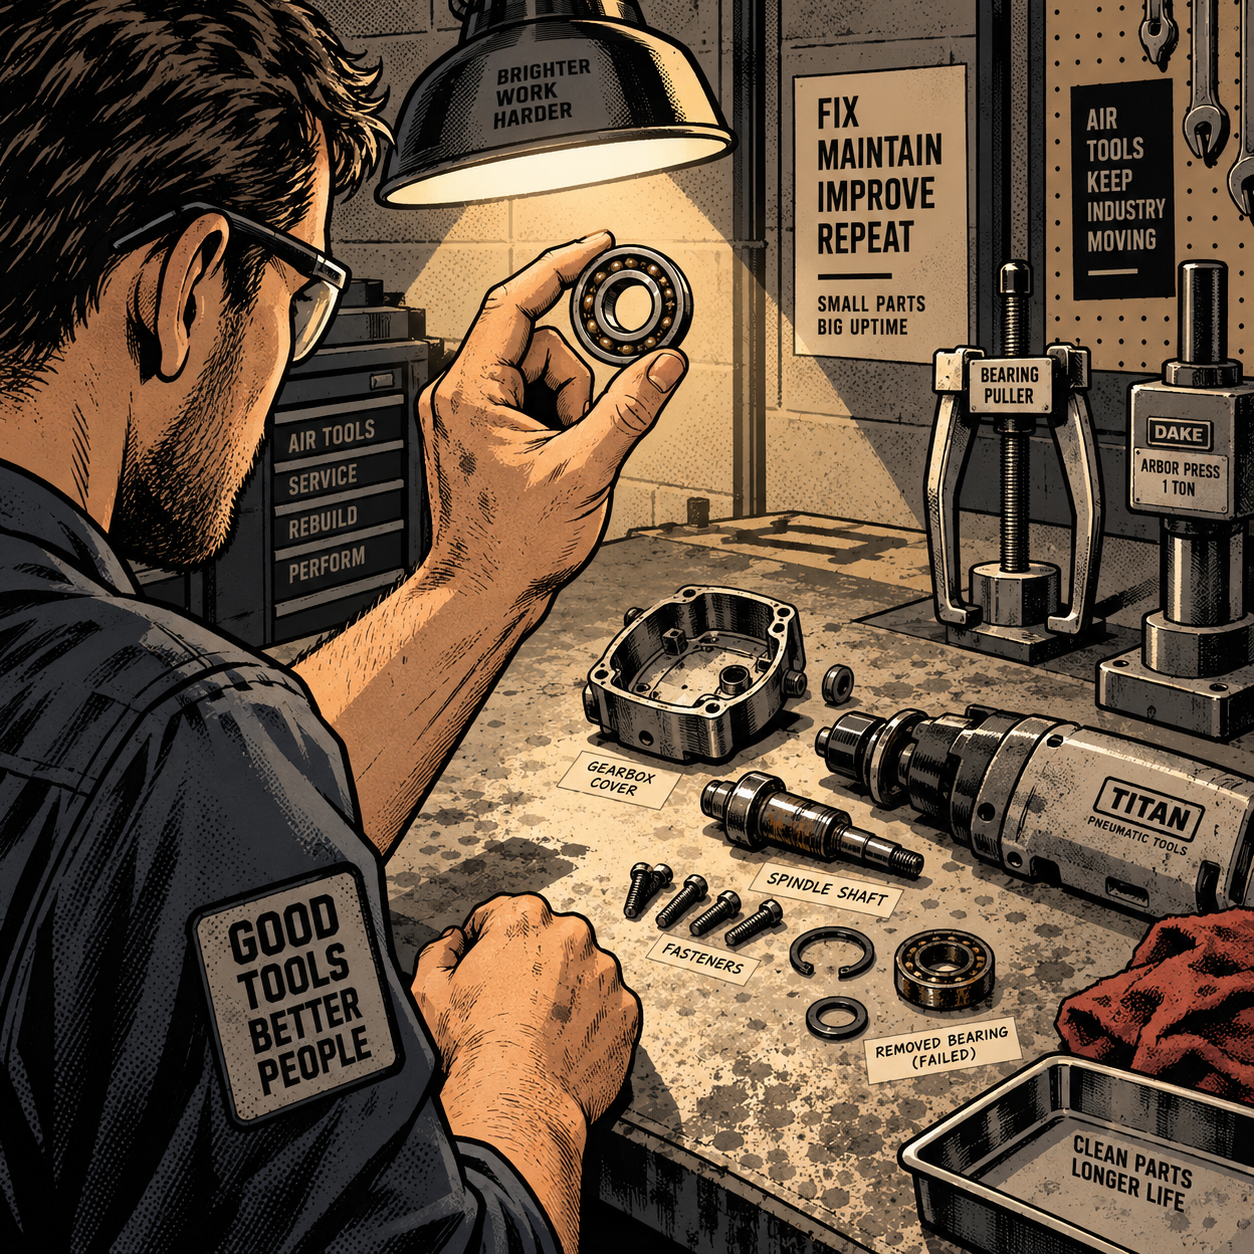
A bearing going bad inside an impact wrench, die grinder, or angle grinder is one of the most common reasons a shop tool gets pulled from rotation. The failure itself is rarely dramatic — a little extra vibration, a new whine, a bit of side play in the output shaft — but how you handle it from that point forward determines whether you’re back to work in a day or stuck arguing with a warranty department for weeks. This post covers how to recognize a failing bearing early, inspect it once it’s out, document the failure so a warranty claim doesn’t get bounced, and make sure whatever replacement part goes back in is actually the real thing.
Recognizing the Early Signs of Bearing Failure
Bearings rarely fail without warning. The problem is that the warning signs overlap with normal wear, so techs often run a tool well past the point where a cheap bearing swap would have prevented a bigger repair. Watch for these patterns:
- New noise under load. A grinding, rattling, or high-pitched whine that wasn’t there before, especially one that changes pitch with trigger pressure, almost always points to the motor or gearbox bearings.
- Increased vibration. If a tool that used to run smooth now buzzes in your hand, pull it apart before the vibration damages the housing, switch, or cord strain relief.
- Shaft play. Grab the chuck, anvil, or spindle and try to wiggle it side to side and front to back. Any play beyond a few thousandths means the bearing race is worn or the balls/rollers are pitted.
- Heat. A housing that gets noticeably hotter than normal after a short run is often a sign a bearing is binding instead of rolling freely.
- Visible contamination. Grease that’s turned black, gritty, or has metal flakes in it is a reliable sign the bearing is breaking down internally, even if it still sounds okay.
Catching any of these early and pulling the tool for inspection costs you an hour. Ignoring them costs you a motor, a gear set, or an armature.
How to Inspect a Failed Bearing Before You Toss It
Once the tool is open, don’t just yank the bearing and throw it in the trash. A five-minute inspection tells you what actually failed and gives you the evidence you’ll need if you decide to file a warranty claim.
- Spin it by hand. Remove the bearing and rotate the inner race while holding the outer. It should spin smooth and quiet. Roughness, clicking, or sudden stops indicate pitted races or a cracked ball/roller.
- Check for play. Hold the outer race steady and try to move the inner race up and down. Any looseness beyond the design tolerance means the races or rolling elements have worn.
- Look at the seals or shields. A torn seal lets contaminants in and grease out — often the root cause rather than a defect in the bearing itself.
- Inspect for discoloration. Bluish or brownish tint on the races is a heat signature, usually from running dry, overloading the tool, or a press-fit that was too tight or too loose.
- Photograph everything. Races, balls, seals, and the shaft or bore the bearing seated in. Take shots before and after removal, and get a clear shot of any part numbers stamped on the bearing or housing.
This inspection also tells you whether you’re dealing with a manufacturing defect (pitting or spalling with no abuse evidence), normal wear-out, or operator-side damage (contamination, overloading, impact damage from dropping the tool). That distinction matters a lot once you’re talking to a warranty department.
[[PRODUCT_SEARCH:1]]
Filing a Warranty Claim: What to Document and Expect
Most reputable tool manufacturers will stand behind a bearing failure that happens well inside the normal service interval, but they want proof it wasn’t abuse. Build your claim packet before you call or submit anything online:
- Proof of purchase. Receipt, invoice, or order confirmation with a date. No date, no claim, in most cases.
- Serial number and model number. Photograph the tool’s data plate, not just the box.
- Usage history. A rough estimate of hours or duty cycle, and what the tool was used for, helps the claims reviewer gauge whether the failure timeline is reasonable.
- Failure photos. The bearing inspection photos from the previous section go a long way toward a fast approval.
- A short, factual description. State what happened, when you noticed it, and what you found when you opened the tool. Avoid speculation about why it failed — let the photos and the manufacturer’s tech do that.
A few practical things to expect: some manufacturers ask you to ship the failed tool or part back for inspection before issuing a replacement, while others — particularly on lower-cost consumable parts like bearings — will approve a replacement and tell you to keep or dispose of the failed part yourself, since the cost of return shipping and inspection exceeds the part’s value. Don’t assume either way; ask directly whether they need the failed unit back, and get the answer in writing (email or chat transcript) before you dispose of anything. If a part does need to go back, keep a photo of it packaged and a tracking number until the replacement arrives.
Avoiding Counterfeit Replacement Bearings
If you’re sourcing a replacement bearing yourself rather than going through warranty, buy from the tool manufacturer’s parts program or an authorized distributor. Counterfeit and gray-market bearings are common in generic sizes (608, 6002, 6202, and similar small sealed bearings used in grinders and impact tools) because they’re cheap to produce and hard to tell apart from genuine parts without cutting one open. Red flags include:
- Pricing dramatically below every other listing for the same part number.
- Sellers with no brand authorization, generic stock photos, or listings that mix multiple brand names for the “same” part.
- Packaging with blurry or inconsistent printing, missing country-of-origin marking, or a part number that doesn’t match what’s stamped on the bearing itself.
- No warranty or a warranty that requires you to go through the third-party seller instead of the manufacturer.
A counterfeit bearing might run fine for a week and then fail catastrophically, taking a gear or armature with it — costing far more than the few dollars saved. If you’re not buying OEM, at least stick to known bearing brands (not just a part number) and a seller who can produce a traceable supply chain.
Preventive Maintenance to Extend Bearing Life
Most bearing failures in shop tools trace back to contamination or lubrication, not manufacturing defects. A few habits cut failure rates significantly:
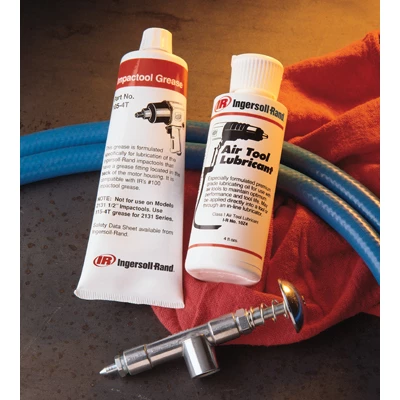
- Regrease on schedule. Follow the manufacturer’s interval for gearbox and bearing grease, not just “when it sounds dry.” Grinders and impact tools used daily often need service more often than the manual’s default interval suggests.
- Keep air tools dry. Moisture in compressed air lines is a leading cause of internal corrosion on pneumatic tool bearings. Run a water trap/filter ahead of the tool and drain it regularly.
- Don’t run tools dirty. Grinding dust and metal shavings work their way past seals over time. Blow tools out at the end of a shift instead of letting debris cake onto vents and seals.
- Avoid side-loading. Using a tool as a pry bar or leaning hard into an angle it wasn’t designed for puts radial loads on bearings they weren’t built to handle.
- Store tools properly. Tools left in a hot truck or exposed to moisture between jobs age their internal grease and seals faster than the duty cycle alone would suggest.
When to Repair In-House vs Send It Out
A single bearing swap on an accessible output shaft is usually a reasonable in-house repair if you have a bearing puller, a press, and the correct replacement on hand. But if the failure has taken out a gear, chewed up a shaft, or you’re dealing with a sealed cartridge-style motor/gearbox assembly that isn’t designed to be opened, it’s often cheaper and faster to send it to an authorized service center — especially while the tool is still inside its warranty window, since an in-house repair can void coverage on the rest of the tool.
Quick Checklist: Handling a Suspected Bearing Failure
- Note the symptom (noise, vibration, play, heat) and when it started
- Pull the tool from service before damage spreads to the motor or gear train
- Inspect the bearing: spin, check play, check seals, check for discoloration
- Photograph the bearing, part numbers, and the tool’s data plate
- Gather proof of purchase and usage history
- Confirm with the manufacturer whether the failed part needs to be returned
- Source replacements only from authorized dealers to avoid counterfeits
[[PRODUCT_SEARCH:2]]
FAQs
How long should a bearing last in a shop tool?
It varies widely by tool type and duty cycle, but most quality pneumatic and electric tool bearings are designed to outlast several years of normal shop use. A failure within the first year of regular use, outside of obvious abuse, is a reasonable basis for a warranty claim.
Can I regrease a bearing instead of replacing it?
Regreasing helps prevent failure but won’t fix a bearing that already has pitted races, play, or a cracked rolling element. Once you’ve found physical wear or damage during inspection, replace it rather than regrease it.
Do manufacturers usually want the failed bearing back for a warranty claim?
It depends on the manufacturer and the part’s cost. Many will approve a replacement based on photos and let you keep or discard the failed part, especially for low-cost bearings. Others require the full tool or part shipped back for inspection. Always confirm in writing before disposing of anything.
How can I tell if a replacement bearing is counterfeit before installing it?
Compare the laser-etched part number and brand marking on the bearing against the manufacturer’s listed specs, check that the packaging print quality and country-of-origin marking look consistent with other genuine parts you’ve bought, and be suspicious of prices far below the rest of the market.
Does an in-house bearing repair void my tool’s warranty?
It can, particularly on tools still under a manufacturer’s warranty with factory-sealed gearboxes or motor assemblies. Check the warranty terms before opening the tool yourself — if it’s still covered, a warranty claim or authorized service center is usually the safer route.
What’s the most common root cause of premature bearing failure in shop tools?
Contamination (dust, grit, or moisture getting past a seal) and inadequate lubrication account for the large majority of premature failures — more often than an outright manufacturing defect.
Recommended Parts
When a bearing fails, replacing it is usually a straightforward repair if you source the right component from a reliable supplier. Our tool service parts include bearings, seals, and internal assemblies for common shop tools.
- Bearings in common sizes and specifications for pneumatic and electric tools
- Seals, gaskets, and cartridge assemblies for motor and gearbox applications
- Parts from authorized sources to ensure OEM quality and avoid counterfeits

The Toolsource Technical Team blends decades of real-world automotive service experience with up-to-date technical research. Our writers collaborate with professional mechanics, shop owners, and diagnostic specialists to deliver practical, workshop-ready guidance you can trust.


Follow us on social media