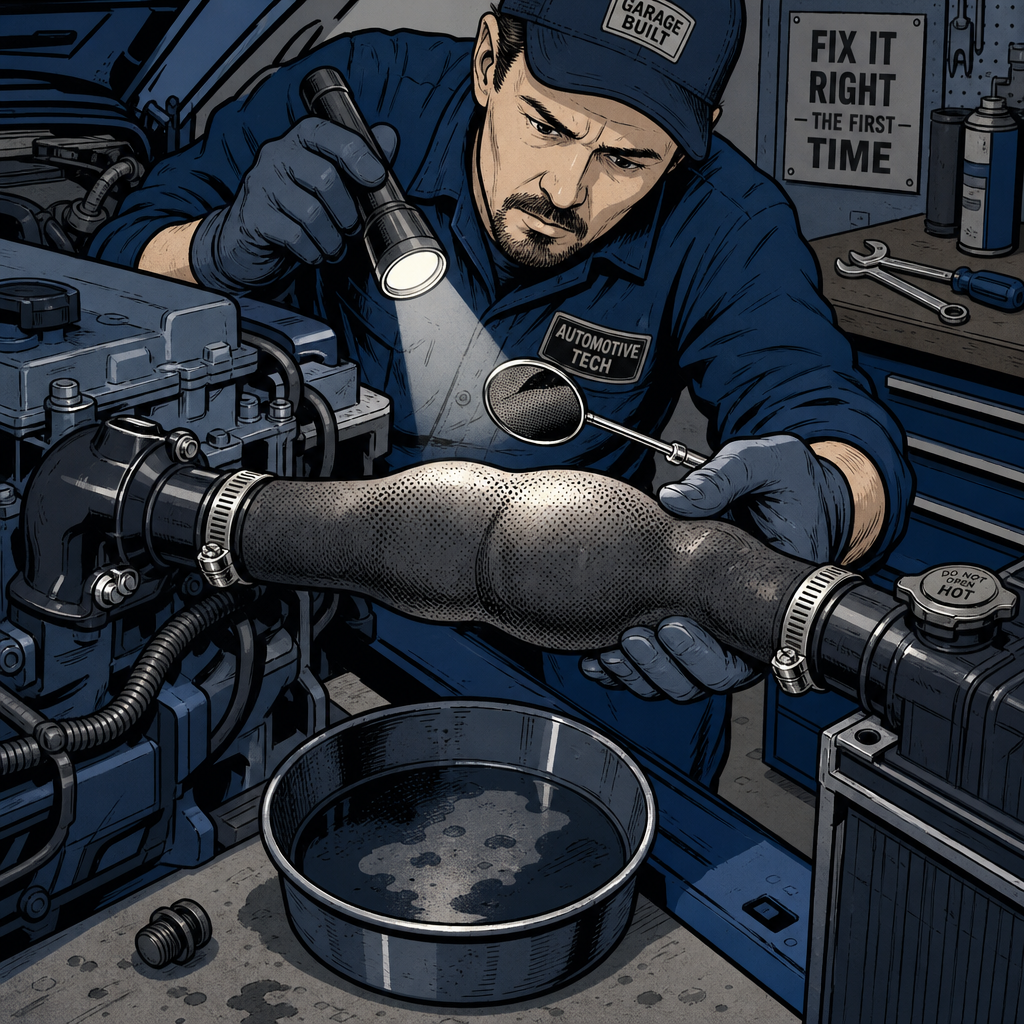
A photo recently made the rounds online showing a radiator hose that had visibly ballooned along its length — and a shop’s supposed “fix” of simply reinstalling it backward. It’s a good excuse to walk through what actually causes a hose to swell, why flipping it end-for-end does nothing, and what a proper diagnosis and repair looks like. This isn’t a rare or exotic failure; it’s one of the more common cooling system complaints that comes through a shop, and it’s also one where a wrong call can leave a customer stranded — or worse, staring down a blown head gasket.
Why Radiator Hoses Swell in the First Place
Coolant hoses aren’t just rubber tubing. They’re built with internal reinforcement — typically a fabric or fiber braid embedded in the rubber — that lets the hose handle repeated pressure and heat cycles without ballooning, the same way steel belts keep a tire’s sidewall from bulging. When that internal structure breaks down from age, heat, or chemical attack, the hose loses its ability to contain system pressure evenly. The result is a soft, spongy section that swells outward, sometimes dramatically, right at its weakest point.
Common causes include:
- Age and heat cycling. Rubber hardens and cracks internally long before it looks bad externally. By 5-7 years, reinforcement fatigue is common even on a hose that looks fine from outside.
- Chemical attack. Oil, transmission fluid, or the wrong coolant chemistry can degrade rubber from the inside out, weakening the reinforcement layer.
- Overpressure. A stuck or weak radiator cap that doesn’t regulate system pressure properly can push hoses beyond their rated limits.
- Manufacturing defect. Less common, but it happens — a hose with a bad batch of material can fail prematurely even with normal use.
Why “Reversing” a Hose Is Not a Repair
Reversing a hose doesn’t undo any of the above. The reinforcement is already compromised across the section that ballooned — swapping which end connects to the radiator versus the engine doesn’t restore structural integrity, and it doesn’t move the weak spot anywhere. It’s the equivalent of rotating a bald tire to the other side of the car and calling it “fixed.” The hose is still operating under the same pressure and heat, through the same degraded material, and it can rupture at any time — including at highway speed, when a sudden loss of coolant is a genuinely dangerous failure mode (loss of engine cooling, potential steam/coolant spray, and a stranded vehicle in traffic).
If a technician suggests this as a fix, treat it as a red flag on the shop, not just the repair. A worn hose is a cheap, easy replacement — there’s no legitimate reason to improvise around it.
Diagnosing the Real Cause Before You Replace Anything
Don’t just swap the hose and move on. Significant swelling — especially the kind that looks dramatic rather than a mild soft spot — is often a symptom, not the root problem. The most important thing to rule out is oil or transmission fluid contaminating the coolant, which will degrade a brand-new hose just as fast as it degraded the old one.
- Check the radiator cap and coolant surface (cold engine only). Look for a sludgy, tan or “chocolate milkshake” film. That’s a classic sign of oil-coolant mixing.
- Check the oil dipstick and filler cap. A milky, frothy coating on the cap or dipstick points the same direction — coolant getting into the oil, or oil getting into the coolant, usually via a failed gasket or oil cooler seal.
- Drain into a clean, light-colored container. Don’t just dump the old coolant down a drain — catch it and inspect it. Look for oil sheen, discoloration, or particulate/crystals that shouldn’t be there.
- Inspect both hose ports with a flashlight and mirror. Residue inside the radiator neck or engine-side fitting can confirm contamination before you spend money on parts.
- Consider a coolant system pressure test. This checks for a weak cap, a slow external leak, or abnormal pressure buildup that could be accelerating hose failure.
On some platforms — Subaru’s naturally aspirated and turbo engines being a well-known example — a swollen hose combined with any hint of oil in the coolant should immediately raise suspicion of an upper oil pan or engine gasket leak. That’s a more involved and expensive repair, but ignoring it and just replacing hoses repeatedly can lead to a ruined engine over time. If you see any contamination signs, escalate to a full diagnostic before doing anything else.
How to Properly Replace a Swollen Radiator Hose
If the coolant checks out clean and this looks like a straightforward hose failure, replacement is a manageable job for most home mechanics and a quick one for a shop.
- Let the engine cool completely. Never open a pressurized, hot cooling system.
- Drain the coolant into a clean catch pan so you can inspect it as described above, and so you’re not wasting still-good coolant.
- Loosen and remove the clamps at both ends of the hose. Twist the hose to break it loose from the fitting rather than prying, which can damage the radiator neck or a plastic thermostat housing.
- Inspect the fittings on the radiator, water pump, or thermostat housing for corrosion, cracks, or damage before installing the new hose.
- Install the new hose fully onto each fitting — don’t leave it riding on the very edge — and route it exactly as the original, avoiding contact with pulleys, belts, or exhaust components.
- Torque or tighten clamps evenly without overtightening, which can cut into the hose material.
- Refill with the correct coolant type and concentration for the vehicle, then burp the system per the manufacturer’s procedure to remove air pockets.
- Pressure test the system and run the engine to full operating temperature, checking for leaks at both new clamps.
While you’re in there, most techs replace the companion hose (upper and lower are frequently done together) since they’re exposed to the same age and heat conditions, and inspect the radiator cap — a cap that’s not holding rated pressure can contribute to swelling and premature hose failure even on a brand-new hose.
Choosing the Right Replacement Hose and Clamps
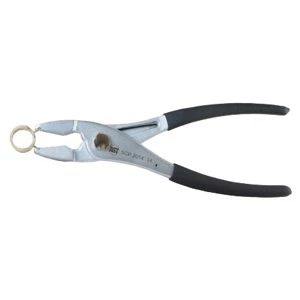
Stick with an OEM or OEM-equivalent hose molded to the correct shape for the application — universal straight or flex hoses can work in a pinch but are more prone to kinking or improper fitment on tight factory routing. For clamps, factory-style spring clamps generally maintain consistent tension through heat cycles better than basic worm-gear (screw) clamps, which can loosen over time and require periodic re-tightening. Worm clamps are easier to install and remove with common hand tools, which is why many DIYers and shops prefer them for serviceability — either is acceptable as long as it’s rated for cooling system pressure and properly tightened.
Quick Checklist: Swollen Radiator Hose
- Confirm swelling by feel when cold — soft/spongy sections mean replace, don’t reuse
- Check coolant and oil for cross-contamination before replacing the hose
- Drain into a clean container and inspect for oil, sludge, or debris
- Replace both hoses in a pair if one shows age-related swelling
- Inspect or replace the radiator cap if pressure regulation is in question
- Use correctly shaped OEM-spec hose and properly tensioned clamps
- Burp the system and pressure test after refilling
Frequently Asked Questions
Can I just reverse a swollen hose to fix it?
No. Reversing the hose doesn’t repair the degraded internal reinforcement causing the swelling. The weak section is still under full system pressure and can fail without warning.
Is a swollen radiator hose dangerous to drive on?
Yes, treat it as a near-term failure risk. A ruptured hose causes sudden coolant loss, which can lead to overheating and engine damage within minutes, and it can happen at highway speed.
What does it mean if there’s oil in my coolant?
It typically points to a failed gasket or seal — commonly an oil cooler seal or, on some platforms, an upper oil pan or head gasket — allowing oil and coolant to mix. This needs diagnosis beyond just replacing the hose, since it will keep degrading new rubber parts and can eventually cause serious engine damage if ignored.
How much does it cost to replace a radiator hose?
Parts are usually inexpensive — often in the $20-60 range depending on the vehicle — and labor is typically under an hour for accessible hoses, making this one of the more affordable cooling system repairs when it’s an isolated hose failure.
Should I replace both the upper and lower radiator hoses at the same time?
It’s common practice, especially on hoses of similar age, since they’re exposed to the same heat and pressure cycles. Replacing both avoids a second labor visit shortly after the first hose fails.
How do I know if my radiator cap is bad?
Signs include coolant loss without visible external leaks, a spongy overflow/reservoir hose, or hoses that swell repeatedly even after replacement. A cap that doesn’t hold or release pressure at its rated spec should be replaced along with the hose.
Recommended Tools
Radiator hose replacement doesn’t require special skills, but it does require proper tools and parts. Browse Automotive Hose Tools to find what you need for a clean, leak-free job.
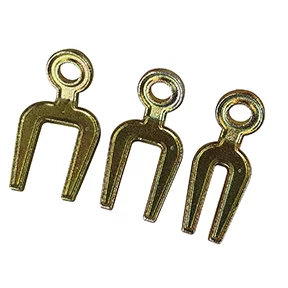
- Hose clamps and clamp installation tools for secure fitment
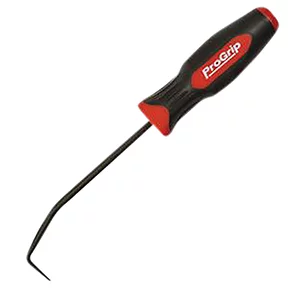
- Hose removal tools designed to prevent damage to radiator fittings
- Coolant system pressure testing equipment for accurate diagnostics

The Toolsource Technical Team blends decades of real-world automotive service experience with up-to-date technical research. Our writers collaborate with professional mechanics, shop owners, and diagnostic specialists to deliver practical, workshop-ready guidance you can trust.


Follow us on social media