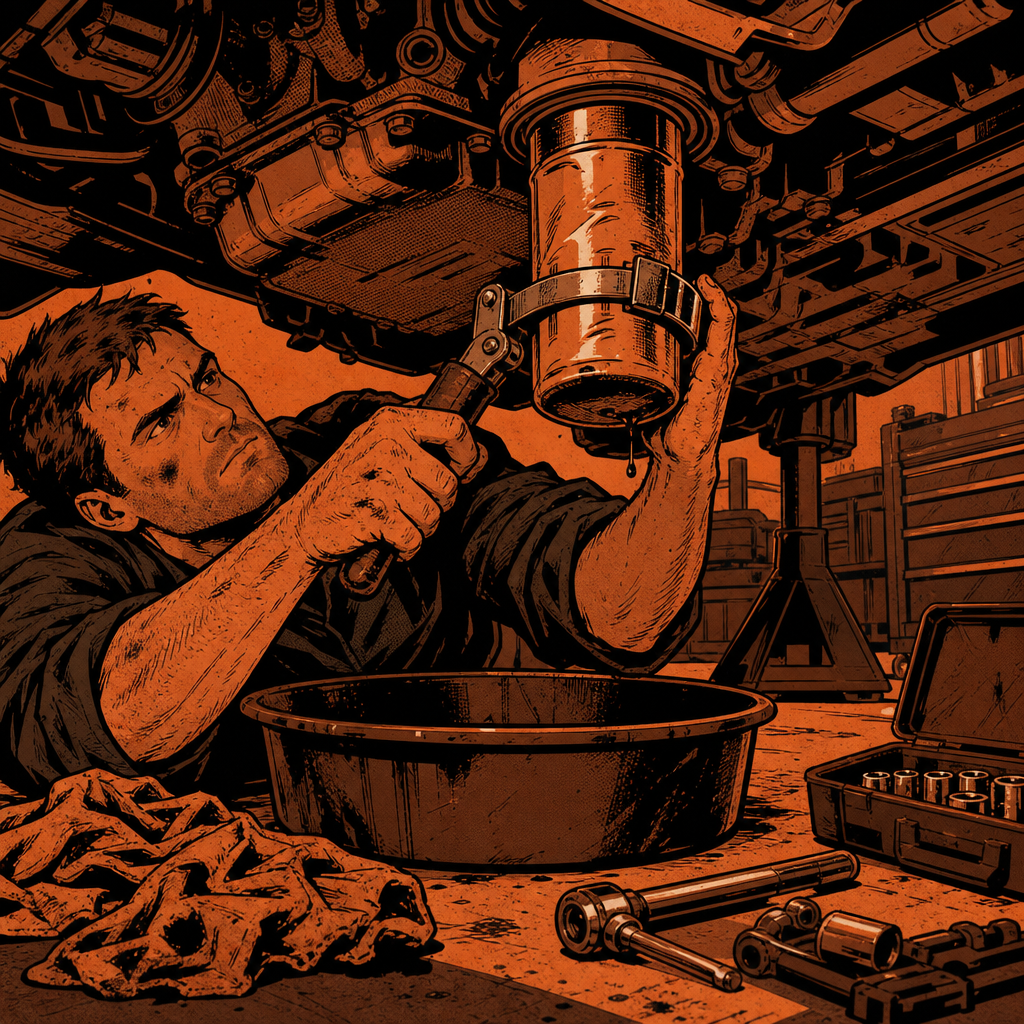
Every tech has pulled a filter that fought back — thin-walled canister crushed by channel locks, a chain wrench that chewed through the shell, or a filter that spun freely on the gasket while the base stayed dead still. Most of these jobs go bad for the same two or three reasons, and most are avoidable with the right tool placement and a little attention at install time. This guide covers why filters seize or tear, how to get a damaged one off without wrecking the filter housing threads, and how to keep the next oil change from turning into a fight.
Why Oil Filters Become Impossible to Remove
Three things account for almost every “destroyed filter” job:
Over-tightening at the last install. Quick-lube shops and rushed DIY changes are the usual source, but it also happens with experienced techs on vehicles that spec more than the traditional “hand-tight plus a turn.” Several GM and Chrysler HEMI applications have TSBs calling for a firmer final torque than the old rule of thumb, so a filter that feels stuck may simply have been installed to spec — just harder than you’re used to.
Dry installation. If the rubber gasket wasn’t lubricated with fresh oil (or dielectric grease) before the filter went on, it can bond to the sealing surface almost like an adhesive. That bond, not the thread torque, is often what makes a filter feel welded on.
Cheap, thin-wall canisters. Bargain-bin filters — especially ones bundled with 15-minute oil-change specials — use noticeably thinner steel than a quality filter. Channel locks or pliers that would just dent a heavier-gauge filter will bite straight through a thin one, and once the shell is punctured or torn, you’ve lost your grip point entirely.
The Right Tools for a Stuck or Damaged Filter
Tool choice and where you place it matter more than brute force:
- Band wrench — place the band near the base of the filter, close to the mounting surface, not around the closed end. The base is reinforced and gives you a solid purchase point; the end is thinner and more likely to collapse or slip.
- Strap wrench on a ratchet with an extension — a good substitute when you don’t have swing room for a band wrench. The extension gives you leverage without needing a wide arc of motion.
- Filter socket / cap wrench (e.g., Lisle clamshell-style or a quality strap-style filter socket) — these grip the flutes on the filter’s closed end and work well with a 3/8″ or 1/2″ ratchet or breaker bar. They’re the preferred option when there’s enough clearance around the filter to seat the socket fully.
- Channel-lock pliers — usable in a pinch, but they concentrate force on two small points and are the most common cause of a crushed or torn canister. If you go this route, grip as close to the base as possible and expect some deformation.
The consistent advice from techs who rarely have trouble: pick one method that gives you a confident, solid grip and commit to it, rather than escalating through pliers, then a chain wrench, then a chisel. Switching tools mid-job on a filter that’s already deforming tends to compound the damage rather than solve it.
===PRODUCT_SEARCH: band wrench oil filter removal tool===
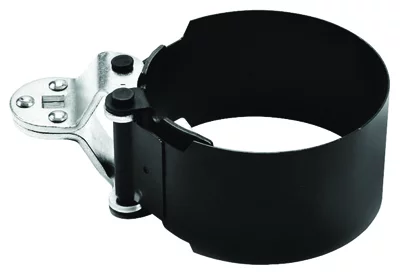

Wide Band Heavy Duty Oil Filter Wrench 4-1/8" to 4-21/32"
Mfg: GearWrench
Part #: 2320W
Step-by-Step: Removing a Filter That’s Already Torn or Crushed
If the filter is already damaged and spinning, crushed, or partially torn, work through this order rather than jumping straight to destructive methods:
- Reassess the grip surface. Check whether enough of the base or flutes remains intact for a band wrench or filter socket. A crushed but intact filter can often still be turned this way.
- Drain pressure and mess control first. Have a drain pan positioned and rags ready — a torn filter often means oil is already draining unpredictably from the split.
- Try a strap or band wrench positioned at the base before reaching for anything more aggressive. This is where most “stuck” filters actually let go once given a real grip point.
- If the canister is too far gone to grip, use a chisel or flathead at the base to rotate the metal ring counterclockwise rather than puncturing the body. Tapping the base ring — the part still threaded onto the adapter nipple — to spin it is more controlled than driving a tool through the can itself.
- Avoid puncturing the filter with a screwdriver as a first resort. It’s fast, but it routes hot, contaminated oil wherever the puncture points, and it does nothing to help you get purchase on the remaining shell — you’ll usually still need a second tool afterward.
- Once it’s off, inspect the mounting surface and adapter nipple for thread damage before installing the new filter. Aggressive chisel work near the base can nick the threads on the engine side, which is a bigger problem than the filter itself.
Preventing the Next Stuck Filter
Nearly all of this is avoidable at install time:
- Lubricate the gasket with a thin coat of fresh oil (or dielectric grease) before threading the filter on. This is the single biggest factor in whether the next removal is easy or a fight.
- Follow the manufacturer’s torque spec, not a generic rule. “Hand-tight plus three-quarters of a turn” is a safe default for most applications, but check for TSBs on GM and Chrysler HEMI engines specifically — they call for tighter final torque than the old rule of thumb, and under-tightening on those engines causes its own problems.
- Never use an impact wrench or a filter cap tool to crank a spin-on filter down hard. Filters seal on gasket compression, not thread torque; overdoing it just guarantees the next person fights it off.
- Skip the thread sealant. Oil filter threads don’t need anything on them — no thread locker, no anti-seize on the canister threads. A light film of oil on the gasket is sufficient.
Choosing a Filter That Won’t Fight You Later
Canister wall thickness varies more than most people expect between a name-brand filter and a bargain one bundled into a discount oil-change package. A heavier-gauge shell resists denting and tearing under a band wrench or channel locks, and it’s less likely to fail catastrophically if it does end up over-tightened down the line. If you’re doing your own maintenance and plan to keep the vehicle a while, spending a few extra dollars on a quality filter is cheap insurance against a bad removal down the road.
===PRODUCT_SEARCH: oil filter wrench set===
Quick Reference Checklist
- Lube the gasket with fresh oil before every install
- Tighten to spec — hand-tight plus a turn, or per manufacturer TSB
- Grip with a band or strap wrench at the filter’s base, not the end
- Commit to one solid-grip method instead of escalating tools
- If it tears, work the base ring with a chisel rather than puncturing the can
- Inspect the adapter threads for damage after any forced removal
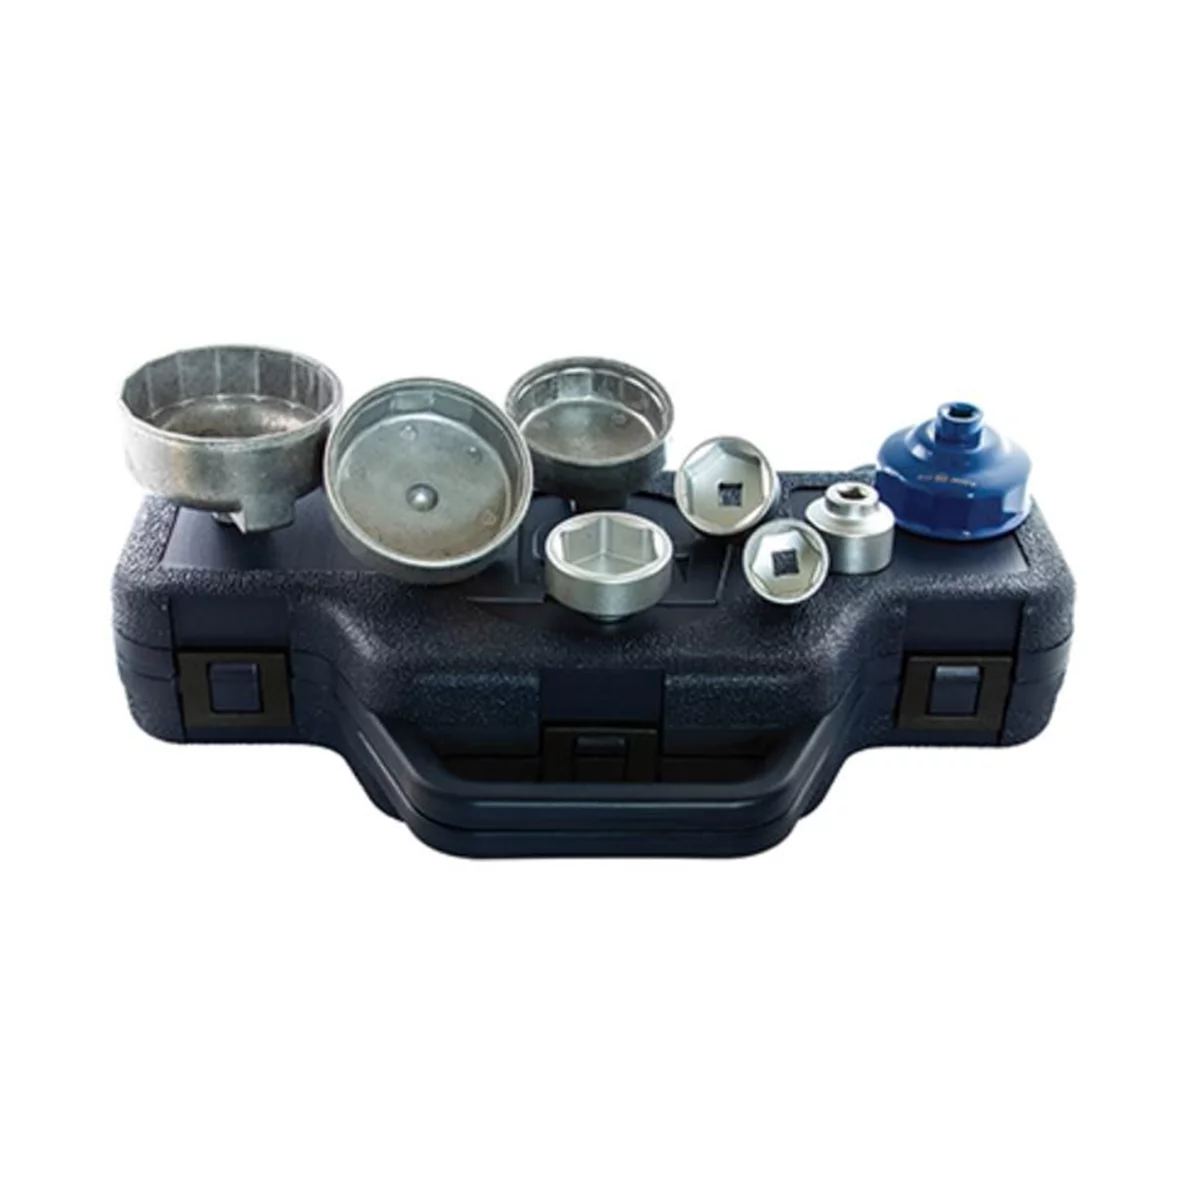
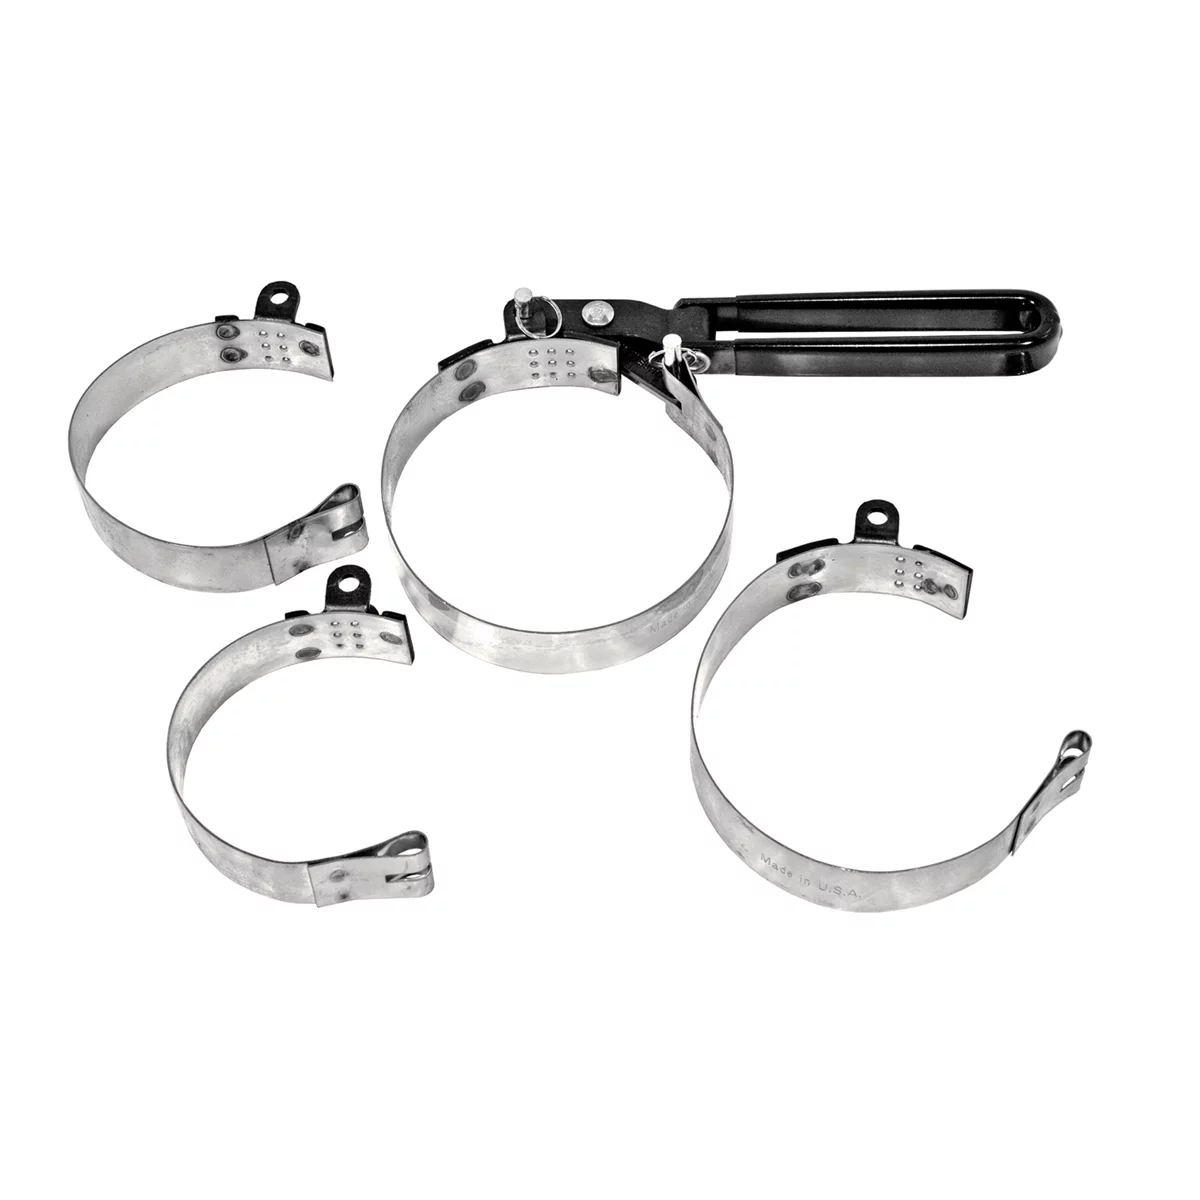
4 Piece Interchangeable Oil Filter Wrench Set
Mfg: K Tool International
Part #: KTI73600
FAQs
Why did my oil filter tear in half instead of unscrewing?
This almost always points to a band wrench or strap having been placed on the thin end of the filter instead of the reinforced base during a prior install, or to channel locks biting through a thin-wall canister. Once the shell tears, you lose your grip point and the job gets much harder.
Is it safe to puncture a stuck filter with a screwdriver to get leverage?
It works, but it’s a last resort, not a first move. It sends oil out through the puncture point unpredictably and usually doesn’t fully solve the grip problem — you’ll likely still need a chisel or pliers on the base afterward. Try a band or strap wrench at the base first.
Should I use anti-seize or thread locker on the oil filter threads?
No. Oil filter threads don’t require any sealant or thread compound. A thin film of fresh oil on the gasket is all that’s needed for a proper seal and easy future removal.
How tight should an oil filter actually be?
The traditional rule is hand-tight plus about three-quarters of a turn once the gasket contacts the sealing surface. Some GM and Chrysler HEMI applications have manufacturer TSBs specifying a firmer final torque — check the spec for your specific engine if you’re unsure.
What should I check after forcibly removing a damaged filter?
Confirm the old gasket came off with the filter and isn’t still stuck to the mounting surface — a double-gasket situation is a common cause of leaks after a rough removal. Also inspect the threads on the filter adapter nipple for nicks from chisel or pry-tool contact.
Are cheaper oil filters more likely to cause this problem?
Generally yes. Thinner canister walls, common in filters bundled with discount oil-change deals, dent and tear more easily under pliers or a band wrench, especially if the filter was already over-tightened at installation.
Recommended Tools
A dedicated Oil Filter Wrench prevents most of the damage discussed in this guide. Band wrenches, strap wrenches, and filter sockets are sized to handle filters of different dimensions and engine compartment configurations.
- Band wrenches and strap wrenches for placement at the filter base
- Filter sockets and cap wrenches compatible with standard 3/8″ and 1/2″ ratchets
- Heavy-duty construction to grip damaged or over-tightened filters reliably

The Toolsource Technical Team blends decades of real-world automotive service experience with up-to-date technical research. Our writers collaborate with professional mechanics, shop owners, and diagnostic specialists to deliver practical, workshop-ready guidance you can trust.


Follow us on social media