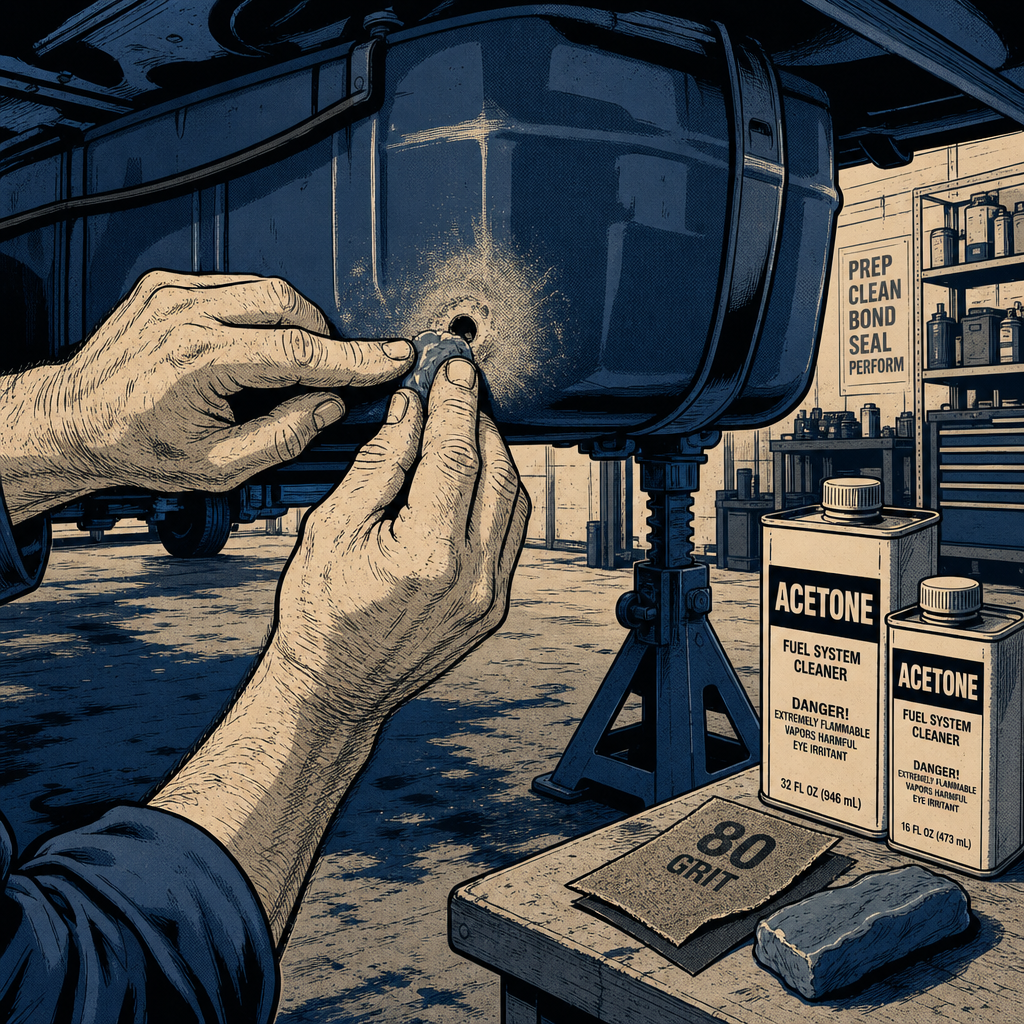
Fuel theft by drilling has become an epidemic problem for vehicle owners and fleet managers. Insurance appraisers report seeing multiple drilled tanks weekly, with thieves causing hundreds or thousands of dollars in damage to steal perhaps twenty dollars’ worth of gasoline. Whether your tank is steel or polymer, a drilled hole doesn’t automatically mean replacement. Field technicians have developed several proven repair methods that restore tank integrity permanently when executed correctly. This guide synthesizes real-world repair experience to help you choose and execute the right fix for your situation.
Understanding the Damage and Material Considerations
Before attempting any repair, you need to identify your tank material. Modern vehicles predominantly use high-density polyethylene (HDPE) or cross-linked polyethylene tanks, while older vehicles and some heavy-duty applications still use steel. This distinction is critical because repair methods differ significantly.
Steel tanks offer more repair options and generally accept epoxy adhesives more readily. The primary challenge with steel is surface preparation—you’re working with a contaminated surface that’s been soaked in gasoline, often for years. Any rust, scale, or fuel residue will prevent proper adhesion.
Polymer tanks present different challenges. The plastic used in fuel tanks is specifically formulated to resist gasoline degradation, which ironically makes it difficult to bond with adhesives. Not all epoxies are fuel-rated, and using the wrong product will result in degradation, leaking, and contamination of your fuel system with polymer particles that can destroy fuel pumps and clog filters.
The hole size matters as well. Thieves typically drill 1/4-inch to 1/2-inch holes—large enough for fuel to flow quickly but small enough to use a standard drill bit. Smaller holes are easier to patch with epoxy alone, while larger holes benefit from mechanical reinforcement with threaded inserts or plugs.
The JB Weld TankWeld Method: Industry Standard for Polymer Tanks
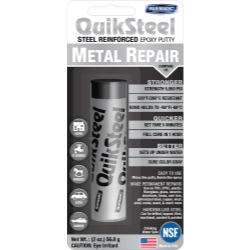
JB Weld TankWeld (marketed as QuickSteel or similar plastic tank repair kits) represents the most reliable solution for polymer fuel tanks. This isn’t standard JB Weld—it’s a specialized epoxy formulation designed specifically for gasoline contact. Field reports confirm repairs lasting five-plus years when properly executed.
Surface preparation is non-negotiable. Start by draining the tank below the hole level or removing the tank entirely if possible. Clean the exterior around the hole with acetone, working in a circular pattern at least two inches beyond the damage. For the interior, you need to reach through the hole with acetone-soaked material to clean approximately 5mm of the inner surface. This step removes fuel residue and promotes adhesion.
Allow complete solvent evaporation—at least 30 minutes in a ventilated area. Any remaining acetone will compromise the cure. Scuff the cleaned area with 80-grit sandpaper to create mechanical grip. The surface should feel rough to the touch.
Mix the two-part epoxy according to kit instructions, typically a 1:1 ratio. Work time is limited to 5-10 minutes, so have everything prepared before mixing. Apply the epoxy from the outside, pressing firmly to ensure it flows slightly into the hole and contacts the cleaned interior surface. Build up material to create a slight dome over the hole—don’t just fill it flush.
Cure time is critical. Most fuel-rated epoxies require 24 hours minimum before fuel contact, with full strength developing over 72 hours. Rushing this step is the most common failure point. Temperature affects cure time—cold weather extends it significantly.
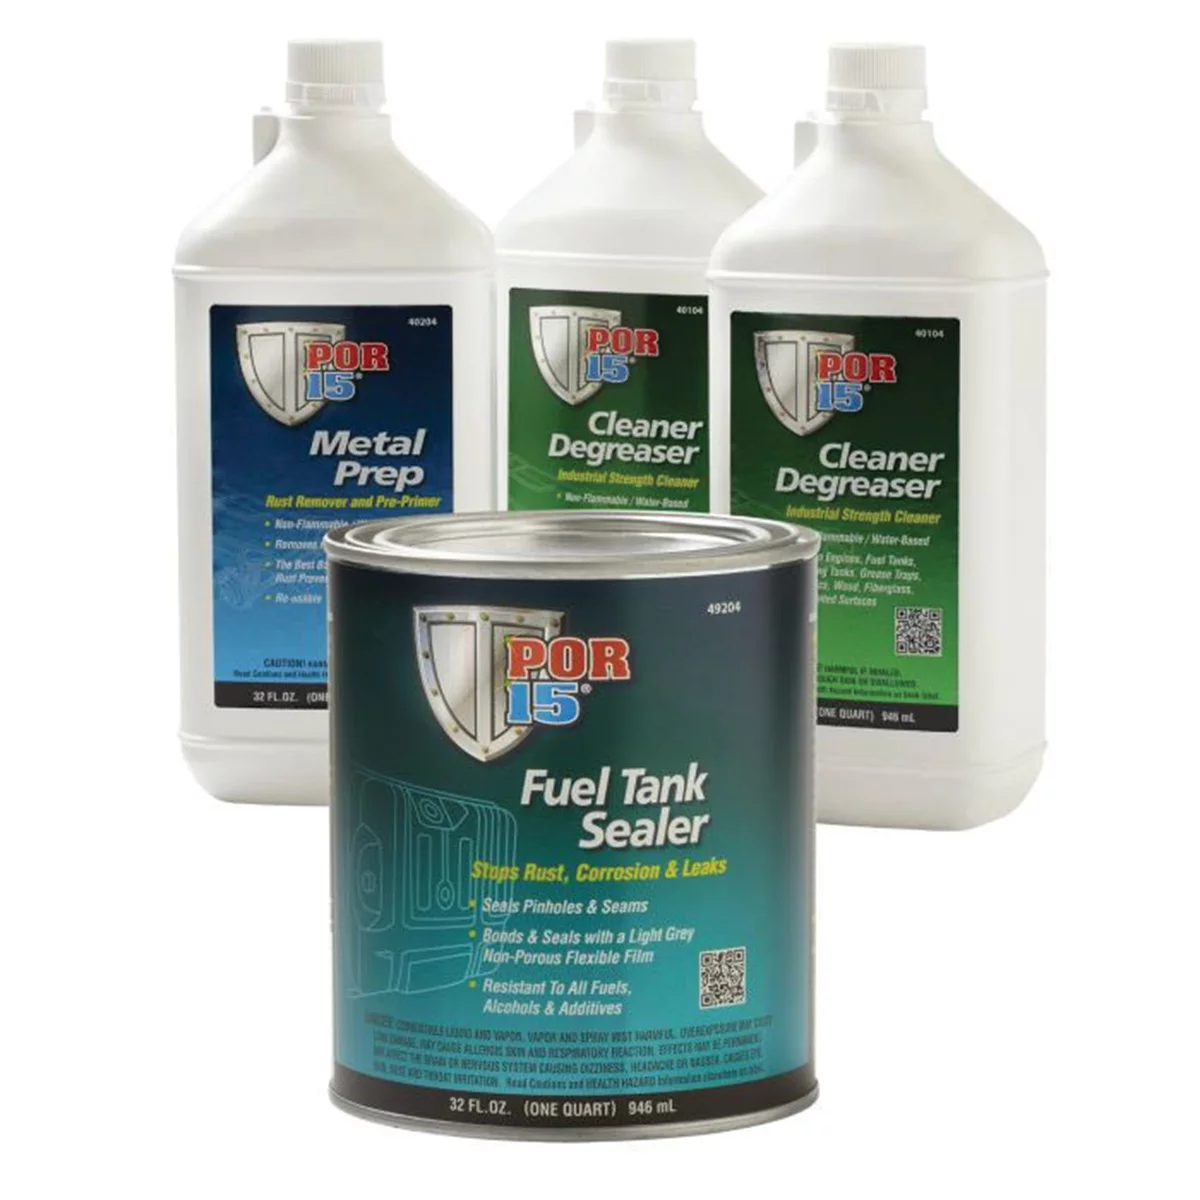

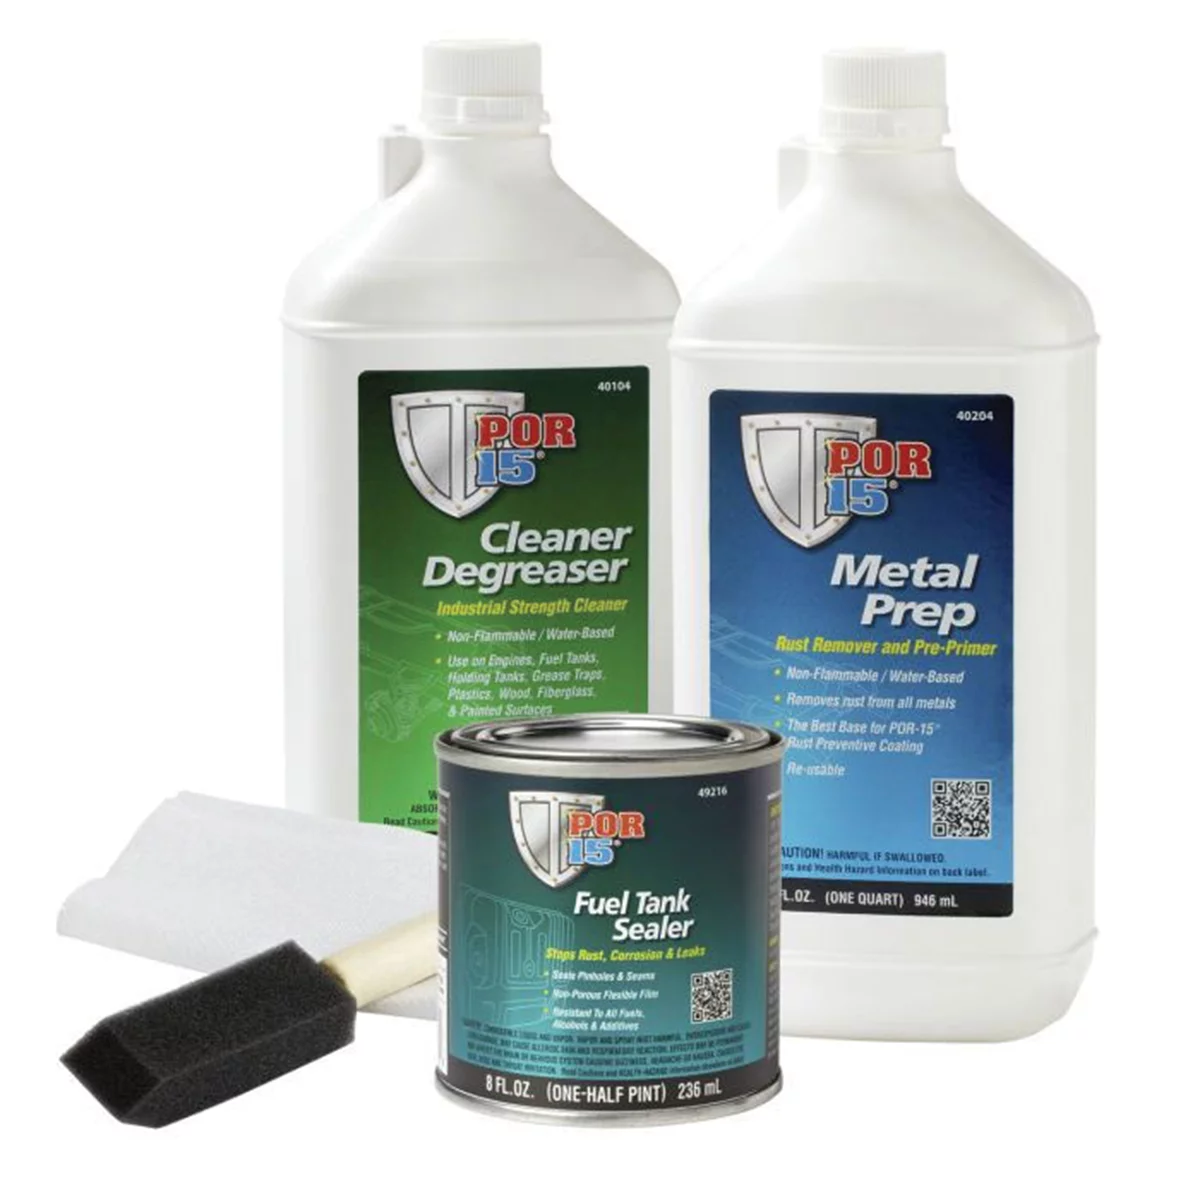
Threaded Plug Repair: Adding Mechanical Strength
For larger holes or when you want maximum security, threading the hole and installing a plug provides mechanical retention that doesn’t rely solely on adhesive strength. This method works exceptionally well on steel tanks and can be adapted for thicker polymer tanks.
Start by drilling out the existing hole to the next larger size that corresponds to a standard NPT (National Pipe Thread) tap size. For a typical 1/4-inch theft hole, you’d drill to 7/16-inch for a 1/8 NPT tap, or 9/16-inch for a 1/4 NPT tap. The goal is to create clean, round hole with no jagged edges.
Tap the hole carefully. For steel tanks, use cutting oil and work slowly—these are thin-wall applications and it’s easy to strip threads with excessive force. Back the tap out every few turns to clear chips. For polymer tanks, use a sharp tap and even lighter pressure. You’re forming threads in plastic, which requires finesse.
Select a plug—brass is ideal for corrosion resistance, but steel works for temporary repairs. Apply fuel-resistant thread sealant (not standard Teflon tape) to the threads. Pipe dope formulated for gasoline is available at automotive and industrial suppliers. Thread the plug in hand-tight, then snug with a wrench—don’t overtorque, especially in polymer.
For additional security, apply a fillet of fuel-rated epoxy around the plug exterior after installation. This creates a secondary seal and distributes stress. One technician reported using this method on two trucks over five years and two years respectively, with both holding strong.
Alternative Repair Methods and When to Use Them
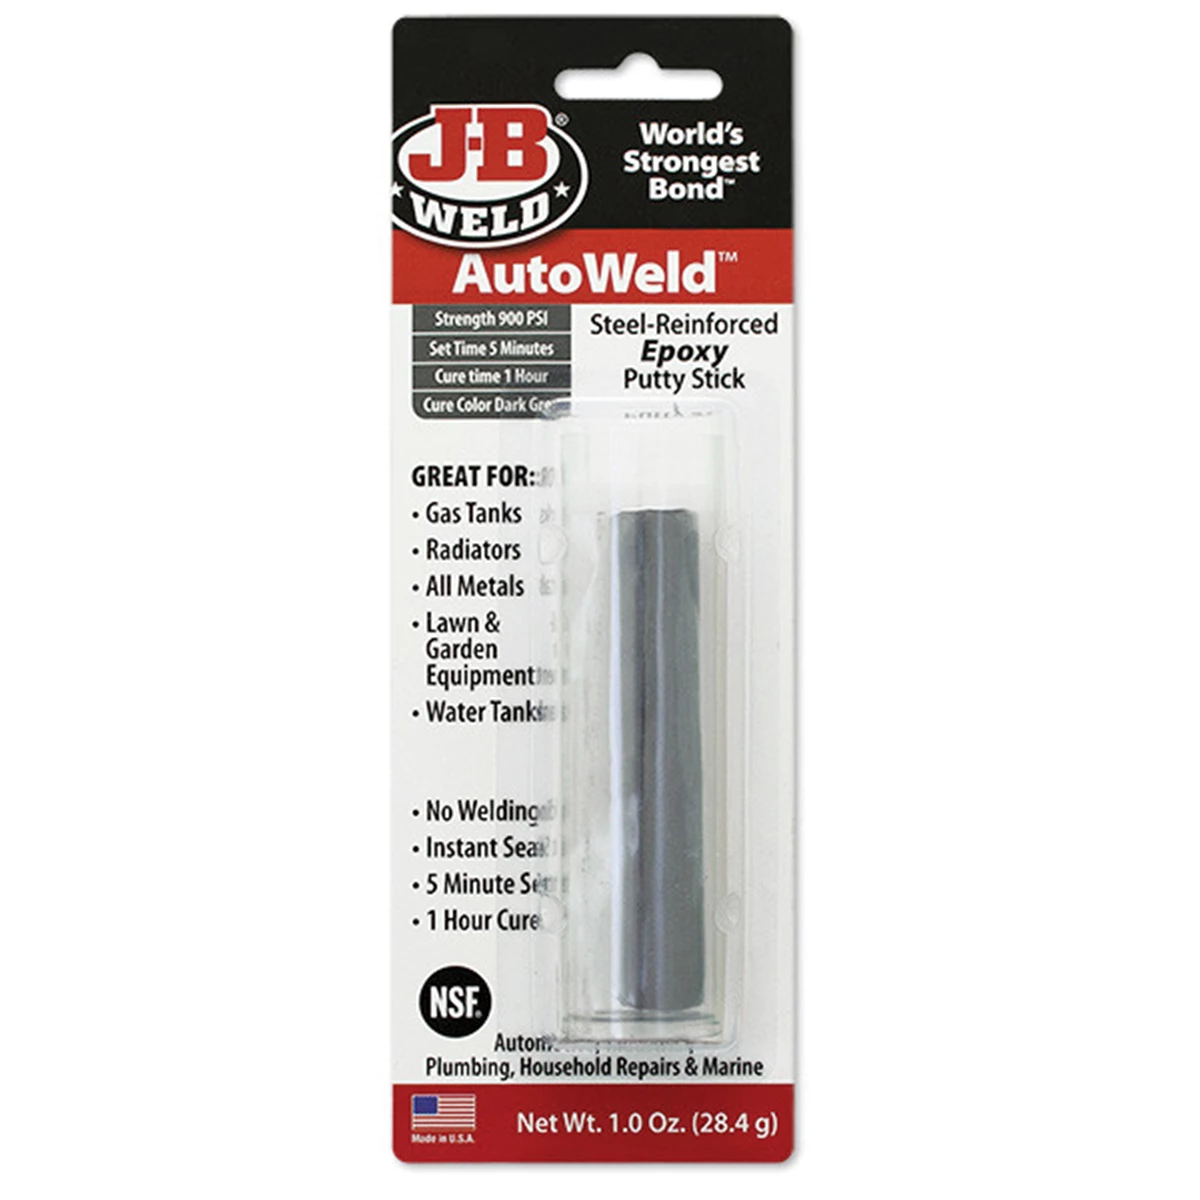
JB Weld Steel Stick provides a quick field repair option for steel tanks. This is a putty-style epoxy that you knead to activate and press into place. It’s particularly useful for roadside emergencies. While not as durable as TankWeld on polymer, multiple users report multi-year service life on steel tanks. Surface prep remains critical—clean and scuff thoroughly.
Rubber expansion plugs from plumbing supply houses offer a temporary solution when you need immediate mobility. These tapered plugs compress as you tighten the center bolt, expanding to fill the hole. One technician successfully used this method to temporarily repair a stripped oil pan. For fuel tanks, this buys you time to arrange a proper repair, but it’s not a permanent solution. Gasoline will eventually degrade the rubber.
Toggle bolt repairs involve using a fender washer on the exterior, a thick fuel-resistant gasket, and a toggle mechanism on the interior to distribute clamping force. This prevents the fastener from pulling through the thin tank wall. The challenge is installing the interior toggle through the drilled hole, which may require enlarging the hole. Use this method only when the hole location allows interior access or when the tank will be removed for other service.
Some technicians report success with Permatex Motoseal or Seal-All adhesives. These products offer excellent fuel resistance. Seal-All in particular has strong solvent resistance properties. Apply these following the same surface prep protocol as epoxy repairs.
Surface Preparation Checklist
- Drain or lower fuel level below the damage point
- Work in a ventilated area away from ignition sources
- Clean exterior 2-inch radius with acetone or brake cleaner
- Clean interior surface around hole perimeter
- Allow complete solvent evaporation (minimum 30 minutes)
- Scuff cleaned area with 80-grit sandpaper
- Remove all dust and debris with clean, dry cloth
- Verify repair material is fuel-rated before application
- Follow manufacturer’s cure time before refueling
- Inspect repair after 24 hours for proper adhesion
What Not to Do: Common Mistakes That Cause Failures
The boat drain plug suggestion appears frequently but is fundamentally flawed. Marine drain plugs use polymer materials not rated for gasoline contact. These will degrade quickly, leaking fuel and shedding particles into your tank that will damage fuel pumps and clog filters. The thread design of marine plugs also doesn’t match fuel tank wall thickness requirements.
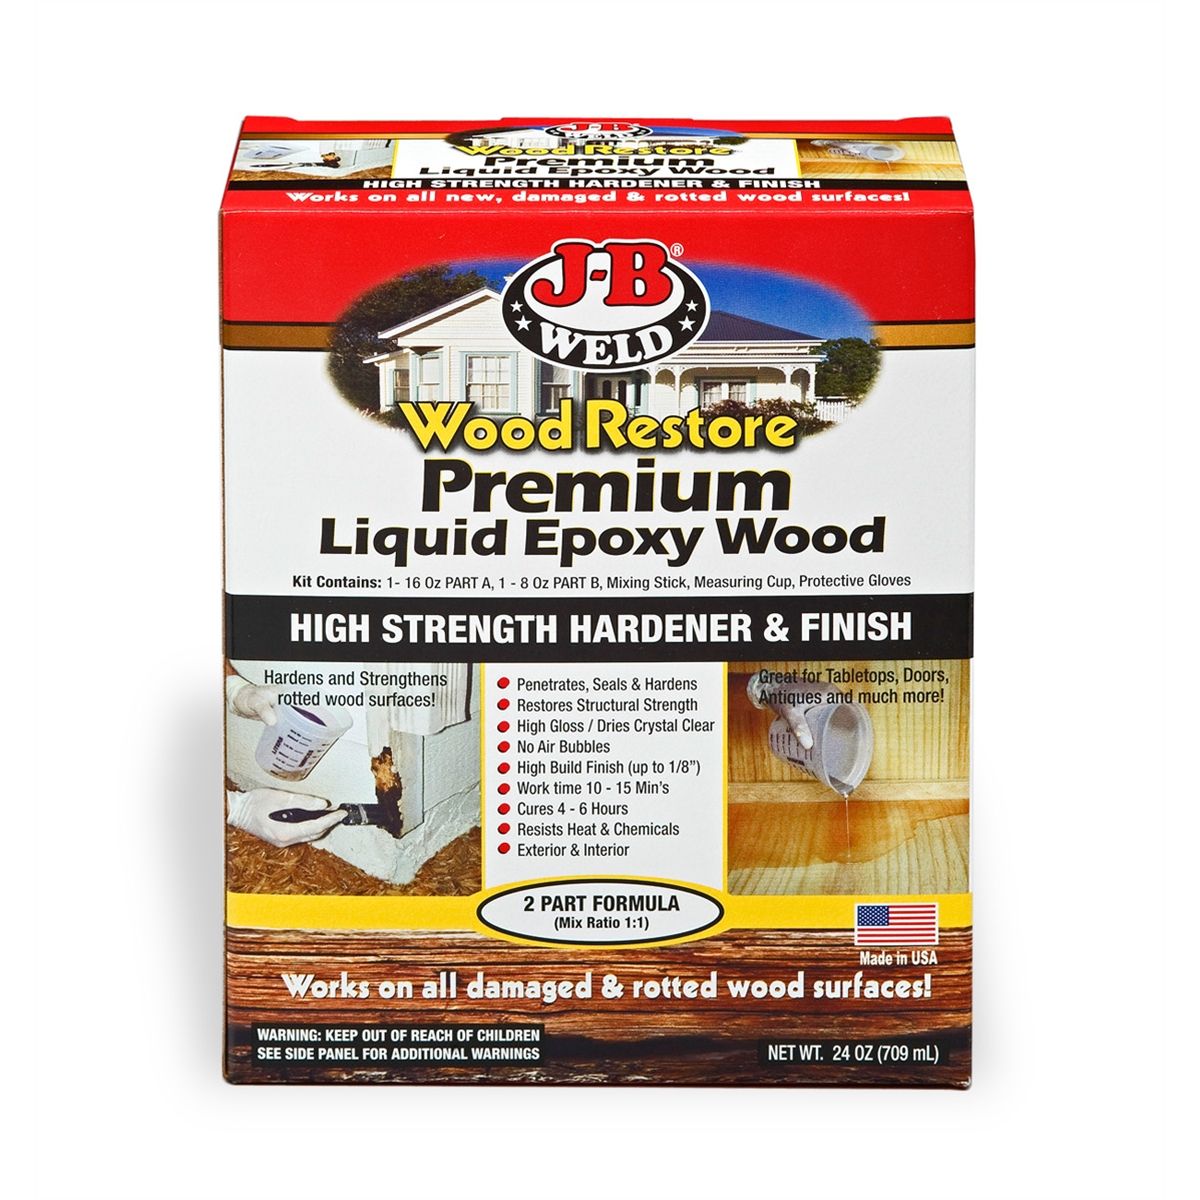
Standard JB Weld (the original formula) works on steel tanks but fails on polymer. Users report gasoline eating through non-fuel-rated epoxies within days or weeks. Always verify the product is specifically rated for gasoline contact. Look for “fuel tank repair” or “gasoline resistant” on the packaging.
Inadequate surface preparation accounts for most repair failures. You cannot skip the cleaning and scuffing steps. Fuel residue, even invisible amounts, prevents adhesion. Similarly, applying epoxy over rust, paint, or undercoating guarantees failure. If the repair debonds, poor prep is almost always the cause, not product failure.
Rushing the cure time is the second most common mistake. The repair might look solid after a few hours, but the epoxy hasn’t developed full strength or fuel resistance. Adding gasoline before complete cure can cause the repair to soften or fail. Most products require 24-72 hours—plan accordingly.
Using air tools or excessive force when tapping threads will strip the hole, especially in polymer. Hand-tap these repairs and use light pressure. If resistance increases significantly, back out and check for chip buildup rather than forcing the tap forward.
Prevention: Deterring Future Theft
Tank shields are the most effective physical deterrent. These steel or aluminum plates mount underneath the vehicle, covering the tank. While determined thieves can still access tanks, shields make the job difficult enough that they typically move to easier targets. Several manufacturers offer vehicle-specific kits.
Parking strategy matters more than most people realize. Well-lit areas with camera coverage or foot traffic significantly reduce theft risk. If you park in a driveway, motion-activated lights create deterrence. For fleet vehicles, designated secured parking areas with fencing and lighting are worth the investment given the damage costs.
Fuel level management provides a minor deterrent—keeping tanks below half reduces the theft payoff. However, this isn’t practical for most users and won’t stop determined thieves.
Some owners install aftermarket locking fuel doors, but thieves drilling tanks are already bypassing the fuel door entirely. These locks help prevent siphoning but don’t address drill theft.
When to Replace Rather Than Repair
Multiple drill holes or holes larger than 3/4-inch move into replacement territory. While you can patch multiple holes, each repair is a potential failure point, and tank integrity becomes questionable.
Holes near tank seams, mounting points, or the fuel pump access area are difficult to repair properly. The stress concentration at these locations makes repair failure more likely. Similarly, damage to the tank itself during the drilling—cracks radiating from the hole or deformation—indicates compromised structure.
Age and condition matter. If the tank is already showing corrosion (steel) or previous damage, a drill hole might be the justification needed for replacement you’ve been postponing. Factor in labor costs—if the tank is coming out anyway for another repair, replacement might make economic sense.
Insurance coverage affects this calculation. Many policies cover theft-related damage with a deductible. Verify coverage before deciding between repair and replacement. In some cases, proper documentation of the theft (police report) is required for coverage.
Frequently Asked Questions
Will a fuel tank repair pass vehicle inspection?
This depends on your jurisdiction’s inspection requirements. Most states don’t specifically address repaired tanks in inspection criteria, focusing instead on whether the tank leaks. A properly executed epoxy or threaded plug repair that shows no leakage will typically pass. However, some inspectors may flag obvious repairs for additional scrutiny. Check your local regulations or consult with an inspection station beforehand.
How long does a JB Weld TankWeld repair actually last?
Field reports confirm 5+ years of service when the repair is properly executed with correct surface prep and full cure time. Several technicians report even longer service life. The key variables are surface preparation quality and allowing complete cure before fuel contact. Rushed repairs fail within months; properly done repairs can last the remaining vehicle life.
Can I repair the tank without removing it from the vehicle?
Yes, for exterior-only repairs like TankWeld epoxy or threaded plugs that don’t require interior access. You’ll need to lower the fuel level below the hole, which may require siphoning or driving until nearly empty. Work area access can be challenging—you may need to work from under the vehicle on jack stands. Tank removal provides better access and allows thorough interior cleaning, but isn’t strictly necessary for most repair methods.
Why do thieves drill tanks instead of siphoning?
Modern vehicles have anti-siphon devices in the fuel filler neck that prevent tube insertion into the tank. Drilling bypasses this protection entirely. Additionally, drilling is faster than siphoning and requires no special equipment beyond a drill. The thieves don’t care about the damage cost since they’re not paying for repairs.
Is there any way to claim the repair cost?
Check your auto insurance policy—many comprehensive coverage plans cover theft-related damage including drilled tanks, subject to your deductible. You’ll typically need a police report documenting the theft. If your deductible is higher than the repair cost, filing may not be worthwhile. Some jurisdictions have victim compensation programs for property crime, though fuel theft rarely qualifies.
What’s the best repair method for a plastic tank?
JB Weld TankWeld or equivalent fuel-rated epoxy system designed specifically for plastic tanks provides the most reliable repair. The key is ensuring the product is formulated for gasoline contact and plastic substrates. Follow the surface prep protocol exactly—acetone cleaning inside and out, complete evaporation, and scuffing. Allow full cure time. This method consistently delivers multi-year service life.
Fuel Tank Repair Tools & Supplies
Executing a proper fuel tank repair requires the right materials and tools. Our Fuel Tank category stocks epoxy systems, threaded plugs, surface prep materials, and specialty tools designed for fuel system work.
- Fuel-rated epoxy adhesives and putty compounds
- Threaded plugs, taps, and pipe thread sealants
- Surface preparation tools and cleaning supplies

The Toolsource Technical Team blends decades of real-world automotive service experience with up-to-date technical research. Our writers collaborate with professional mechanics, shop owners, and diagnostic specialists to deliver practical, workshop-ready guidance you can trust.


Follow us on social media