Broken or twisted adapters jammed in an extension or ratchet head are common in real-world shop use. This guide gives you practical, technician-tested methods to remove the stuck piece without destroying the tool, plus a quick rundown on current lifetime warranty realities for popular brands and retailers. Use the fastest effective step for the job and know when to quit and replace.
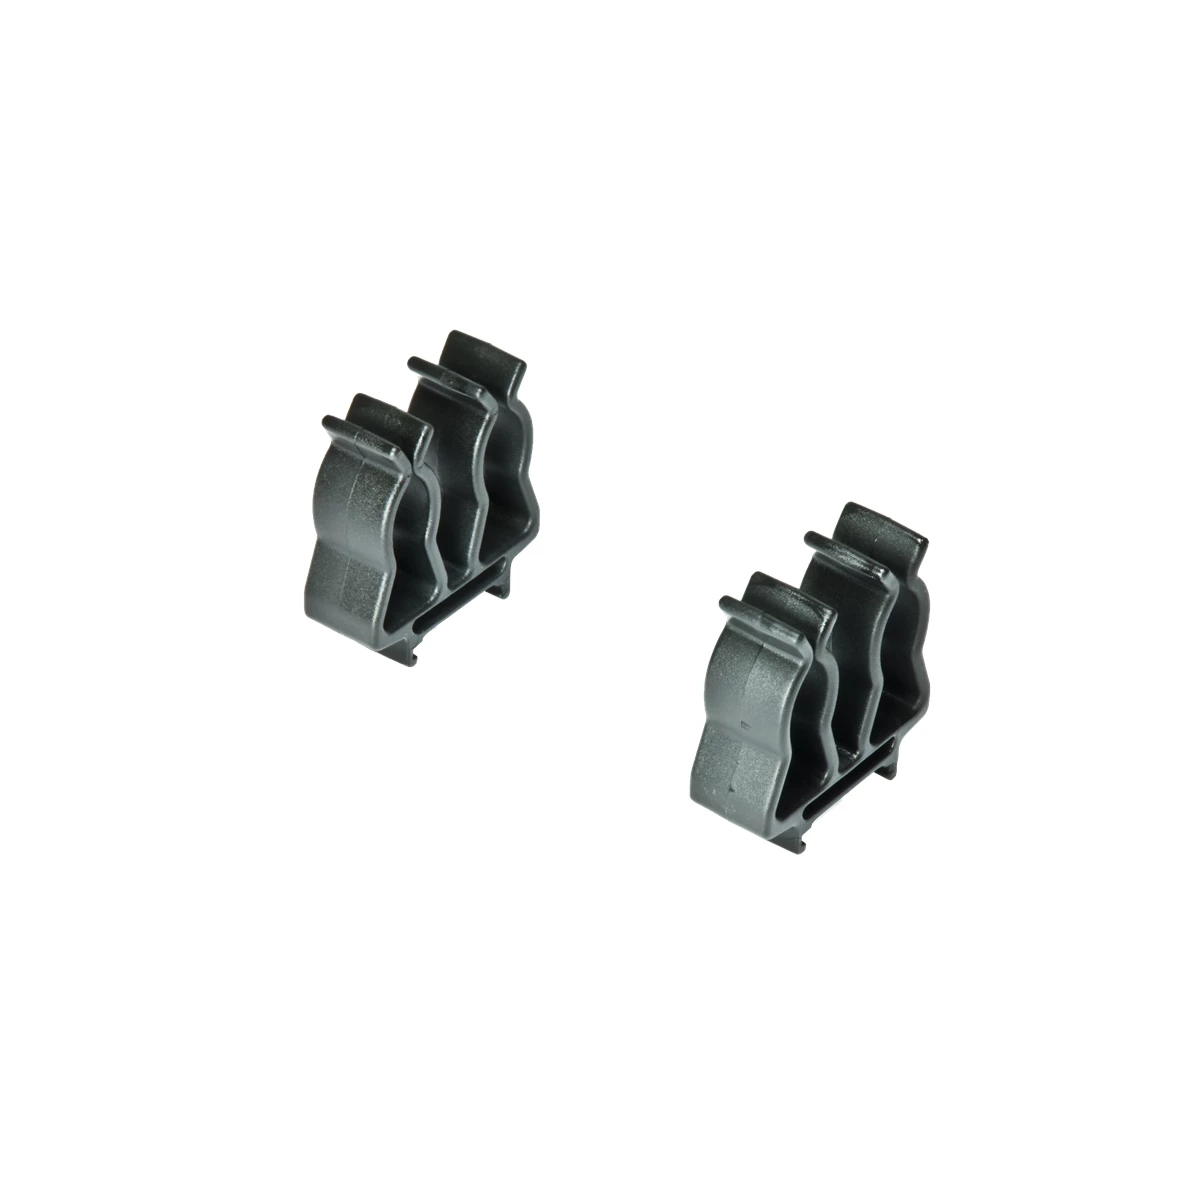
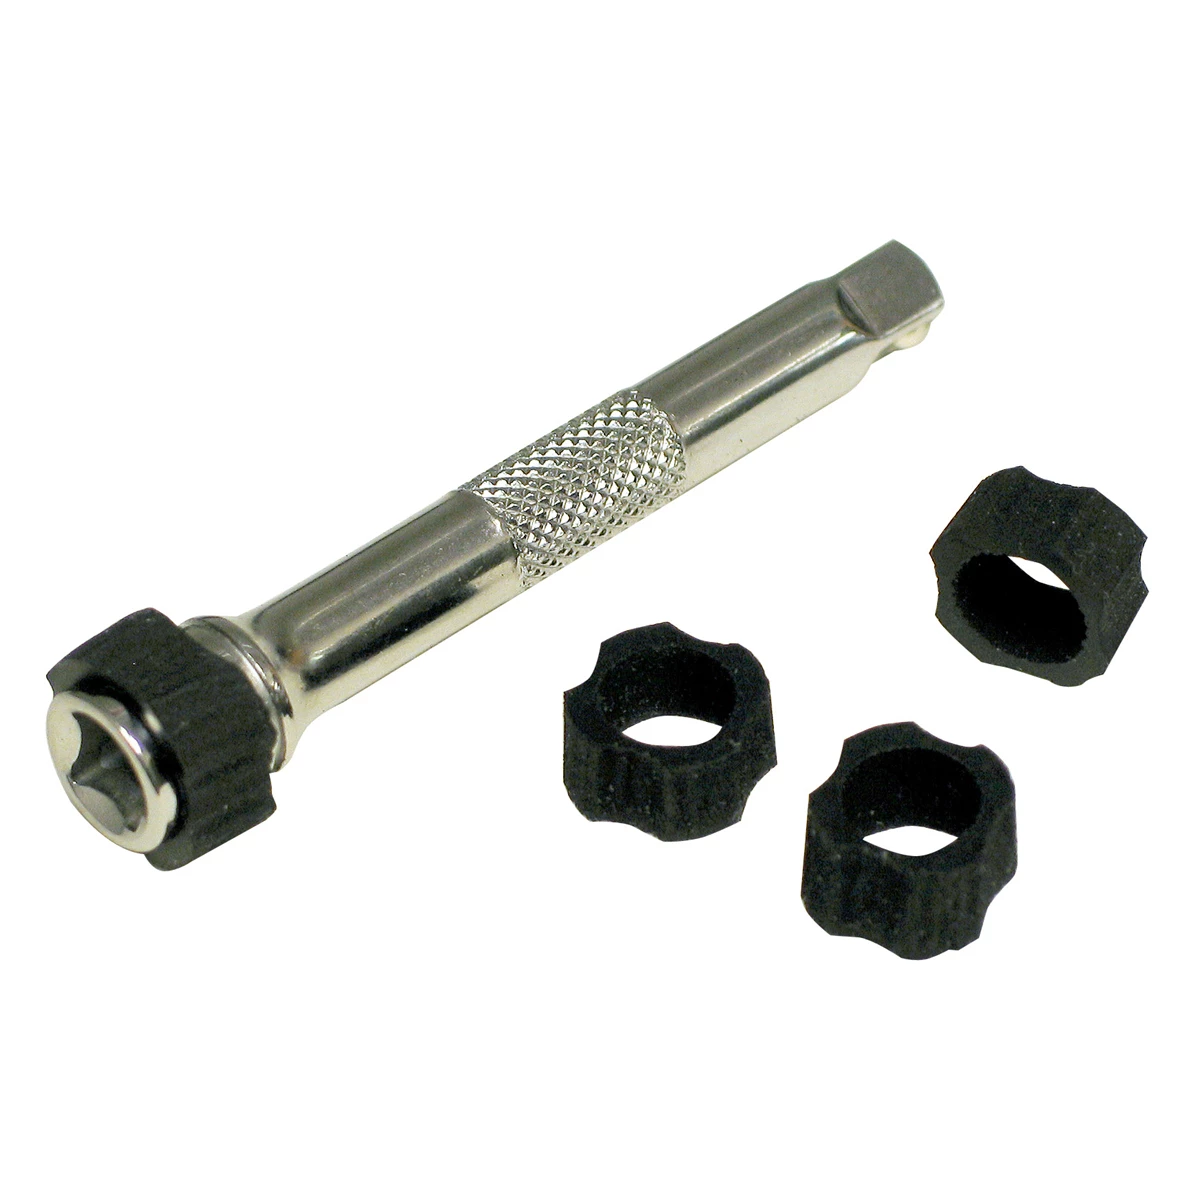
Bulldog Grip-IT 1/4" Ratchet Extension Collars 4-Pack
Mfg: Thexton Mfg Co
Part #: 463-25
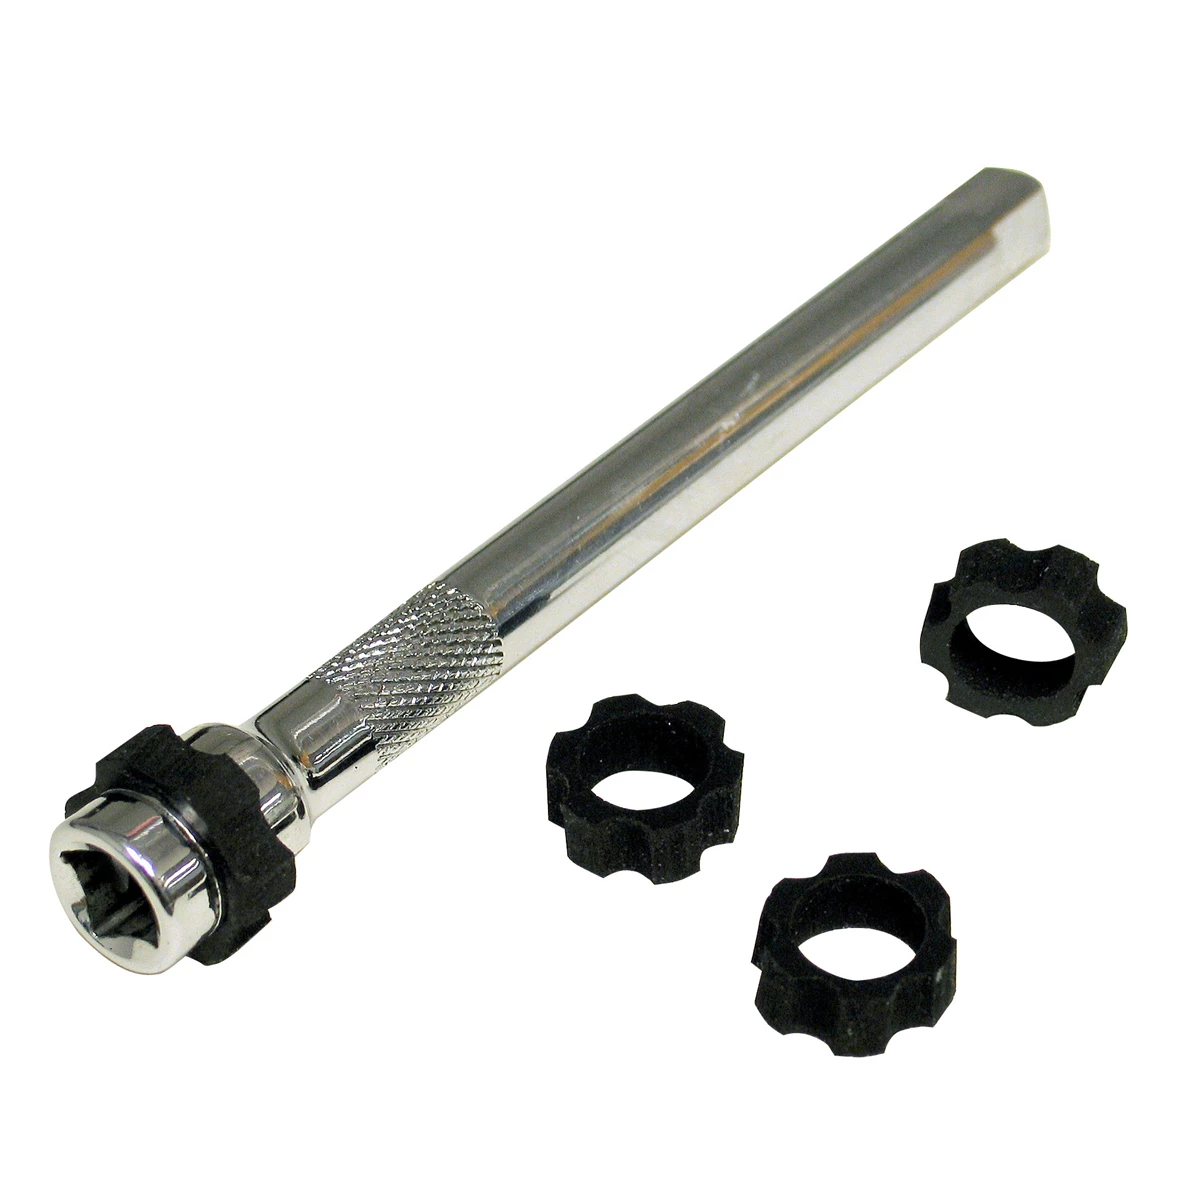
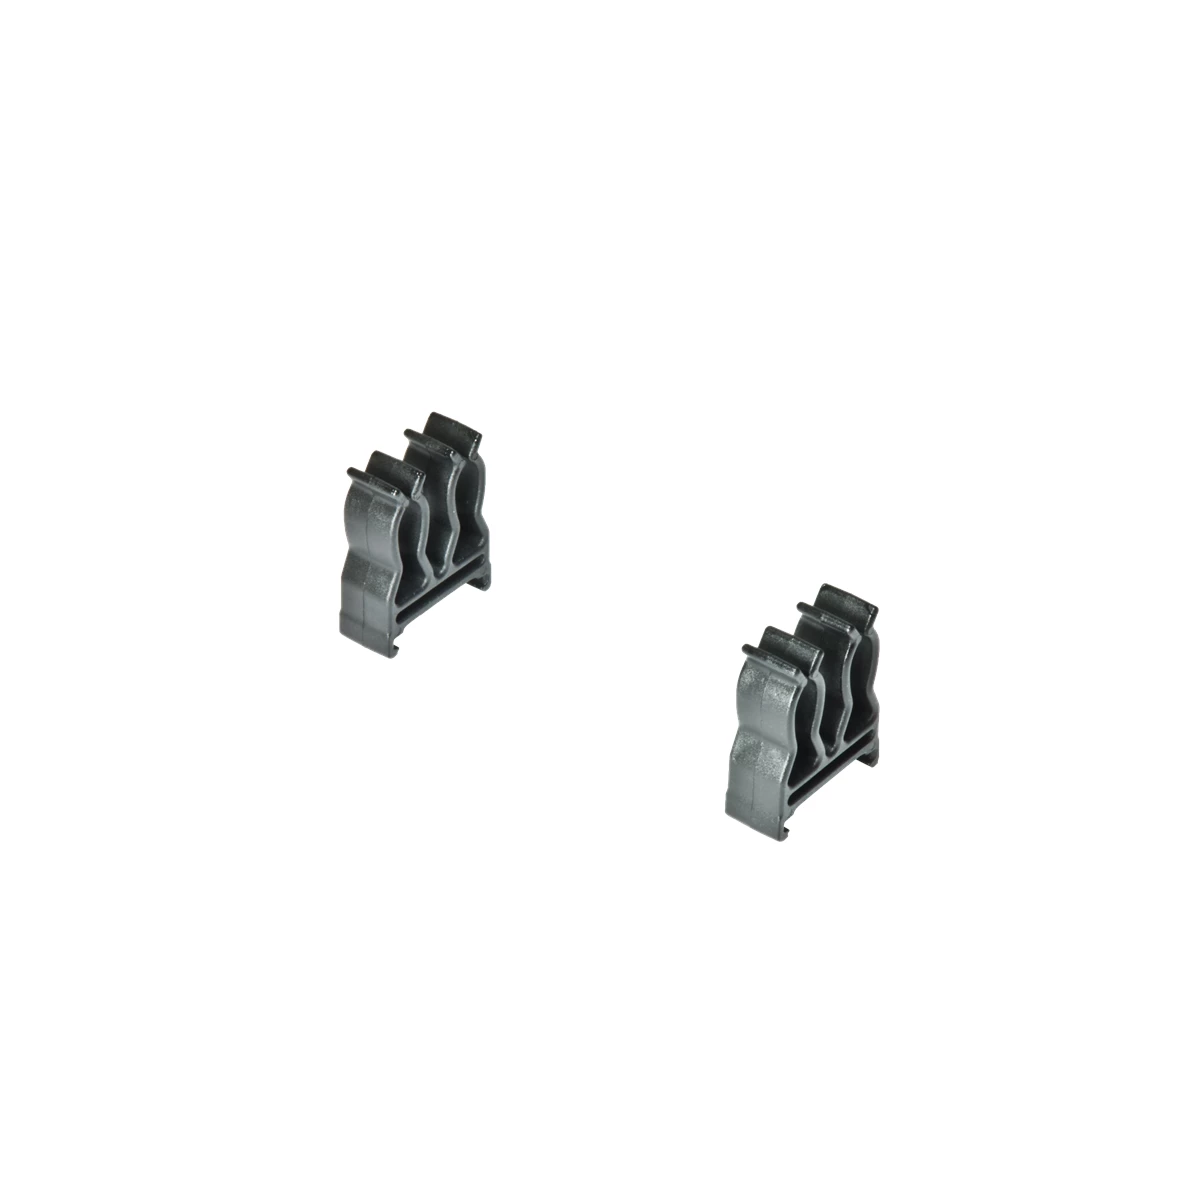
Bulldog Grip-IT Ratchet Extension Grip Collars 4/Pk 3/8 In
Mfg: Thexton Mfg Co
Part #: 463-38
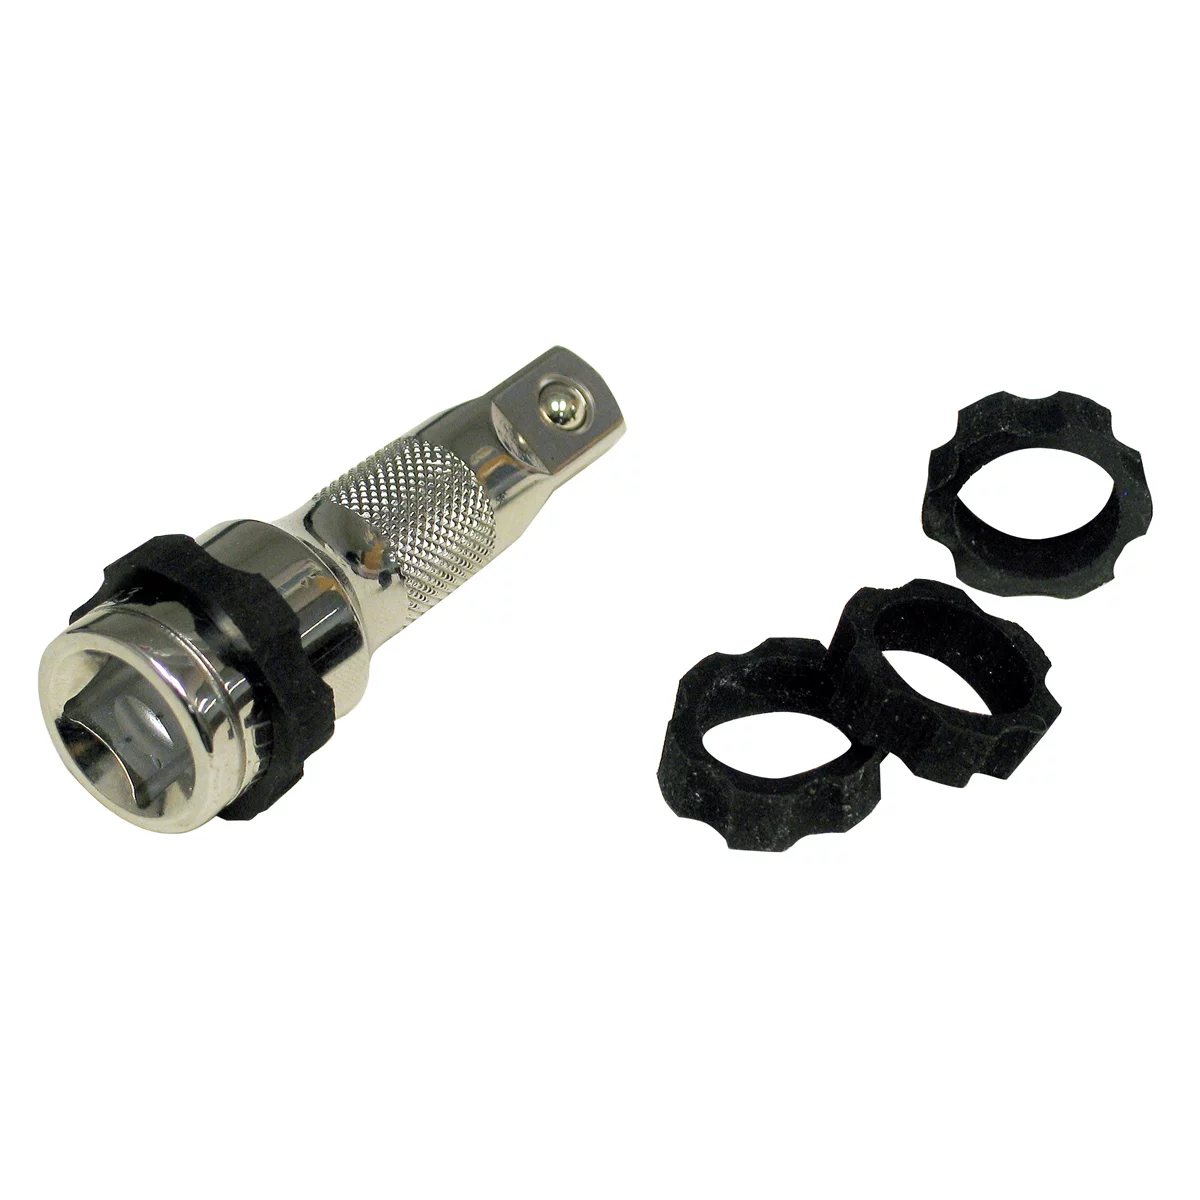
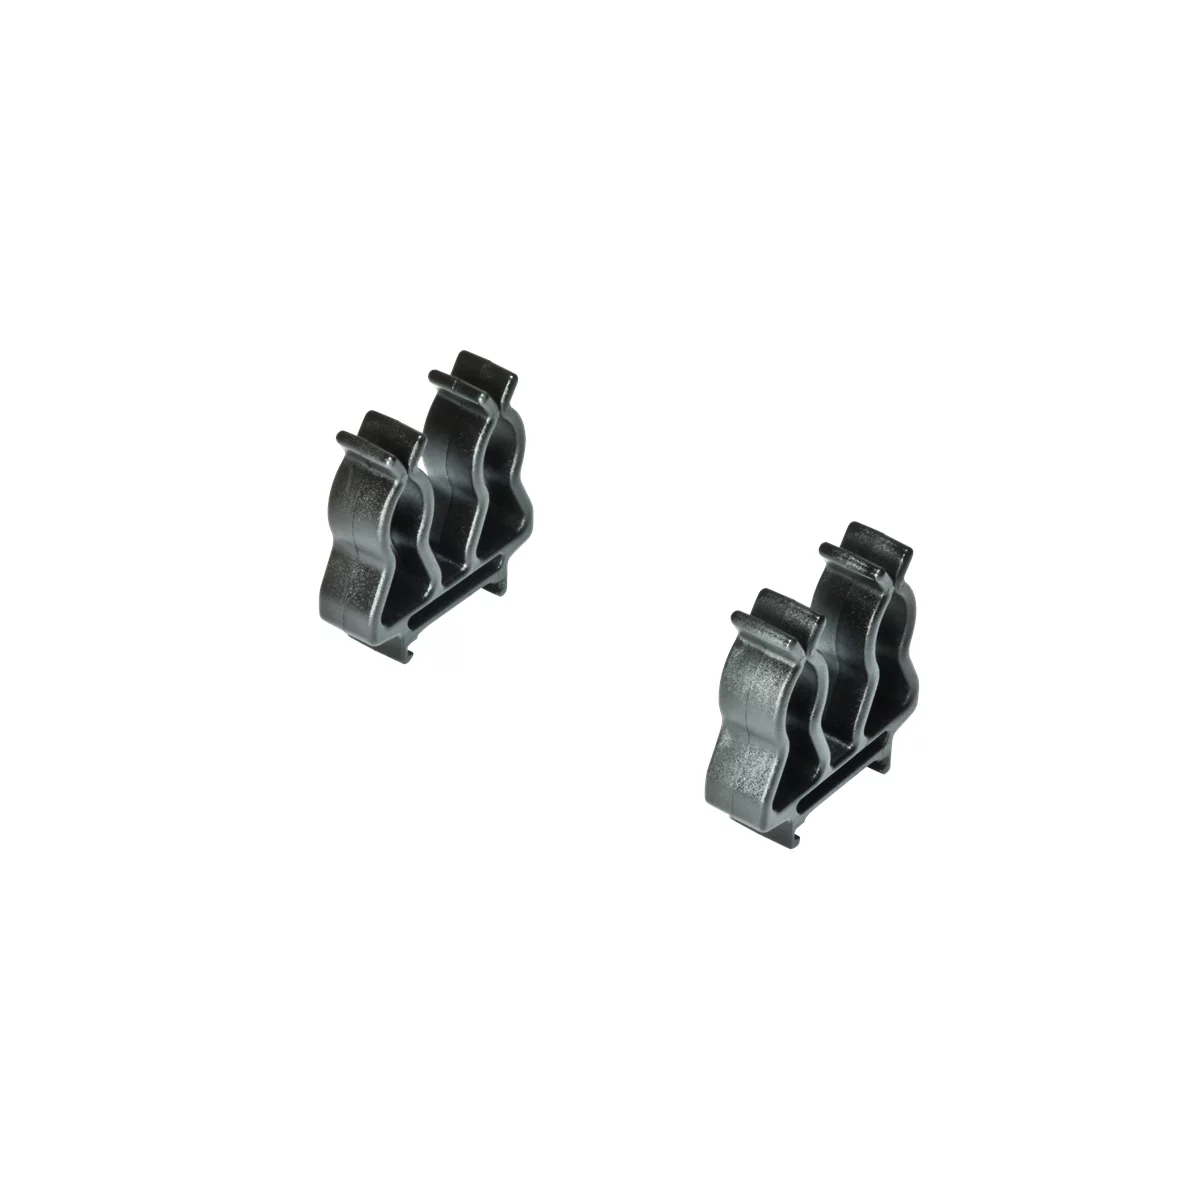
Bulldog Grip-IT Ratchet Extension Grip Collars 4/Pk 1/2 In
Mfg: Thexton Mfg Co
Part #: 463-50
Diagnose the Jam: What Failed and Why It’s Stuck
Before you start, identify how and why the adapter is locked up. The goal is to reduce interference, not increase it.
- Typical failure mode: The square drive of the adapter twists under torque (especially with off-axis load or impact use), plastically deforming the square into a rhombus. That wedge shape binds in the female square of the extension or ratchet.
- Material state: Many adapters are mid- to high-carbon tool steel with surface hardening. Twisting causes work hardening at the corners, making drilling and cutting tougher and the fragment more brittle.
- Direction matters: The piece jammed due to torsion in a specific direction. If you can relieve that torsion in the unwind direction, it may loosen easily. Look for visible twist of the flats; use a fine marker to draw a square reference and note which way it skewed.
- Critical assessment: If the stuck piece is cheap (e.g., standard 3/8″ to 1/4″ adapter) and the host tool is also low-value, replacing may be more cost-effective. If the host is a quality ratchet/extension you want to save, controlled extraction is worth the time.
Quick checklist before you start
- Secure clamping: bench vise with soft jaws or aluminum jaw covers
- Eye protection and gloves; hearing protection if drilling
- Penetrating oil and a small brass or steel punch
- Cutting fluid, center punch, quality drill bits (cobalt or solid carbide if needed)
- Extractors (straight flute or square shank preferred), T-handle
- Heat source (heat gun or small torch) and optional cold source (canned air inverted or freezer)
- Welding setup (MIG/TIG) only if you’re comfortable and it’s warranted as a last resort
Start Simple: Non-Destructive Techniques That Often Work
Try these in order. They’re quick, low-risk, and often enough to free a lightly twisted fragment.
- Vise-and-punch realignment
- Clamp the host tool (extension/ratchet head) vertically with the stuck adapter stub facing up.
- Apply penetrating oil and let it wick in for a few minutes.
- Place a pointed or chisel punch on a high corner of the stuck square. Deliver small taps aimed to “square up” the rhombus. You’re nudging corners back into alignment, not pounding blindly.
- Rotate and repeat on opposing corners. Check frequently. Once it starts to move, grab with needle-nose pliers or small locking pliers and pull straight up while gently wiggling.
- Thermal differential
- Goal: expand the outer female square slightly relative to the inner stub.
- Warm the host tool evenly with a heat gun (less risk than an open flame on chrome tools). Moderate heat is enough; don’t blue the steel.
- Optionally chill the inner fragment by blasting a straw of inverted compressed air directly down the bore to cool the center. Work quickly—differential is brief.
- Re-try the vise-and-punch technique or straight pull with pliers while warm.
- Controlled shock (not a “yeet”)
- While held in a vise, a few firm taps on the side of the host tool near the square pocket can help break friction. Avoid uncontrolled throwing that can damage the tool or injure you.
Drill-and-Extract: Controlled Removal When Taps Don’t Free It
If the fragment is deeply wedged, drilling a pilot and using an extractor can give you purchase. Work slowly; you’re drilling a hardened or work-hardened piece inside another tool.
- Mark and center
- Use a sharp center punch to dimple the center of the stuck square. If it’s off-center, the bit will walk and you’ll damage the host tool.
- Bit selection and speed
- Preferred: M35/M42 cobalt bits for most tool steels. Use solid carbide only with very rigid fixturing; carbide is brittle in a hand drill.
- Use cutting oil, low RPM, steady feed. Stop if the bit glows or chips; resharpen or step down a size.
- Direction choice: left-hand vs right-hand
- Broken fasteners generally benefit from left-hand bits (they can unwind the piece as they cut).
- Twisted square stubs are different: a left-hand bit may increase the wedge depending on twist direction. If inspection shows the stub bound by a clockwise twist, you may need to drill in normal (clockwise) rotation to avoid tightening it further.
- If unsure, start with a standard clockwise pilot hole and plan to use a non-expanding extractor.
- Extractor selection
- Use straight-flute or square-shank extractors driven by a T-handle. They bite without expanding the fragment.
- Avoid aggressive spiral extractors that act like wedges; they can flare the stub tighter inside the bore.
- Removal
- After drilling an appropriate pilot (about 30–50% of the stub across), tap in the extractor gently.
- Turn in the direction that relieves the original twist. If you feel it tightening, stop and reassess.
- Apply a touch of heat to the host tool and another drop of oil. Work it back and forth; when it moves at all, switch to straight pull with pliers.
Weld-and-Pull: Last-Resort Methods That Also Help Break the Bind
Welding introduces heat directly into the fragment, often shrinking it slightly as it cools and breaking the interference. Use only if you’re confident and the host tool isn’t a showpiece—spatter can mar chrome.
- Washer and nut method
- Place a fender washer over the bore.
- Tack weld the washer to the stub through the center, then weld a nut to the washer.
- Use a wrench or Vise-Grips on the nut to twist in the direction that relieves the original torsion while pulling upward.
- Rod or bolt method
- Tack a short piece of steel rod to the stub. Use the rod as a handle to twist and lift.
- Safety and heat control
- Shield surrounding chrome with a damp rag and anti-spatter spray.
- Keep weld time short to avoid temper loss of the host tool. Allow brief cool-down cycles.
Post-Extraction: Inspect and Decide on Repair vs Replacement
Once the stub is out, evaluate the host tool. If it’s compromised, retiring it is cheaper than a future failure under load.
- Check the square bore: Look for bell-mouthing, cracks at corners, or loss of the detent-ball groove edge. Test with a known-good square drive—fit should be tight and square.
- Detent function: If the retention ball/spring in the ratchet or extension no longer holds or releases normally, service it or replace the head/extension.
- Burr removal: Use a fine needle file or deburring tool to kiss any raised edges inside the bore. Do not remove significant material.
- Replace damaged parts: Severely deformed ratchet heads or extensions should be replaced. If a rebuild kit exists for your ratchet, consider it.
Warranty Realities: Craftsman, Lowe’s, Ace, and Others
Lifetime hand tool warranties still exist, but expect process variability.
- Craftsman (hand tools): Many Craftsman hand tools carry a lifetime warranty. Today, you can typically pursue one of two routes:
- In-store at Lowe’s or Ace: If they stock the exact or current equivalent SKU, many locations will exchange on the spot. Some stores insist on identical part numbers; others accept modern equivalents. Policies vary by store and manager.
- Online with Craftsman: File a claim via the Craftsman warranty portal. You’ll usually upload a photo and provide a description. They’ll ship a replacement or provide guidance if the SKU is discontinued.
- Receipts: Historically not required for lifetime hand tools, but some independent retailers may ask. Be polite, ask for the store’s warranty process, and if refused, try another location or the brand’s online channel.
- Exclusions and gray areas: Torque wrenches, power tools, and some accessories may not be covered. Adapters and extensions fall into gray areas at some counters; enforcement varies. If denied in-store, try the brand directly.
- Other brands: GearWrench, Kobalt, ICON, and many store brands advertise lifetime warranties on mechanic’s hand tools. Quality varies by line. Exchanges generally require an in-stock equivalent.
- Pro tip: If time matters, buy a replacement today and still file an online claim. Keep the spare as a shop backup.
Prevent the Next Failure: Use and Selection Tips
- Match tool to task: Use impact-rated adapters with impact tools. Standard chrome adapters can twist under hammering torque.
- Minimize stacked interfaces: Each adapter, universal, and extension adds compliance and side-loads. Use the shortest, fewest pieces that reach the work.
- Avoid high torque on small drives: Common failure is 3/8″ to 1/4″ step-down under heavy torque. Use the correct drive size when possible or a reducer with known rating.
- Keep alignment straight: Side-loading a universal joint or wobble extension dramatically increases torsion on the square.
- Lubricate sockets, not the square: A thin film of oil in the socket’s hex can reduce required torque. Do not grease the drive square; it can encourage slippage and incomplete seating.
- Inspect and retire fatigued adapters: If corners are rounded, detent retention is weak, or there’s visible twist, replace before it becomes a stuck fragment.
FAQs
Are socket adapters covered by lifetime warranty?
Often, yes—many mechanic’s hand tool lines list adapters under lifetime coverage, but enforcement varies by retailer and SKU availability. If a store declines, file directly with the manufacturer. For Craftsman, if the exact SKU is discontinued, they may provide a current equivalent.
Can I drill a hardened tool steel fragment with a normal bit?
Use cobalt (M35/M42) with cutting fluid, low RPM, and firm feed. If the fragment is fully hardened or heavily work-hardened, solid carbide can cut it, but only with rigid fixturing; carbide snaps easily in a hand drill. Always center punch first.
Should I use a left-handed drill bit here?
Left-hand bits can back out broken fasteners, but a twisted square stub may tighten if you drill in the wrong direction relative to the twist. If inspection shows a clockwise-twisted bind, drilling clockwise avoids increasing the wedge. Pair drilling with a straight-flute extractor to reduce expansion forces.
Is the “heat the outside, cool the inside” trick worth trying?
Yes, it can help. Warm the host tool moderately and chill the fragment with inverted canned air. The expansion difference is small but often enough when combined with punch realignment or extractor torque. Avoid overheating; don’t discolor the steel.
What’s the best extractor for this job?
Straight-flute or square-shank extractors used with a T-handle. They bite without significantly expanding the fragment. Aggressive spiral extractors can wedge the stuck piece tighter.
When should I stop and just replace the tool?
If you’ve spent more than 20–30 minutes without progress, or you’re risking damage to an otherwise good ratchet/extension, stop. Replace the cheap part and, if the host tool is suspect, pursue a warranty exchange.
Recommended Tools
For the methods in this guide, see our extractors and removal tools to remove stuck fragments without damaging the host tool.
- Straight-flute and square-shank extractors for non-expanding grip
- Cobalt drill bits and cutting fluid for hardened tool steel
- Punches, pliers, and heat tools for non-destructive attempts

The Toolsource Technical Team blends decades of real-world automotive service experience with up-to-date technical research. Our writers collaborate with professional mechanics, shop owners, and diagnostic specialists to deliver practical, workshop-ready guidance you can trust.


Follow us on social media