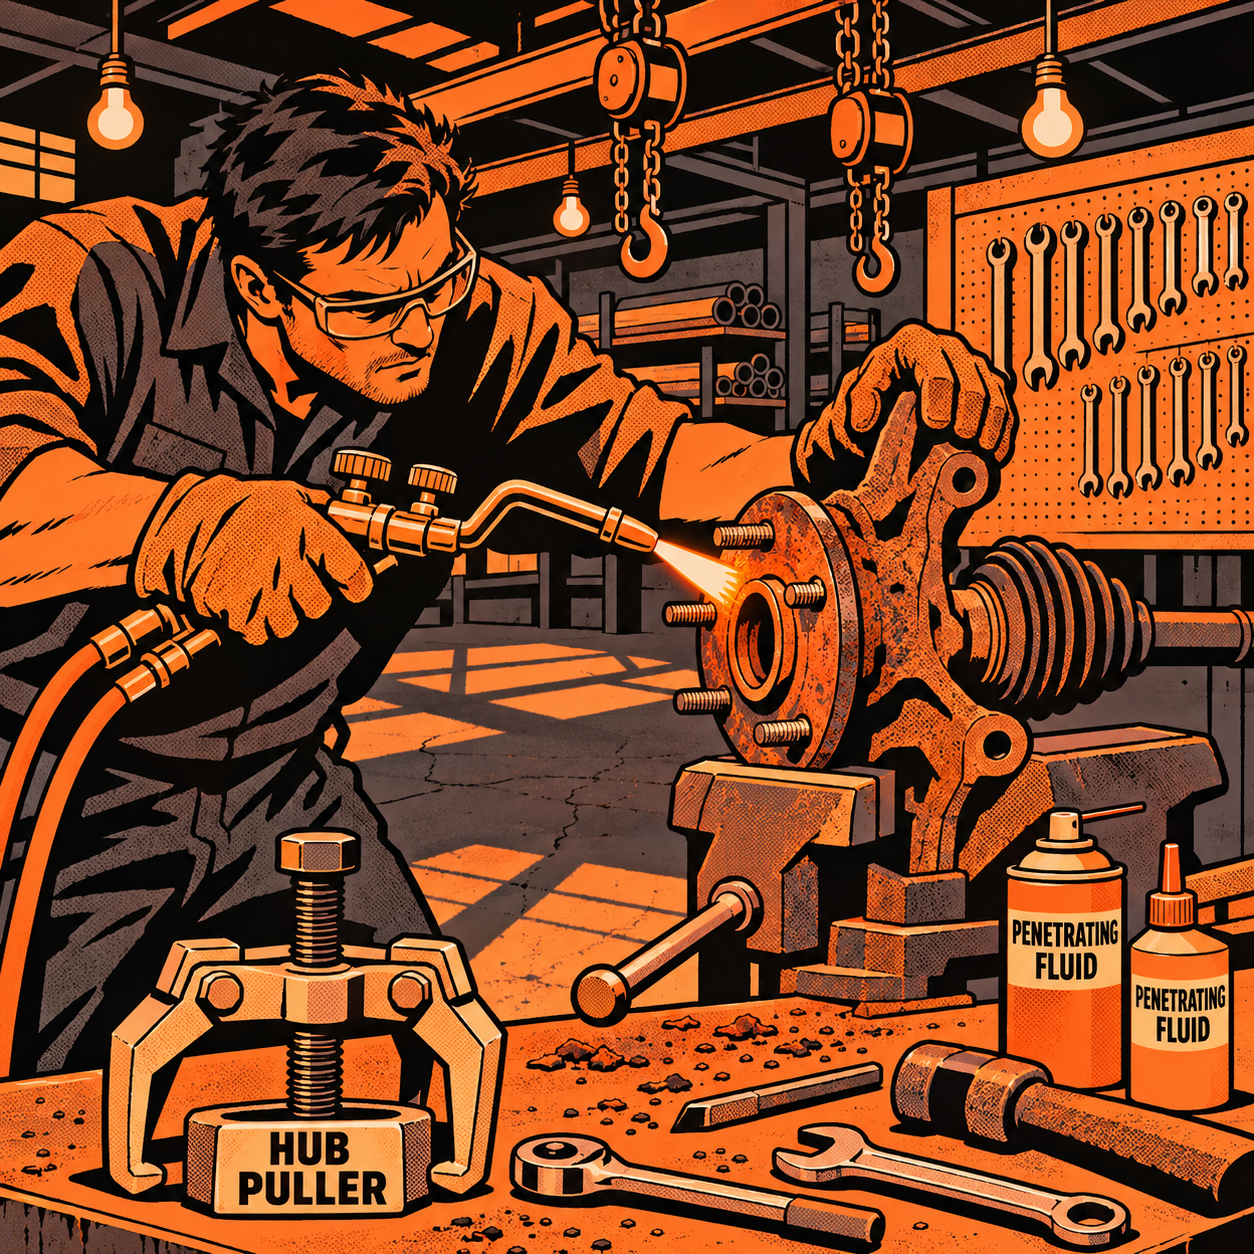
A CV axle that refuses to let go of the hub is one of the most time-eating jobs a shop can run into, and it’s rarely the axle nut’s fault. What starts as a routine wheel bearing or axle swap can turn into an hour of swinging a sledgehammer at a part that was fine ten minutes ago. The good news is that a stuck axle almost always comes free with the right combination of diagnosis, heat, and mechanical force — and when it doesn’t, there’s a clear point where cutting your losses costs less than your pride.
Why CV Axles Seize in the Hub
Before you touch a hammer, understand what you’re actually fighting. The splines on a CV axle shaft and the internal splines of the hub are both steel, and they sit pressed together with zero clearance for moisture to escape. In rust belt and coastal climates, road salt and water work their way into that interface and the two pieces essentially corrode together — sometimes bad enough that the axle and hub form a single piece of rust-welded metal. Wheel bearing heat from a failing bearing can accelerate this by baking the corrosion into a harder bond.
This matters because it tells you what tool actually solves the problem. A fresh-looking axle with light surface rust is a candidate for penetrant and persuasion. An axle that’s been sitting in a salt-exposed hub for 8-10 years with a failed bearing is a candidate for cutting. Looking at the axle nut and shaft condition before you start swinging will save you time.
Confirm the Axle Is Actually Stuck, Not Bottoming Out
A surprising number of “seized axle” calls turn out to be something else entirely. Before assuming corrosion is the enemy, rule out the obvious:
Grab the axle shaft by hand (with the hub bolts removed and bearing separated) and check for any in-and-out play. No play at all when the knuckle is still attached to the lower ball joint usually means the shaft has nowhere to travel — not that it’s seized. Swing the knuckle off the lower ball joint first so the spindle can hang freely. That alone frees up the travel needed for the axle to move backward out of the hub, and plenty of “impossible” axles come out immediately once that geometry constraint is gone.
Also confirm the hub bolts are actually out. If you’re using a hub puller with the mounting bolts still threaded in, the puller is fighting against itself and no amount of force will win.


MINI DUCTOR II (MD-700) W/COIL KIT (MD99-650)
Mfg: Induction Innovations
Part #: MD-750

Apply Heat and Penetrant the Right Way
Once you’ve confirmed it’s genuinely seized, heat is usually the single biggest lever you have — but it has to be real heat. A small handheld propane torch rarely gets hot enough to break a rust bond; you need to get the hub glowing or close to it, which generally means oxy-acetylene or at minimum a MAP-gas torch, not a basic propane torch from the shelf.
Shop for a heavy-duty MAP-gas or oxy-acetylene torch kit if your current torch isn’t getting hubs hot enough to break corrosion loose.
Pair heat with a penetrating fluid designed to wick into tight corrosion, applied from both the front and back of the hub where the axle meets it. A common shop trick is a 50/50 mix of automatic transmission fluid and acetone in a spray bottle — it penetrates far better than most off-the-shelf penetrants. Apply it, let it sit, heat the hub, and repeat. Don’t expect one application to do the job; seized corrosion often needs two or three heat-and-soak cycles before it starts to give.
Mechanical Extraction: Pullers, Air Hammers, and Presses
With heat and penetrant working in your favor, it’s time for mechanical force. There’s a hierarchy here, from least to most aggressive:
- Dedicated hub/axle pullers: A quality three-jaw puller or a forcing-screw style hub puller run with a 1/2″ or 3/4″ impact gives steady, controlled pulling force rather than shock loading. This is the preferred first approach because it’s far less likely to damage the knuckle or axle boots.
- Air hammer with a flat chisel: Working a flat chisel bit around the circumference of the hub-to-spindle interface, striking in a rotating pattern, breaks the corrosion bond gradually. A genuinely heavy-duty air hammer matters here — underpowered units just make noise without delivering real impact energy.
- Sledgehammer against a protected nut: If you’re hammering the axle out by striking the nut (threaded down flush with the shaft end to protect the threads), commit fully. Hesitant, timid strikes just mushroom the nut without moving the shaft. This method works but carries real risk — have a second person hold a block or heavy hammer head against the axle end rather than holding it bare-handed, since a glancing blow here has caused serious hand injuries.
- Hydraulic press: For the stubborn cases, pulling the entire knuckle/hub/axle assembly and pressing it in a 20-50 ton hydraulic press is the most reliable method. Some shops will press under load and let it sit overnight with a bit of added heat in the morning if it hasn’t released. A press at home doesn’t need to be huge — even an affordable shop press has freed axles that resisted everything else.
Looking to add the right extraction tools to your bay? Browse hub pullers, air hammers, and hydraulic shop presses before your next stuck-axle job comes in.
When to Cut the Axle and Replace Parts
There’s a real cost-benefit point where continuing to fight a seized axle stops making sense. If you’ve applied real heat, real penetrant, and real mechanical force without any movement, it’s time to stop protecting the old parts and start cutting.
A cutoff wheel or angle grinder through the CV axle shaft (high-carbon steel, but cuttable) lets you separate the axle from the hub without needing it to slide through cleanly. From there, the hub bearing and remaining stub can be pressed, torched, or cut free from the knuckle at your leisure, since you’re replacing it anyway. Pricing out a new CV axle, hub bearing assembly, and even a steering knuckle from a parts supplier is almost always far cheaper than the hours burned trying to save original components — shops routinely complete this as a $200-$350 parts job versus a multi-hour labor fight. If a dealership quoted $2,000 for the repair, buying new components and doing it yourself (or redirecting a shop to replace rather than extract) is usually the economical path.
Quick Checklist Before You Start Swinging
- Confirm all hub mounting bolts are actually removed
- Separate the lower ball joint so the knuckle/spindle hangs free
- Check for in-and-out play on the shaft to rule out a geometry bind, not corrosion
- Apply real heat (MAP gas or oxy-acetylene) plus penetrant, and let it soak
- Try a dedicated puller before resorting to hammer strikes
- Set a time/cost limit — if it’s not moving after real heat and a quality puller or press, plan to cut and replace instead
Need the right tools on hand before the next stubborn axle shows up in the bay? Shop CV axle and wheel bearing service tools to stock pullers, presses, and torches for this exact job.
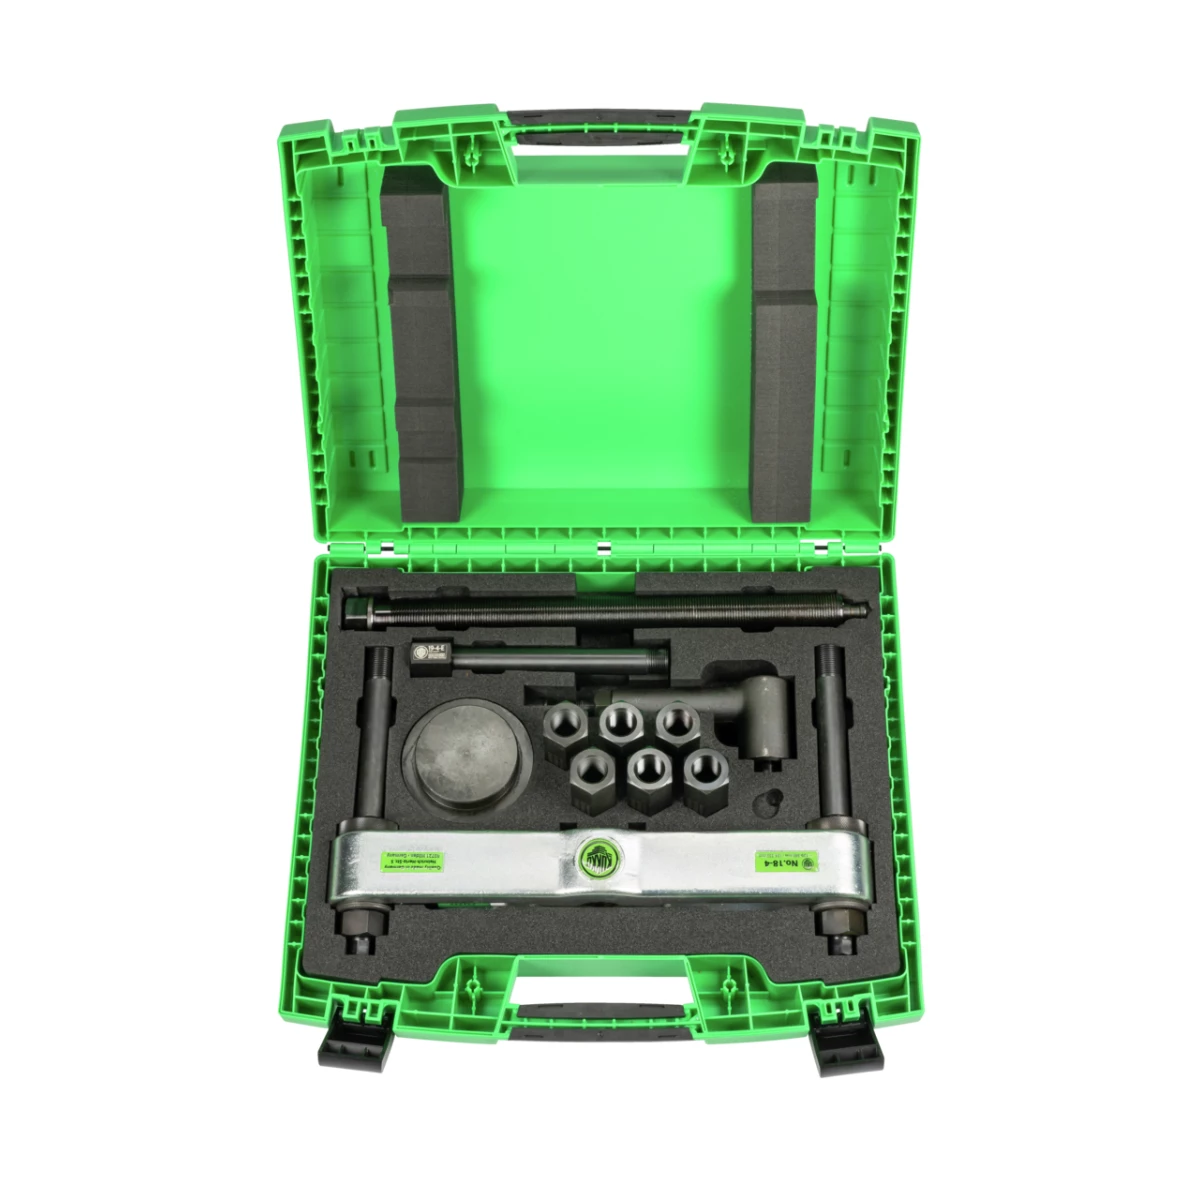
Puller device for truck axles in case
Mfg: Kukko Quality Tools Inc
Part #: K-226-4/12

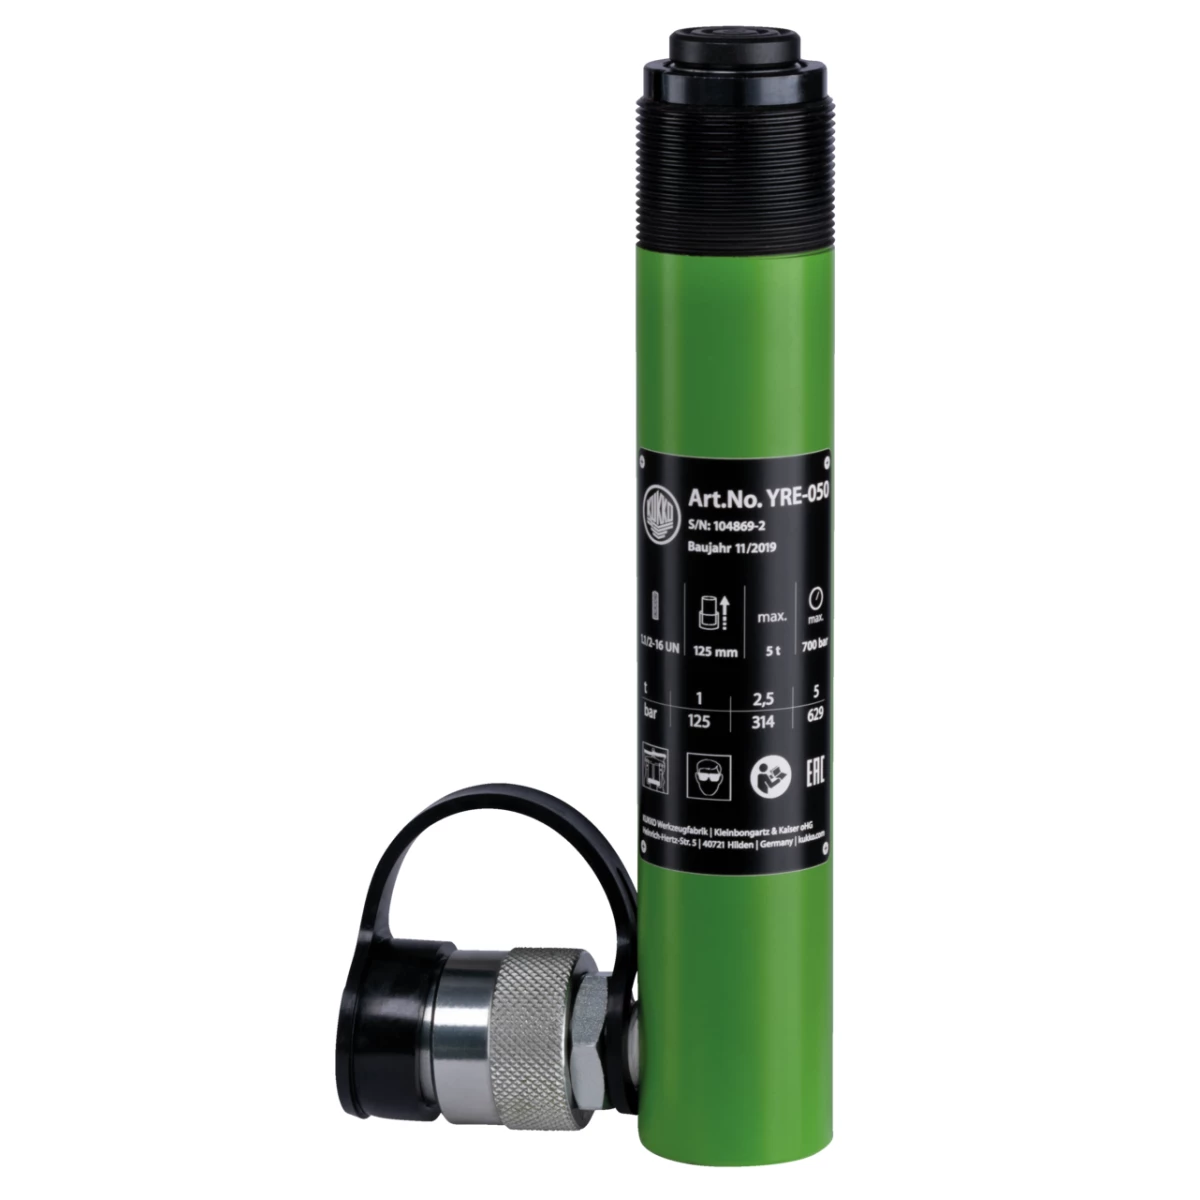
Hydraulic pressure cylinders with collar thread
Mfg: Kukko Quality Tools Inc
Part #: YRE-050
Frequently Asked Questions
Why won’t my CV axle come out even after removing the hub bolts?
Most commonly the knuckle is still attached at the lower ball joint, which limits how far the spindle can travel backward. Disconnect the lower ball joint so the knuckle hangs free, giving the axle room to move before you apply more force.
Is it safe to hammer directly on the axle nut?
It can work, but only with the nut threaded down flush to protect the threads, and with full-commitment strikes rather than hesitant taps. This method has caused hand injuries when done carelessly — never hold the striking surface with a bare hand.
What’s better: an air hammer or a hydraulic press?
A press delivers steady, controllable force and is generally more reliable for severely seized axles, while an air hammer works faster on moderate corrosion but requires a genuinely heavy-duty unit, not an entry-level model.
How hot does the hub need to get to break a rust bond?
Hot enough that a basic propane torch usually won’t cut it. Most techs reach for MAP gas or oxy-acetylene, heating the hub enough to visibly discolor the metal before the corrosion starts to give.
At what point should I just cut the axle instead of fighting it?
If heat, penetrant, and a quality puller or press haven’t produced any movement after a reasonable effort, cutting the axle and replacing the hub/bearing/axle as a set is almost always cheaper than continued labor time.
Can I prevent this from happening on the next axle I install?
Yes — apply a thin coat of anti-seize to the axle splines before reinstallation. It won’t stop all corrosion in harsh climates, but it significantly reduces the chance of a rust-weld bond forming before the next service.
Tools for Hub and Axle Extraction
The methods discussed in this guide — from hub pullers to hydraulic presses — all depend on having the right equipment on hand. You’ll find everything needed for these jobs in Hub and Hubcap Tools.
- Hub pullers and forcing-screw style extractors for controlled pulling force
- Heavy-duty air hammers and chisel bits for breaking corrosion bonds
- Hydraulic shop presses for the most stubborn seized joints

The Toolsource Technical Team blends decades of real-world automotive service experience with up-to-date technical research. Our writers collaborate with professional mechanics, shop owners, and diagnostic specialists to deliver practical, workshop-ready guidance you can trust.


Follow us on social media