
Full tear-down restorations look like magic on video, but in a working shop they are a disciplined sequence of documentation, organization, precision work, and validation. This guide lays out a technician-focused approach you can scale from a complete rebuild to a deep subsystem overhaul. The goal is simple: no lost fasteners, no mystery connectors, no rework.

When a Full Rebuild Makes Sense
Before you strip a vehicle to its shell, confirm the business case and technical conditions. A full restoration can be as costly as a new vehicle when you factor labor, refinishing, parts, and calibration. Yet there are clear cases where a rebuild is smart:
- High import duties or market restrictions make replacement vehicles impractical.
- Customer loyalty to a specific platform or generation with proven durability and parts support.
- Known rust or corrosion that requires full access for proper remediation.
- Accident, flood, or neglected maintenance where partial fixes would compound problems.
- Fleet or specialty vehicles where equipment transfer and fitment matter.
Modern collision shops often avoid full restorations because they tie up bays for weeks and disrupt throughput. If you commit, build a process that keeps every hour productive and traceable.
Plan the Job: Scope, Documentation, and Space
Restorations are won or lost in the planning. Do not touch a fastener until the following are locked in.
- Define scope and standards: cosmetic driver, factory-spec restoration, or improved restomod. Standards set the parts list, finish level, and calibration targets.
- Service information: OEM workshop manuals, wiring diagrams, torque and angle values, adhesive and sealant specs, corrosion protection procedures, and calibration workflows. Verify model year differences and TSBs.
- Parts strategy: determine which items will be replaced new, rebuilt, refinished, re-plated, or 3D printed. Identify one-time-use hardware, airbags, stretch bolts, fuel seals, and brake hoses.
- Space and flow: assign disassembly, cleaning, refinishing, subassembly build, and reassembly zones. Use panel stands, engine stands, transmission jacks, and rack space. Label shelves by subsystem and vehicle side.
- Tooling: assemble the essentials before you begin: label printer, zip bags in multiple sizes, fastener organizers, magnetic trays, torque and angle tools, trim tools, depinning kits, borescope, paint pens, thread chasers, parts washer, steam cleaner, lift, and scan tool.
- Risk and time estimate: baseline labor hours per subsystem with contingencies for seized fasteners, hidden rust, and back-ordered parts. Schedule paint booth and plating lead times.
Quick checklist: pre-teardown essentials
- Capture 360 photos and quick videos of the exterior, interior, engine bay, underbody
- Scan all modules and save freeze frames and long coding where applicable
- Record ride height, alignment values, and door gaps
- Weigh hardware bins and label shelves for subsystems
- Print bag-and-tag labels with subsystem codes and torque placeholders
- Stage PPE, fender covers, cap plugs, panel blankets, and drip trays
Bag-and-Tag Systems That Actually Work
Bag and tag is not just tossing screws in a Ziploc. It is a naming convention, a storage method, and a retrieval process that makes reassembly efficient and correct.
- Subsystem codes: define a short code set and stick to it. Example: INT for interior, EBM for engine bay mechanical, EBE for engine bay electrical, FRT-SUS, RR-SUS, BODY-L, BODY-R, HVAC, and so on. Add side and position where helpful: INT-DR-FR.
- Bag format: use heavy duty resealable bags in S, M, L. Insert a printed or hand written card with subsystem code, step number, component name, and arrow indicating vehicle front. Include date and technician initials.
- Color cues: color tape or paint pen marks for left vs right, and forward vs rear orientation. Mark mating faces and shims before separation.
- Hardware discipline: do not mix components in a bag. If a part has multiple fastener types, use a bag-in-bag approach with small inner bags labeled A, B, C.
- Torque and spec capture: on the label card, preprint spaces for torque and angle. As you extract fasteners, note thread treatments such as Loctite, anti-seize, or dry film. Tag one time use bolts and plan replacements.
- Connector IDs: wrap wire labels or heat shrink ID on connectors. Photograph connector faces. For large harnesses, tie small tags at branches indicating destination and orientation.
- Fastener boards: for large trim or interior panels, use corrugated screw maps or foam boards. Push screws through near a sketch of the panel layout.
- Heavy items: move large parts to shelf bays or rolling carts labeled with the same subsystem code. Zip tie small bags to the part where possible.
- Digital log: mirror your physical labels in a shared spreadsheet or shop software. Each row equals a bag ID with description, photo links, and eventual torque value on reassembly.
- Consumables lanes: create bins for new clips, grommets, seam sealer tips, plastic rivets, door vapor barriers, and crush washers. Never attempt to reuse deformed clips or sealers that risk NVH or water ingress.
Disassembly Workflow by Subsystem
Work one subsystem at a time to avoid cross contamination of hardware and to keep photos and notes coherent. Below is a high level sequence with practical steps and common pitfalls.
Interior and body openings
- Disconnect battery, wait the specified time for SRS energy reserve to discharge.
- Remove seats, trim, center console, and carpets. Bag and map screws. Protect sharp edges and glass with panel blankets.
- HVAC box and dash: label every connector and vacuum line. Depressurize A/C and capture refrigerant properly before removing lines. Tag blend door and actuator positions.
- Door modules: record window initialization and anti pinch procedures. Bag door hardware per door. Replace vapor barriers and butyl sealers.
- Body apertures: remove weatherstrips, lamps, handles, mirrors. Use clip tools to avoid breaking retainers. Bag per panel.
Engine bay mechanical
- Drain fluids into labeled containers. Cap open lines with plug kits. Record hose routing with photos and tags.
- Intake, exhaust, and accessories: tag brackets and spacers as sets. Note ground straps with location photos.
- Powertrain removal: support subframes and mount points. Photograph shim stacks on mounts. Bag and tag bellhousing hardware separately from accessory bolts.
- Cooling system: map fastener lengths on radiator supports and condenser brackets. Replace all rubber hoses and O rings on rebuild.
Chassis, suspension, and brakes
- Measure ride height and note spring free lengths before removal. Mark camber bolts and eccentric washers for baseline reference.
- Hub and bearing assemblies: record torque-to-yield specs and plan replacement hardware.
- Brake hardlines: photograph routing and clip positions. Use caps to prevent contamination. Plan to replace rubber flex hoses.
- Rust remediation: media blast, chemically treat, prime, and cavity wax. Document coating types for future service work.
Electrical and harnesses
- Main harness: label all branch points. Use depinning tools rather than force on secondary locks. Photograph ECU connectors before removal.
- Grounds and bonding: note torque and surface prep. Reestablish bare metal contact areas, then apply corrosion protection after torque.
- Sensors and ADAS components: record serials and original bracket shims. Store ADAS parts in padded, labeled containers.
At every stage, update your digital bag log, drop photos into named folders, and move completed bags to the appropriate shelf or cart.
Rebuild, Refinish, and Reassembly Controls
Proper rebuilds are about restoring function, fit, and durability. The following controls prevent rework.
- Clean and inspect: parts washer, ultrasonic cleaner, and steam are your friends. Dye check critical castings. Measure wear against service limits with calipers, micrometers, and bore gauges.
- Thread health: chase threads, not cut new ones, unless damaged. Replace fasteners that show corrosion, stretch, or compromised plating.
- Coatings: re-plate hardware to original finish where possible or use OEM replacement kits. Apply epoxy primer, seam sealer, cavity wax, and underbody coatings per OEM sequence.
- Seals and adhesives: follow adhesive brands and open times specified in the service info. Replace seam sealer paths fully, not just the visible areas. Use new gaskets and one time clamps.
- Torque and angle: use calibrated torque wrenches and angle meters. For sequences, print torque sheets and check off each fastener. Record final values in the digital log.
- Harness refurbishment: replace brittle conduit, rewrap with correct OEM style tape or cloth, and add new grommets. Verify continuity and insulation resistance before install.
- Connector care: Deoxidize terminals where permitted, otherwise replace pins. Verify mechanical retention after repin.
- Cooling and HVAC: flush heat exchangers, replace desiccant, and vacuum test for leaks. Charge refrigerant by weight.
- Glass and trims: dry fit before final bonding. Use setting blocks and primer systems. Respect cure times before releasing vehicle weight.
- Panel fit: set gaps and flushness before paint when feasible. After paint, use paint safe tools and protect edges.
On reassembly, reverse your bag order and cross check each bag ID against the digital log. If a torque field is blank, you have not finished that step.
Quality Checks and Validation: The Last 10 Percent
Most come backs happen after the vehicle looks finished. Build a validation plan and sign it off like an inspection checklist.
- Fluid integrity: pressure test cooling system, smoke test intake, vacuum test EVAP, leak check A/C with nitrogen and trace gas. Inspect for seepage after heat soak cycles.
- Electrical sanity: perform a full module scan. Address all stored and pending DTCs. Verify grounds with voltage drop tests during loaded conditions.
- NVH and water leaks: water test body apertures, sunroof drains, and windshield. Road test on varied surfaces. Use chassis ears to pinpoint noises.
- Alignment and ride height: set suspension at proper curb weight and ride height before torque of bushing pivots. Perform 4 wheel alignment. Calibrate steering angle sensors.
- ADAS and driver aids: follow OEM aiming procedures for cameras, radar, lidar, and park sensors. Use level floors and specified targets or fixtures. Verify functions on a controlled road test loop.
- Brakes and ABS: perform bedding procedures where required. Calibrate yaw rate and acceleration sensors.
- HVAC performance: measure vent temps and pressure. Verify blend and mode door operation with scan tool.
- Final fit and finish: panel gaps, flushness, wind noise, trim retention, clip engagement, and fastener covers. Confirm all latches, locks, and window indexing.
- Documentation handoff: provide torque sheet, alignment printout, calibration logs, paint codes, warranty terms, and a maintenance schedule for new coatings and rubber.
Cost, Time, and Expectations
Costs vary widely by platform and condition. Expect labor to dominate. A thorough body off or equivalent tear down often runs into hundreds of hours. Paint and coatings add significant time because cure windows are not compressible. Parts can be predictable if you plan replacements up front, but plating, upholstery, and machine work introduce third party lead times. Be transparent with customers about scope creep when rust or prior repairs appear.
Deciding between a restoration and replacement vehicle hinges on total lifecycle cost, regulatory constraints, and customer goals. If building in regions with high import duties or model restrictions, a restoration of an in country vehicle may be the only viable path. In markets with strong parts support for proven platforms, restoring a reliable older model can be cost effective compared to a new purchase loaded with technology the owner may not want.
Tools and Consumables That Save Time
- Organization: label printer, pre formatted label cards, resealable bags, fastener organizers, magnetic parts trays, panel carts, shelf labels.
- Disassembly: trim clip tools, plastic wedges, interior pry kits, hose clamp pliers, connector depinning sets, screw maps or foam boards, cap and plug kits.
- Measurement and torque: digital torque wrenches, torque angle meters, thread pitch gauges, calipers, micrometers, bore gauges.
- Cleaning and coatings: parts washer, ultrasonic cleaner, steam cleaner, rust converter, epoxy primer, seam sealer, cavity wax, underbody coatings.
- Electrical: wire labels, cloth and PET harness tapes, heat shrink, crimp tools with die sets, continuity tester, insulation resistance meter.
- Lifting and support: vehicle lift, engine hoist, engine stand, transmission jack, panel stands, fender covers.
- Diagnostics and calibration: OBD2 scanner with OEM level functions where possible, smoke machine for intake and EVAP, ADAS calibration fixtures or access to a calibration bay.
FAQs
What is bag and tag and how many bags will I need
Bag and tag is a structured method to store every fastener and small part with a label that ties it to a subsystem and step. For a full vehicle rebuild, plan on hundreds of bags. Buy them in bulk in three sizes and use a clear naming convention so you can retrieve bags quickly during reassembly.
Is a restoration cheaper than buying a new car
Usually not when you account for labor, paint, parts, and calibrations. It can be the better choice when regulations, import duties, or customer preferences make replacement impractical. Restorations can also deliver better long term serviceability on proven platforms.
How do I track torque specs and one time use fasteners
Print torque sheets by subsystem and include torque and angle fields on each bag label. During teardown, identify one time use bolts, seals, and clamps and place them in a dedicated bin labeled replace on assembly. Order replacements at the start. On reassembly, record final values and sign off each line.
How do I keep hardware finishes consistent
Decide early whether you will replace hardware with OEM kits or re plate. If re plating, sort by material and finish type and send batches together. Zinc, zinc nickel, and black oxide are common. Do not mix finishes across visible areas. Always chase threads after plating.
How long does a full rebuild take
From several weeks to several months depending on rust, parts availability, finish level, and calibration complexity. Body and paint cure times and third party lead times are the largest schedule drivers.
Can a typical collision shop take on a full restoration
Some can, but many will decline because the work ties up space and clashes with high throughput insurance jobs. Dedicated restoration shops or hybrid operations with separate bays and scheduling are better suited. If you commit, build the bag and tag and documentation systems before the first fastener comes out.
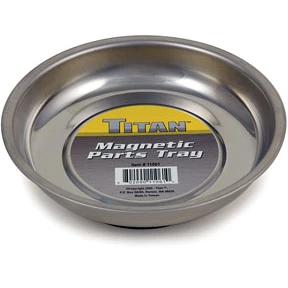
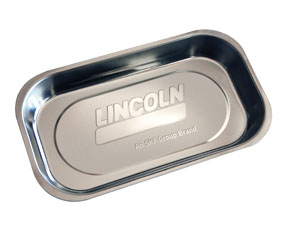
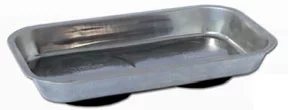
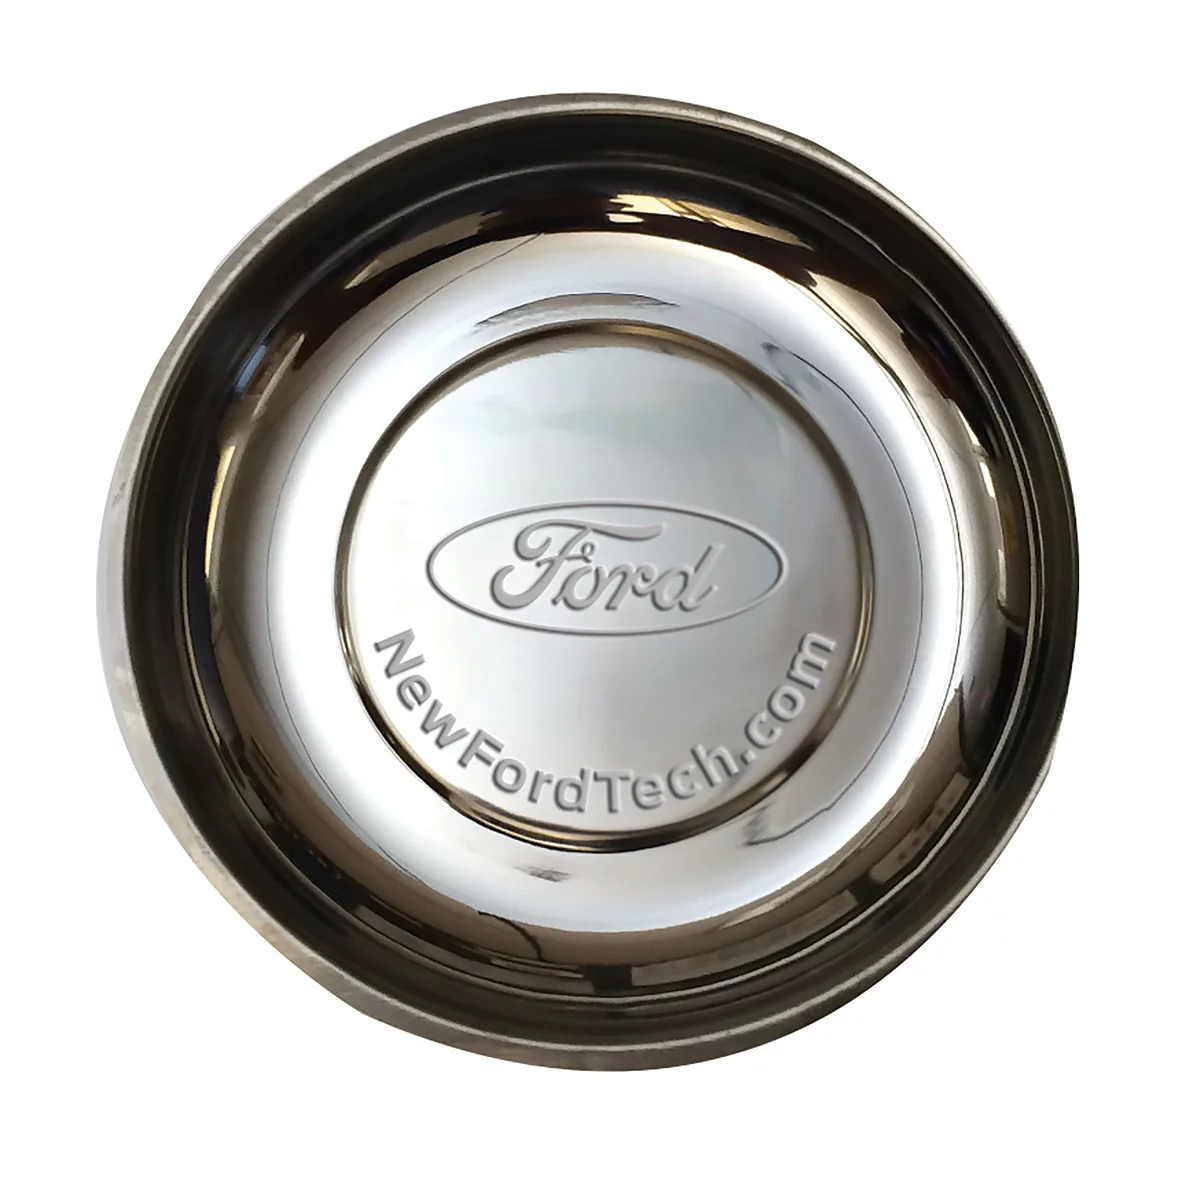
Shop Bag-and-Tag Essentials
Keep teardown organized with our Fastener Organizers & Magnetic Parts Trays for clean, traceable reassembly.
- Magnetic trays for benches, fenders, and underhood work.
- Compartment organizers and small-parts bins to sort hardware by subsystem.
- Labels and bag kits to speed ID and torque sign-off.
The Toolsource Technical Team blends decades of real-world automotive service experience with up-to-date technical research. Our writers collaborate with professional mechanics, shop owners, and diagnostic specialists to deliver practical, workshop-ready guidance you can trust.


Follow us on social media