
From mid-century “gunsight” ornaments to driver-visible turn-signal pods and modern corner guides, fender-top hardware has served decorative and practical roles for decades. This guide breaks down what these parts are, how they work, and how to install, wire, and maintain them with professional results. It also covers common myths (like animal whistles) and legal considerations so your retrofit or restoration stays safe and compliant.
Identify What You’re Looking At: Four Common Fender-Top Categories
Before buying parts or drilling sheet metal, determine the type of device on the fender. Each has different installation and wiring requirements.
- Decorative ornaments (“gunsight” and emblems): Chromed or painted cast pieces that reference aircraft sights or brand emblems. These are primarily visual styling elements. Many period ornaments were bolted through the fender with gaskets; some modern reproductions use adhesive bases. On later vehicles, rigid hood ornaments were spring-loaded or breakaway to improve pedestrian safety.
- Driver-visible indicator pods: Small housings located at the fender corners that display lamp status to the driver (e.g., turn signal on, high beam active). Vintage versions often used incandescent bulbs or fiber-optic pickups from the primary lamps. Modern retrofits may integrate small LEDs.
- Turn-signal repeaters/marker lamps: Lamps mounted on or near the fender tops or side surfaces to repeat the turn signal for cross-traffic and to aid the driver. These require electrical integration into the existing turn signal circuit and must meet color/visibility guidelines. Some 1980s–1990s vehicles included fender-top repeaters visible both to the driver and to nearby road users.
- Parking guides/corner poles: Thin poles or “antennas” at the front corners to help gauge hood length and bumper position in tight spaces. Certain models used manual or powered extendable poles. Others were fixed chromed pointers integrated into the fender trim. These typically do not require wiring unless illuminated.
Unrelated but often confused are animal “whistles” marketed to deter deer or kangaroos. Evidence for effectiveness is weak to nonexistent. Treat them as novelty accessories rather than safety devices.
Selecting Components: Fitment, Materials, and Compliance
Choose parts based on the vehicle’s year, style, and the goal of the project (restoration vs. retrofit functionality). Consider the following:
- Fitment & geometry: Fender crown radius and contour vary widely. Verify base curvature, stud spacing, and overall height. For exact restoration, match OEM part numbers and mounting templates. For universal kits, measure the fender crown and select bases that sit flush without rocking.
- Materials & finish: Die-cast zinc, stainless, and ABS are common. For exterior longevity, prefer stainless or quality die-cast with triple-plate chrome, or UV-stable ABS with automotive-grade plating. Include a rubber or EPDM gasket to isolate dissimilar metals and prevent paint abrasion.
- Illumination type (if applicable): LEDs draw less current and run cooler than incandescent bulbs, but may trigger hyperflash on CAN-bus vehicles if used as repeaters. Select resistors or an LED-compatible flasher as needed. For driver-visible pods, low-intensity, narrow-beam LEDs reduce distraction.
- Wiring architecture: Decide whether to tie into turn signals, high beams, or use fiber-optic pickups. Fiber optics can monitor lamp status without adding electrical load; they require careful alignment with the source lamp.
- Legal color & function: In most markets, front turn repeaters glow amber. Avoid red or blue to prevent enforcement issues. Decorative pieces must not present sharp hazards; choose spring-loaded or breakaway mounting if available.
- Serviceability: Look for replaceable bulbs/LED boards, sealed housings with O-rings, and standardized connectors (e.g., weather-pack) to simplify future repairs.
Mechanical Installation: Layout, Drilling, and Corrosion Control
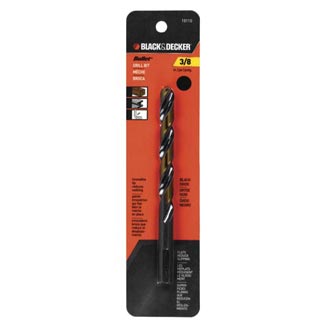
Black & Decker 19110 3/8" Bullet Drill Bit for Wood & Metal
Mfg: Black & Decker
Part #: 19110

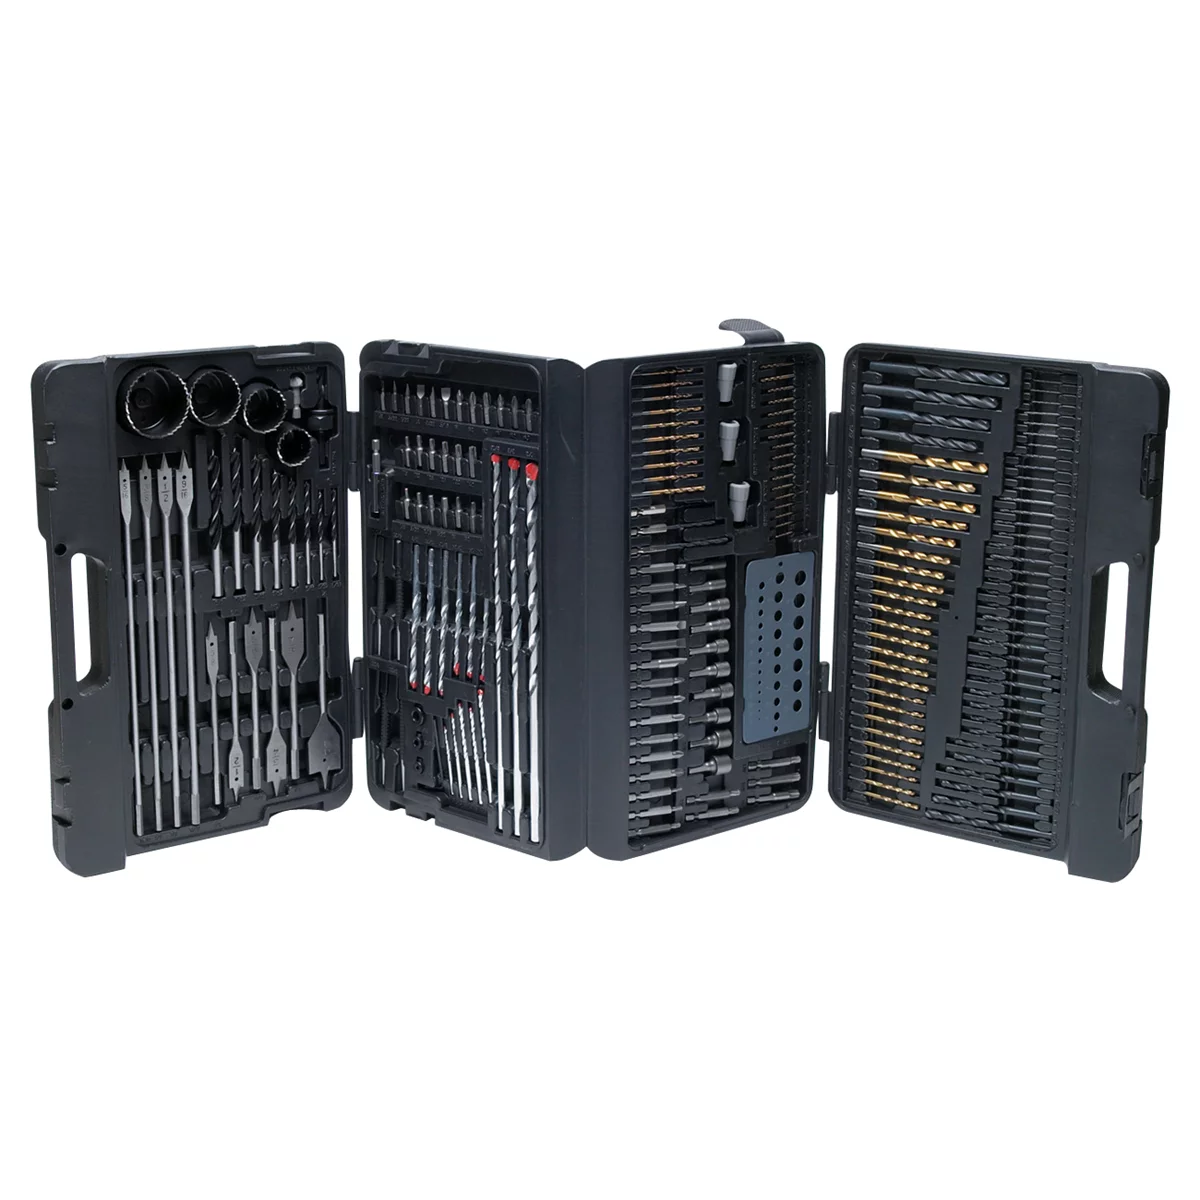
Accurate layout and corrosion prevention are critical. Work methodically to protect paint and structure.
- Mockup and marking: Position the part on painter’s tape to avoid marring the finish. Confirm symmetry left-to-right and alignment with body lines. Use a flexible contour gauge to verify base fit. Mark stud and wire-pass holes with a fine-tip marker.
- Verify underhood clearances: Inspect the inner fender and engine bay for harnesses, HVAC lines, liners, or bracing that could interfere with studs or wiring. Relocate or shield components as needed. Avoid drilling near airbag sensors and structural seam flanges.
- Pilot and step drilling: Use a center punch, then drill a small pilot hole. Enlarge with a step bit to the required diameter. Deburr both sides with a countersink or deburring tool to prevent paint cracking and wire abrasion.
- Rust prevention: Coat raw edges with etch primer and touch-up paint. For bare steel panels, apply cavity wax inside the fender. Use rubber grommets for any wire pass-throughs.
- Reinforcement (if needed): For heavier ornaments or flexible panels, add a backing plate under the fender to spread load. Use stainless hardware with nylon-insert locknuts and anti-seize on threads.
- Gasket and seal: Install the base gasket. Apply a thin bead of non-hardening body sealer around holes to block water ingress. Avoid silicone that can interfere with repainting later.
- Final alignment and torque: Hand-tighten hardware while confirming the ornament sits square and true. Torque lightly (typically 2–4 N·m for small studs) to avoid dimpling the panel. Recheck after 24 hours as gaskets settle.
For adhesive-mounted parts, clean with isopropyl alcohol, use 3M automotive acrylic foam tape or panel bonding adhesive per manufacturer instructions, and clamp gently during cure. Adhesive mounting is not recommended for items taller than 50–75 mm without mechanical backup due to wind load.
Electrical Integration for Indicators and Repeaters
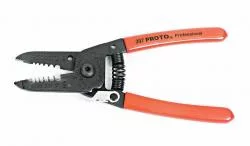
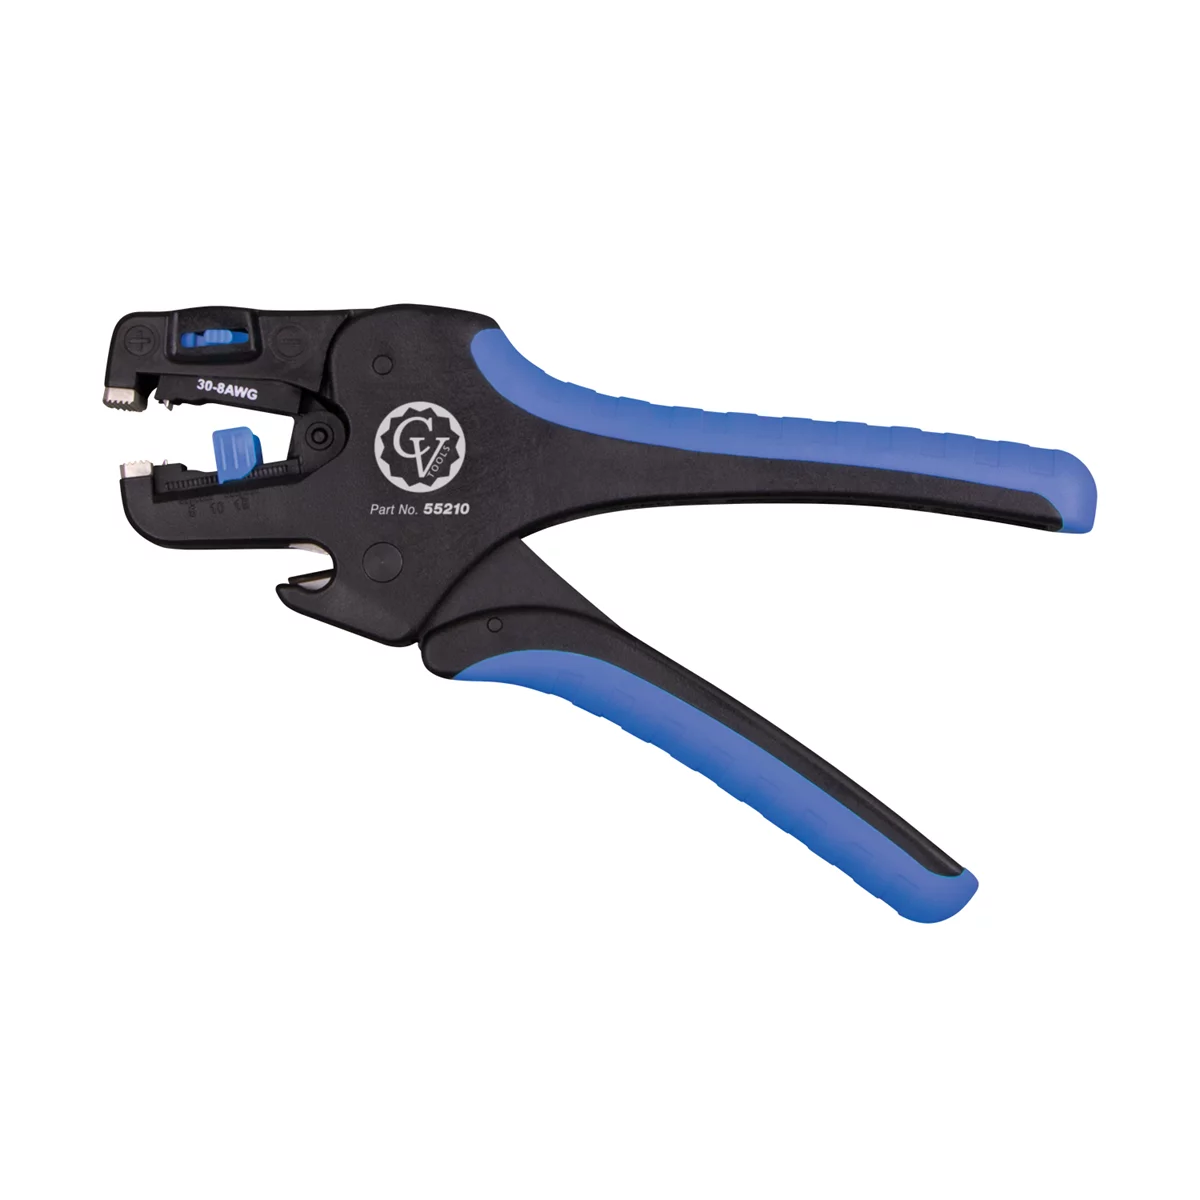
When adding illuminated fender hardware, plan the circuit to be reliable and serviceable.
- Determine signal source: For turn repeaters, tap the front turn signal feed on each side. For driver-visible pods that mirror the car’s front turn, high beam, or parking lamps, identify those circuits at the underhood junction block or near the headlamp harness.
- Protect and connect: Use add-a-circuit taps or Posi-Taps to avoid cutting the OEM harness. Install an inline fuse if powering lamps from a new feed. For most small LED pods (<2 W), tapping the existing circuit is acceptable; for incandescent pods, ensure current capacity and connector heat rating.
- CAN-bus and hyperflash: If adding LED repeaters in parallel with incandescent turn bulbs, the flasher may not detect a fault. If replacing bulbs with LEDs, add load resistors (commonly 6 Ω, 50 W per side) or an LED-compatible flasher to prevent hyperflash. Mount resistors to metal away from harnesses; they run hot.
- Routing and strain relief: Run wires through grommeted holes and split-loom. Secure every 150–200 mm with P-clips or zip ties, away from sharp edges, exhaust manifolds, and moving parts. Allow a drip loop below the lamp to prevent water from wicking into connectors.
- Grounding: Use an existing chassis ground or add a dedicated ring terminal to a cleaned, bare-metal point with anti-corrosion compound. Many flicker issues trace to poor grounds.
- Fiber-optic monitors: If using a fiber-optic pod, route the fiber from the pod to the source lamp, avoiding tight bends. Seat the pickup against the lamp housing’s lens or a designated port. No electrical load is added, but alignment is critical for brightness.
- Test and validate: Check lamp function with ignition on and off per circuit requirements. Confirm visibility from the driver’s seat and ensure no glare or distraction. Verify flash rate and brightness meet expectations.
Troubleshooting and Maintenance
Common issues with fender-mounted hardware are simple to solve with methodical checks.
- Water ingress: Fogging or corrosion inside pods usually stems from failed seals. Replace O-rings/gaskets, reseal bases with non-hardening sealer, and confirm grommets are intact. Add a desiccant pack inside serviceable housings where appropriate.
- Flicker or dim LED: Verify ground integrity first. Measure voltage at the lamp with a multimeter while operating. If CAN-bus equipped, check for PWM-fed circuits; a small electrolytic capacitor module or dedicated LED driver may smooth PWM outputs for auxiliary indicators.
- Hyperflash: Add or replace load resistors, or fit an LED-compatible flasher. Confirm resistor wiring is parallel to the lamp and heat-sinked to metal.
- Loose or tilted ornament: Inspect backing plates and nuts. Replace compressed or cracked gaskets. If the panel is dimpled, remove the part and use a fender spoon and dolly to gently level before reinstallation.
- Finish care: Clean chrome with non-abrasive polish and seal with wax. For painted ornaments, treat like body panels. Avoid ammonia-based cleaners on plastic lenses; use plastic-safe products.
- Rattles/noise: Add thin EPDM isolators under mounting points. Confirm wire looms aren’t contacting fender liners or braces.
Safety and Legal Considerations
Beyond aesthetics and function, observe the following to stay compliant and safe:
- Pedestrian safety: Many regions discourage or prohibit rigid, sharp hood/fender ornaments. Where permitted, use spring-loaded or breakaway bases. Keep protrusions minimal in height and radius sharp edges.
- Lighting regulation: Front-facing turn repeaters should be amber and not exceed allowed candela levels. Do not install red/blue/white flashing elements that could be confused with emergency lighting.
- Driver distraction: Driver-visible pods should be modest in brightness, shielded from the cabin to avoid glare, and positioned just within peripheral view.
- Warranty and insurance: Drilling body panels may void corrosion warranties. Document installation and seal all penetrations to OEM standards.
- Animal “whistles”: Do not rely on these devices for collision avoidance. Driver vigilance, proper lighting, and speed management remain the only reliable measures.
Quick Technician Checklist
- Confirm device type and purpose before purchase (ornament, indicator pod, repeater, or corner guide).
- Verify base curvature, stud spacing, and underhood clearance.
- Plan wiring with proper taps, fuses, and grounds; address CAN-bus needs.
- Drill with step bits; deburr, prime, and seal all penetrations.
- Use gaskets and non-hardening body sealer to prevent water ingress.
- Torque hardware lightly; add backing plates for heavier parts.
- Test function and visibility; check for hyperflash and glare.
- Reinspect after one week for leaks, loosening, or electrical issues.
FAQs
What’s the difference between a driver-visible indicator pod and a turn signal repeater?
A driver-visible pod is primarily for the driver to confirm lamp status (turn, high beam, parking) without looking at the dash cluster; it may use small bulbs or fiber optics and isn’t necessarily meant to inform other road users. A turn signal repeater is externally visible to traffic and must meet color and visibility expectations (typically amber, front/sides).
Do parking guides or corner poles actually help with maneuvering?
Yes, physical reference points at the hood corners can help drivers judge bumper position, especially on long-hood vehicles. Their effectiveness depends on placement, height, and driver familiarity. They are a parking aid only; they do not replace sensors or cameras.
Are fender-top ornaments legal?
In many areas, they are permitted if designed with breakaway or spring-loaded mounts and without sharp edges. Local rules vary; always check your regional regulations, especially for pedestrian safety requirements.
How do I stop LED repeater hyperflash?
Install an LED-compatible flasher or add parallel load resistors matched to the OEM bulb load (commonly 6 Ω, 50 W per side). Mount resistors to metal away from wiring; they get hot in use.
Do animal “deer whistles” work?
There is no reliable evidence they prevent animal strikes. Use high-beam illumination appropriately, scan shoulders, reduce speed in high-risk areas, and avoid relying on acoustic devices.
Can I retrofit fiber-optic indicator monitors?
Yes. Kits route a small fiber from each primary lamp to a fender pod. They don’t add electrical load but require precise pickup placement against the lamp housing to transmit sufficient light. They are period-correct for certain late-1960s–1980s vehicles.
What if my vehicle has CAN-bus lighting control?
Use non-invasive taps for low-current indicator pods, or integrate via a body control module-friendly method. For repeaters, use resistors or a flasher that communicates correctly with the BCM. Avoid backfeeding circuits; include diodes where necessary.
How do I prevent rust after drilling the fender?
Deburr the hole, apply etch primer to bare metal, touch-up paint, then seal with non-hardening body sealer. Use rubber grommets for wires and inspect annually for chipped paint or seal failure.

The Toolsource Technical Team blends decades of real-world automotive service experience with up-to-date technical research. Our writers collaborate with professional mechanics, shop owners, and diagnostic specialists to deliver practical, workshop-ready guidance you can trust.


Follow us on social media