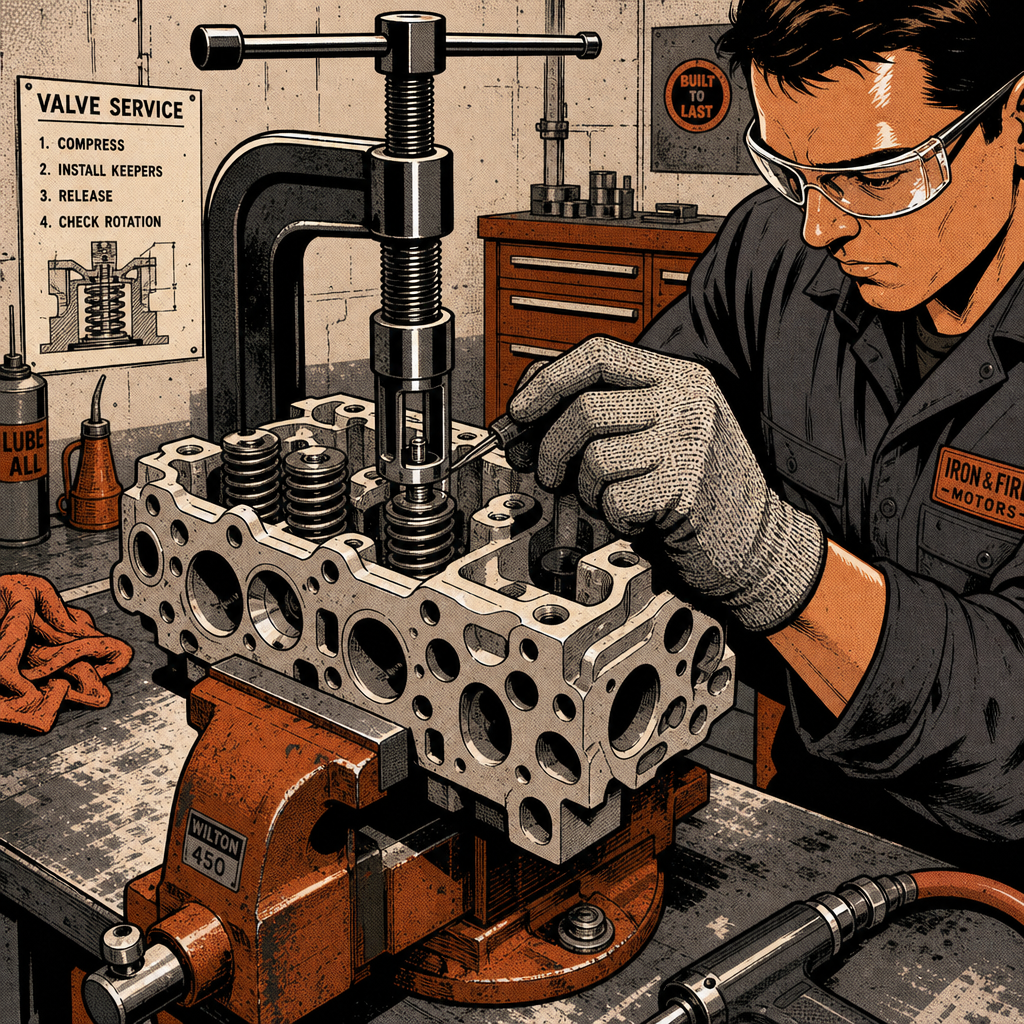
In-car valve seal and keeper work looks simple on paper—compress the spring, pull the keepers, swap the seal, reverse the process—but it’s one of the more unforgiving jobs on a cylinder head. A slipped keeper can go airborne, a dropped valve can fall into the cylinder, and a poorly made compressor tool can fail under spring load at the worst possible moment. The discussion below pulls together practical guidance from techs and hobbyists who’ve done this job repeatedly, covering how to keep the valve from dropping, how to build or choose a keeper compressor safely, and what else you should be inspecting while the head is open.
Why This Job Bites People
Valve keepers (also called valve locks) sit under serious spring pressure the moment you compress the retainer. When a keeper slips out of a split collet or a makeshift tool, it doesn’t just fall—it can launch. Several techs who’ve done this job describe keepers “going to the moon” off a socket-and-hammer setup, and at least one reported a ricocheting part during removal. None of this is exotic; it’s standard behavior for a small, hardened piece of metal under spring tension with nowhere controlled to go.
Before you touch a spring compressor of any kind—store-bought, shop-built, or 3D-printed—treat it like you’re working with a loaded spring (because you are):
- Wear safety glasses, full stop. This is the single most repeated piece of advice from people who’ve done the job and the people who’ve been hit by parts doing it.
- Keep a shop rag or cut-resistant glove near the compressor in case a 3D-printed or modified part delaminates or cracks under load.
- Work over a clean, contained area so a dropped keeper doesn’t disappear into a parts tray, a drain, or the engine bay.
- Never work directly over an open valve bore without something blocking the port—more on that below.
Keeping the Valve From Dropping Into the Cylinder
The part everyone asks about first is how to stop the valve from falling into the cylinder once spring pressure is released and the valve is free to move. There are three common approaches, each with tradeoffs:
Piston at TDC alone. On an interference engine, bringing the piston to top dead center under the valve in question will stop it from falling all the way down, but it won’t fully support it—on a non-interference engine the valve can still drop past the piston crown entirely. Don’t rely on TDC positioning by itself as your only safeguard.
Rope-in-the-cylinder method. Feed a length of rope through the spark plug hole and pack it into the combustion chamber, then rotate the engine so the piston rises and compresses the rope against the valve, wedging it in place. This is a classic trick for a reason—it works with basic hand tools—but packing enough rope in through a plug hole is genuinely fiddly. A useful technique reported by techs doing this: start the rope with a slim stick or dowel with a pointed/notched end to guide the fabric into the hole, then feed roughly a meter or more of rope in before rotating the crank to snug it against the valve.
Compressed air through the spark plug hole. An air-hold adapter threaded into the plug hole and fed shop air pressurizes the cylinder enough to hold the valve shut while you work. It’s faster and cleaner than packing rope, and it’s the preferred method for anyone doing this job more than once or twice, since there’s no rope fiber to leave behind in the chamber.
[PRODUCT_SEARCH: spark plug hole air compression valve holding tool]


Replacement Spark Plug Insert For Mountain Ford Cylinder Head Sp
Mfg: Mountain
Part #: 9201

Picking or Building a Keeper Compressor
Once the valve itself is secured, you still need a tool that compresses the retainer spring far enough to expose the keeper groove without letting the keepers fly loose. Commercial compressors do exist for in-car work—typically a lever or screw-type tool that bridges the retainer and the head casting or rocker stud—and they’re worth owning if you do this job with any regularity.
That said, a number of techs have built their own, including 3D-printed designs, because off-the-shelf tools don’t always fit tight factory clearances. A design worth understanding: the keeper sits in a cupped washer first, then the tool applies pressure to both the washer and keepers simultaneously through a center piston riding on a spring. As the washer is pushed down, the piston’s spring lets the keepers slide down and engage the valve stem groove at the correct moment—effectively letting you install keepers one-handed instead of juggling two keepers with tweezers while holding spring pressure.
If you’re building your own tool, a few points raised by people who’ve actually stress-tested printed parts matter:
- Material matters under spring load. A rigid PLA or standard PETG print can be fine for geometry testing, but anything taking direct, repeated compression from a valve spring is better served by a tougher filament—hard TPU with strong layer adhesion has been used successfully because it resists the sudden layer-separation failure that rigid prints can suffer under compression.
- Let plastic guide, not load-bear. A common and sound suggestion is to use the printed part only as a guide or alignment piece and let a steel insert or washer carry the actual spring force. Layer failure under sustained compression can happen suddenly and without much warning.
- Add a mechanical advantage. A lever arm or screw-thread actuator makes the tool safer and more universal than a tool that relies purely on hand pressure, and it reduces the chance of your hand slipping at the moment of maximum spring load.
- Design for a sudden release. Assume the tool, spring, or keeper could let go unexpectedly, and position your hands and face accordingly—to the side, not directly over the opening.
Don’t Stop at the Seals—Check the Springs Too
If you’re already in there for leaking valve seals (burning oil, smoke on startup, blue exhaust), pulling the springs for inspection is close to free labor-wise once the keepers are out. A recurring piece of advice from experienced techs: replace the valve springs at the same time, even if the symptom was oil consumption and not a performance complaint. Weak seat pressure from fatigued springs is easy to miss without comparing against a new spring side by side, and it’s a difference you’ll notice once it’s fixed—better idle quality and more consistent valve control at higher RPM. You don’t need to go as far as lapping the valves on a routine seal job, but skipping fresh springs when the head is already apart is the mistake people say they regret most.
Reading Cam Lobe Wear While You’re In There
With the valve cover off and springs exposed, take a minute to look at the cam lobes and rocker/follower contact surfaces. Normal wear shows up as a shiny, polished band from the sliding or rolling contact—no grooves, no roughness you can catch with a fingernail. Abnormal wear looks different: a grainy or scored groove, pitting, or a rough texture you can feel by dragging a nail across it. That kind of wear is usually tied to extended runs on old, degraded oil, chronically low oil level, or an oil pump/pressure problem—not something that shows up from a single oil change interval being a little late. If you see scoring or pitting, flag it before buttoning the head back up; it’s much cheaper to catch during a seal job than after a lobe fails later.
Quick Checklist
- Safety glasses on before any spring is compressed—no exceptions.
- Secure the valve first: rope-pack through the plug hole or compressed-air adapter, not TDC positioning alone.
- Use a compressor tool rated (or reinforced) for spring load; printed parts should guide, not bear, the force.
- Add leverage (screw or lever action) rather than relying on raw hand pressure.
- Replace valve springs while the head is already open, even on a straightforward seal job.
- Inspect cam lobes for shiny normal wear vs. grainy/scored abnormal wear before reassembly.
- Keep a rag or cut glove nearby in case a keeper or printed part fails suddenly.
[PRODUCT_SEARCH: valve spring compressor and cylinder head service tool kit]


FAQs
Can I just use a socket and hammer to remove valve keepers?
It’s possible for removal and some techs do it, but it gives you far less control than a dedicated compressor, and it offers no help at all for reinstalling keepers evenly. Expect a higher chance of a launched keeper.
Is the rope trick safe on any engine?
It works on most engines but requires enough rope packed into the chamber to fully resist piston movement—under-packing is the main failure mode. On engines with very small combustion chambers, a compressed-air plug-hole adapter is often more reliable.
Will TDC positioning alone protect the valve?
Not reliably. On interference engines it limits travel but doesn’t fully support the valve; on non-interference engines the valve can drop well past the piston. Always add rope or air pressure as a second safeguard.
Is a 3D-printed valve tool actually durable enough for shop use?
It can be, if you choose a tough filament like hard TPU with good layer adhesion and design the part so steel—not plastic—carries the direct spring load. Treat early prints as prototypes until proven under real spring pressure.
Do I really need new valve springs if I’m only fixing a seal leak?
Not strictly, but it’s recommended. Spring fatigue is hard to detect without a side-by-side comparison, and skipping it is a commonly cited regret among techs who’ve done the job more than once.
What does abnormal cam lobe wear look like compared to normal wear?
Normal wear is a smooth, shiny polished band. Abnormal wear is grainy, scored, or rough enough to catch a fingernail—usually a sign of old oil, low oil level, or an oil pressure issue that’s worth investigating before closing up the head.
Shop Valve Spring Compressors & Specialty Tools
The right compressor tool makes this job safer and faster, whether you’re working from a factory part or building one to fit your setup. Browse our selection of Valve Spring Compressor options to find a tool rated for the spring load you’re working with.
- Commercial lever and screw-type compressors with documented spring load ratings.
- Air-assist and hybrid designs suited to modern engine bay clearances.
- Specialty accessories including spark plug hole air adapters and keeper guides.

The Toolsource Technical Team blends decades of real-world automotive service experience with up-to-date technical research. Our writers collaborate with professional mechanics, shop owners, and diagnostic specialists to deliver practical, workshop-ready guidance you can trust.


Follow us on social media