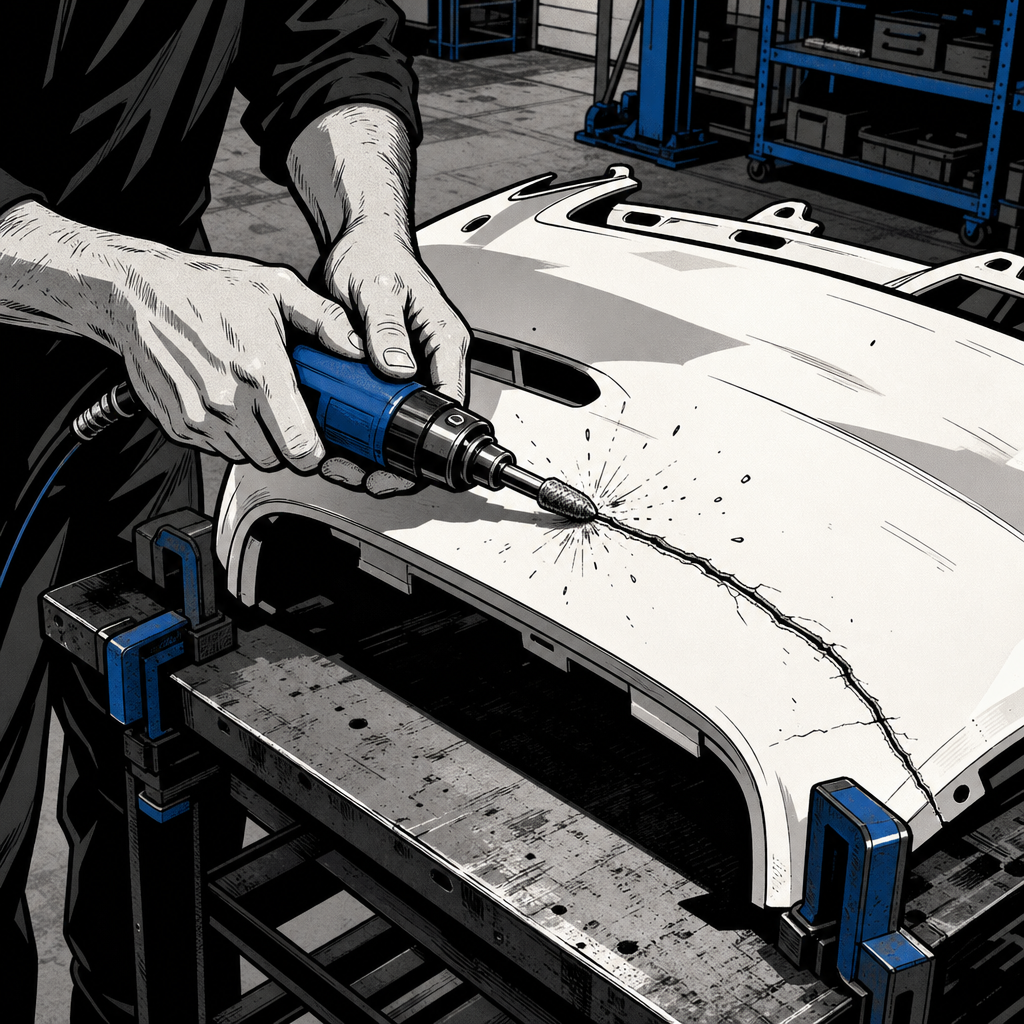
Every time a well-executed DIY plastic bumper repair shows up online, the same debate follows: is welding a cracked bumper cover actually worth it, or should you have just bought a replacement? The honest answer depends on who’s doing the labor. Body shops have wholesale parts pricing and hourly labor rates that make replacement the obvious call. A DIYer with a weekend and a heat gun is working with a completely different cost equation. This guide breaks down both sides so you can decide which route makes sense for your vehicle, and if you choose to weld, how to do it in a way that actually holds up.
Welding vs. Replacement: The Real Cost Breakdown
In a body shop, a new aftermarket bumper cover often costs less than the labor to properly plastic weld and refinish a damaged one. Shops buy through dealer and wholesaler networks at volume discounts—often 30-40% off retail—so a cover that retails for $250-500 might land in their hands for a fraction of that before paint. Add in the labor rate for a skilled technician to grind, weld, reinforce, and blend a repair, and replacement frequently wins financially for a shop.
For a consumer, the math flips. Retail aftermarket bumper covers typically run $300-500 before paint and installation labor, and OEM covers cost more. A plastic welding kit, by contrast, is a one-time tool purchase in the $100-300 range depending on the system, plus consumables. If you’re comfortable doing your own bodywork and painting, or you’re prepping for a rattle-can or spray-can color match rather than a full refinish, welding a repairable crack can cost a fraction of a new cover—and you keep a tool you can reuse on future repairs, including other plastic components like fender liners, interior trim, or fuel doors.
The catch: welding only makes sense if the damage is a clean crack, split, or small hole rather than missing material, severe deformation, or damage near mounting tabs and brackets. If the bumper is structurally compromised or the plastic is degraded from UV exposure, replacement is usually the safer bet regardless of who’s doing the work.
Tools You Actually Need for a DIY Plastic Weld
Plastic welding bumpers isn’t the same as welding metal, and the tools reflect that. At minimum you need:
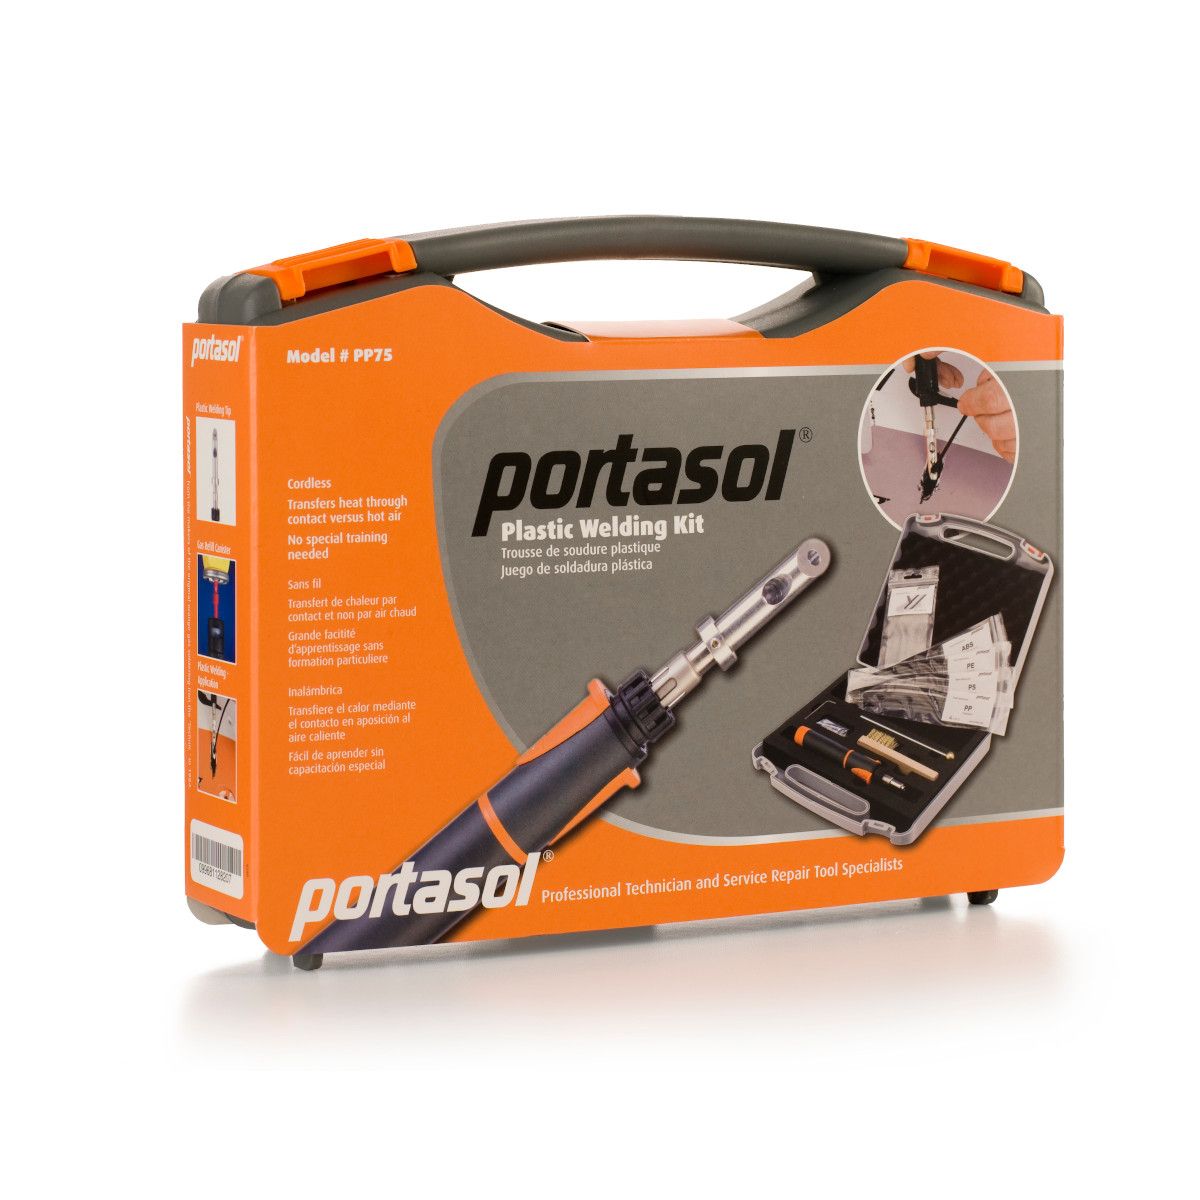
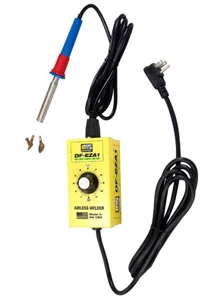
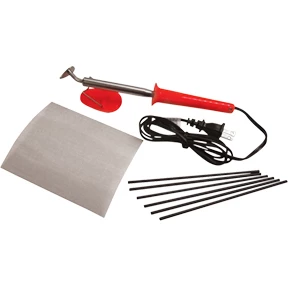
- A plastic welder designed for automotive polymers (airless nitrogen welders are the current standard among hobbyists and shops alike)
- Plastic welding rod or mesh matched to the bumper’s base material (most bumpers are PP/EPDM—check the resin ID molded into the back of the cover)
- A rotary tool or die grinder for V-grooving the crack from both the front and back
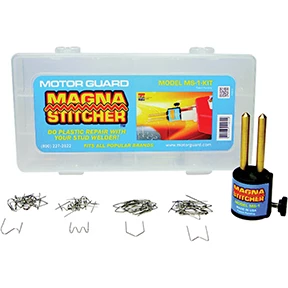
- Plastic repair staples or a fusion mesh strip for reinforcing the backside of the repair
- Body filler rated for flexible plastic substrates, plus standard sanding supplies
Dedicated plastic welding systems are a niche category, and pricing reflects that—decent kits with a proper welder, tip selection, and rod assortment can run a few hundred dollars. That’s real money for a one-time repair, but if you’re doing multiple repairs over time or working on more than one vehicle, it pays for itself quickly compared to shop quotes or repeated cover purchases.
===PRODUCT_SEARCH_1===
Step-by-Step: Repairing a Cracked Bumper
The process below covers a typical stress crack or split, which is the most common DIY-repairable damage:
- Clean and dry the area. Remove wax, road grime, and any loose paint around the damage with soap and water, then wipe with a plastic-safe degreaser.
- V-groove the crack. Using a rotary tool, grind a V-shaped groove along the crack on both the front and back surfaces. This gives the weld material somewhere to key into rather than just sitting on top of the surface.
- Reinforce the backside. This is the step that separates a repair that holds from one that fails within months. Fuse plastic staples across the crack on the back of the bumper, or lay in a mesh strip and weld it into the plastic, before welding the front. Skipping backside reinforcement is the most common reason repaired cracks reopen at the original break line—the front weld looks fine cosmetically but has nothing holding the substrate together under flex and vibration.
- Weld the front groove. Using matched-material rod and a welder set to the correct temperature for your plastic type, fill the V-groove, working in short passes to avoid overheating and warping the panel.
- Grind the weld flush. Once cooled, grind the welded area down to match the surrounding contour.
- Skim coat with flexible filler. Apply a thin layer of flex-rated filler to smooth out any remaining texture, then block sand.
Take your time on the backside reinforcement step in particular. It’s the part of the job that’s invisible once everything’s painted, which is exactly why it’s the step most tutorials skip past—but it’s the difference between a repair that lasts and one that cracks again along the same line within a season.
Priming and Paint: Avoiding the Visible Edge
A technically sound weld can still look like a repair if the refinishing work isn’t done carefully. The most common mistake is priming the entire repair area right up to the edge of your masking tape. That creates a hard build-up line that telegraphs through the topcoat—visible under certain light angles even when it’s not noticeable to the touch.
Instead, feather your primer coats outward gradually rather than stopping at a hard tape line, especially on flat panels where reflections make edges more obvious. Use a plastic adhesion promoter before primer if your filler and primer system calls for it, and blend your basecoat and clearcoat well beyond the repair area rather than trying to spot-paint just the patched section. On bumpers, blending into an adjacent panel or at least well past the repair boundary gives you much more forgiving results than trying to match color in a small, isolated patch.
Common Mistakes That Shorten the Repair’s Life
Most failed DIY plastic welds trace back to one of a few issues:
Skipping the backside weld or mesh reinforcement. As noted above, a front-only cosmetic weld has no structural integrity and will typically re-crack at the original failure point once the bumper flexes from temperature changes or minor impacts.
Wrong plastic type. Welding rod that doesn’t match the bumper’s base resin won’t bond properly. Check the resin identification code molded into the underside of the bumper (commonly PP, PP/EPDM, or TPO) before buying rod.
Overheating during the weld pass. Too much heat warps the panel and weakens the surrounding plastic instead of strengthening the repair. Short, controlled passes with the correct nozzle temperature work better than trying to fill the groove in one go.
Rushing the priming and blending. Cosmetic issues like tape-edge buildup are avoidable with slightly slower, more deliberate technique and don’t require additional tools—just patience.
Quick Pre-Repair Checklist
- Confirm the damage is a clean crack/split, not missing material or bracket damage
- Identify the bumper’s resin type from the ID code on the back
- Source matched welding rod and a plastic-rated welder
- Plan for backside mesh or staple reinforcement, not just a front weld
- Have flexible filler, adhesion promoter, and blending panels ready before you start paint
- Compare your total tool + material cost against a local replacement quote before committing
===PRODUCT_SEARCH_2===

Frequently Asked Questions
Is plastic welding actually stronger than using just adhesive or epoxy?
Yes, when done correctly. A proper weld fuses the repair material with the base plastic rather than just bonding to the surface, which handles flex better over time. Epoxy-only repairs on flexible bumper covers tend to crack again at the repair edge since the epoxy doesn’t flex the same way as the surrounding plastic.
How do I know what type of plastic my bumper is made from?
Look for a molded resin identification code on the underside or backside of the bumper cover, usually near the mounting points. Common codes include PP, PP/EPDM, and TPO. Matching your welding rod to this code is critical for a proper bond.
Is it worth buying a plastic welder for a single repair?
It depends on the quote you’d get for a new cover plus paint and installation. If that quote is significantly higher than the welder and materials cost, and you’re comfortable doing the bodywork yourself, it can pay for itself on one job. If you don’t expect to use it again, weigh the tool cost against just paying a shop.
Why did my previous plastic repair crack again at the same spot?
This is almost always a sign the crack wasn’t reinforced from the backside before the cosmetic front weld was applied. A front-only repair looks solid but has no structural backing, so normal flex reopens the original crack, often within a few months.
Can I plastic weld a bumper that’s already painted?
You’ll need to strip paint and clear coat back to bare plastic around the damaged area before grinding and welding. Trying to weld through existing paint layers won’t produce a clean bond and will show through in the final finish.
Is a bumper repair as durable as a full replacement?
A well-executed weld with proper backside reinforcement can be very durable, but it’s still a repair on already-stressed plastic. For cosmetic or minor structural cracks it typically holds up fine long-term; for bumpers with multiple cracks, UV-degraded plastic, or damage near mounting brackets, replacement is generally the more reliable long-term option.
Tools & Materials for This Repair
Executing the repair properly requires the right equipment and consumables. Our plastic repair selection includes everything from welders and matched rods to reinforcement mesh and flexible filler.
- Plastic welders designed for automotive polymers and matched welding rod
- Reinforcement mesh and repair staples for backside reinforcement
- Flexible filler and surface prep materials

The Toolsource Technical Team blends decades of real-world automotive service experience with up-to-date technical research. Our writers collaborate with professional mechanics, shop owners, and diagnostic specialists to deliver practical, workshop-ready guidance you can trust.


Follow us on social media