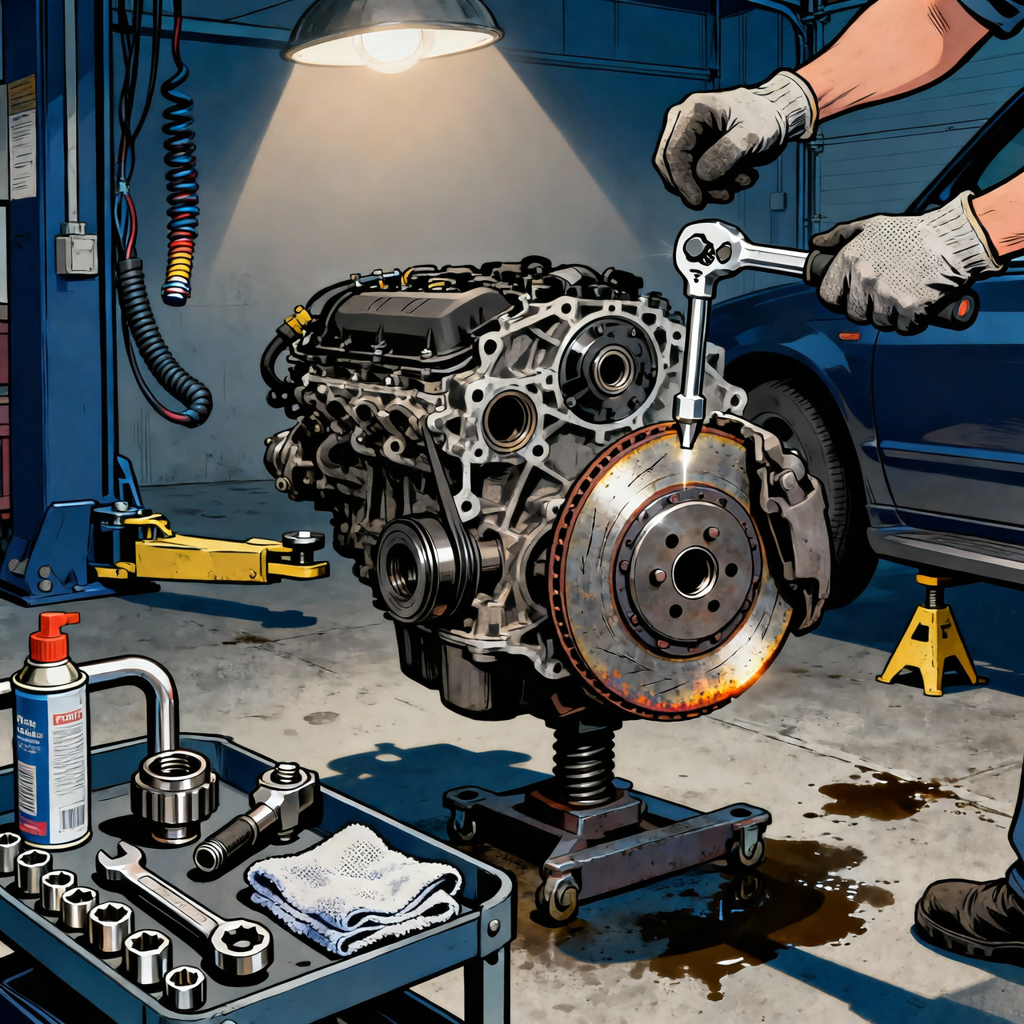
If the tachometer jumps but the car doesn’t accelerate as expected—especially in higher gears under load—you’re likely dealing with a slipping clutch. This guide gives working techs and capable DIYers a fast, structured approach to confirming the fault, ruling out look-alikes, planning parts and machine work, and executing the repair with the right tools. There’s also a brief section for automatics that mimic the same symptom (RPM flare with little or no acceleration).

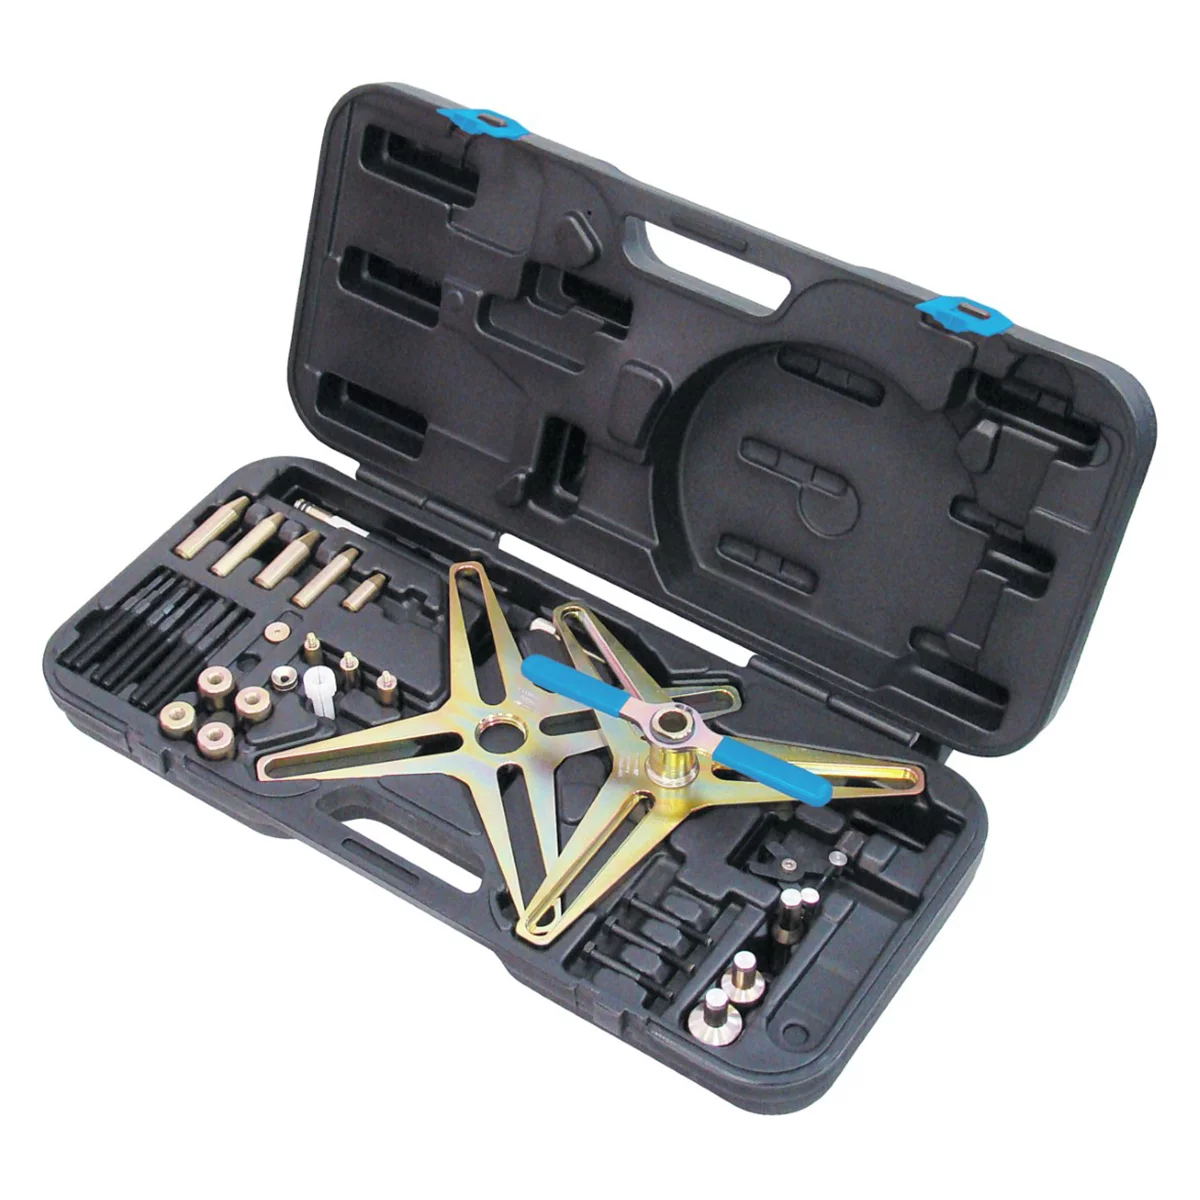
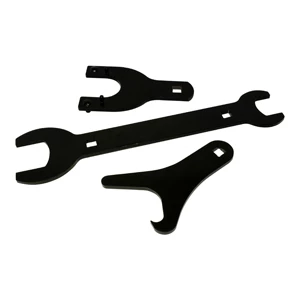
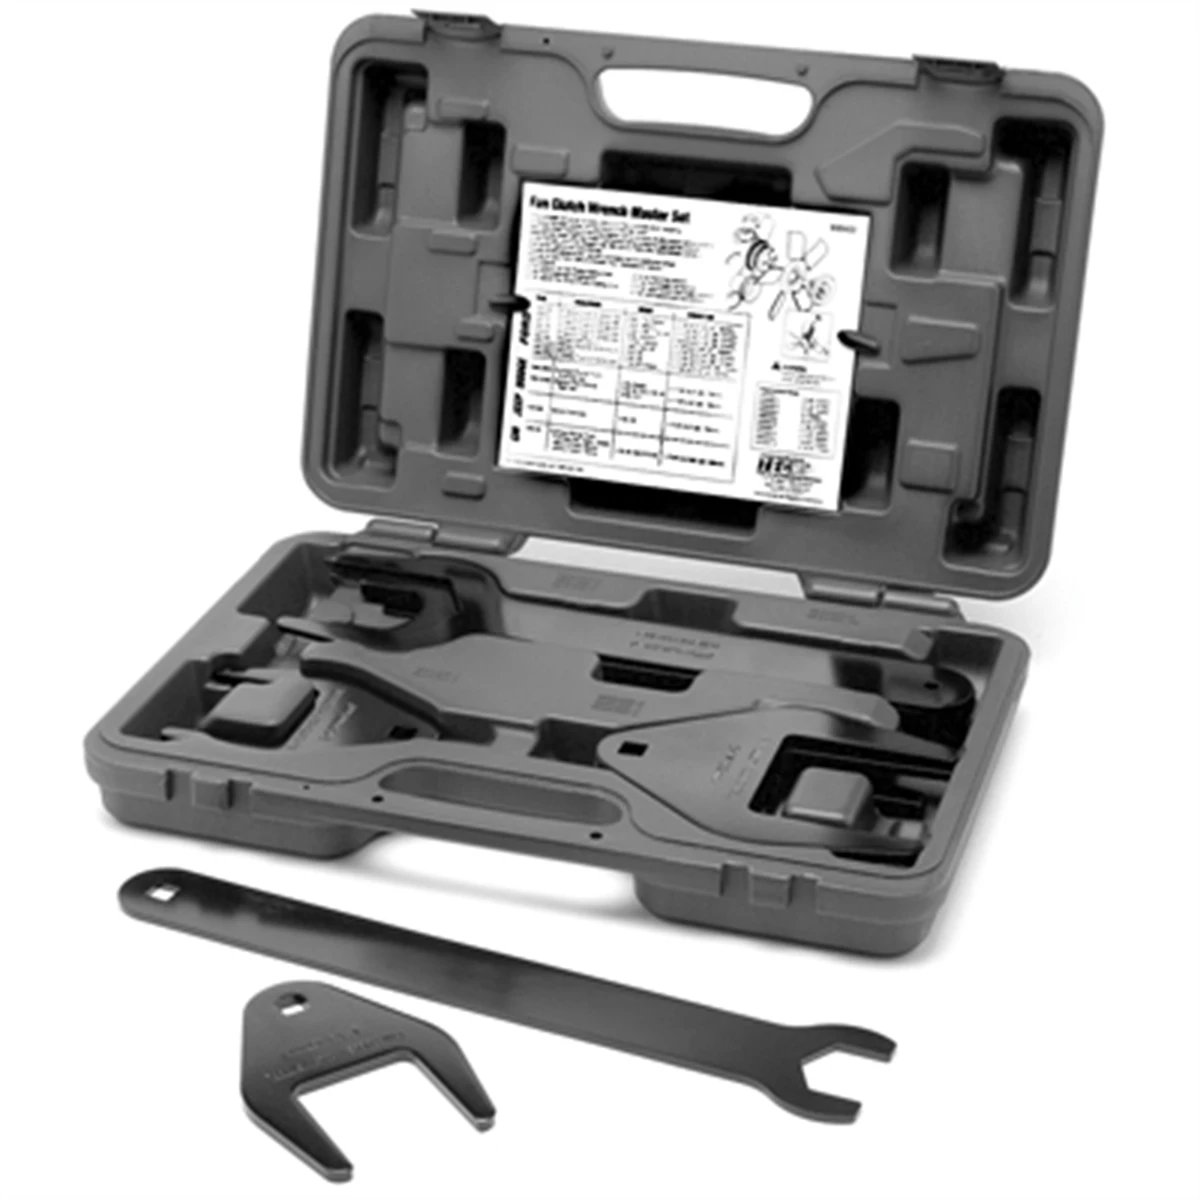
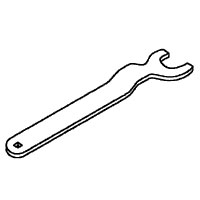

Fan Clutch Holding Tool Set - 7820 2 13/16 In & 7821 1 7/16 Inch
Mfg: OTC Tools and Equipment
Part #: 7819
Confirm the Symptom: Road Tests You Can Do in Minutes
Use these simple, low-risk checks to avoid misdiagnosis and unnecessary tear-down:
- High-gear load test (manual): At 35–45 mph in 4th or 5th, bring RPM near the engine’s torque peak, then roll into the throttle. A healthy clutch couples engine and road speed together. If RPM flares without a proportional rise in speed, the clutch is slipping.
- Parking-brake takeoff test: In an open, flat area, apply the parking brake 3–5 clicks. Attempt a gentle first-gear start without adding much throttle. A good clutch will bite and bog the engine; a slipping clutch lets RPM climb without stalling tendency. Don’t hold it long—this generates heat.
- Hill-start sniff test: After a short uphill launch, exit the car and smell near the bellhousing. A hot, acrid odor points to friction material overheating.
- Data observation (if available): Watch RPM vs vehicle speed (scan tool or dash). Repeated RPM flare under load without speed increase is classic slip. Misfires usually feel jerky and show cylinder-specific data; clutch slip is smooth RPM rise without thrust.
- Automatic transmission note: If the vehicle is automatic and RPM surges with poor acceleration, first check fluid level and condition, scan for TCC or shift ratio codes, and see the automatic section below.
Before You Order a Clutch: Rule Out Causes That Mimic Slipping
True friction wear is common, but a partially released clutch (hydraulic/cable issue) or contamination can create identical symptoms:
- Pedal free play/preload: The release bearing must not ride the pressure plate. Verify slight pedal free play (often ~6–13 mm or about 1/4–1/2 inch at the pedal pad, verify spec). If there’s no free play, adjust the cable or pushrod so the release system fully relaxes. Constant preload can make a good clutch act worn.
- Hydraulic faults (manual): Over-extended or sticking master/slave cylinders, a swollen flex hose, or a blocked master return port can hold slight release pressure. Symptoms can worsen as fluid heats. Inspect reservoir, lines, and cylinder operation. If the slave pushrod never fully retracts, find out why before condemning the clutch.
- Contamination: Engine rear main seal or transmission input shaft seal leaks oil onto the disc, lowering friction and glazing the lining. Look for oil at the bellhousing weep hole or dust cover. If contamination is present, plan on seals and a new clutch.
- Release hardware problems: Bent clutch fork, worn pivot ball, seized release bearing guide tube, broken diaphragm spring fingers, or misrouted cable can prevent full clamp force.
- Misfire vs clutch slip: Misfires cause bucking/shudder and often set DTCs; RPM doesn’t “free-rev” smoothly. Check for ignition issues only if the drive symptom is jerky under load. If it’s a clean RPM flare with little thrust, it’s almost always the clutch.
- Dual-mass flywheel (DMF) issues: Excessive DMF play or failure can cause engagement problems. Most DMFs are not resurfaced; they are replaced.
Plan the Repair: Parts, Machine Work, and “While You’re In There”
Once slip is confirmed, plan the job to minimize downtime and rework:
- Clutch kit basics: Most kits include a pressure plate, friction disc, and release (throwout) bearing. Many also supply a pilot bearing/bushing and alignment tool. Verify contents before scheduling the job.
- Flywheel strategy: Inspect for heat checking, cracking, blue hotspots, and runout. Solid flywheels can usually be resurfaced if step height and finish are restored to spec. DMFs are typically replaced, not machined. In some cases, new aftermarket solid flywheels are cost-competitive with machine work.
- Seals and hardware: Replace the engine rear main seal and transmission input shaft seal if any oil is present. Consider a new fork pivot, guide tube, clutch fork retaining clip, and pilot bearing. Many flywheel and pressure plate bolts are torque-to-yield or require threadlocker—have replacements on hand.
- Hydraulics refresh: If the clutch pedal was inconsistent or high-mileage, a new slave and master cylinder (or a pre-bled assembly) is cheap insurance. Pressure-bleed the system after installation.
- Fluids: Refill the transmission with the correct spec fluid (GL-4 for many synchronized manuals; avoid GL-5 if not specified). Top off or renew clutch hydraulic fluid (DOT 3/4 per spec).
- Budget guidance (parts vary widely): Typical clutch kits range from a few hundred dollars into four figures for performance/DMF-equipped vehicles. Machine shop resurfacing for a solid flywheel often costs less than a new unit, but pricing can make replacement more economical. Labor time spans roughly 5–12 hours depending on layout (FWD subframes, AWD/boxer engines, or tight German packaging can add time).
Procedure Overview for Experienced DIY Techs
This is a summary, not a model-specific manual. Always consult service information for torque values, bolt reuse rules, alignment specs, and safety procedures.
- Safety and prep: Disconnect the battery. Lift and support the vehicle on quality stands or a lift. If FWD, loosen axle nuts on the ground first. Have a transmission jack or engine support bar ready.
- Access and removal: Remove undertrays, intake ducting, and the battery tray if it obstructs the trans. Pull the starter (note any shims), unplug sensors, and remove shift linkage/cables. Drain the transmission fluid if axles will be removed. Detach axles or driveshaft, unbolt the slave cylinder (don’t depress the pedal with the slave removed), and remove crossmembers or subframe pieces as required.
- Support and separate: Support the engine and transmission. Remove bellhousing bolts in an accessible pattern. If dowels are corroded, gently work the case free—don’t pry on mating surfaces. Lower the transmission carefully.
- Clutch and flywheel service: Mark the flywheel orientation to the crank if not doweled. Loosen pressure plate bolts evenly in a star pattern to avoid warping. Inspect the disc for rivet height and contamination. Check the flywheel for cracks and runout. Resurface or replace per inspection and spec. Replace the pilot bearing/bushing (use proper drivers/pullers). Clean the crank flange and flywheel with brake cleaner and lint-free towels.
- Install: Use new hardware where required. Apply threadlocker where specified. Torque the flywheel to spec in stages and sequence. Degrease the pressure plate friction face. Using a clutch alignment tool, install the disc and pressure plate; torque in a star pattern to spec. Lightly lube the input shaft splines with a tiny amount of high-temp moly or clutch spline grease; wipe away excess. Verify the release bearing slides freely on the guide tube and the fork pivots smoothly.
- Reassembly: Mate the transmission carefully; do not use bolts to draw it in. Reinstall bellhousing hardware, crossmembers, linkages, starter, sensors, and axles/shafts. Refill transmission fluid to the correct level. Reinstall or replace the slave cylinder; bleed the clutch hydraulics with a pressure bleeder for best results.
- Functional checks: Verify pedal free play and engagement point. Ensure there are no leaks at the rear main or input shaft seal area. Confirm reverse selection without grinding and smooth engagement in 1st/2nd.
- Break-in: For most organic discs, avoid hard launches and heavy slipping for the first 300–500 miles (consult kit instructions). Vary driving conditions and let the surfaces bed in for maximum life.
If It’s an Automatic and RPM Flares
RPM flare with low acceleration in an automatic often points to hydraulic or torque converter issues, not the engine.
- Fluid, codes, and basics: Check ATF level and condition (color, odor). Scan for TCC (torque converter clutch) slip, shift ratio errors, input/output speed sensor faults, and line pressure codes.
- TCC and torque converter: A failed TCC can cause flare at cruise or on gentle acceleration. A failing converter or pump typically requires transmission removal.
- Clutch packs (step gear automatics): Burnt clutches cause specific gear flare or no-drive. Diagnosis with line pressure tests, scan data, and sometimes teardown is required. Rebuild or replacement is the remedy.
- CVT: Belt/cone slip or stepper valve issues can feel like clutch slip. Fluid service with the exact CVT fluid and level method is critical. Many CVT faults require unit replacement.
- Driving advice: Until repaired, avoid heavy throttle, towing, and long uphill grades to limit heat and damage.
Drive-To-Failure Risks and How to Stretch Remaining Life Safely
Clutches can deteriorate quickly once they start slipping. Heat builds fast, glazing the disc and damaging the pressure plate and flywheel. Severe cases can crack or destroy a dual-mass flywheel. Total loss of drive can happen in traffic.
- Minimize slip: Use lower gears to keep torque demands down; avoid wide-open throttle in tall gears.
- Gentle launches: Keep RPM low on takeoff; don’t hold the car on an incline with the clutch.
- No towing or racing: Any added load accelerates failure.
- Plan the repair: Gather parts and tools ahead of time to limit downtime. If contamination or hydraulics caused the slip, include those fixes in the plan.
Quick Checklist: Before You Order Parts
- Confirm slip with a high-gear load test.
- Verify pedal free play; eliminate release bearing preload.
- Check for hydraulic hang-up (master/slave/line/return port).
- Inspect for oil at the bellhousing weep hole (rear main/input seal).
- Decide on flywheel strategy (resurface vs replace; DMF usually replace).
- List “while you’re in there” items (seals, pilot, guide tube, hardware).
FAQs
Why is clutch slip most obvious in higher gears?
In tall gears the engine faces higher load at lower RPM, demanding more torque capacity from the clutch. A marginal clutch that holds in 1st–3rd can slip in 4th–6th under the same throttle because clamp force versus torque demand is unfavorable.
Can I keep driving with a slipping clutch?
Short-term, gentle driving is possible but risky. Every slip event generates heat that polishes the disc and can damage the flywheel and pressure plate. Failure can accelerate rapidly and end in a no-drive situation. Limit driving and schedule the repair.
Do I have to resurface or replace the flywheel?
Yes—plan for one or the other. A solid flywheel typically needs resurfacing to restore finish and step height. A DMF is usually replaced. Installing a new clutch on a glazed or heat-spotted flywheel shortens clutch life and can cause chatter or slip.
Should I replace the rear main seal and pilot bearing?
Best practice is yes. The incremental cost is small compared to the labor to access them. Any oil leak can contaminate the new disc. The pilot bearing supports the input shaft; a worn unit can cause release issues and noise.
How do I bleed a hydraulic clutch reliably?
Use a pressure bleeder on the master reservoir when possible. Keep the reservoir above minimum, crack the slave bleeder, and flow until bubble-free. Some systems route through a concentric slave/release bearing; follow the model-specific procedure and avoid over-stroking a dry unit.
Could an engine misfire cause the same symptom?
A misfire feels like bucking or surging and often sets diagnostic codes. Clutch slip presents as a smooth RPM flare without proportional acceleration. If you see a clean flare under load and no misfire codes, the clutch is the prime suspect.
Recommended Tools and Supplies
- Transmission jack or engine support bar
- Clutch alignment tool (often included with the kit)
- Torque wrenches (3/8 and 1/2 inch)
- Flywheel holding tool
- Pilot bearing puller/installer
- Threadlocker (per manufacturer spec)
- Brake cleaner and lint-free towels
- High-temp spline grease (very small amount)
- Pressure bleeder and line wrenches for hydraulics
- Axle nut sockets, E-Torx/triple-square bits as needed
- Replacement hardware (flywheel/pressure plate bolts)
- Correct-spec gear oil and brake fluid (DOT 3/4)
With a confirmed diagnosis, the right parts plan, and proper tools, a clutch job is a predictable repair with long-lasting results. Prioritize eliminating slip quickly to protect the flywheel and keep the downtime and cost controlled.
Shop Paint & Finishing Tools
After transmission or clutch work, clean up and protect brackets, crossmembers, and covers with help from our Clutch Tools.
- Surface prep: abrasives, scuff pads, masking, and cleaners.
- Primers, rust treatments, and topcoats; spray guns and detail sprayers.
- Compounds, pads, and polishers for final finish work.

The Toolsource Technical Team blends decades of real-world automotive service experience with up-to-date technical research. Our writers collaborate with professional mechanics, shop owners, and diagnostic specialists to deliver practical, workshop-ready guidance you can trust.


Follow us on social media