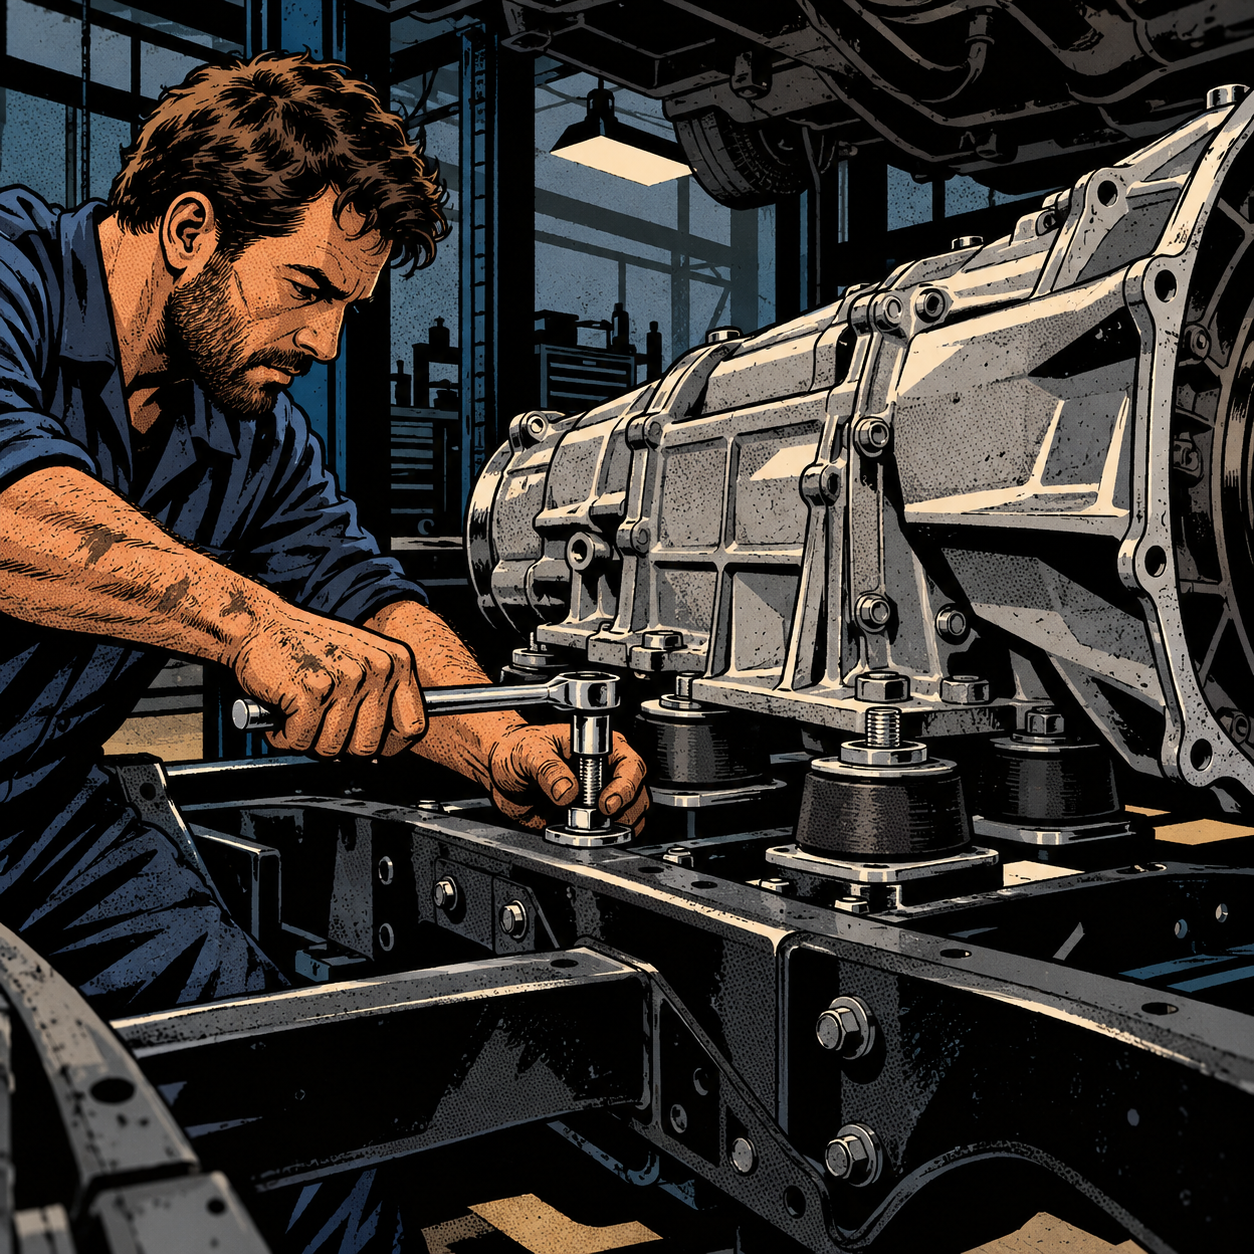
A rolling detailing cart only earns its keep if everything bolted to it survives more than a few jobs. Pressure washers vibrate, DI tanks are heavy and top-weighted, and hose reels take constant pulling and twisting — all on a cart that’s also getting rolled in and out of a trailer or garage. The builds that hold up long-term share a few common traits: the pressure washer is isolated from vibration, the hose reel and DI tank are mounted to the frame rather than to a shelf, and the plumbing uses quick-disconnects instead of hard-plumbed runs that fight you during teardown. Here’s how to put one together the right way, based on what actually works in the field.
Start With a Cart Frame That Can Take the Load
Before mounting anything, confirm the cart itself is rated for the combined weight of a pressure washer, a filled DI tank, a hose reel, and 100+ feet of hose. A full DI tank alone can run 30-80 lbs depending on size, and a gas or electric pressure washer adds another 25-60 lbs. Add accessories, chemicals, and brushes and a lightweight shelving cart will flex or tip.
- Look for a welded steel frame rather than stamped sheet metal shelves held together with cam locks — the extra rigidity matters once you start drilling and bolting into it.
- Check the caster rating, not just the shelf rating. Casters are usually the first failure point on a heavily loaded cart.
- Keep heavy components (DI tank, pressure washer) low and centered. Mounting both up high on the top shelf raises the center of gravity and makes the cart tippy on uneven pavement or ramps.
- If the cart has drawers, treat them as storage for brushes, microfiber, and chemicals — not as a mounting surface for anything with moving parts or water lines running through it.
Isolate the Pressure Washer From Vibration
This is the single most common oversight in cart builds. Pressure washers, especially gas models, transmit a lot of vibration through their feet, and if the unit is just sitting on a shelf or loosely strapped down, that vibration works every fastener on the cart loose over time — reel mounts, shelf bolts, caster hardware, all of it. Electric pressure washers vibrate noticeably less than gas units, but neither should be treated as “set and forget.”
- Bolt the pressure washer down through its factory mounting feet whenever they exist, rather than relying on straps or bungee cords alone.
- Add rubber isolation feet or anti-vibration pads between the pressure washer base and the cart shelf. This absorbs a meaningful amount of the vibration before it ever reaches the frame.
- Use thread-locking compound (blue Loctite or equivalent) on every bolt involved in the mount — the pressure washer’s own bolts and the bolts holding the mounting plate to the cart.
- Re-torque all cart fasteners after the first few uses. Vibration loosening is cumulative; a bolt that’s fine after one job can be noticeably loose after ten.
- If you’re running a gas unit, consider whether it needs a dedicated sub-plate bolted directly to the frame rather than to a lighter shelf panel — the frame flexes less and spreads the vibration load better.
[PRODUCT_SEARCH: anti-vibration mounting pads for pressure washer carts]


3-2/3" (93 mm) W x 7" (178 mm) L Non-Vacuum Dynabug Disc Pad, Vi
Mfg: Dynabrade
Part #: 57850

Fast Change Round-Up Long Wear Standard Mount Buffing Pad 7-1/2
Mfg: Schlegel Corp
Part #: 875B
Choose and Mount a Hose Reel That Matches Your Hose Length and Weight
Hose reels get singled out as both the most-requested upgrade and the most likely component to cause a mounting failure, because a full reel of pressure washer hose is deceptively heavy and the leverage on its mounting bracket is significant — especially when someone yanks the hose out at an angle instead of pulling straight off the reel.
- Match the reel’s rated hose capacity to what you actually run. An undersized reel strains at full load; an oversized reel wastes cart space and adds unnecessary weight high on the frame.
- Mount the reel as low and as close to the frame’s structural members as possible, not on the thin edge of a shelf. Where the cart has a drawer or shelf lip, back the mounting bolts with a steel or aluminum backer plate so the load isn’t resting on sheet metal alone.
- Use through-bolts with washers on both sides rather than self-tapping screws into thin shelf material — self-tapping screws back out under repeated vibration and torque.
- Give the reel a clear pull angle. If the hose exits at a sharp angle every time it’s pulled, the bracket takes repeated side-loading that it wasn’t designed for, and that’s what cracks mounts — printed or metal — over time.
Plumb the DI Tank and Pressure Washer With Quick-Disconnects
Hard-plumbing a DI tank, pressure washer, and hose reel together might look cleaner, but it makes the cart miserable to service and nearly impossible to reconfigure later. Short “whip” hoses with quick-disconnect (QD) fittings between each component — typically 2-foot sections from the pressure washer to the hose reel, and from the DI tank to the pressure washer inlet — give you a setup that can be swapped, repaired, or winterized in minutes.
- Standardize on one QD size and style across the whole cart so every hose, wand, and brush attachment is interchangeable without adapters.
- Check your DI tank’s water inlet orientation before you build a bracket around it. Inlet position varies by model and manufacturer, and a mount that looks right in a photo can put the inlet facing the wrong direction for your hose routing. Dry-fit the tank and hose before drilling any mounting holes.
- Leave enough slack in the whip hoses to allow the pressure washer to flex slightly on its isolation mounts without putting strain on the fittings.
- Label or color-code hose ends if you run more than one chemical or water path — it saves time and prevents cross-contamination of a DI resin tank with soap or chemical residue.
- Drain and disconnect the DI tank whip hose before transport if your cart gets moved on uneven ground; a full tank sloshing against a rigid connection is another source of fitting fatigue.
Pick the Right Bracket Material for Printed or Fabricated Mounts
Custom brackets — whether 3D-printed or fabricated from aluminum stock — are what make a cart look dialed in, but the material choice matters as much as the design. A bracket holding up a full hose reel or a DI tank is a sustained structural load, not a cosmetic part.
- Avoid PLA for any load-bearing mount. It’s rigid at room temperature but creeps and softens under sustained load, and a garage that swings from cold to hot through the seasons will accelerate warping and cracking.
- PETG or ABS hold up considerably better under weight and temperature swings, and are the realistic minimum for anything printed that carries a DI tank or hose reel.
- For the heaviest components, skip printed parts entirely and use aluminum or steel L-brackets and flat stock, cut and drilled to fit. It’s more setup work up front but removes the long-term creep and UV-degradation concerns that come with printed plastic.
- Whatever material you choose, over-build the mounting points — more bolts through more contact area — rather than relying on a single center bolt through a printed boss, which is a common failure point under vibration.
- If you go with a printed design, revisit it after a few months of real use. A bracket that looks fine on day one can show stress whitening or sag at the mounting ears once a tank’s been full for a season.
Finish With a Mat and a Maintenance Routine
A rubber or diamond-plate cart mat isn’t just cosmetic — it protects the shelf surface from chemical spills, gives fasteners something to bite into besides bare sheet metal, and reduces the rattle of loose equipment riding on a hard metal shelf. Pair it with a short recurring maintenance pass and the rest of the build will last.
Quick Build and Maintenance Checklist
- Pressure washer bolted through its feet with isolation pads and thread-locked hardware
- Hose reel backed with a plate on any shelf-mounted bracket, bolts through-bolted and washered
- DI tank inlet orientation confirmed before drilling mount holes
- All inter-component hoses on matched QD fittings with enough slack for vibration flex
- Load-bearing brackets in PETG/ABS or metal — not PLA
- Cart mat installed under all equipment feet and shelves
- Re-torque all fasteners after the first week of use, then monthly
[PRODUCT_SEARCH: mobile detailing cart equipment]


Premium Full Drawer Service Cart-Pin Up Girl BETTY
Mfg: Sunex Tools
Part #: 8056FDBETTY
Frequently Asked Questions
Will a pressure washer loosen bolts on a rolling cart over time?
Yes, especially gas models. Vibration transmitted through unisolated feet works every fastener on the cart loose gradually. Rubber isolation pads, factory-foot bolting, and thread-locking compound significantly slow this down, but periodic re-torquing is still necessary.
Is PLA strong enough for 3D-printed hose reel or DI tank mounts?
Not for sustained heavy loads. PLA is rigid short-term but creeps and can crack under continuous weight, particularly with temperature swings in a garage or trailer. PETG or ABS are better suited, and metal brackets are the safest choice for the heaviest components.
Which direction should a DI tank’s water inlet face when mounting it?
It depends on the specific tank model — inlet position isn’t standardized across manufacturers. Always dry-fit the tank and hose routing before drilling or printing a permanent bracket.
What size whip hoses should connect the pressure washer, DI tank, and hose reel?
Short sections, commonly around 2 feet, with matched quick-disconnect fittings on each end are standard. They’re long enough to allow slight component movement without strain, short enough to stay tidy and leak-free.
Do I need to drill into the cart frame, or can I use shelf-mounted brackets?
Light accessories can mount to shelves, but anything carrying real weight — a hose reel or DI tank — should be backed with a plate or bolted into a structural part of the frame. Thin shelf sheet metal alone will fatigue under repeated load and vibration.
How often should I check and re-tighten a detailing cart build?
Check fasteners after the first week of regular use, since initial settling and vibration loosening happen fastest early on, then fold a quick torque check into monthly maintenance going forward.
Service Carts & Equipment
Building out a detailing cart requires reliable hardware across multiple components. Our Service Carts selection includes the frames, mounting hardware, and specialized equipment needed to put together a cart that holds up under real-world use.
- Mobile cart frames rated for heavy pressure washer and tank loads
- Hose reels, DI tanks, and isolation mounting components
- Quick-disconnect fittings and hardware for reliable plumbing

The Toolsource Technical Team blends decades of real-world automotive service experience with up-to-date technical research. Our writers collaborate with professional mechanics, shop owners, and diagnostic specialists to deliver practical, workshop-ready guidance you can trust.


Follow us on social media