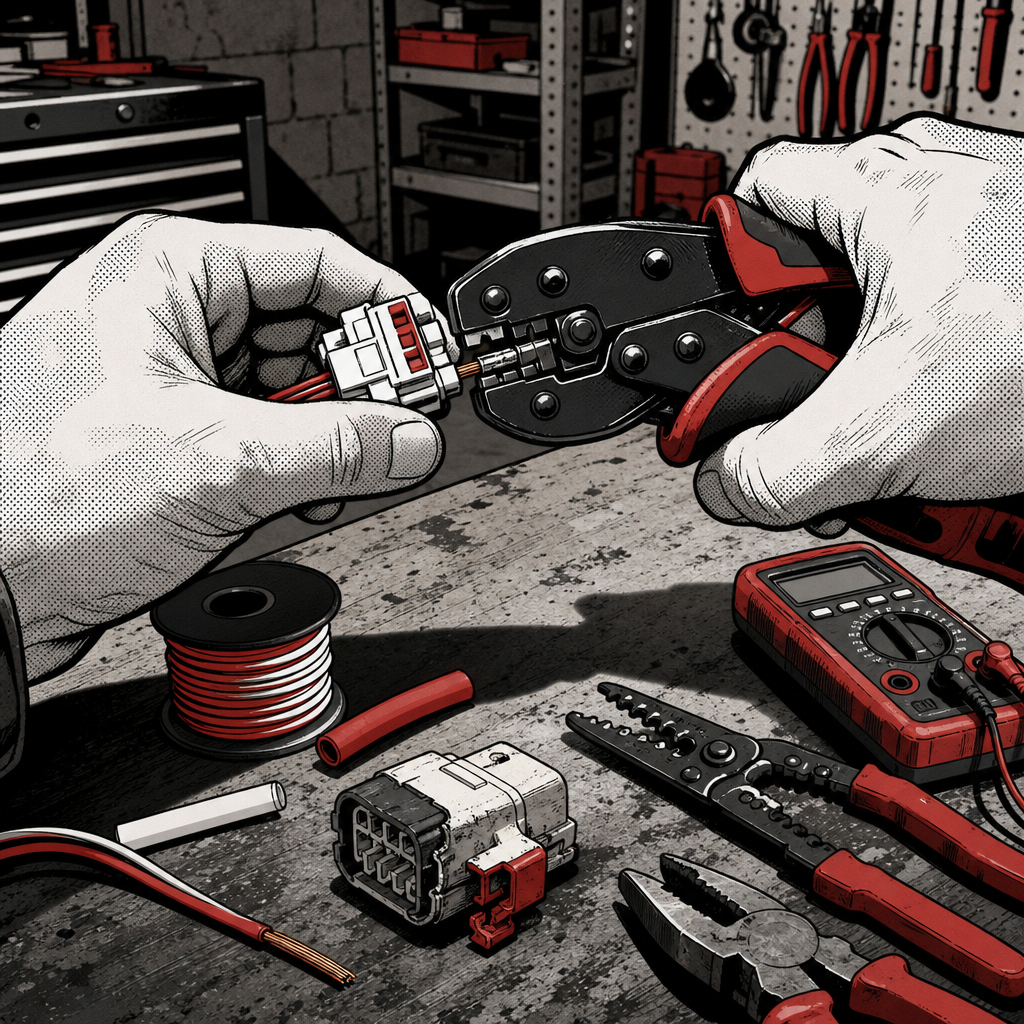
A cracked or loose latch on an airbag (SRS) connector is one of those repairs that looks trivial and isn’t. A recent thread full of working techs landed on the same conclusion from a dozen different angles: don’t improvise on this connection. Whether the damage is a broken locking tab, a missing shorting bar, or a housing that won’t seat fully, the fix is the same — replace the connector with the correct OEM or OEM-equivalent part. Below is a practical breakdown of why that matters, how to diagnose the damage correctly, and how to do the repair without cutting corners that could cost more than money.
Why a Damaged SRS Connector Is Never a “Good Enough” Fix
Airbag connectors are engineered differently than standard automotive plugs for a reason. Most use a two-stage latch and a shorting bar (also called a short-circuit clip) inside the connector body. When the connector is disconnected or not fully seated, that shorting bar grounds out the two igniter pins, preventing stray voltage, static discharge, or a stray test-light probe from setting off the inflator. When the connector is fully latched, the shorting bar disengages and the circuit connects normally.
A broken latch tab means the connector can’t reach that fully-seated state reliably. In the best case, the shorting bar stays partially engaged, the diagnostic monitor sees an open or high-resistance circuit, and you get an SRS warning light with that airbag disabled. In the worst case, vibration, dust intrusion, or corrosion at a loose or partially exposed contact creates an intermittent or bridged connection the module doesn’t catch before a crash. Every major OEM service manual is explicit here: any damage to an airbag connector, pigtail, or harness requires replacement of that component — not splicing, not repair with adhesive, not “it’s probably fine.”
Diagnosing a Broken or Loose Airbag Connector
Before ordering parts, confirm exactly what’s damaged and whether the system has already thrown a code. Treat every SRS connector as live until proven otherwise.
- Disconnect the battery and wait the manufacturer-specified deploy-module discharge time (commonly 10–30 minutes) before touching any airbag wiring.
- Visually inspect the connector housing for cracked latches, missing locking tabs, or a shorting bar that isn’t retracting when test-mated to a known-good connector.
- Check the terminals themselves for corrosion, bent pins, or backed-out contacts — a cracked housing often lets moisture and debris reach the pins even if the pins look intact at a glance.
- Pull codes with an SRS-capable scan tool rather than a generic OBD-II reader. Airbag modules often live on a separate bus and won’t always populate a check-engine light — you need a tool that reads the restraint module specifically.
- Never probe airbag circuit pins with a standard test light or non-SRS-rated multimeter set to the wrong function. Techs in the field have set off deployments this way; use a low-current meter in resistance or millivolt mode only when the manual specifically calls for it, and only with the igniter connector disconnected.
Once you’ve confirmed the shorting bar function and terminal condition, you’ll know whether you’re dealing with a simple connector-body replacement or a harness-level repair.
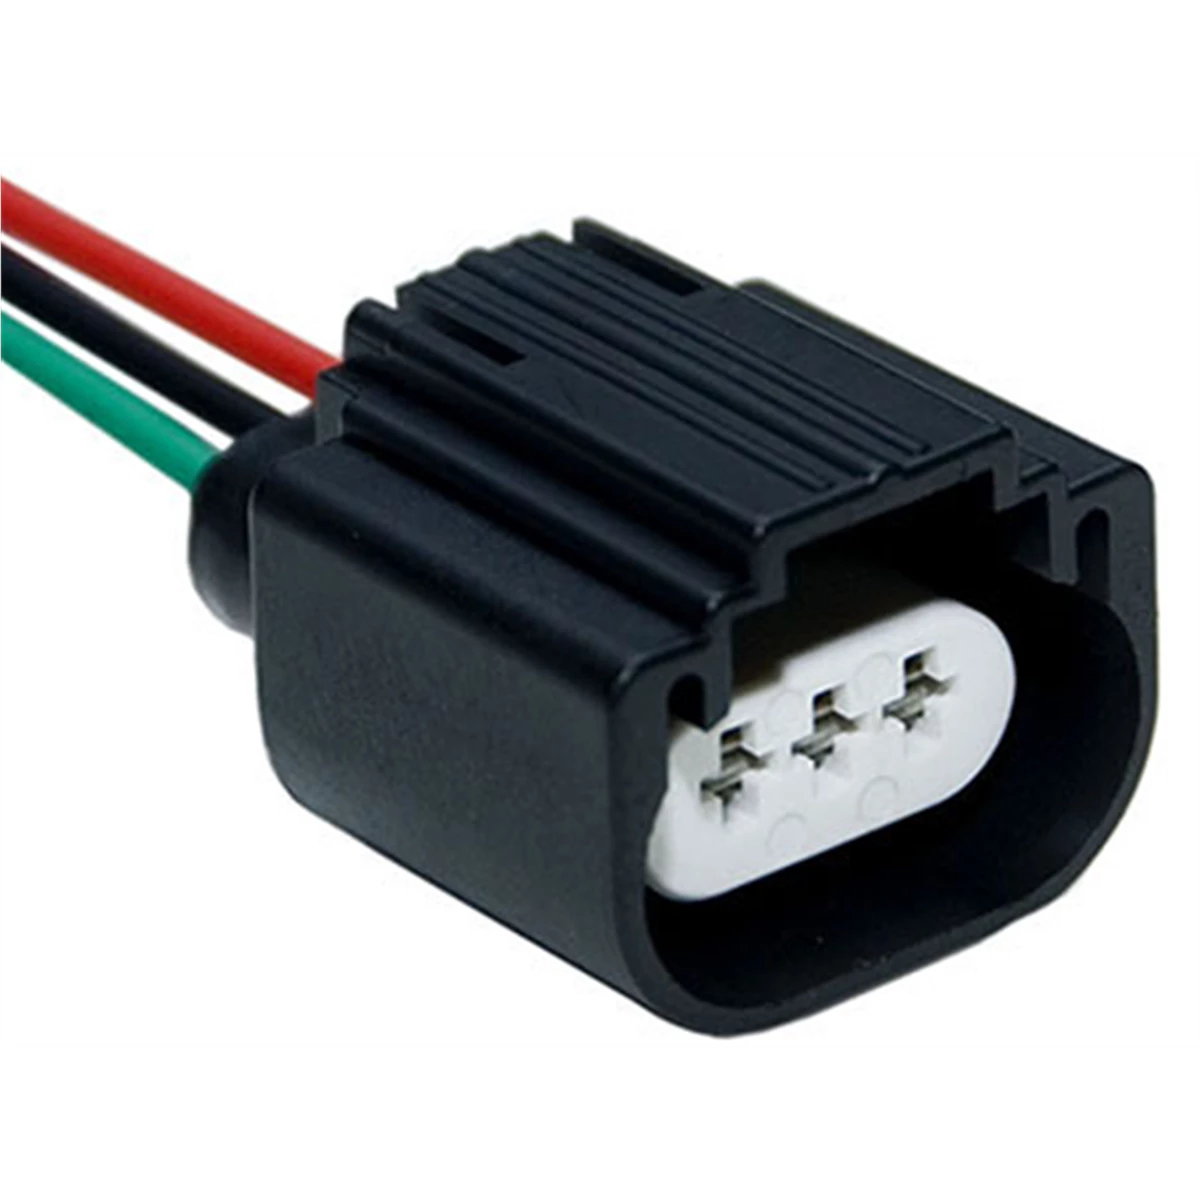
3-WIRE UNIV. 9008/H13 HALOGEN BULB CONNECTOR 1PC
Mfg: The Best Connection
Part #: 2787F
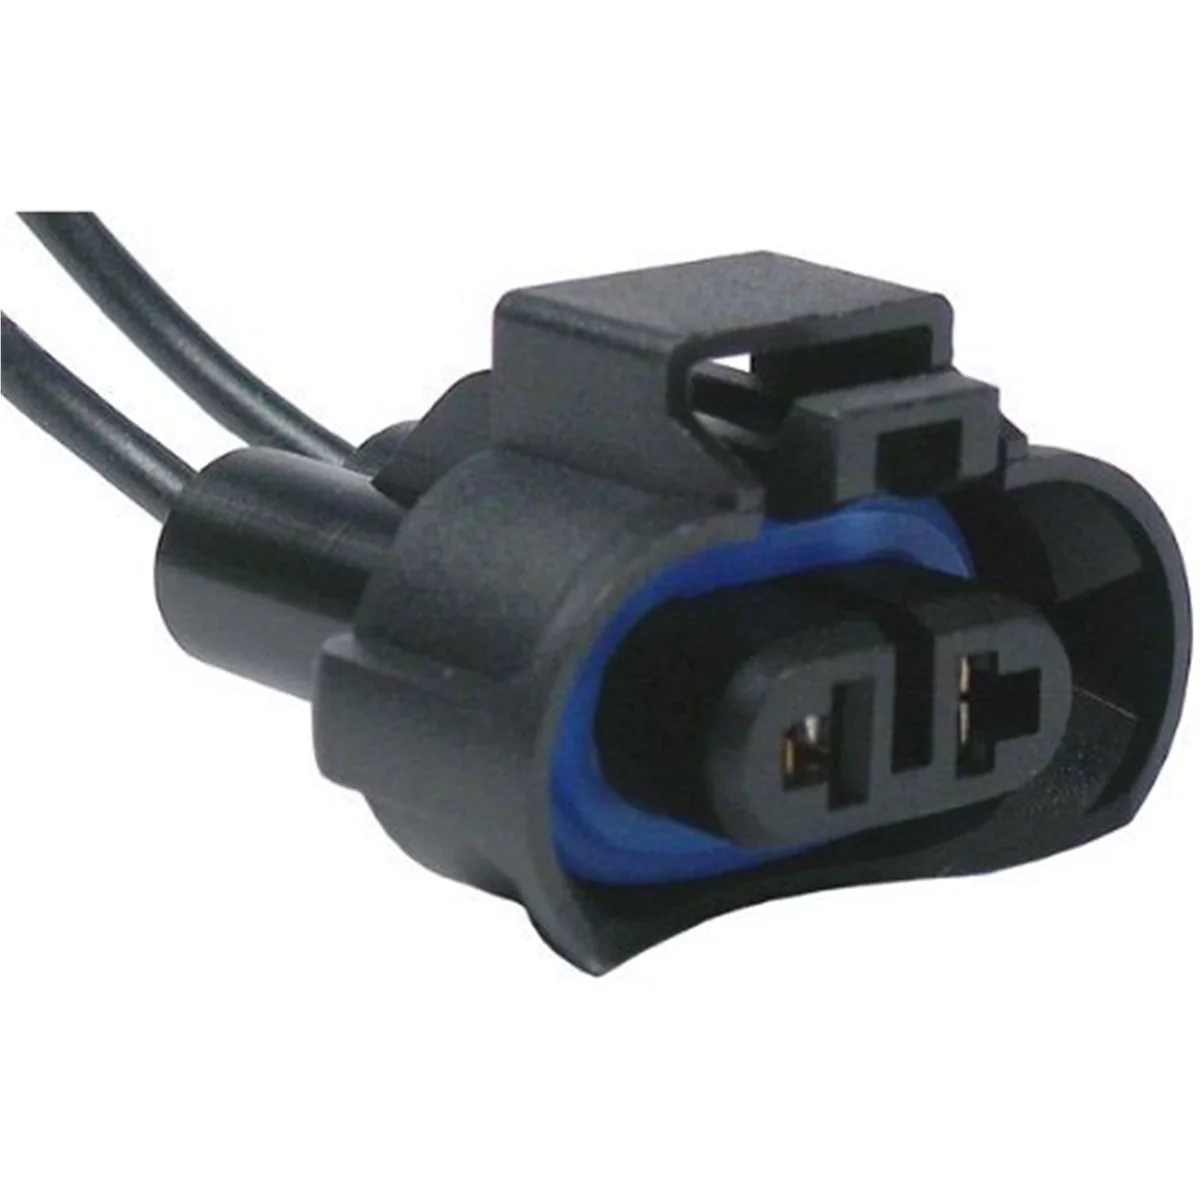
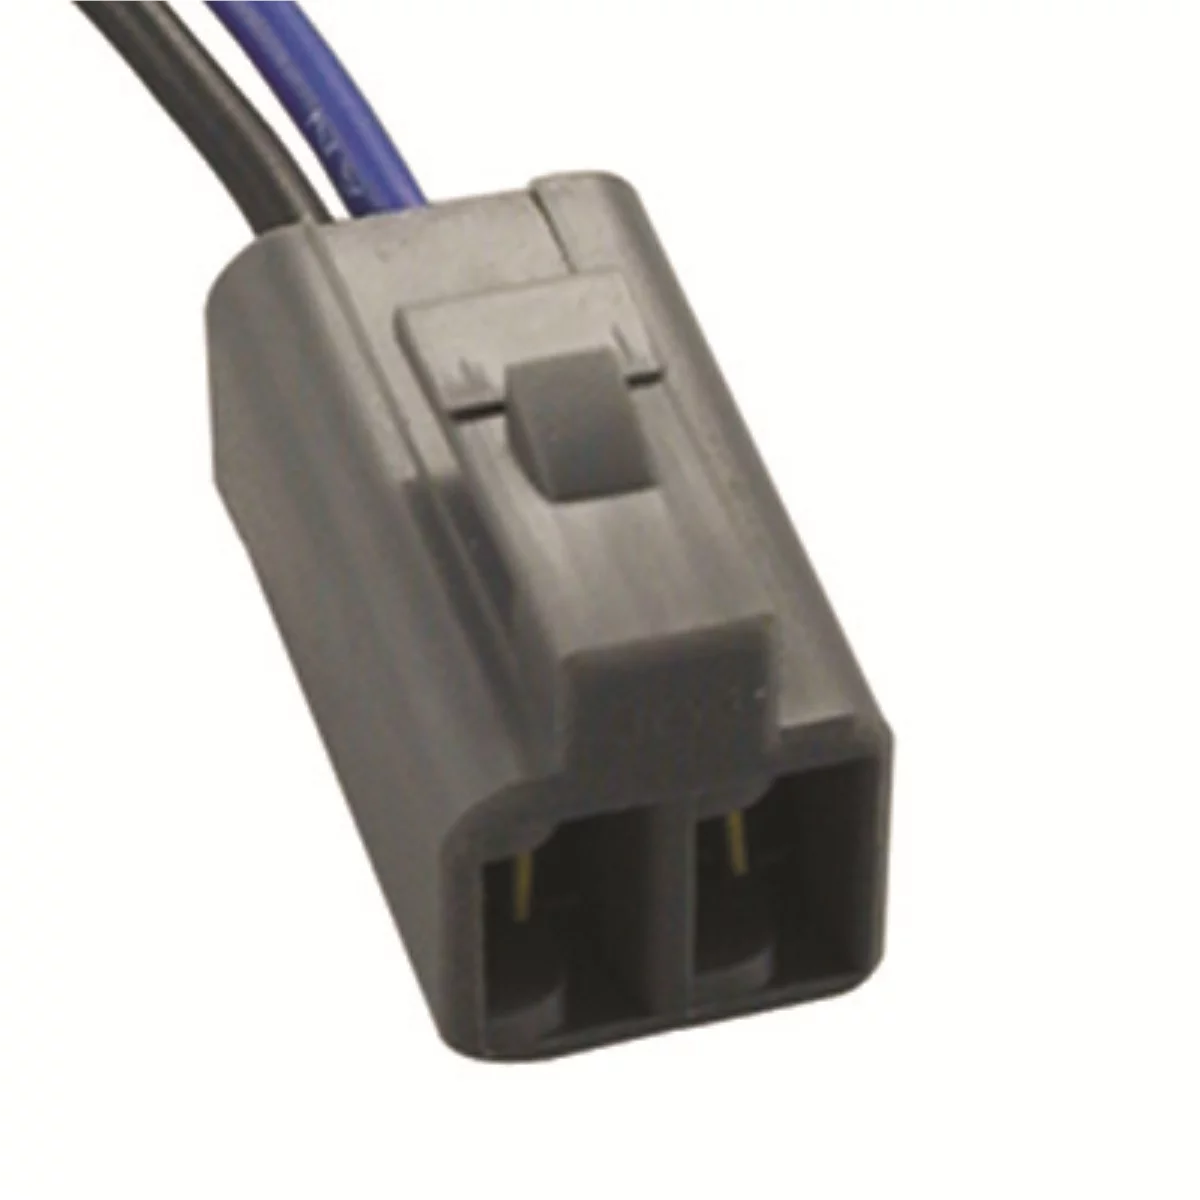
Why Adhesives, Hot Glue, and Tape Aren’t a Substitute for OEM Connectors
It’s a common instinct to stabilize a cracked connector with hot glue, silicone adhesive, or even electrical tape and call it done. Techs discussing this exact scenario were unanimous: don’t. A few reasons this fails as a real repair:
Adhesive doesn’t restore the latch geometry that holds the connector in the fully-seated position. Even a “solid-feeling” glued joint can allow enough flex under vibration for the shorting bar to stay partially engaged, which the module will read as a fault. If any adhesive migrates onto the pins or the shorting bar contacts, it changes resistance at the very connection the airbag diagnostic monitor is measuring — you can inadvertently cause the exact intermittent fault you were trying to prevent. And critically, adhesive does nothing to address compromised sealing. A cracked housing invites dust, moisture, and corrosion into a connector that’s supposed to stay sealed for the life of the vehicle, setting up a fault that can surface months or years later, often right when you need the airbag to work.
This isn’t a case where “it’ll probably be fine” is an acceptable standard. The failure mode isn’t a rattle or an annoying light — it’s a restraint system that doesn’t fire in a wreck, or a light that comes on and gets ignored until it’s too late.
Proper Repair Procedure: Replacing an SRS Connector
The correct fix is to replace the damaged connector with the OEM part number or a harness-specific pigtail/repair connector designed for that vehicle’s SRS system. Aftermarket universal connectors are available and widely used by techs, but match the pin count, keying, and locking style exactly — don’t substitute a similar-looking connector from a parts bin.
- Confirm the battery has been disconnected and the discharge wait time has passed.
- Order the correct connector or pigtail assembly by VIN or harness part number rather than by visual match alone.
- Cut back the damaged connector, leaving enough wire length to strip and splice cleanly.
- Use OEM-spec crimp connectors and heat-shrink with adhesive lining — solder splices are discouraged in high-vibration harness runs because solder joints can crack over time; a proper crimp is the industry-standard method for SRS repairs.
- Route and secure the new connector exactly as the original was routed, using factory clips or equivalent harness clips — not glue — to prevent chafing or strain on the new joint.
- Reconnect the battery, clear codes, and run a full SRS system self-check per the scan tool.
- Road test and recheck for the SRS light after the vehicle has been driven and the connector has flexed through normal suspension and door-jamb movement (if applicable).
Shop Safety Practices When Working Near Airbags
Beyond the connector itself, a few habits keep this kind of job from turning into an incident report. Never rest an airbag module or inflator against your body or point it at your face or a coworker while it’s connected to any power source — treat every airbag as a live pyrotechnic device until it’s confirmed disconnected and discharged. Keep unmated SRS connectors capped or isolated rather than tucked loosely near other wiring where the shorting bar could be disturbed. And log any SRS work in the repair order, including part numbers used, so there’s a clear record if the vehicle is ever inspected or sold — customers and future techs both benefit from knowing the restraint system was serviced correctly rather than patched.
Quick Reference Checklist
- Disconnect battery, wait manufacturer discharge time before touching SRS wiring
- Confirm exact damage: latch, shorting bar, pins, or housing seal
- Scan with SRS-capable tool, not generic OBD-II only
- Replace with OEM/harness-matched connector — never adhesive, tape, or glue
- Crimp and heat-shrink splices; secure routing with proper clips
- Clear codes, run self-check, road test, and recheck the SRS light
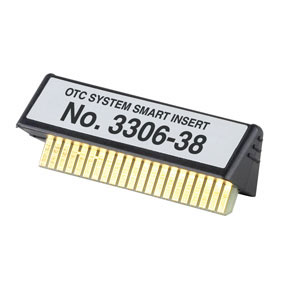
System Smart Insert (SSI) - Toyota Airbag
Mfg: OTC Tools and Equipment
Part #: 3306-38
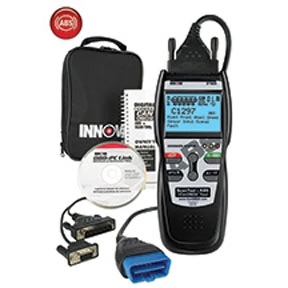
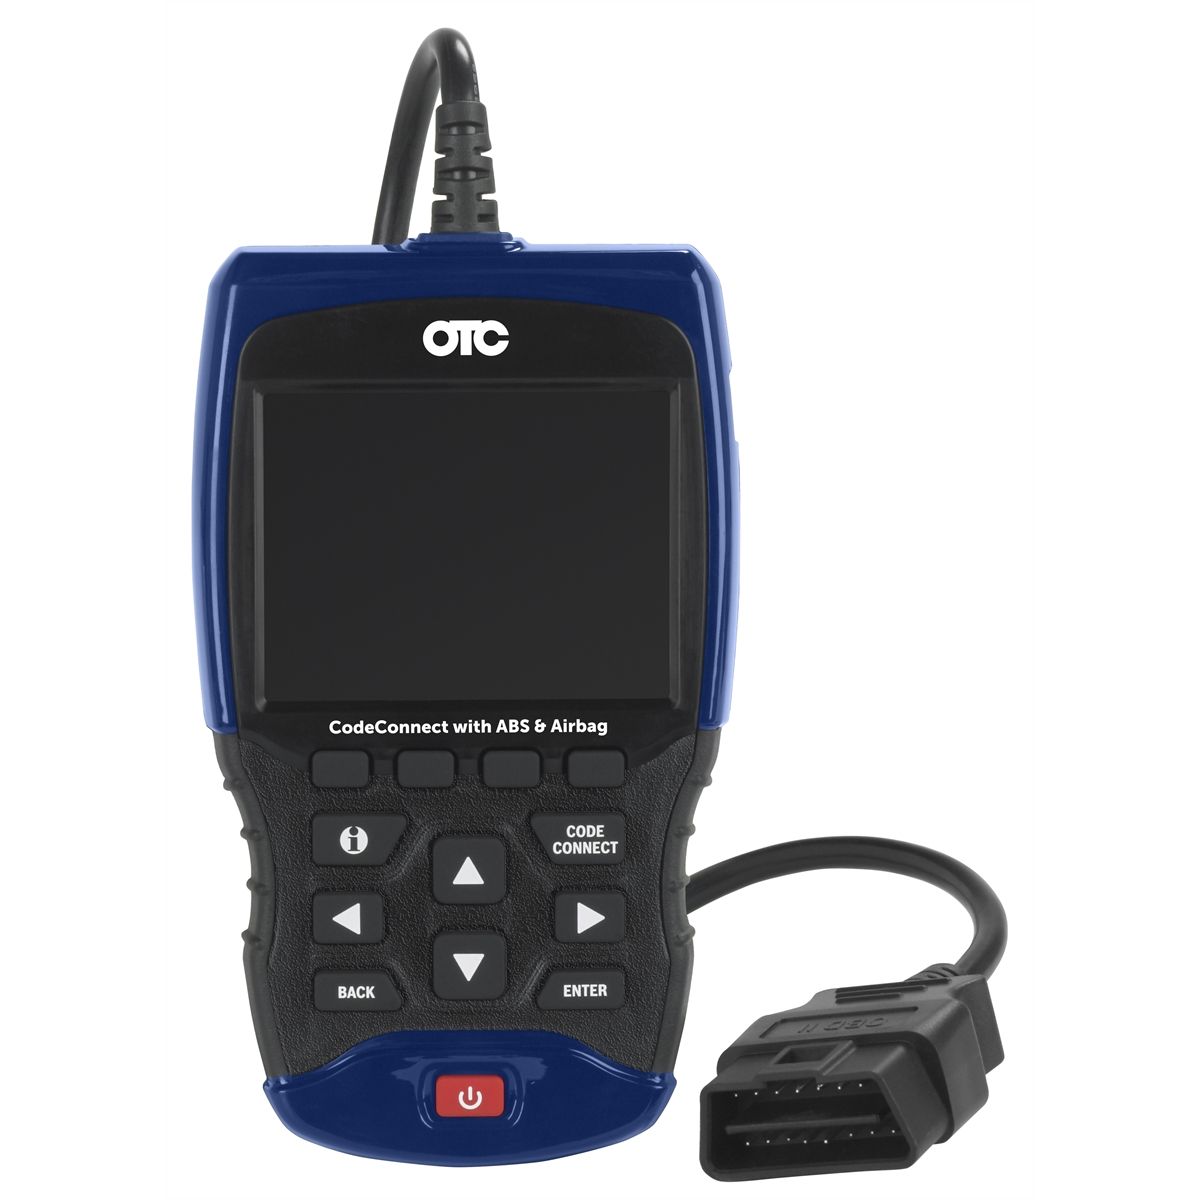
OBD2 Scanner with ABS, Airbag & CodeConnect Support
Mfg: OTC Tools and Equipment
Part #: 3210
FAQs
Can a damaged airbag connector cause accidental deployment?
It’s unlikely on its own — deployment requires the module to send a firing signal or a very specific short across the igniter pins, not just a loose or cracked connector. The far more common outcome is an SRS warning light and that airbag circuit being disabled, which is still a serious safety issue.
Is it safe to drive with the airbag SRS light on?
No. An illuminated SRS light typically means the module has detected a fault and disabled one or more restraint components. Treat it the same as a brake warning light — diagnose and repair before returning the vehicle to the customer.
Can I splice airbag wiring instead of replacing the connector?
Only the wire itself can be spliced using proper crimp and heat-shrink methods if the harness run is damaged; the connector body itself — especially the locking latch and shorting bar — should be replaced as a unit, not repaired.
Will hot glue or epoxy hold a cracked connector latch long enough to pass inspection?
It may look intact short-term, but it doesn’t restore proper seating pressure or sealing, and it risks contaminating the terminals. It’s not a repair that should go back into a customer’s vehicle.
What tool should I use to check continuity on airbag circuits?
Use a scan tool with SRS module access first. If resistance checks are specifically called for in the service procedure, use a meter rated for low-current circuits and only with the igniter connector disconnected — never a standard test light.
Do aftermarket SRS connectors work as well as OEM?
Reputable harness-specific aftermarket connectors that match pin count, keying, and shorting-bar design are widely used and accepted. Avoid generic universal connectors that aren’t verified for that specific SRS circuit.
Recommended Tools for SRS Connector Repair
Proper replacement of an airbag connector requires the right diagnostic equipment and repair components. Browse our Automotive Air Bag Tools for everything needed for correct SRS service.
- SRS-capable scan tools and diagnostic equipment
- OEM-spec crimp tools and heat-shrink connectors
- Replacement connectors and harness assemblies for airbag circuits

The Toolsource Technical Team blends decades of real-world automotive service experience with up-to-date technical research. Our writers collaborate with professional mechanics, shop owners, and diagnostic specialists to deliver practical, workshop-ready guidance you can trust.


Follow us on social media