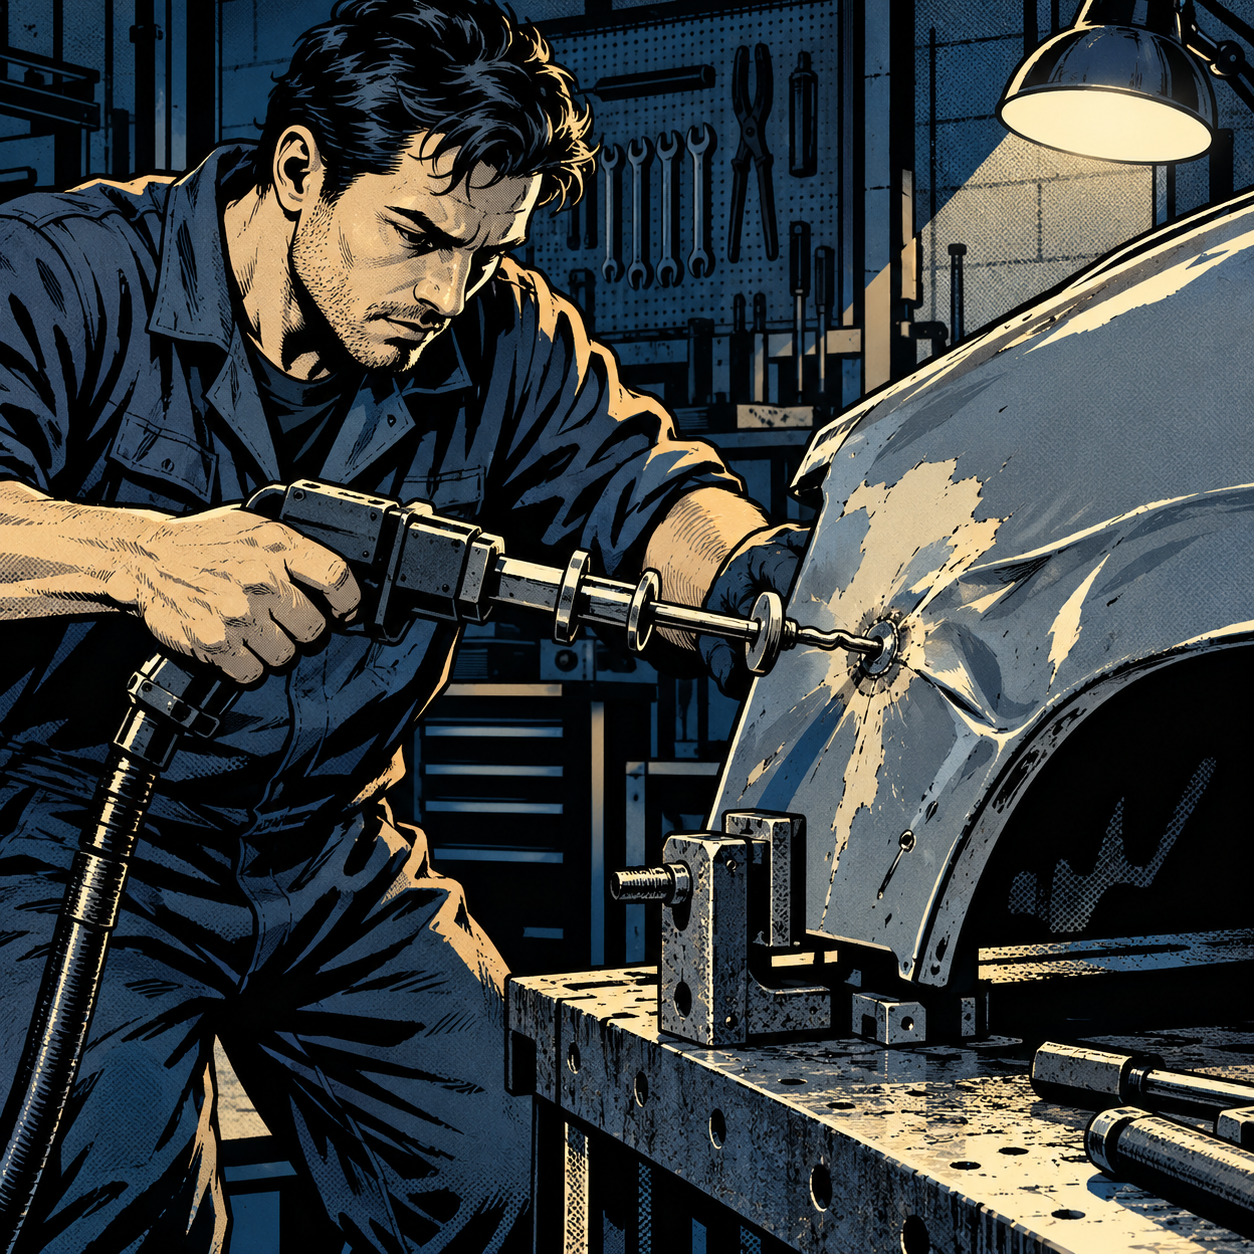
A viral body shop photo and the comment thread underneath it make the same point every veteran technician already knows: a repair that looks good on delivery day isn’t the same as a repair that holds up. The debate over how much filler is too much, when metalwork should replace mud, and how insurance standards differ from self-pay jobs isn’t just internet noise — it reflects real tolerances that determine whether a panel survives five winters or cracks apart in two. Here’s a practical breakdown of the standards, the technique, and the documentation that keeps a repair defensible.
Why Filler Thickness Is the Line Between a Repair and a Liability
Most insurance-standard collision repair programs cap body filler at roughly 1/8″ to 1/4″ (3–6mm) over bare metal, and plenty of shop quality-control checklists hold the line even tighter — treat anything past about 1/16″ (1.5mm) as a sign the metalwork wasn’t finished. Filler is a leveling compound, not a rebuilding material. When a panel needs 6mm or more to fill a crease, the real problem is that the dent was never pulled out properly, and the filler is being asked to do a job it isn’t engineered for.
The liability angle matters more than it sounds. Filler that’s within spec moves with the panel through thermal cycling. Filler piled on past spec doesn’t — sheet metal and cured filler expand and contract at different rates, and repeated seasonal swings eventually telegraph every low spot, crack the surface, or separate from the substrate entirely (a failure mode techs call “dieback”). A shop that writes lifetime warranties against that kind of comeback has a direct financial reason to enforce thickness limits, not just an aesthetic one.
Metalwork First: Pulling Dents Before You Mix Mud
The fastest way to blow past a safe filler thickness is to under-pull the dent. Before reaching for filler, get as much of the deformation out mechanically:
- Use a stud welder or uni-spotter conservatively — pull incrementally rather than cranking max tension on one pin, which risks tearing new holes in the panel.
- Favor hand tools (pick, spoon, slide hammer) through any accessible trim or access panel before relying on pulling pins alone.
- Work the high spots down and the low spots up with a hammer and dolly until the panel is within a thin skim of true — the filler should finish the surface, not build it.
- Keep heat input low during pulls and welds; excessive heat warps the surrounding metal and creates new low spots you’ll just end up filling anyway.
Shops that skip straight to “cave and pave” — hammer it roughly flat, bury the rest in mud — save time on the bench but create exactly the thickness and adhesion problems that show up later as cracked paint or a wavy body line.
Mid-article product check: search your catalog for “stud welder dent pulling kit” to compare uni-spotter and pull-pin systems suited for this stage of the repair.


How Much Filler Is Too Much? Industry Thickness Guidelines
There’s no single universal number, but the ranges technicians actually work to cluster tightly:
- Ideal / high-build finish: a thin skim coat, often under 1/16″ (1.5mm), applied over glass-reinforced filler on deeper repairs.
- Acceptable under most insurance standards: up to about 1/8″–1/4″ (3–6mm) in isolated spots, provided the bulk of the shape was restored metallically.
- Red flag territory: filler thickness measured in multiple millimeters across a large area, or filler used to rebuild a crease or body line rather than smooth it.
Layering technique matters as much as total thickness. Fiberglass-reinforced filler (or “glass”) for the deep buildup, followed by a thin standard filler coat, then glazing putty for pinholes, keeps each layer doing the job it’s suited for instead of asking one thick pour of filler to do everything. A repair built this way can look identical to a thin skim coat on delivery day — the difference only shows up after a few seasons of thermal cycling.
Reading the Panel: Body Lines, Low Spots, and Dieback Before You Paint
Quality control on a filler repair happens before clearcoat goes down, and it’s mostly visual and tactile:
- Sight down the body line from multiple angles and distances. A line that goes flat, wavy, or fades out near a repair is a sign the panel shape wasn’t restored, not just a paint issue.
- Run a straightedge or your palm across the repair in several directions to catch low spots that photos and even eye-level inspection miss.
- Check weld seams under the filler. Welds left in the middle of a crease or body line will often “print through” as the filler shrinks slightly during cure — address weld profile before filling, not after.
- Let high-build primer sit before final guide-coat sanding; filler keeps shrinking for days after it feels hard, and rushing straight to paint locks in a surface that will sink later.
Dieback — a dulling or sinking of the surface weeks to months after painting — is the classic tell that filler was applied too thick or over an unstable substrate. If you can predict dieback before the car leaves the shop, the repair needed another round of metalwork, not more filler.
Insurance Repair vs. Self-Pay: Setting Expectations and Documentation
A lot of friction in filler debates comes down to who’s paying and what standard applies. Insurance-directed repairs are typically written to OEM repair procedures and program thickness limits, with the shop’s warranty riding on compliance. A self-pay customer with a high-mileage, low-value vehicle may explicitly want the cheaper, faster repair and understand the tradeoffs.
Protect the shop either way:
- Document vehicle value, customer budget, and parts availability when a repair deviates from OEM/insurance standard — especially on total-loss buybacks or vehicles insurance has already written off.
- Get it in writing when a customer knowingly chooses a budget repair over panel replacement.
- Never represent a budget filler repair as warrantied to the same standard as an insurance-spec repair — different standard, different warranty terms, and the customer should know which one they’re getting.
- When in doubt on a structural or crumple-zone panel, default to the stricter standard; a quarter panel or rail that needs to deform correctly in a future impact isn’t the place to save time with extra filler.
Welding and Heat Control on Uni-Spotter Pulls
Several of the technique issues that lead to over-filling trace back to the pulling and welding stage, not the filler itself:
- Use the lowest trigger setting that still holds the pin — a full-power pull tears metal and creates stress risers that need more filler to hide.
- Pull in small increments across multiple points rather than maxing out tension on one spot; this distributes stress and keeps the panel’s temper intact.
- Grind weld-through primer and pins flush before filling — proud metal under filler is a guaranteed future high spot.
- Let MiG welds cool fully and treat any undercoating or seam sealer disturbed during the pull, especially on panels exposed to road salt, where a hidden weld can rust and push filler off from underneath years later.
Quick Reference Checklist
- Metalwork brought the panel within a skim coat before any filler went on
- Filler thickness checked against shop/insurance standard (generally ≤1/8″–1/4″, thinner where possible)
- Weld seams ground flush and not buried under a body line
- Body line and panel contour sighted from multiple angles before priming
- Repair standard (insurance spec vs. budget self-pay) documented and communicated to the customer
- Heat and pull force on stud welder/uni-spotter kept conservative
Before closing out any filler-heavy repair, it’s worth stocking the materials that make thin, correct buildups easier to hit consistently — search your supplier catalog for “body filler and dent repair supplies” to compare fiberglass filler, glazing putty, and guide-coat options.
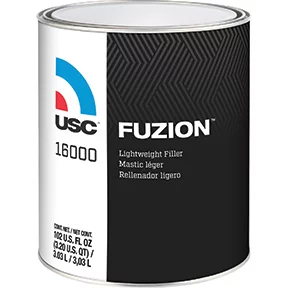

Platinum Select Filler premium body filler 35863, 276 mL, 6/
Mfg: 3M Automotive
Part #: 35863

Frequently Asked Questions
What’s the maximum safe thickness for body filler?
Most insurance and shop standards cap filler at about 1/8″ to 1/4″ (3–6mm) in isolated areas, with a thin skim coat under 1/16″ (1.5mm) considered ideal. Filler used to rebuild shape rather than smooth a near-finished surface is a sign the metalwork needs more work first.
What causes body filler to crack or fail after a repair?
The leading causes are excessive thickness, inadequate metalwork underneath, moisture or rust intrusion at a weld seam, and thermal cycling stress between the filler and the substrate. Dieback (a sinking or dulling surface) usually shows up months after the repair if filler was applied too thick.
Is it ever acceptable to use thick filler instead of replacing a panel?
On low-value, self-pay vehicles where the customer understands and accepts the tradeoff, a heavier filler repair can be a reasonable budget option. It should never be represented as meeting insurance or OEM repair standards, and structural or crumple-zone panels are generally not good candidates for this approach.
Why do shops insist on pulling dents before filling instead of just filling deeper?
Filler isn’t structural and doesn’t bond or flex the same way as sheet metal. Pulling the dent mechanically first restores the correct panel geometry and crash performance, and keeps filler thickness within a range that won’t crack or separate over time.
How can a shop tell if a filler repair was done correctly without cutting it open?
Sight down body lines from multiple angles, run a hand or straightedge across the panel for low spots, check for weld print-through, and inspect paint thickness readings if a gauge is available. Wavy or flattened body lines and visible weld seams through the primer are the most common tells.
Does filler thickness affect a vehicle’s crash safety?
Yes, on structural panels. Filler adds no strength, so a panel that relies on excess filler to hold its shape instead of proper metalwork may not deform as designed in a future impact, which is why insurance repair programs tie filler limits to OEM repair procedures.
Body Filler and Spreaders
This article emphasizes proper technique with body filler — starting with thorough metalwork, using layered filler formulations, and maintaining strict thickness standards. Stock quality body fillers and spreaders to support consistent, compliant repairs.
- Glass-reinforced and standard body filler for staged buildup.
- Spreaders and applicators in various profiles for contour control.
- Guide coat and inspection supplies for pre-paint quality checks.

The Toolsource Technical Team blends decades of real-world automotive service experience with up-to-date technical research. Our writers collaborate with professional mechanics, shop owners, and diagnostic specialists to deliver practical, workshop-ready guidance you can trust.


Follow us on social media