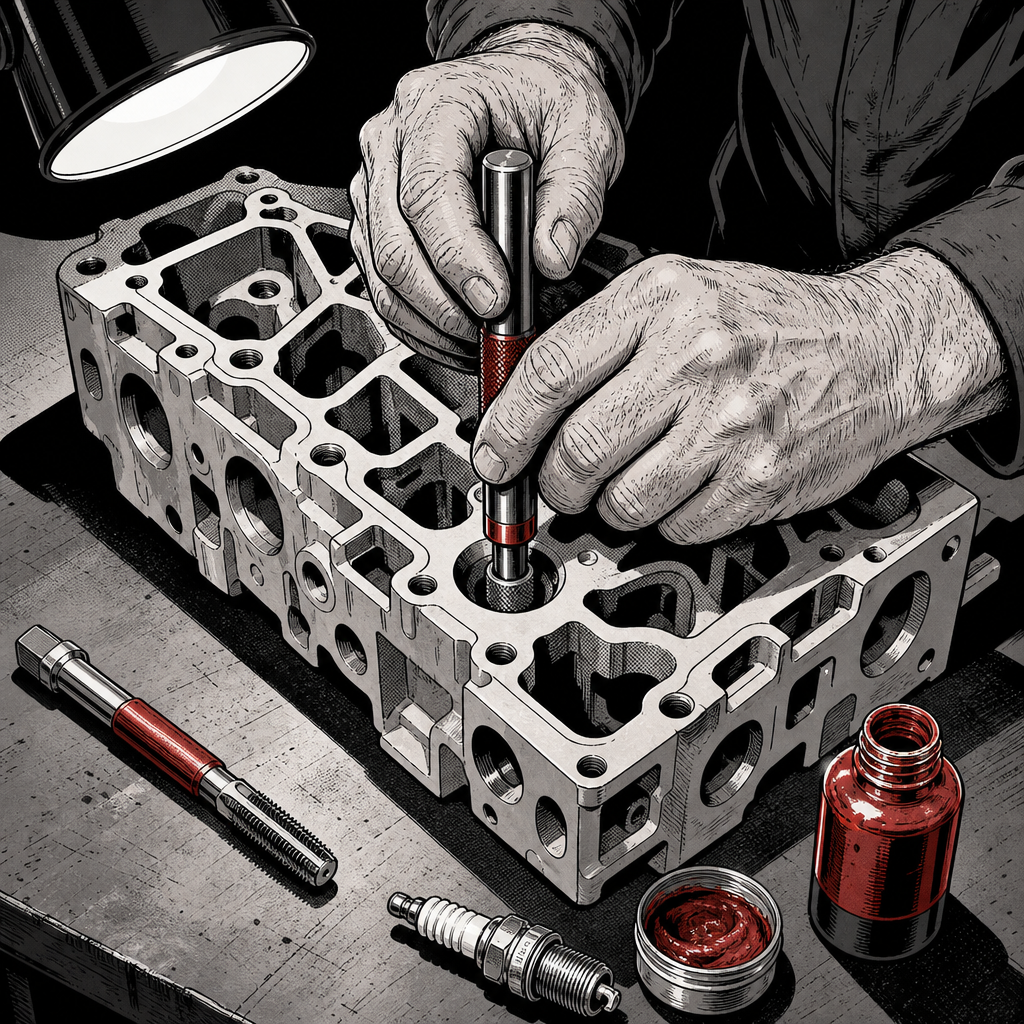
If you’ve pulled a spark plug out of a Ford 4.6L or 5.4L Triton and found a metal sleeve wrapped around the electrode instead of clean threads in the head, you’re not alone — and you didn’t do anything wrong. This is one of the most common failures on early 2-valve and 3-valve Triton engines, and it catches out even experienced techs who aren’t expecting it. This guide walks through why it happens, how to tell what kind of repair is already in the head, and how to fix it correctly so it doesn’t come back.
Why Triton Engines Blow Out Spark Plug Threads
The 2-valve 4.6L and 5.4L Tritons (roughly 1997-2003) used aluminum heads with comparatively shallow spark plug thread engagement and no factory thread insert. Under heat cycling and cylinder pressure, the aluminum threads work-harden and fatigue, and the plug can blow out of the head under compression — sometimes while the engine is running. It’s loud, it’s sudden, and it usually takes a chunk of thread with it.
The 3-valve versions (2004-and-up 5.4L) have a different problem: instead of blowing out, the plug seizes in the head and snaps off during removal, often because carbon builds up around the two-piece plug design. Both failure modes get lumped together online as “the spark plug problem,” but they’re mechanically different and call for different diagnostic approaches — so confirm which generation you’re working on before you assume you know what you’ll find.
Because the 2-valve blowout issue is so common, it’s likely that someone has already repaired this head before you got to it. If you pull a plug and see a knurled metal sleeve attached to it, that’s a thread insert that came out with the plug — not a new problem, but a previous repair that failed or was never finished properly.
Diagnosing What’s Actually in the Head
Before you order parts, identify what repair (if any) is already installed. Pull the plug and inspect it closely:
- No insert, clean threads pulled with the plug: The head’s factory aluminum threads stripped. You’ll need to install a repair insert from scratch.
- A knurled sleeve stuck to the plug: This is a thread repair insert — most commonly a Sav-A-Thread (made by the Helicoil company but not a true wound-wire Helicoil), or a Time-Sert, which is a solid one-piece insert rather than a coiled one. People online use “Helicoil” as a catch-all term, but the repair method and tooling differ between brands, so identify it correctly before you order parts.
- Insert stayed in the head but the plug still won’t seat: The insert may be cross-threaded, damaged, or the wrong reach/length for your new plug.
Also inspect the hole itself with a flashlight and a pick. Look for cracked or torn aluminum around the insert’s original seat — that changes whether a standard-size repair will work or whether you need an oversize kit.
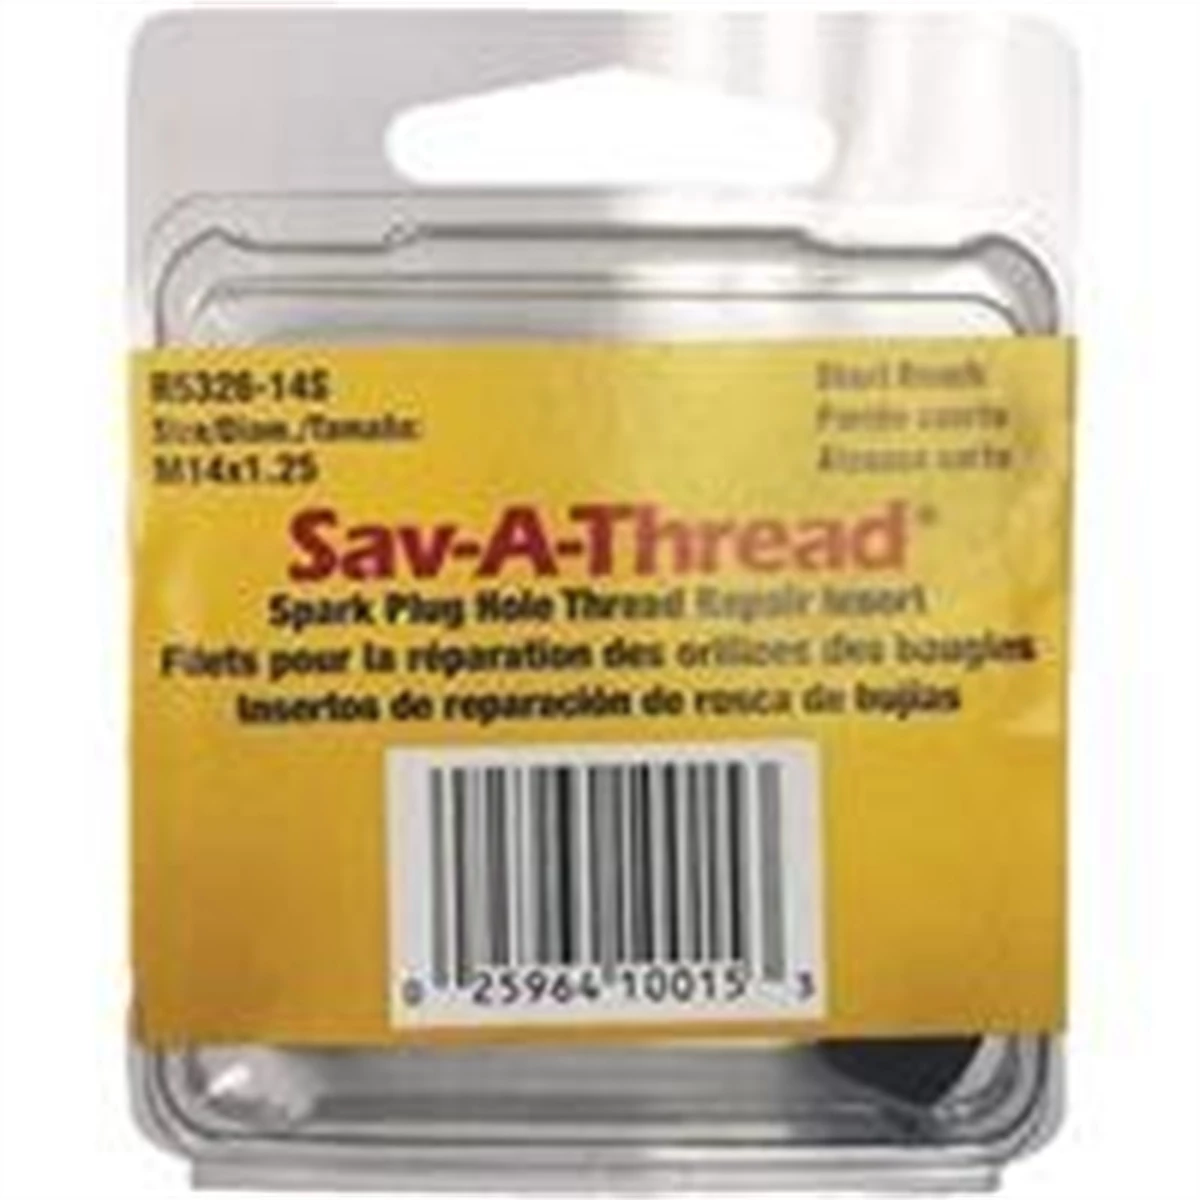
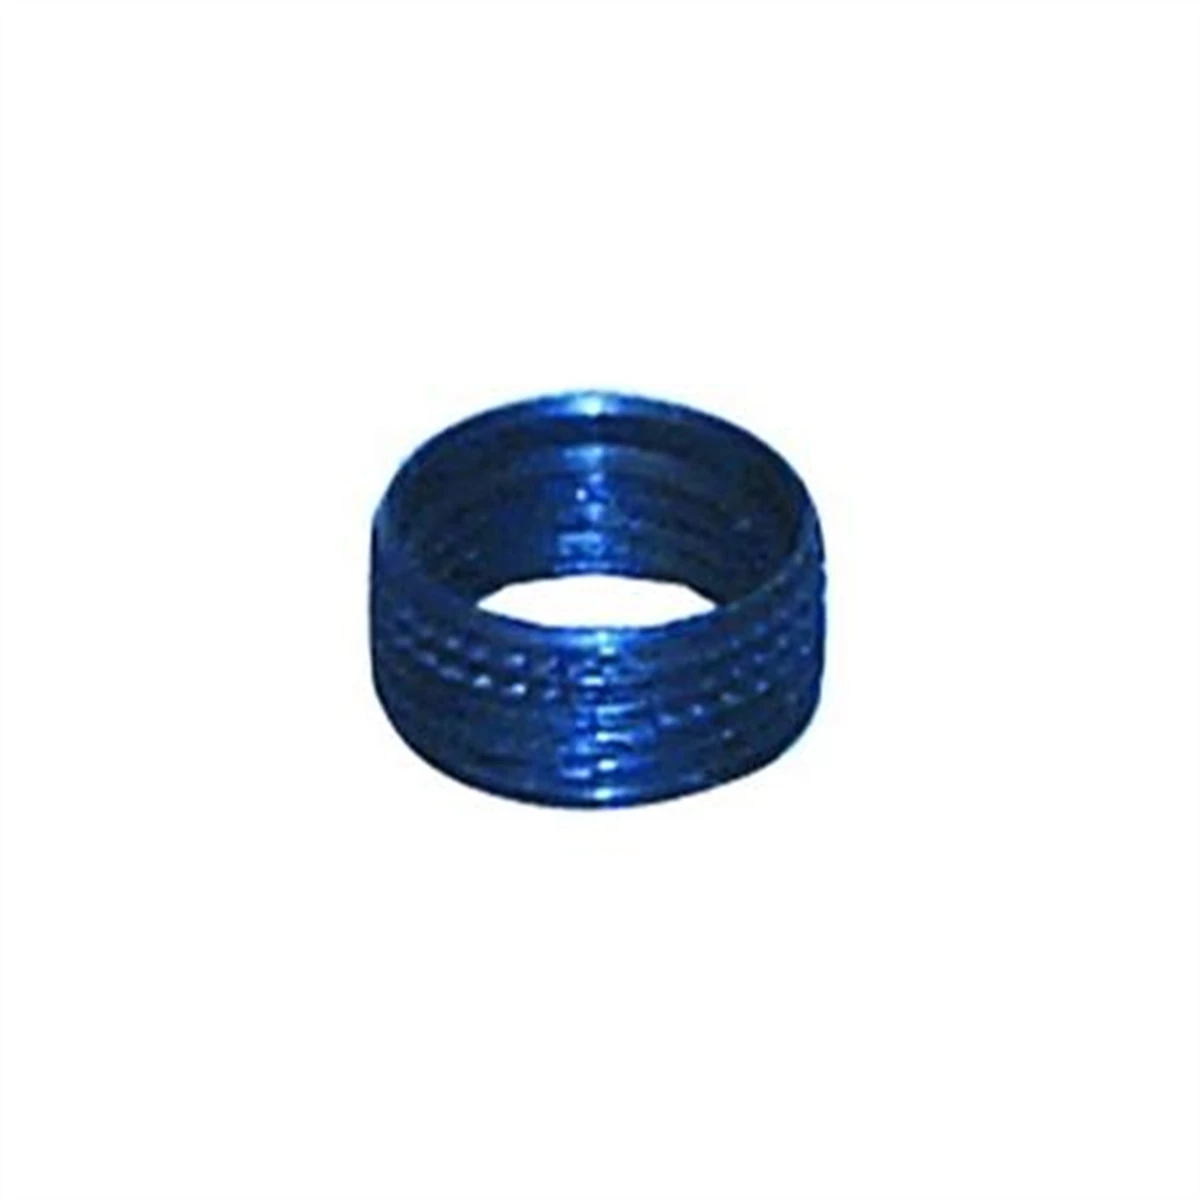
Spark Plug Thread Repair Kit M14 Normal Reach Helicoil
Mfg: Heli Coil Products
Part #: R5326-14N
Choosing the Right Thread Repair Insert
Not all inserts are created equal, and this is where a lot of comebacks originate:
- Sav-A-Thread / generic thread saver kits: Cheaper and widely available, but they rely on a knurled top that has to be mushroom-flared with a setting tool and are commonly installed with red RTV or Loctite on the outer threads. Done correctly they can hold for years; done without the setting tool or adhesive, they’re the most likely to pull back out — which is exactly the failure you’re probably looking at right now.
- Time-Sert (or equivalent solid steel inserts): Considered the stronger, more permanent repair. They’re a solid machined insert rather than a coiled wire, thread in and bottom out mechanically, and don’t rely purely on adhesive to stay seated. Oversize kits are available for heads that have already had a failed repair and need a larger hole.
- True Helicoil (wound-wire insert): Less commonly used for this specific repair on Triton heads compared to Sav-A-Thread or Time-Sert, and generally considered less robust for the heat and vibration this application sees.
If this is a repeat repair — meaning someone already tried a Sav-A-Thread and it failed — step up to a Time-Sert oversize kit rather than reinstalling the same style insert into an already-enlarged hole.
Step-by-Step Insert Installation
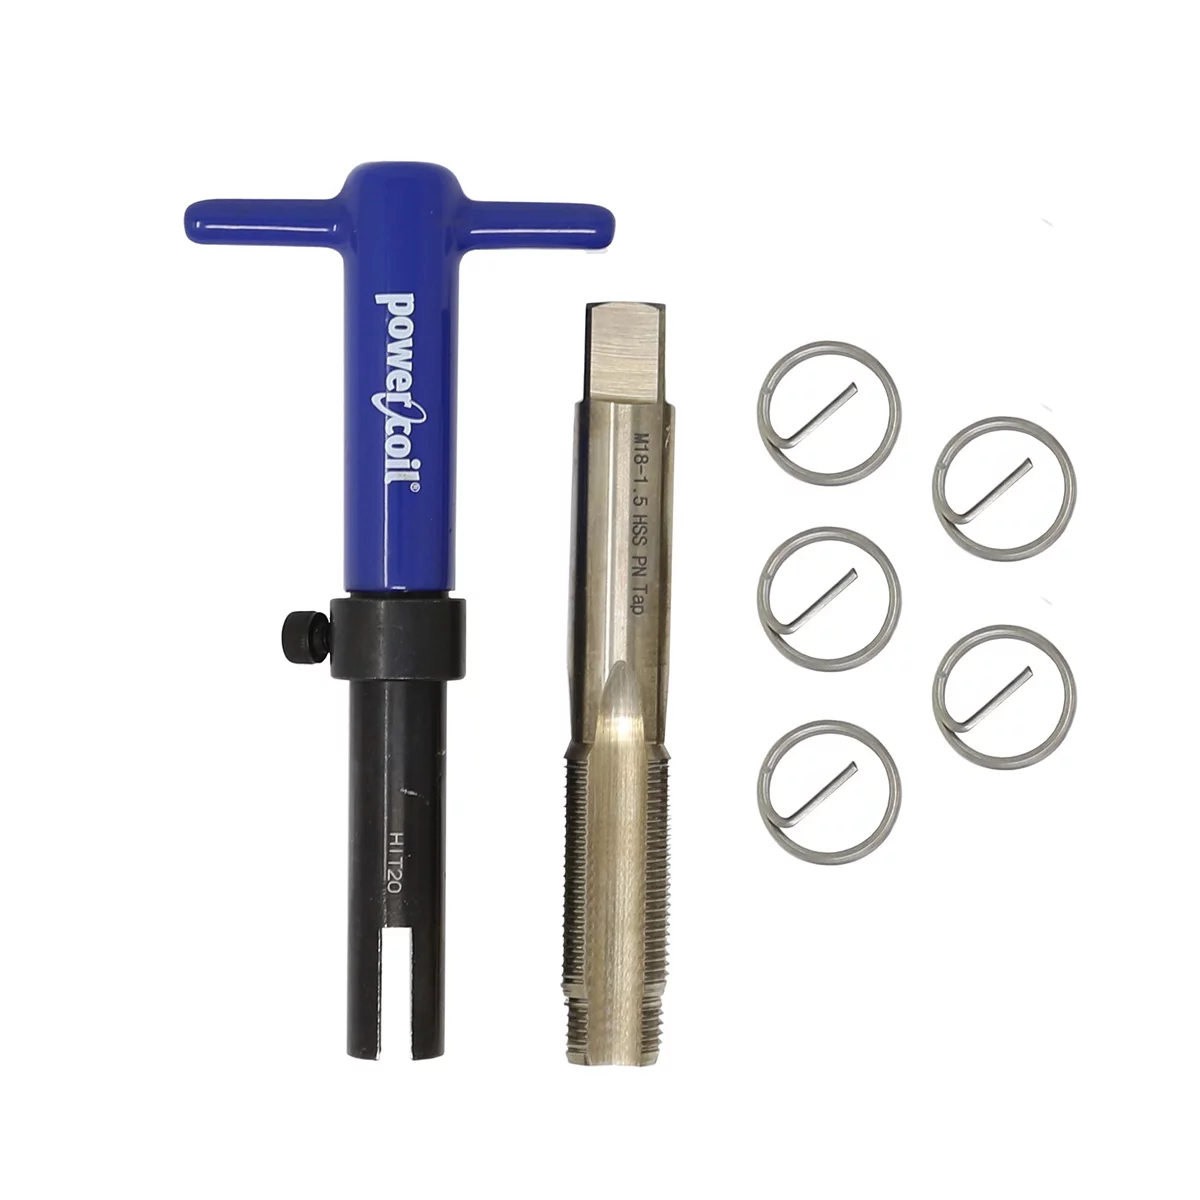
Whichever insert you choose, the process follows the same general sequence. Always buy the full kit (tap, insert, and seating/installation tool) rather than just the sleeves — improvising without the correct tool is how these repairs fail a second time.
- Bring the piston to TDC on the cylinder you’re working on to minimize the chance of dropping debris onto the piston crown.
- Clean and inspect the hole. Remove any old insert remnants, then run the kit’s tap through the hole to true up the threads. Blow the hole out thoroughly with compressed air afterward — aluminum and old thread material left in the cylinder will cause damage on startup.
- Select the correct insert length for your plug and confirm the hole diameter matches (standard vs. oversize) if this is a repeat repair.
- Apply sealant appropriately. For non-mechanically-locking inserts, a thin coat of high-temp red RTV or red threadlocker on the outer threads is standard practice; follow the kit instructions for the specific product.
- Thread the insert in with the seating tool and, if it’s a knurled-style insert, use the punch/setting tool to flare the top so it can’t back out. This step is frequently skipped in the field because access is tight — don’t skip it if you can avoid it.
- Let it cure. If you used RTV or threadlocker, give it a minimum of several hours — overnight or 24-48 hours is safer — before torquing a plug into it.
- Anti-seize the new plug with a nickel-based (not copper) anti-seize compound before installation, and torque to the manufacturer’s spec for your specific plug and head.
When the Head Needs to Come Off Instead
A field insert repair isn’t always viable. Consider head removal or replacement when:
- The hole is torn out beyond what an oversize insert kit can correct.
- There are cracks radiating from the spark plug bore.
- A previous repair has already been oversized once and has failed again.
- You want the insert seated and staked properly with the head on a bench rather than in the vehicle — this is the only way to guarantee full, correct engagement of the setting tool.
In-vehicle repairs are the practical, budget-friendly choice and work well the majority of the time when done with the right kit and patience. But be upfront with the customer that it’s a repair to already-compromised aluminum, not a return to factory condition, and that head replacement is the only way to fully eliminate the risk of recurrence.
Quick Reference Checklist
- Confirm engine generation (2V vs 3V) and failure type before diagnosing
- Identify existing insert brand/style before ordering parts
- Buy the complete kit: tap, insert, and seating tool — not just sleeves
- Bring piston to TDC and blow out debris after tapping
- Use high-temp RTV or threadlocker per kit instructions and let it cure fully
- Flare/stake knurled inserts with the correct setting tool
- Anti-seize the new plug and torque to spec
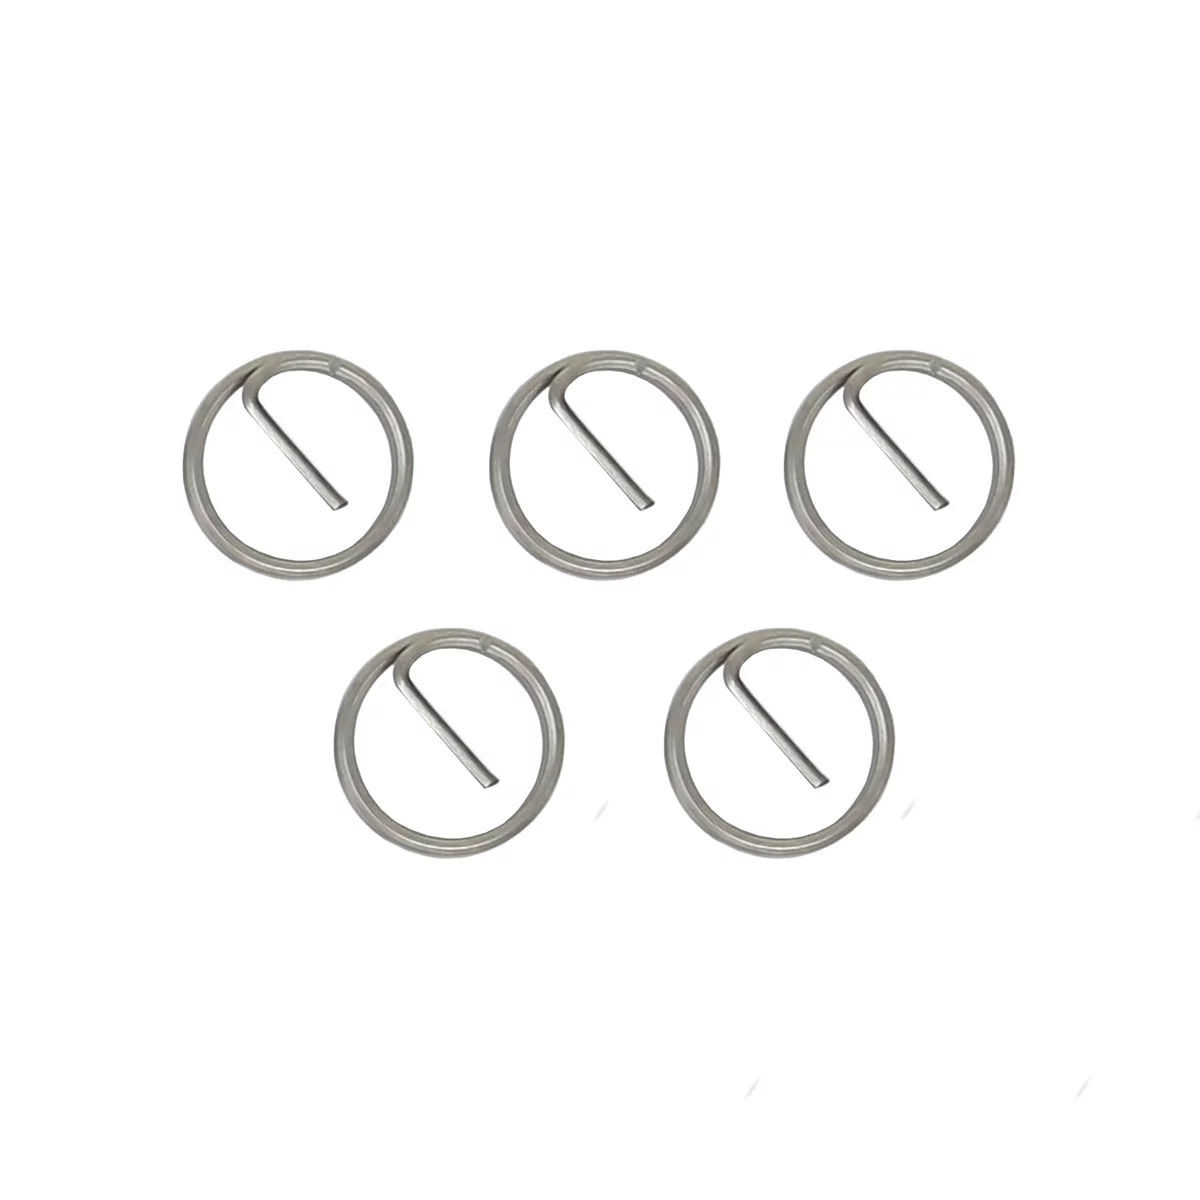
Spark Plug Thread Repair Kit - M18 x 1.5 - Inserts Only
Mfg: CTA Manufacturing Corp.
Part #: 98187
FAQs
Can I reuse the old spark plug if the insert came out with it?
Yes, temporarily. If the insert is intact and undamaged, it can often be reinstalled as-is on the old plug to get the vehicle drivable, then properly repaired with a new insert kit at the next opportunity. It’s a stopgap, not a permanent fix.
Do I need to remove the head to install a thread repair insert?
No, in most cases these kits are designed for in-vehicle installation with the tap, insert, and setting tool working through the spark plug hole. Head removal is only necessary for more severe damage like cracks or repeated oversized repairs.
Is a Time-Sert really better than a Sav-A-Thread?
For this application, most techs who’ve done many of these repairs report better long-term results from solid Time-Sert style inserts compared to knurled thread-saver kits, mainly because they seat more mechanically and are less dependent on adhesive alone to stay in place.
How long should I wait before starting the engine after the repair?
If you used RTV or threadlocker on the insert, let it cure before torquing in the plug and running the engine — overnight is the commonly cited minimum, with 24-48 hours being safer for full cure strength.
What torque and anti-seize should I use on the new plug?
Follow the plug and head manufacturer’s torque specification exactly — overtightening is a major contributor to future thread failures. Use a nickel-based anti-seize on the plug threads, not copper-based, for better high-heat performance in aluminum heads.
How do I know if the hole is too damaged for a standard insert kit?
If the bore is already oversized from a prior failed repair, or you see torn or cracked aluminum around the spark plug seat, a standard insert won’t hold. Step up to an oversize insert kit, or if damage extends further, plan on head replacement.
Shop Spark Plug Rethreading Tools
The success of any spark plug thread repair depends on having the correct complete kit — tap, insert, and seating tool — rather than improvising with pieces. Browse our Spark Plug Rethreading selection for the kits and tools you need.
- Complete rethreading kits from leading brands (Sav-A-Thread, Time-Sert, and others)
- Individual taps, inserts, and seating/setting tools for specific applications
- Oversize kits for heads that have already had a failed repair

The Toolsource Technical Team blends decades of real-world automotive service experience with up-to-date technical research. Our writers collaborate with professional mechanics, shop owners, and diagnostic specialists to deliver practical, workshop-ready guidance you can trust.


Follow us on social media