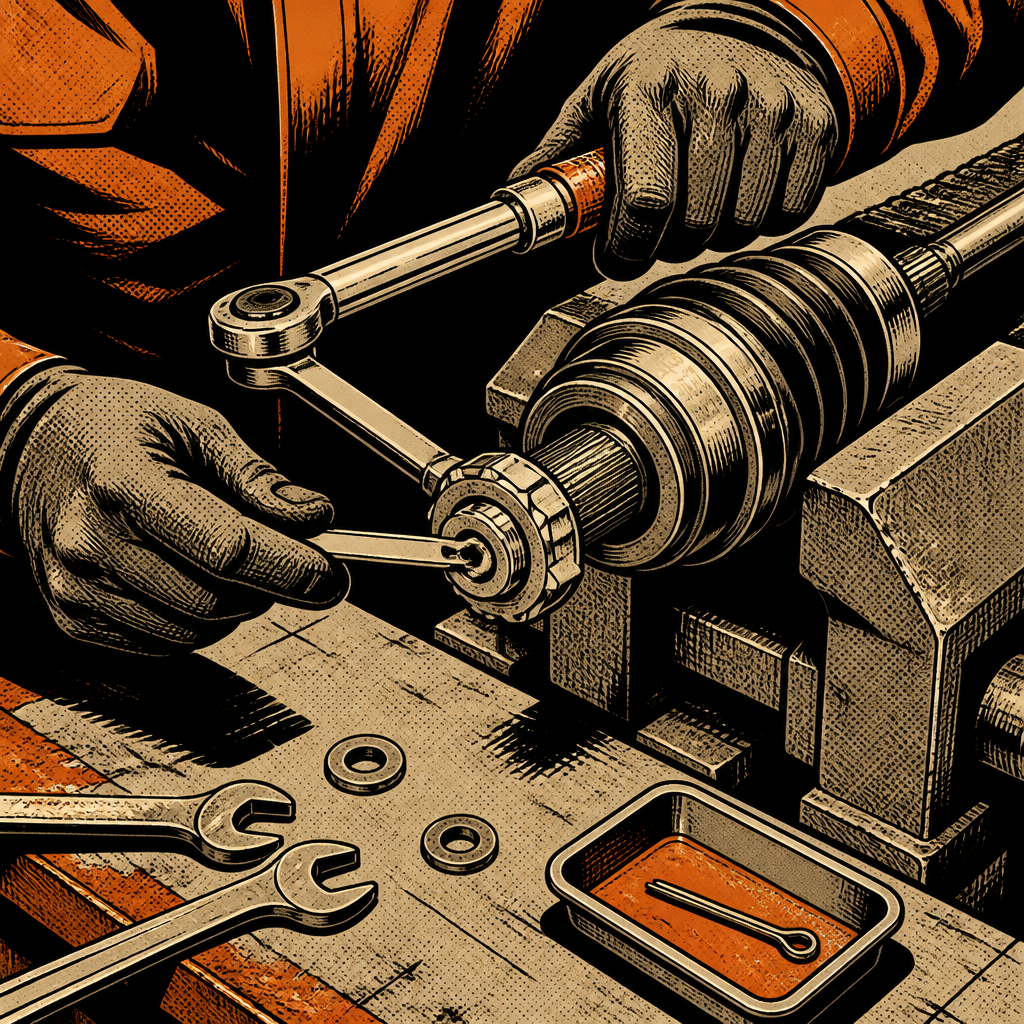
A washer that comes packaged with a replacement CV axle looks like it belongs there, so most techs install it without a second thought — until the cotter pin hole won’t line up with the castle nut or the nut bottoms out in the wrong spot. This is a more common problem than it should be, mostly because axle kits are built to fit multiple applications and include hardware that isn’t needed on every one of them. Here’s how to figure out whether your vehicle actually needs that washer, how to torque the nut once you know, and how to get the pin hole aligned without overtightening.
Why Axle Kits Include Hardware You Might Not Need
Aftermarket CV axle manufacturers often produce one part number that covers several trim levels, model years, or even sister vehicles built on a shared platform. To make that one axle work across every application, the kit gets packaged with whatever hardware might be required on any of them — including nuts, washers, or spacers that only apply to specific fitments. If your vehicle doesn’t need the washer, including it doesn’t cause a defect in the axle; it just means the extra part sits in the box for a reason that applies to a different application than yours.
This is why “the kit came with it, so I used it” is not a reliable install method on its own. The correct approach is to compare the new assembly to what came off the vehicle, check whether the nut is a flanged design, and confirm fitment before final torque — not after you’ve already discovered the pin hole is misaligned.
How to Tell If Your Application Needs a Washer
The single biggest tell is the nut style. A flanged axle nut has a wide, built-in shoulder that already acts as the washer — it distributes clamping load across the hub face on its own. If you’re installing a flange nut, a separate loose washer behind it is almost always unnecessary and, worse, adds extra stack height that can prevent the nut from seating far enough down the shaft to reach the cotter pin hole or torque properly.
A few practical checks before you decide:
- Look at the nut. If it has an integrated flange (a noticeably wider base than the threaded portion), it doesn’t need a washer.
- Compare to the old hardware. If the original assembly didn’t use a separate washer and the new nut is the same flanged style, leave the washer out.
- Dry-fit before final torque. Thread the nut on by hand and see if it seats fully against the hub with the washer in place. If it stops short or the geometry looks off, remove the washer and try again.
- Check a repair manual for your specific year, make, and model rather than assuming the kit’s included hardware is mandatory.
In most reported cases where a washer caused a fitment issue, removing it entirely resolved the problem and let the nut seat correctly. That’s consistent with how flange nuts are designed to work — the washer is redundant, and redundant stack-up is exactly what pushes a nut too far out to reach the pin hole.
[PRODUCT_SEARCH: axle nut socket set]
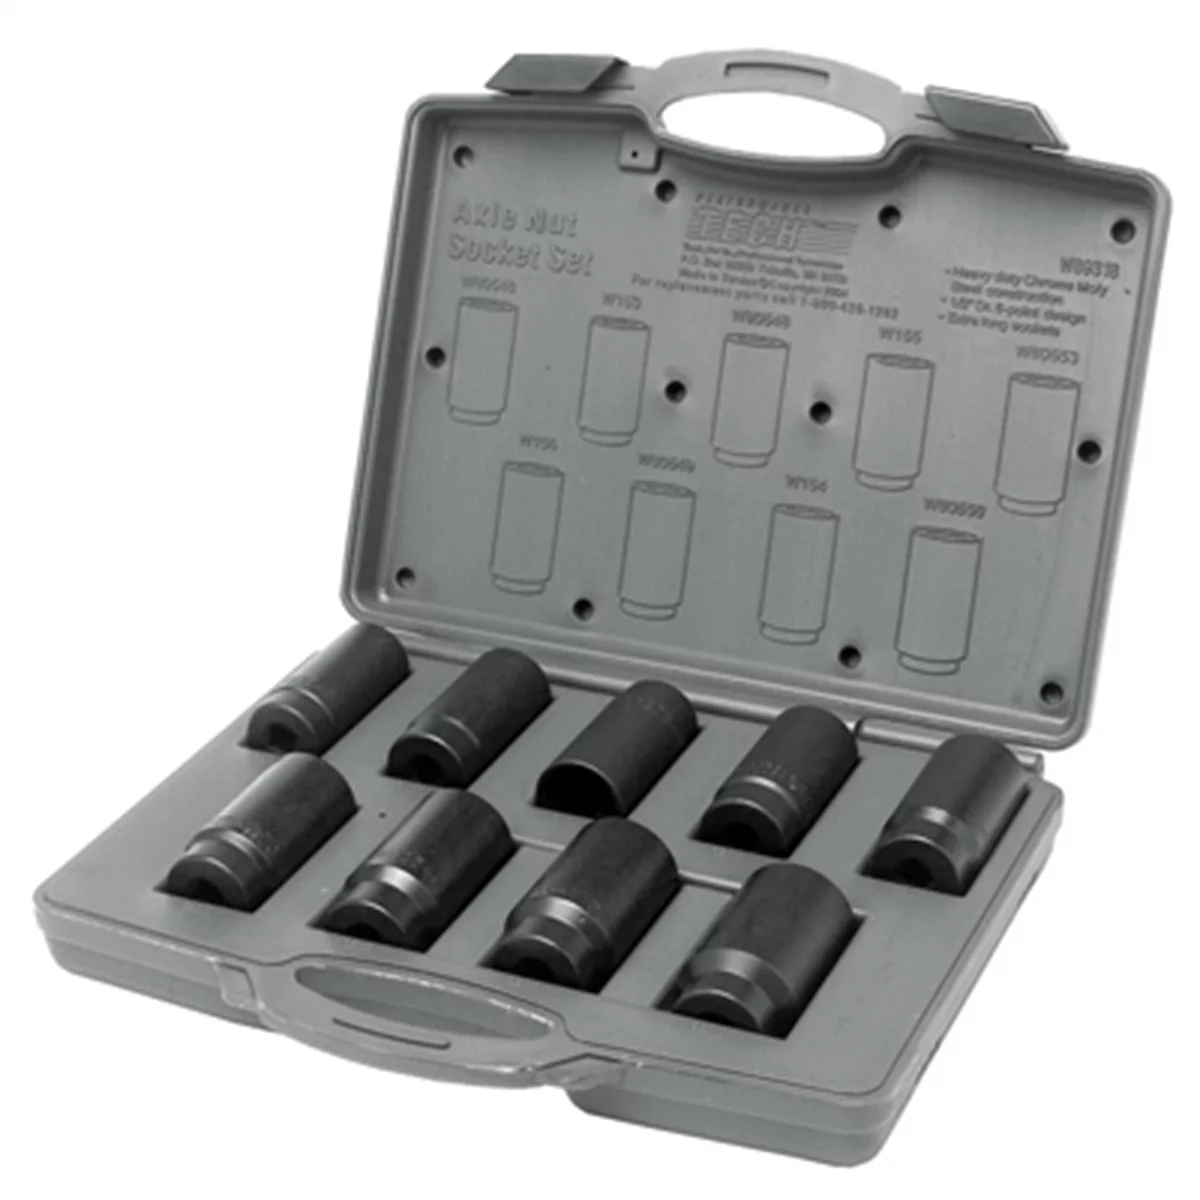
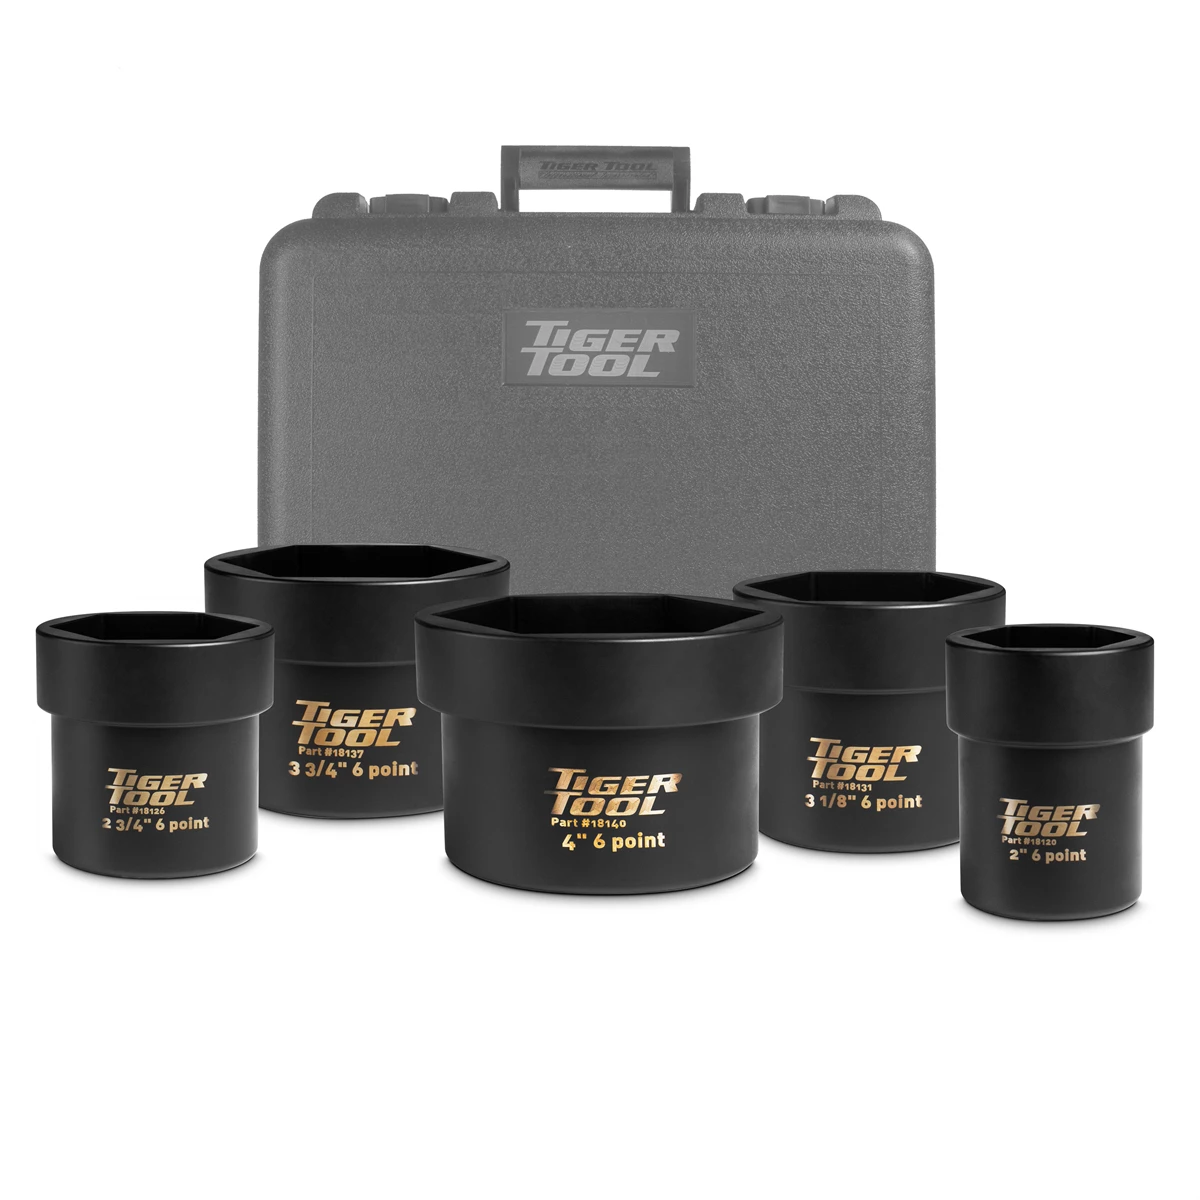
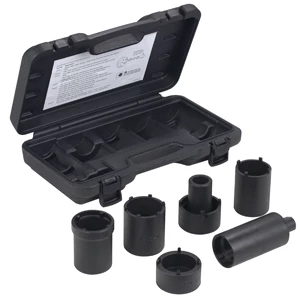
Spindle Nut 4WD Locknut Socket Set 6 Pc
Mfg: OTC Tools and Equipment
Part #: 4543A
ID: 129844
Torquing the Axle Nut Correctly
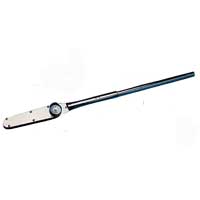
1 Inch Drive Dual Scale Dial Torque Wrench - 0-1000 ft-lbs
Mfg: CDI Torque Products
Part #: 10005LDFN
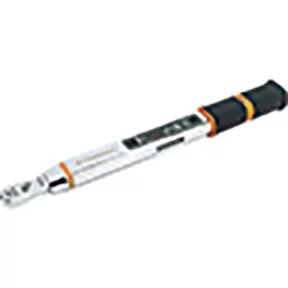
1/4 Dr. 5-25Nm Fixed Head E-Spec Electronic Torque Wrench Kit
Mfg: GearWrench
Part #: 85235
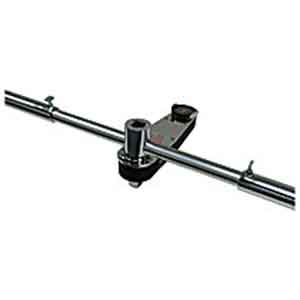
1 Inch Drive Dial Torque Wrench w/ Light and Buzzer - 0-2000 ft
Mfg: CDI Torque Products
Part #: 20005LDFESS
Once you’ve confirmed the correct hardware stack, torque to spec — not to whatever gets the pin hole to line up. Overtightening an axle nut to force cotter pin alignment is a common shortcut that can overload the wheel bearing, damage axle threads, or make future removal difficult.
- Confirm the torque range for your specific application. Axle nut specs vary widely, commonly landing somewhere between 150 and 250 ft-lbs depending on the vehicle, but you need the exact number for your make and model, not a generic figure.
- Use a torque wrench rated well above the target value for accuracy — a click-type or beam-style wrench sized for the job, not a wrench you’re maxing out at its upper limit.
- Support the hub properly. The vehicle should be on the ground or the brakes otherwise locked so the axle doesn’t spin while you torque, since spinning at high torque can skin knuckles and gives an inaccurate reading anyway.
- Torque to the low end of the published range first, then check pin alignment before going further.
Aligning the Cotter Pin Hole Without Overtightening
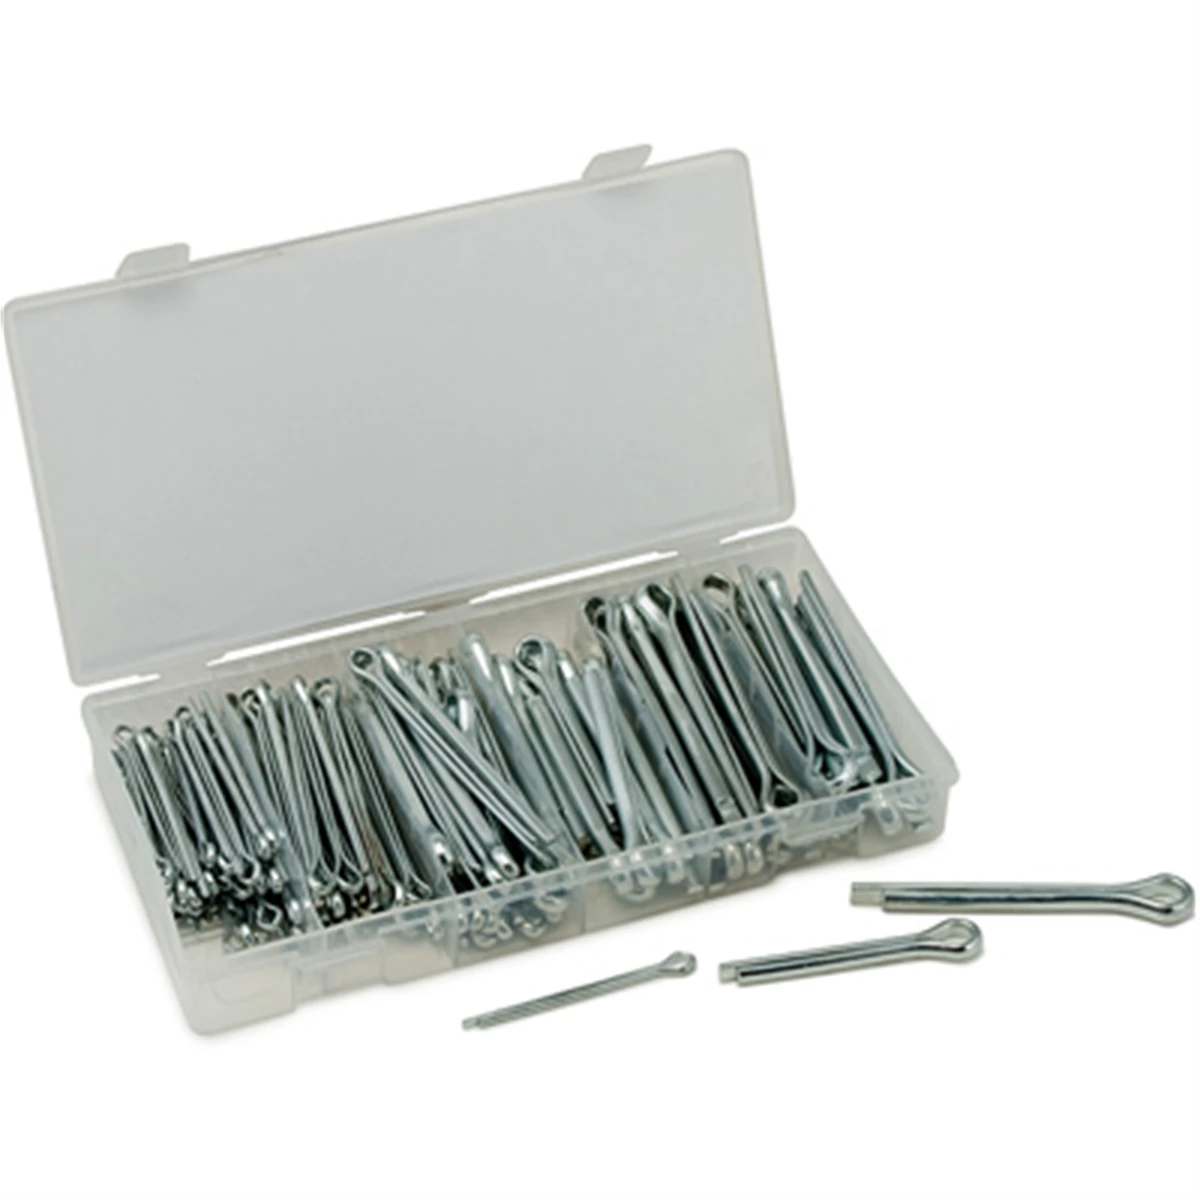

Castle nuts and pin-style axle nuts are designed with a torque range specifically because the pin hole won’t always line up at one exact number — manufacturers build in a window to account for that. Work within it methodically:
- Torque to the minimum spec first and check whether a slot in the nut lines up with the hole in the axle shaft.
- If it doesn’t line up, increase torque incrementally, checking alignment after each small adjustment.
- Never exceed the maximum published torque value to force alignment. If you reach the upper limit and the hole still doesn’t line up, stop.
- If you hit the max torque without alignment, the stack-up is wrong. Pull the nut and re-examine the hardware — this is usually where an unnecessary washer (or a missing one) is the root cause, not a defective axle.
- Never back off torque past the minimum spec just to catch a pin hole. Under-torquing is just as much a problem as over-torquing.
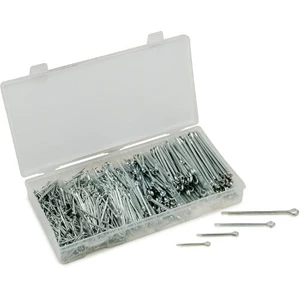
Once the pin hole lines up within spec, install a new cotter pin — don’t reuse the old one, since bent and re-bent pins fatigue and can shear. Bend the legs fully around the nut or axle end per the pin’s design so it can’t back out or contact rotating components.
Reference Manuals: Confirming Torque Specs and Hardware Call-Outs
Generic axle install videos are a reasonable starting point but they’re often filmed for one specific vehicle and then applied broadly — which is exactly how “the video showed a washer” ends up being bad advice for a different application. A proper repair manual for your exact year, make, model, and engine will call out the correct torque spec and note whether a washer is used in the hardware stack for that specific application.
Between the common consumer options, factory service manuals are the gold standard when available, followed by manuals that go deeper into OEM-level procedures and specs. General reference guides are useful for quick lookups but tend to be less thorough on stack-up and torque sequence detail than a manual written closer to factory documentation. If you’re doing driveline work regularly, it’s worth having a proper manual for your specific platform rather than relying on general web videos.
Common Mistakes to Avoid
Most axle nut problems trace back to a handful of repeatable errors:
- Assuming every part included in an axle kit is required for your specific vehicle.
- Installing a loose washer behind a flanged nut that already has a built-in shoulder.
- Overtightening past max torque spec to force cotter pin alignment.
- Reusing an old cotter pin instead of installing a new one.
- Skipping the dry-fit check before final torque, which would have caught a stack-up problem early.
- Not consulting a manual specific to the vehicle’s year, make, and model before assuming generic install steps apply.
Quick Checklist: Axle Nut Installation
- Confirm nut style — flanged nuts typically don’t need a separate washer
- Compare new hardware to the original assembly before installing
- Dry-fit the nut to check seating depth before final torque
- Look up the exact torque spec for your year/make/model
- Torque to the low end of spec first, then check pin/hole alignment
- Never exceed max torque to force alignment — re-check hardware stack instead
- Install a new cotter pin, never reuse the old one
[PRODUCT_SEARCH: torque wrench and cotter pin repair kit]
No products found for “torque wrench and cotter pin repair kit”
FAQs
Do flange axle nuts need a washer?
No. A flanged nut has a built-in shoulder that performs the same job a separate washer would, so adding a loose washer behind it is redundant and can throw off the hardware stack-up.
What happens if I leave an unnecessary washer in place?
The extra thickness can prevent the nut from seating fully on the shaft, which often shows up as a cotter pin hole that won’t align within the nut’s normal torque range.
Is it safe to overtighten the axle nut to get the pin hole to line up?
No. Exceeding the manufacturer’s maximum torque spec to force alignment risks bearing damage and thread damage. If max torque doesn’t produce alignment, the hardware stack-up needs to be corrected instead.
Can I reuse the old washer or cotter pin from the original axle?
Reusing hardware from the old axle generally isn’t recommended — new axle assemblies come with the hardware engineered for that specific part. Cotter pins especially should always be replaced, not reused, since bending fatigues the metal.
Where can I find the correct torque spec for my vehicle?
A factory service manual or a detailed aftermarket manual specific to your year, make, and model is the most reliable source. Generic install videos may reflect a different application’s hardware and specs.
How do I know if my hardware stack-up is wrong?
If you reach the maximum published torque spec and the cotter pin hole still doesn’t align with the nut, that’s a sign the stack-up is off — most often due to an extra washer that shouldn’t be there.
Tools for Axle Installation


Proper axle nut installation requires a torque wrench rated for the spec and the correct fasteners. Our Tire Tools, Wheels & Suspension section has the equipment you need.
- Torque wrenches and click-type wrenches
- Axle nut sockets and suspension fastener tools
- Cotter pins and replacement hardware kits

The Toolsource Technical Team blends decades of real-world automotive service experience with up-to-date technical research. Our writers collaborate with professional mechanics, shop owners, and diagnostic specialists to deliver practical, workshop-ready guidance you can trust.


Follow us on social media